Define your use case
What business goals will this agent help you meet?
In what context will customers encounter this agent?
What types of questions do your customers ask?Knowing the answers to these questions helps you choose the right type of agent and the right content to train it for maximum effectiveness.
Format your training data
Agent Studio reads data directly from a GCS bucket, not from Fusion.Your data must be in JSONL and PDF format.In a JSONL file, each line is a complete JSON expression representing a single document, as in the example below:
Select an agent from the Agent Studio library
Your library includes one or more pre-built agent templates, depending on your Lucidworks subscription.
Navigate to the Agent Studio Library screen and click the agent that’s best suited for your use case.You can contact Lucidworks if you need additional agent templates for the evolving needs of your business.
Configure your agent
Agent Studio guides you through some simple setup steps to connect your agent to your data.
You can also configure options that help train your agent to provide the most helpful answers for your customers, such as the industry domain and the AI model to use.When you finish configuring your agent, Lucidworks AI needs some time to perform the initial training that fully enables it.
While training is in progress, you can update your website code as explained in the final step below.You can also preview and test your agent right inside Agent Studio.
Click the Agents tab, and then select the agent you want to preview or test. The Agent Details display. The Agent Preview section lets you test the agent to determine if the responses accurately reflect the information on your website.
Embed the agent code on your site
Now you’re ready to embed the agent where your customers will see it.
Click Get Agent Code to get ready-to-use code snippets that you can copy and paste into your site code:
-
Copy the
<script>code snippet and paste it into the<head>of your web page. Your exact code snippet will be unique to your custom agent.
 -
Copy the
<lw-template>snippet and paste it into the<body>of your web page where you want the agent to appear. You’ll need to modify this snippet to include a product ID.
 -
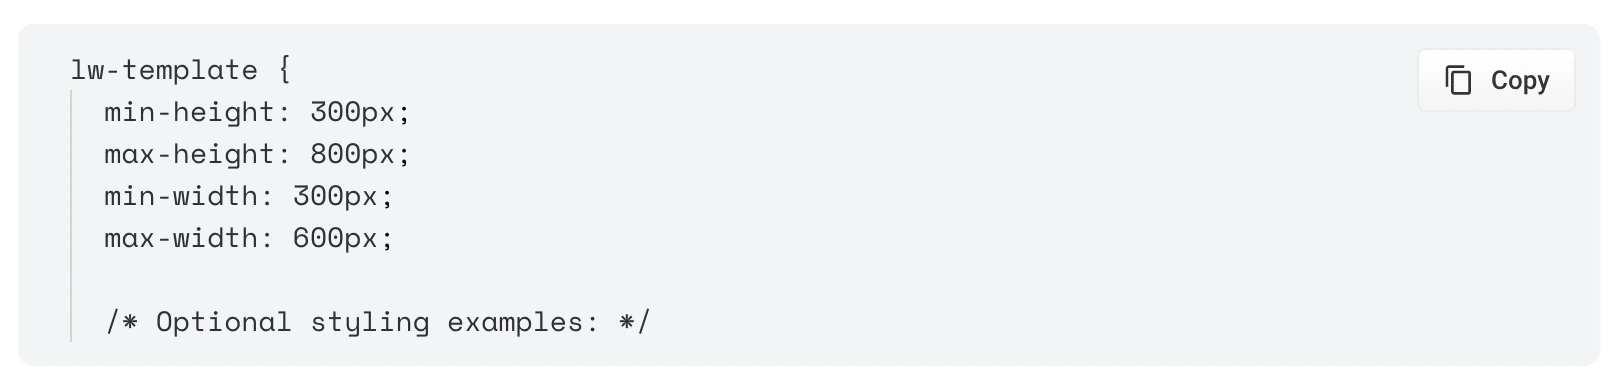
Copy the CSS snippet and paste it into your site’s stylesheet. You can modify it to control the look of your agent.