Experience Optimizer: Getting Started
The course for Experience Optimizer: Getting Started focuses on the core features and benefits of implementing Experience Optimizer.
User interface benefits
Experience Optimizer lets you:- Reduce administration overhead - Internal admins can build out pages necessary to find information such as benefits enrollment, hot links for new hires, or topics/docs other employees are looking for. At benefits enrollment time, HR can take over the top zone of the page to reduce repeated requests about links, where to go, and what to do, thus saving time and resources. All such zones and templates can be built without the need of a developer.
- Set content importance - You can build a zone for blog posts at the bottom of a page and set a pipeline to only pull in blog posts and sort by date.
- Display trending articles - Use signals or click throughs to show trending content for all users. Trending articles shows what’s important while also phasing out information that becomes irrelevant over time.
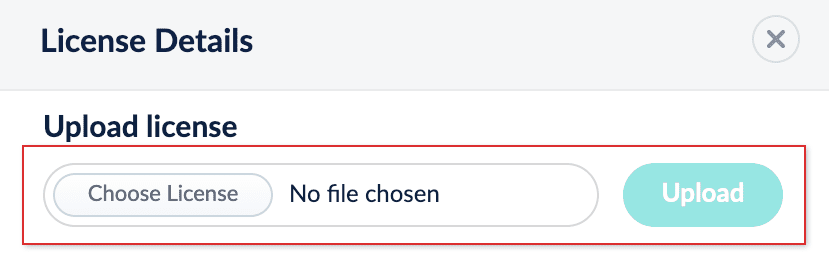
Licensing
Experience Optimizer is integrated with Fusion and requires a valid license. To verify your Experience Optimizer license, click Account Settings and select License Details. If you have a valid Experience Optimizer license, an asterisk* displays after Fusion AI Eo.
To upload a valid license, click Upload.
Supported browsers
Experience Optimizer is officially supported only in Google Chrome. The unsupported browsers listed in the table may provide limited features and functionality.| Browser | Supported |
|---|---|
| Google Chrome | ✅ |
| Firefox | |
| Safari | |
| Opera | |
| Edge |
Access Experience Optimizer
To access Experience Optimizer:- Sign in to Fusion and click Relevance > Rules.
- Click the Optimizer icon.
Learn more
Block a Document in Experience Optimizer
Block a Document in Experience Optimizer
You can block a document so that it does not appear in the search results when your customers run a particular query. This is helpful if a document has been removed from your catalog, or it is not yet available, for example.When you block a document, a new rule is created automatically.
- Hover your cursor over a document. A menu overlay will appear.
- Hover your cursor over the Actions button. A dropdown menu will appear.
- Click Block.
Boost a document in Experience Optimizer
Boost a document in Experience Optimizer
You can boost a document to a higher position in the search results when your customers run a particular query. This can be helpful if, for example, you have new products in your catalog, or large stocks of some products.When you boost a document, a new rule is created automatically.
Boosting a document increases the document’s position in the results, but also takes other factors into consideration. As a result, boosting does not guarantee the document will occupy a specific position in the list. Pinning a document, however, places the document at a specified position regardless of other factors.
- Hold the pointer over a document.
- In the menu that displays, hold the pointer over the Actions button.
- From the menu, click Boost.
Bury a Product in Experience Optimizer
Bury a Product in Experience Optimizer
You can bury a document so that it occupies a lower position in the search results when your customers run a particular query. This can be helpful if some of the products in your catalog are temporarily out of stock, for example.Burying a document typically moves it to the end of the list. However, its exact position will depend on multiple factors, including its relevance score and user signals in relation to other products.When you bury a document, a new rule is created automatically.
- Hover your cursor over a document. A menu overlay will appear.
- Hover your cursor over the Actions button. A dropdown menu will appear.
-
Select the Bury button:

Pin a Product in Experience Optimizer
Pin a Product in Experience Optimizer
You can pin a document so that it occupies a fixed position in the search results when your customers run a particular query. This can be helpful if you have bestsellers or popular items that you want customers to see first, for example.When you pin a document, either a new rule is created automatically or an existing pin rule is modified.
Boosting a document increases the document’s position in the results, but takes other factors into consideration while doing so. As a result, it does not guarantee the document will occupy a specific position in the list. Pinning a document, however, places the document at a specified position regardless of other factors.
Use Actions
- Hover your cursor over a document. A menu overlay will appear.
- Hover your cursor over the Actions button. A dropdown menu will appear.
- Select the Pin button:

Drag and Pin a document
- Hover your cursor over a document. A menu overlay will appear.
- Click-and-hold the drag bar.
- Move the document to the desired location.
- Release the click.
Insert and Pin a document
You can search for and insert an alternative document from your catalog into a list of search results, and pin it at a fixed position. This is helpful if:- You want to include a document that is not included in the results list generated by the query.
- The results list is long and you need to search for a particular document to locate and pin it.
- You want to pin multiple products simultaneously.
- Hover your cursor between two products. A + button will appear:

- Click the + button.
- Locate and select one or more products you want to pin.
- Click Insert.

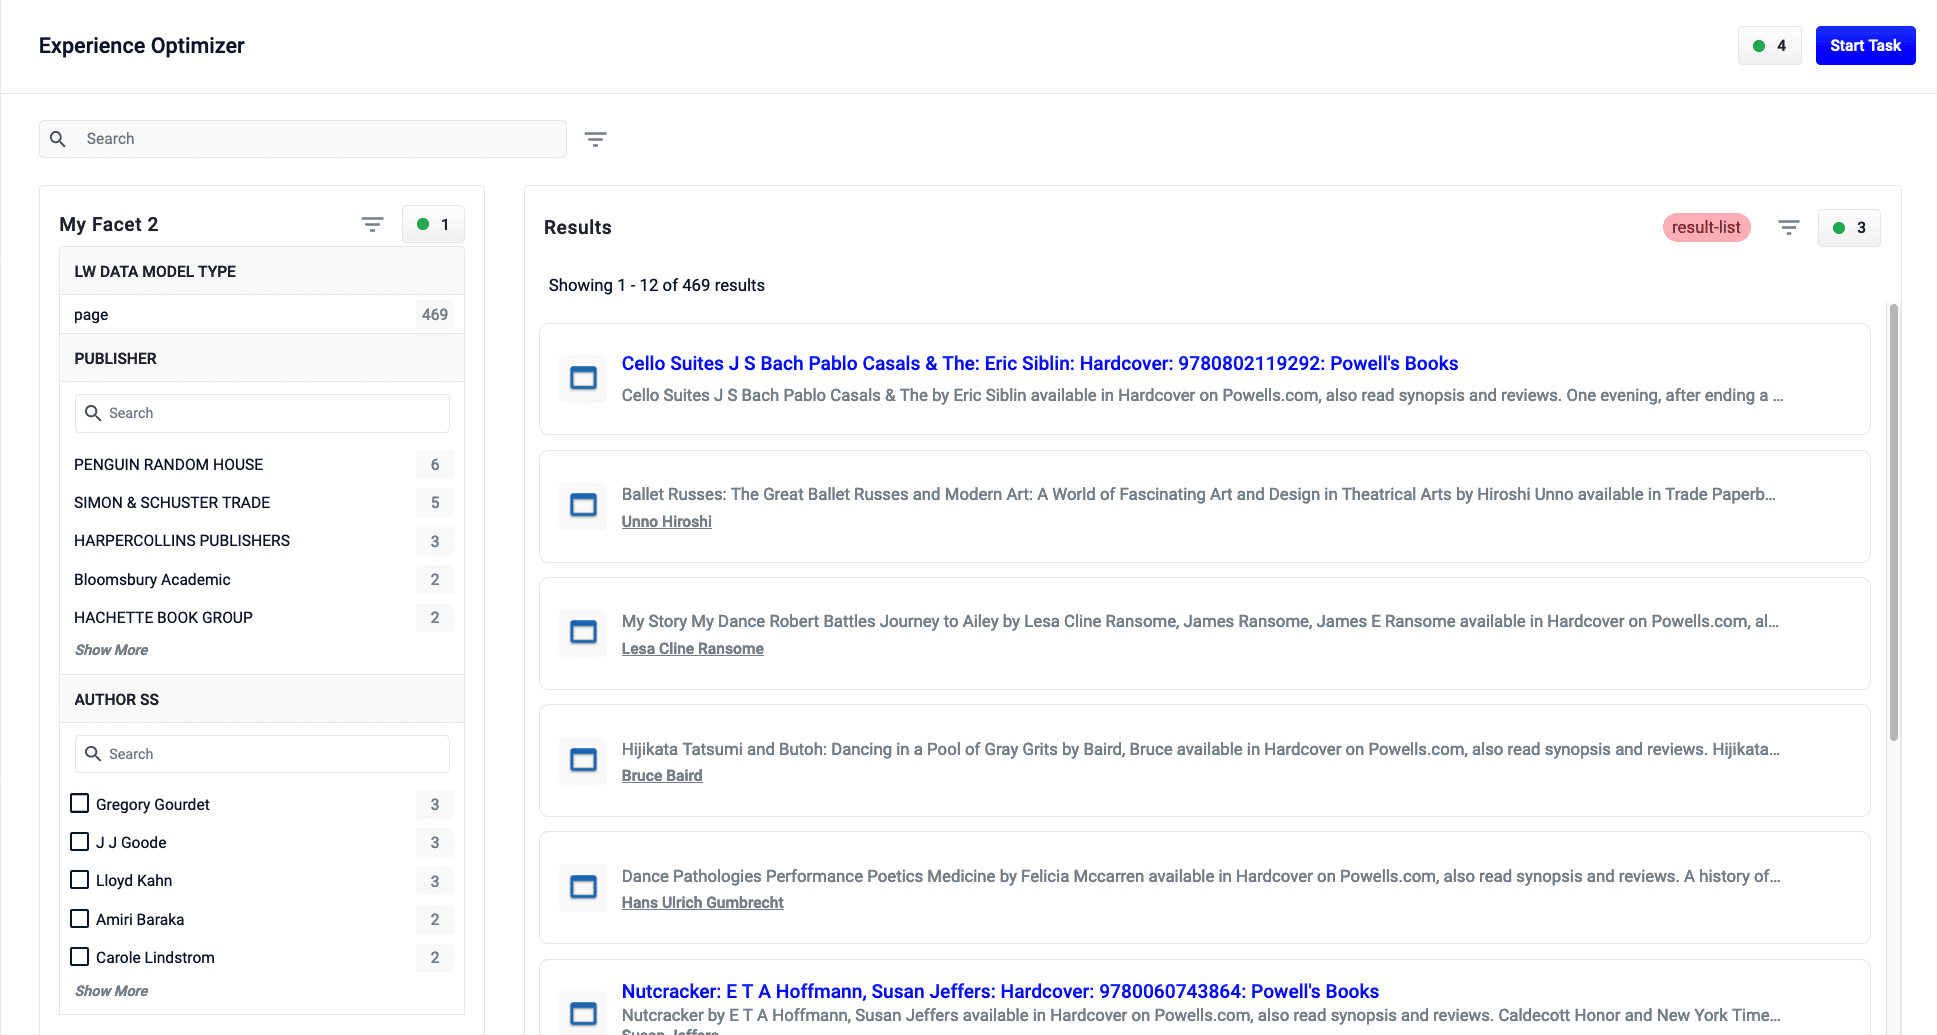
Use Experience Optimizer facets
Use Experience Optimizer facets
Add a facet
You can create rules that add facets by interacting directly with the Facet List in Interactive Mode. You can add facets that are set unconditionally, or facets that are only set when your customers run a particular query. For example, you might want to set a music genre facet when a customer navigates to the music section of your catalog.Adding a facet automatically creates a new rule if a default facet rule does not already exist. If a default facet rule does exist, adding a facet updates that rule with the new facet.Enable the facet zone
Facets display in the zone on the left panel of the Experience Optimizer, once enabled. Follow the steps below to turn on the facets zone:- Click Start Task.
The button displays.
 - In the left panel, click +Add and enter the desired parameters.
- Click Done.
Edit the facet zone widget
You can also add facets that are not dependent on rules being triggered.- In the facet zone, click +Add.
- In Facet Field, enter the desired facet parameter.
- Click Save to add the facet.
Add additional facets
- Hold the pointer above or below an existing facet.
- Click the + button and add the new facet.
Move a facet
- Hold the pointer over a facet.
- In the menu that displays, click-and-hold the drag bar.
- Move the facet to the desired location.
- Release the pointer.
Remove a facet
- Hold the pointer over a facet.
- In the menu that displays, click Remove.
Block a facet item
- Hold the pointer over a facet.
- In the menu that displays, click Block.
Bury a facet item
- Hold the pointer over a facet.
- In the menu that displays, click Bury.
Boost a facet item
- Hold the pointer over a facet.
- In the menu that displays, click Boost.
Reorder boosted facet items
- Hold the pointer over the boosted facet item to move.
- In the menu that displays, click-and-hold the drag bar.
- Move the facet to the desired location.
- Release the pointer.
Use Experience Optimizer Tasks
Use Experience Optimizer Tasks
Start a task
- Click the Start Task button:

- Pin, block, boost, and bury documents.
- Set additional facets.
- Create search rewrites from poorly performing search terms.
- See which rules and search rewrites are triggered by a search, then edit or delete them as needed.
- Sort search results by ascending or descending order, or by relevance.
- Check product information.
Undo changes in a task
- Click the Undo All button:
 . A confirmation dialog box will appear.
 - Select Undo to confirm.
Exit a task
Exiting a task will- Click the Exit button:
Publish a task
You can publish any changes you make to rules back to the Fusion data source where they can impact live queries.- Click the Publish button:
 . A confirmation dialog box will appear.
 - Select Publish to confirm.
Experience Optimizer counts unpublished changes in the top navigation bar: 