ipad case is rewritten as “ipad case”~10^2, meaning if ipad and case appear within 10 terms (whitespace-delimited tokens) of each other, then boost the result by a factor of 2.
This feature is deprecated in Lucidworks Search 5.9.15 and will be removed in a future release.
Lucidworks recommends migrating to Neural Hybrid Search, which achieves superior relevance compared to legacy machine learning methods.
- Use query rewrites in the Rules Editor
- Use phrase detection
Use query rewrites in the Rules Editor
Use query rewrites in the Rules Editor
This article describes how to use the Rewrites screen in the Rules Editor.

Query rewrite rule types
- Head/Tail. Replace underperforming queries with queries that produce higher click-through rates. Query improvements always require review before they are published. Schedule the Head/Tail Analysis job to get AI-generated query improvements based on your signals collection.
Manually created Head/Tail rewrites must provide an “Improved Query” in a format appropriate to the type of request the rewrite will be applied to. For Legacy requests, this means a valid Solr query fit for use as theqparameter. For DSL requests this means a JSON string representing the main DSL query.
For more information, see: - Misspelling. Lucidworks Search replaces misspelled query terms with their spelling corrections for better search results. Schedule the Token and Phrase Spell Correction job to get AI-generated spelling corrections based on your signals collection. See Misspelling Detection.
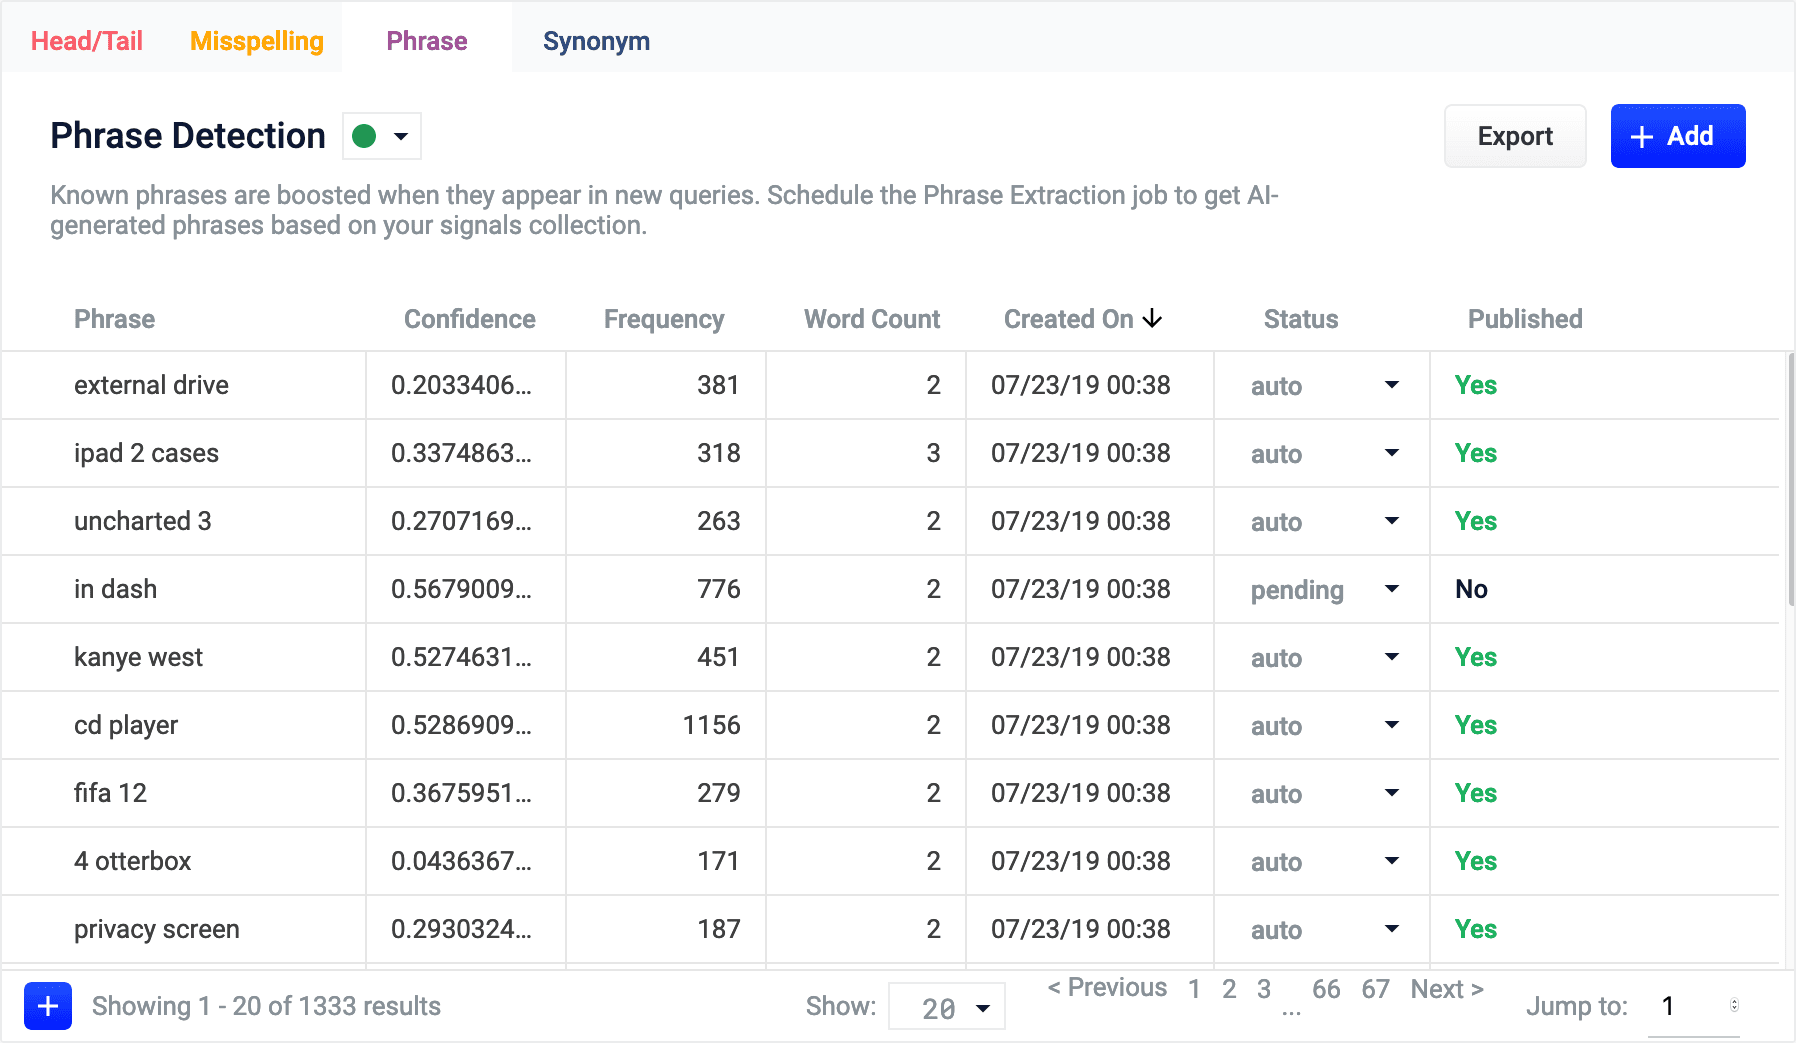
- Phrase. Known phrases are boosted when they appear in new queries. Schedule the Phrase Extraction job to get AI-generated phrases based on your signals collection. For more information, see Phrase Detection.
- Synonym. Synonyms are used to expand queries so that they include all known synonyms of the query terms. To retrieve AI-generated synonyms based on your signals collection, schedule the Synonym Detection job.
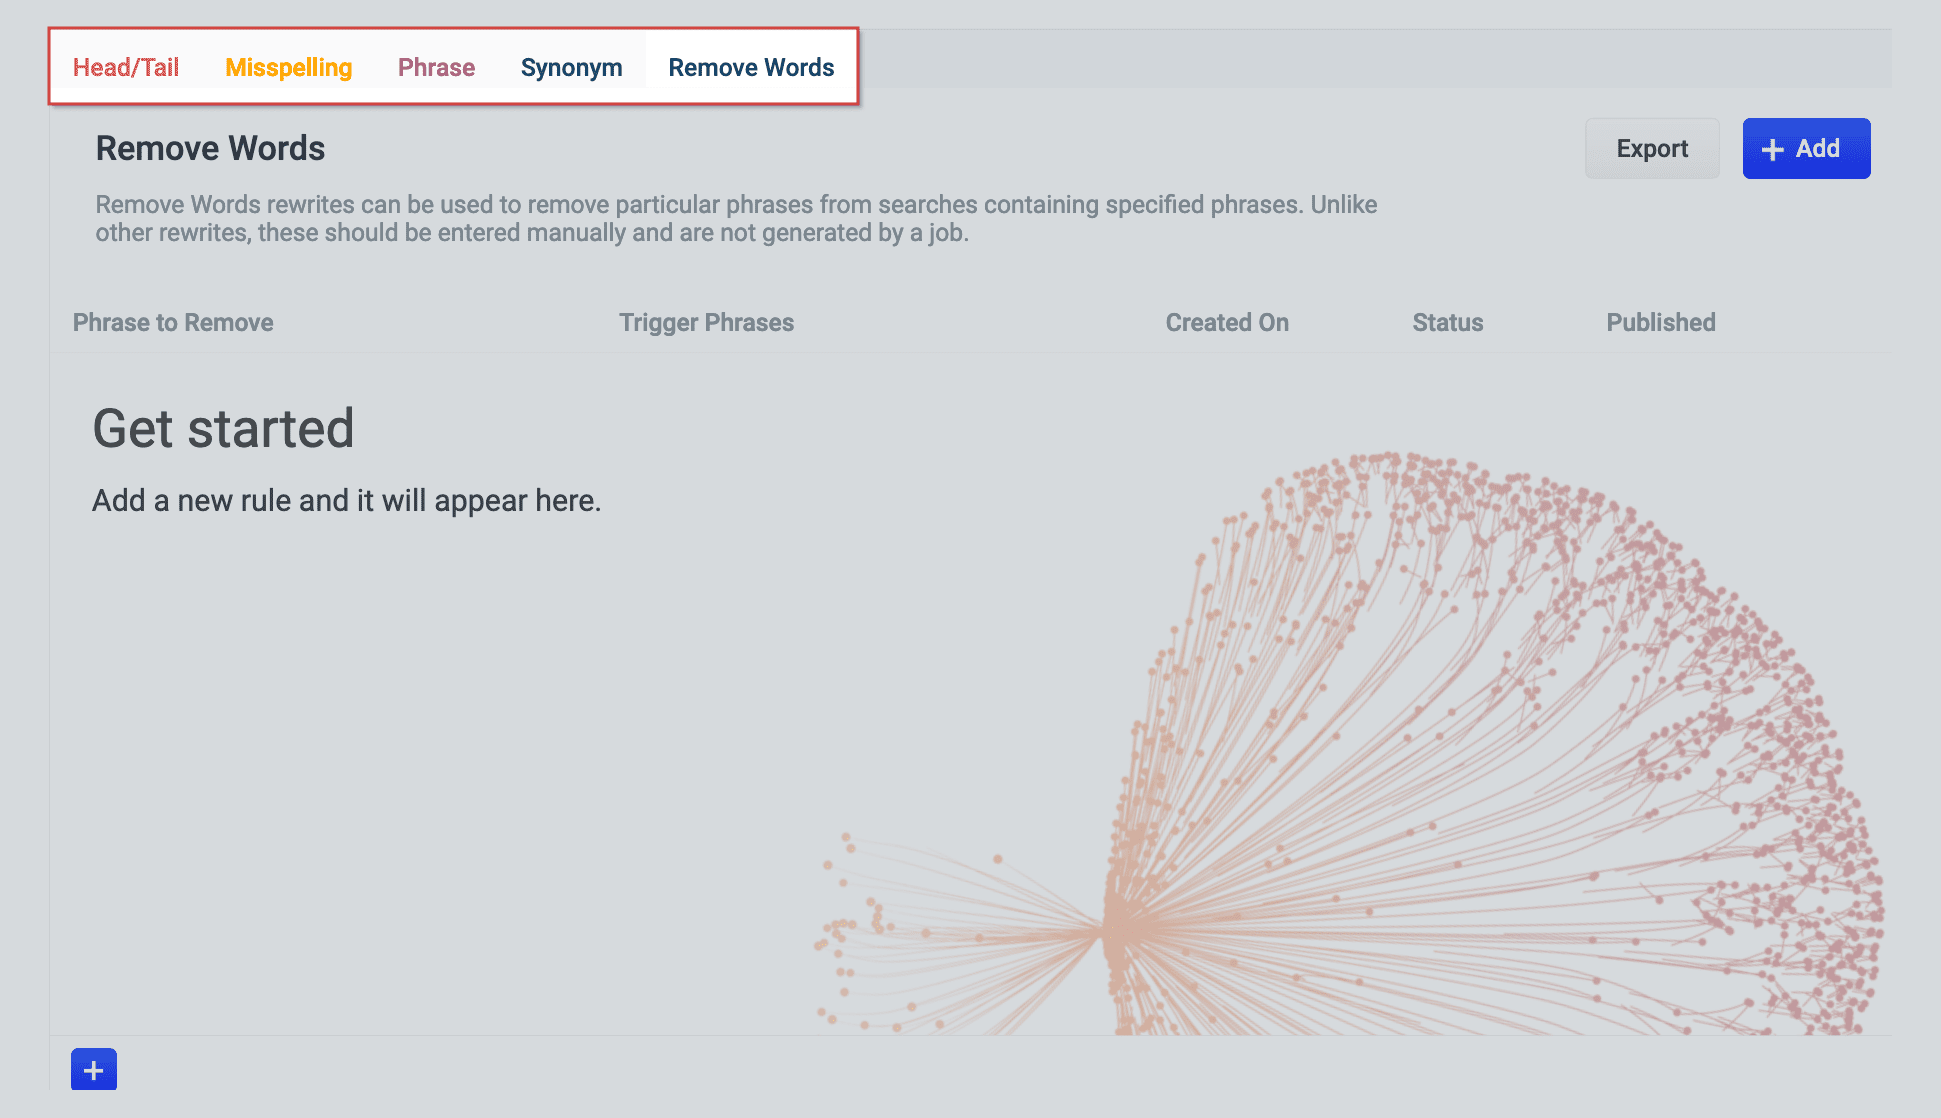
- Remove Words - Remove particular phrases from queries. Unlike other rewrites, these should be entered manually and are not generated by a job. See Remove Words.
Facets
Facet menu
Faceting rules by confidence is not available for Head/Tail rewrites.
Search
Enter a term in the search bar to quickly facet your query rewrite rules.Rules
Begin by selecting a query rewrite rule types to create.Create a rule
- Click +Add.
- In the new table row, complete the required fields, and additional fields as needed.
- Click the checkmark to save, or close to cancel the changes.
Edit a rule
- Hold the pointer over the rule to edit.
- Click the pencil icon.
- Enter desired changes and click the checkmark to save, or close to cancel the changes.
Approve/deny rules
- Hold the pointer over a rule.
- Select the checkbox that displays for that rule.
- To modify multiple rules, hold the pointer over each rule and select its corresponding checkbox.
- Click Approve or Deny as needed.
Publish a rule
- Hold the pointer over a rule.
- Select the checkbox that displays for that rule.
- To publish multiple rules, hold the pointer over each rule and select its corresponding checkbox.
- Click Publish Selected to publish the selected rules.
Publish an individual rule
- Hold the pointer over a rule.
- Click the button.
- To confirm, click Publish.
Delete rules
Delete a single rule
- Hold the pointer over a rule.
- Click the trash can.
- To confirm, click Delete.
Delete multiple rules
- Hold the pointer over a rule.
- Select the checkbox that displays for that rule.
- To delete multiple rules, hold the pointer over each rule and select its corresponding checkbox.
- Click Delete.
- To confirm, click Delete again.
Sort rules
- Hold the pointer over column titles. A icon displays for some titles to indicate the rules list can be sorted by that column.
- Click the title column to sort the rules.
The column that is currently sorting the rules list is indicated by an or icon.
Export rules
To export the rules list, click Export. This generates a.csv file that contains your rules.Columns
Customize columns
To customize columns:- Hold the pointer over the row of column titles.
-
Click the button.
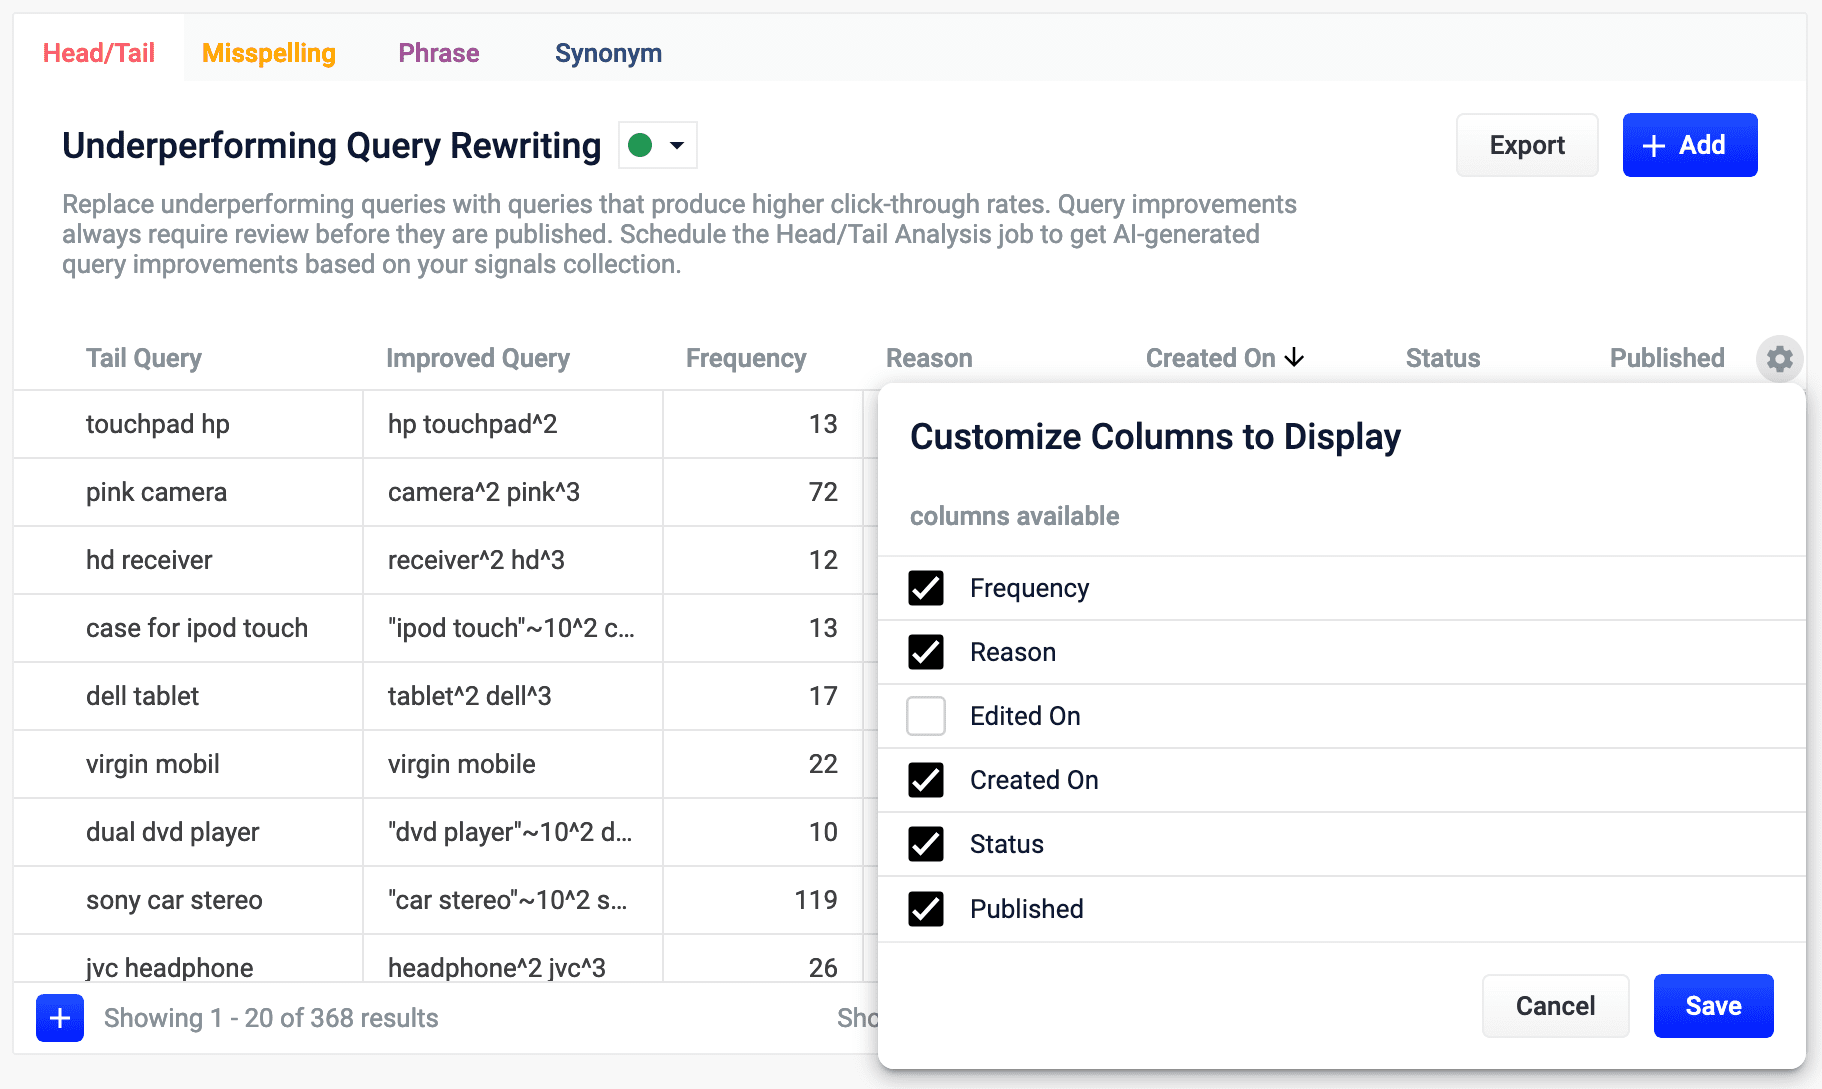
- In the Customize Columns to Display screen, select the checkboxes for the columns you want to display. Clear the checkboxes for columns you do not want to display.
- Click Save. To exit without saving your changes, click Cancel.
Use phrase detection
Use phrase detection
The Phrase Extraction job automatically creates phrases based on your AI-generated data. When you navigate to Relevance > Rules > Rewrite and select the Phrase tab, the application displays the Phrase Detection screen.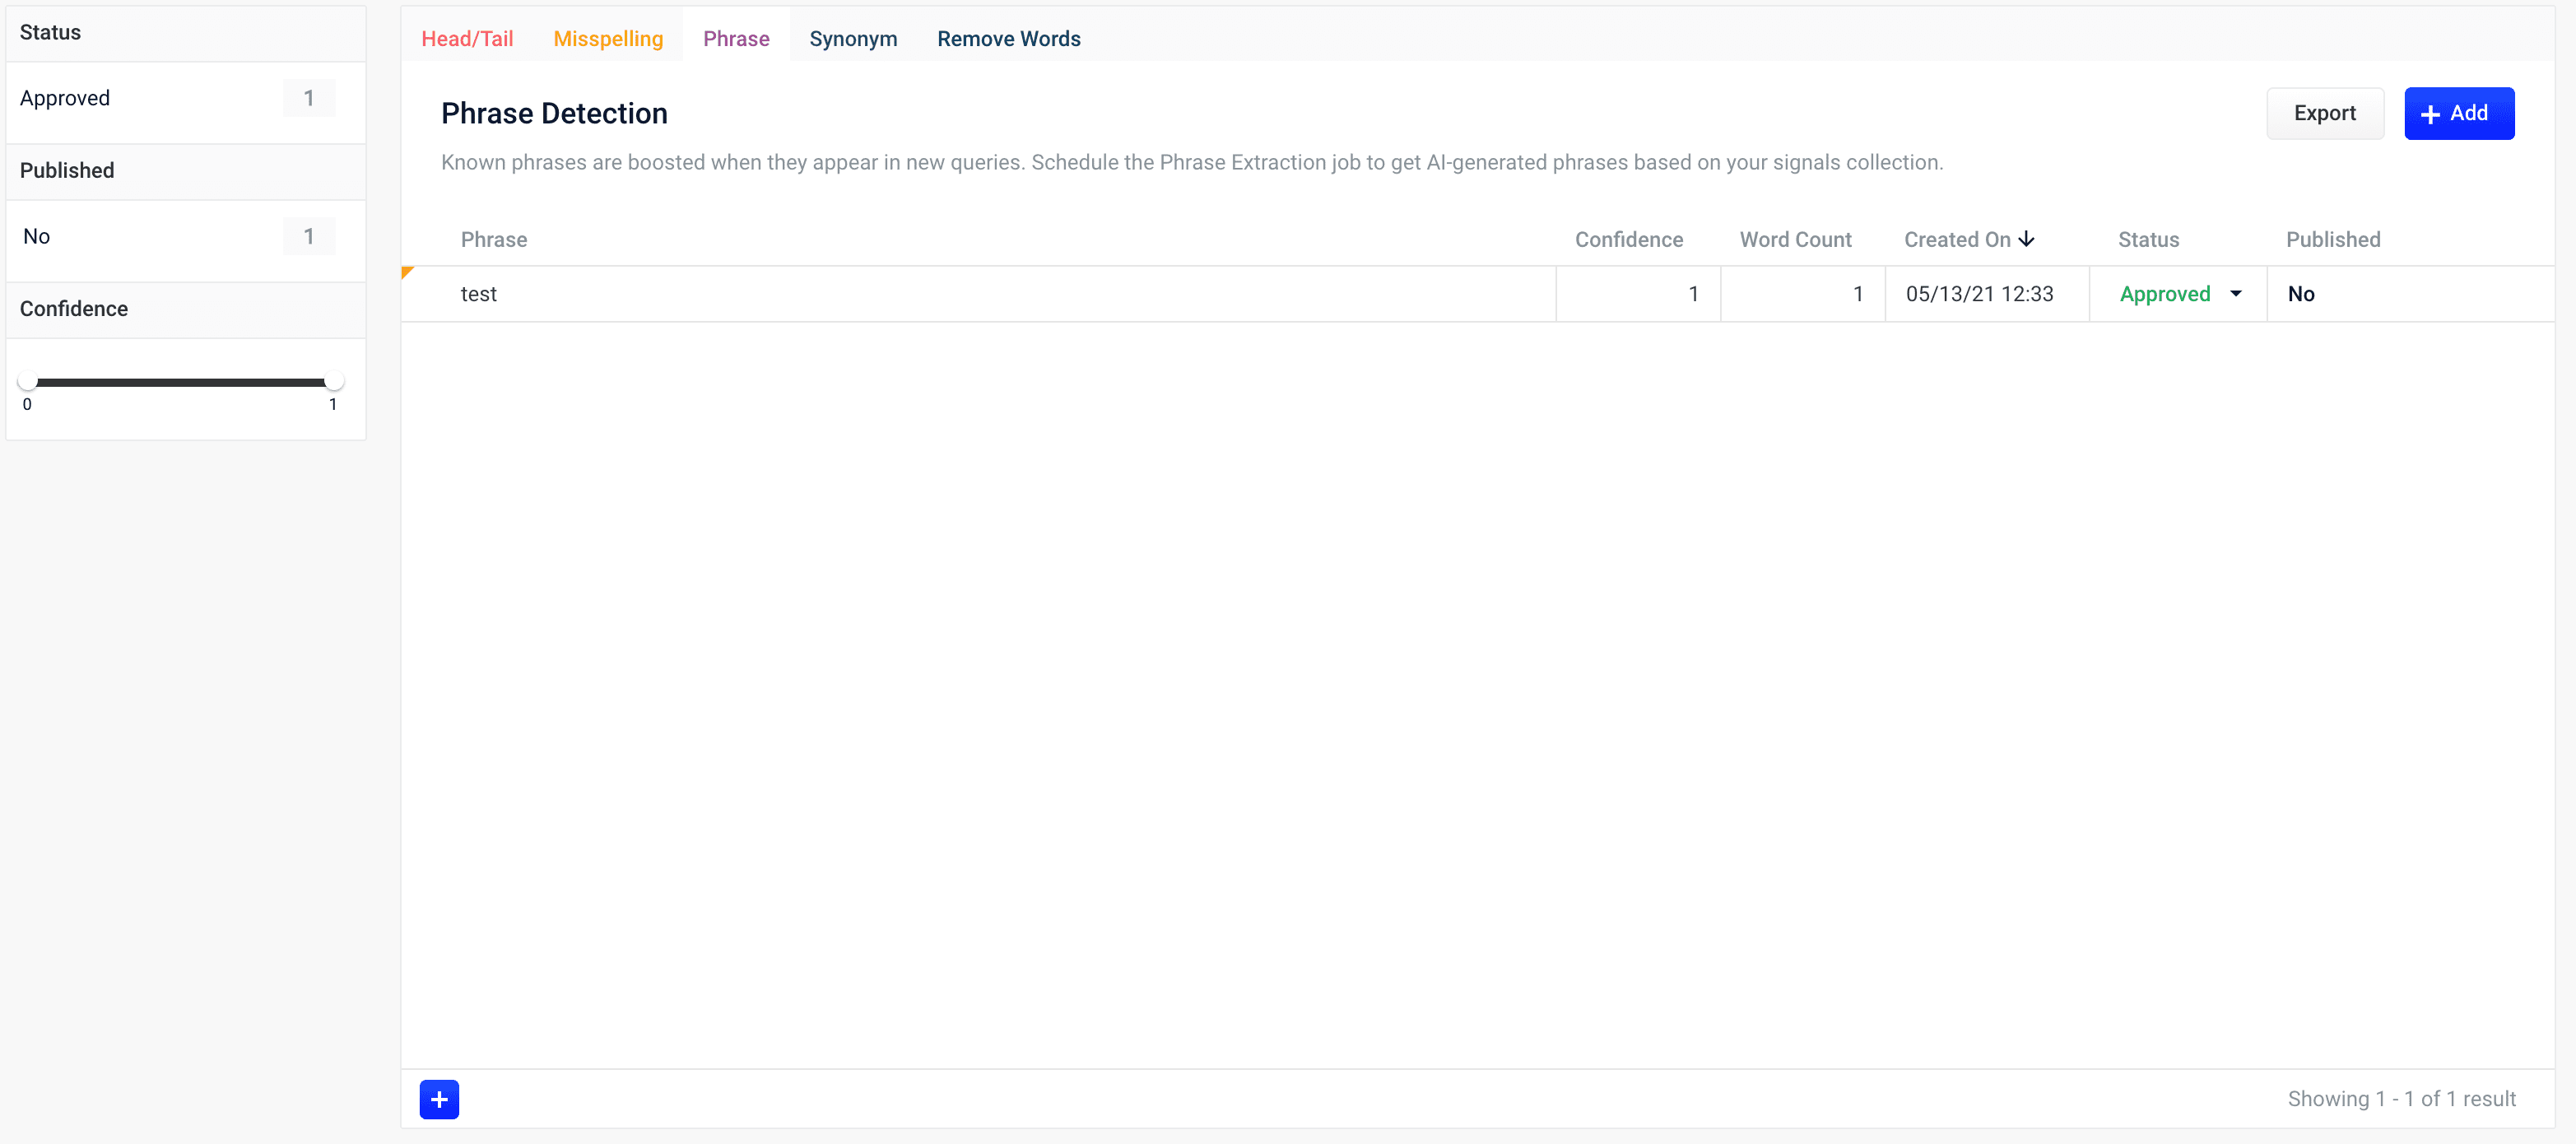
Query Analytics
The course for Query Analytics focuses on how Fusion provides query analytics to detect and improve underperforming queries.
Reviewing auto-generated phrases
Phrases that are automatically generated by the Phrase Extraction job are assigned one of the following status values:-
Auto
These results have a confidence level as a threshold to automatically deploy them to the
_query_rewritecollection. This threshold can be specified in the configuration parameter Minimum Likelihood Score (default value 0.1). No action is required on these results, but you can edit them if you wish. -
Pending
The confidence level is ambiguous, and the result must be reviewed by a user before it can be deployed. It will only be moved from the
_query_rewrite_stagingcollection to the_query_rewritecollection when its status has changed to “Approved” and it has been published.
How to review a pending phrase result
- Navigate to Relevance > Rules > Rewrite.
- Select Phrase tab. The application displays the Phrase Detection screen.
- Click the icon next to the phrase.
- In the Status column, select either “Approved” or “Denied”. Optionally, you can also edit the phrase itself.
-
Click the Close icon next to the updated phrase:
Approving a phrase does not automatically deploy it to the
_query_rewrite collection. When you have finished your review, you must click Publish to deploy your changes.Adding new phrases
You can manually add phrases in addition to any generated by the Phrase Extraction job.How to add a phrase
- Navigate to Relevance > Rules > Rewrite.
- Select Phrase tab. The application displays the Phrase Detection screen.
- At the bottom of the rules list, click the icon. A new phrase appears at the top of the list.
- Enter the phrase.
- Select the phrase’s status, depending on whether you want to deploy it the next time you publish your changes (“Approved”) or save it for further review (“Pending”).
- Click the check mark to save the new phrase.
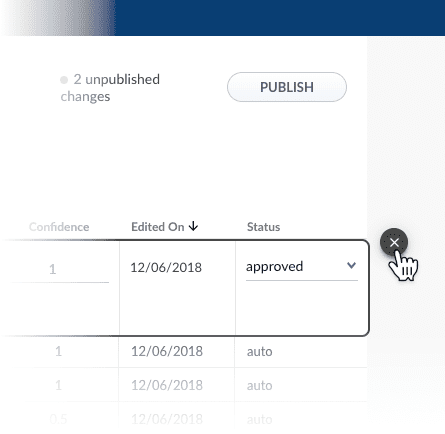
Publishing your changes
How to publish updated phrases
- In the Phrase Detection screen, click the PUBLISH button. Lucidworks Search prompts you to confirm that you want to publish your changes.
- Click PUBLISH.
Query Analytics
The course for Query Analytics focuses on how Fusion provides query analytics to detect and improve underperforming queries.