| Default job name | COLLECTION_NAME_content_recs |
| Input | Searchable content from the primary collection. |
| Output | Items-for-item recommendations (the COLLECTION_NAME_content_recs collection by default) |
- An ID for this job
- The name of the training collection, that is, the collection with your content
- An output collection; create a separate collection for this
- The name of the ID field for documents in the training collection, such as
item_id_s - The names of one or more content fields in the training collection

Content-based recommendations dataflow
Tuning tips
- Configure Metadata fields for item-item evaluation to use those fields during evaluation to determine whether pairs belong to the same category.
- Perform approximate nearest neighbor search is enabled by default to significantly reduce the job’s running time, with a small decrease in accuracy. If your training dataset is very small, then you can disable this option.
- If your content contains a lot of domain-specific jargon, enable Use Word2Vec for vectorization.
- If your documents are too short or too long, enable Use TF-IDF for vectorization.
Query pipeline setup
Download the APPName_item_item_rec_pipelines_content.json file and Migrate Managed Fusion Objects to create the query pipeline that consumes this job’s output. See Fetch Items-for-Item Recommendations (Content-Based Method) for details.Migrate Managed Fusion Objects
Migrate Managed Fusion Objects
You can use the Fusion UI and the Objects API to migrate collections and related objects, including your searchable data, configuration data, pipelines, aggregations, and other objects on which your collections depend. You can also migrate entire apps.You might need to migrate objects in the following circumstances:
For more information about using the Objects API to export and import objects, see Objects API.The remainder of this topic describes approaches in the Fusion UI.Use the parts of the Fusion UI indicated in the table to export and import apps and specific objects. Exporting creates a zip file. To import, you select a data file and possibly a variable file.The approach with Object Explorer differs. With Object Explorer, you can add objects from other apps (or that are not linked to any apps) to the currently open app.
To upgrade from one Fusion version to a 5.x version, see Fusion 5 Upgrades to migrate objects.
- When migrating data from development environments into testing and production environments
- To back up data, so you can restore it after an incident of data loss
- When the migrator script was not able to migrate an object automatically
When you export and import objects to migrate them, make sure you that any data gets to where it is going before deleting the sources.
Migration approaches
Several approaches are available for migrating Fusion objects. This table summarizes the approaches.| Export an app | Import an app | Export an object | Import an object | Add an object to an app | |
|---|---|---|---|---|---|
| Fusion UI | App configuration | Launcher (entire app) App configuration (combine apps) | - | - | Object Explorer |
| Objects API (endpoints) | GET from export endpoint | POST to import endpoint | GET from export endpoint | POST to import endpoint | - |
Export an app with the Fusion UI
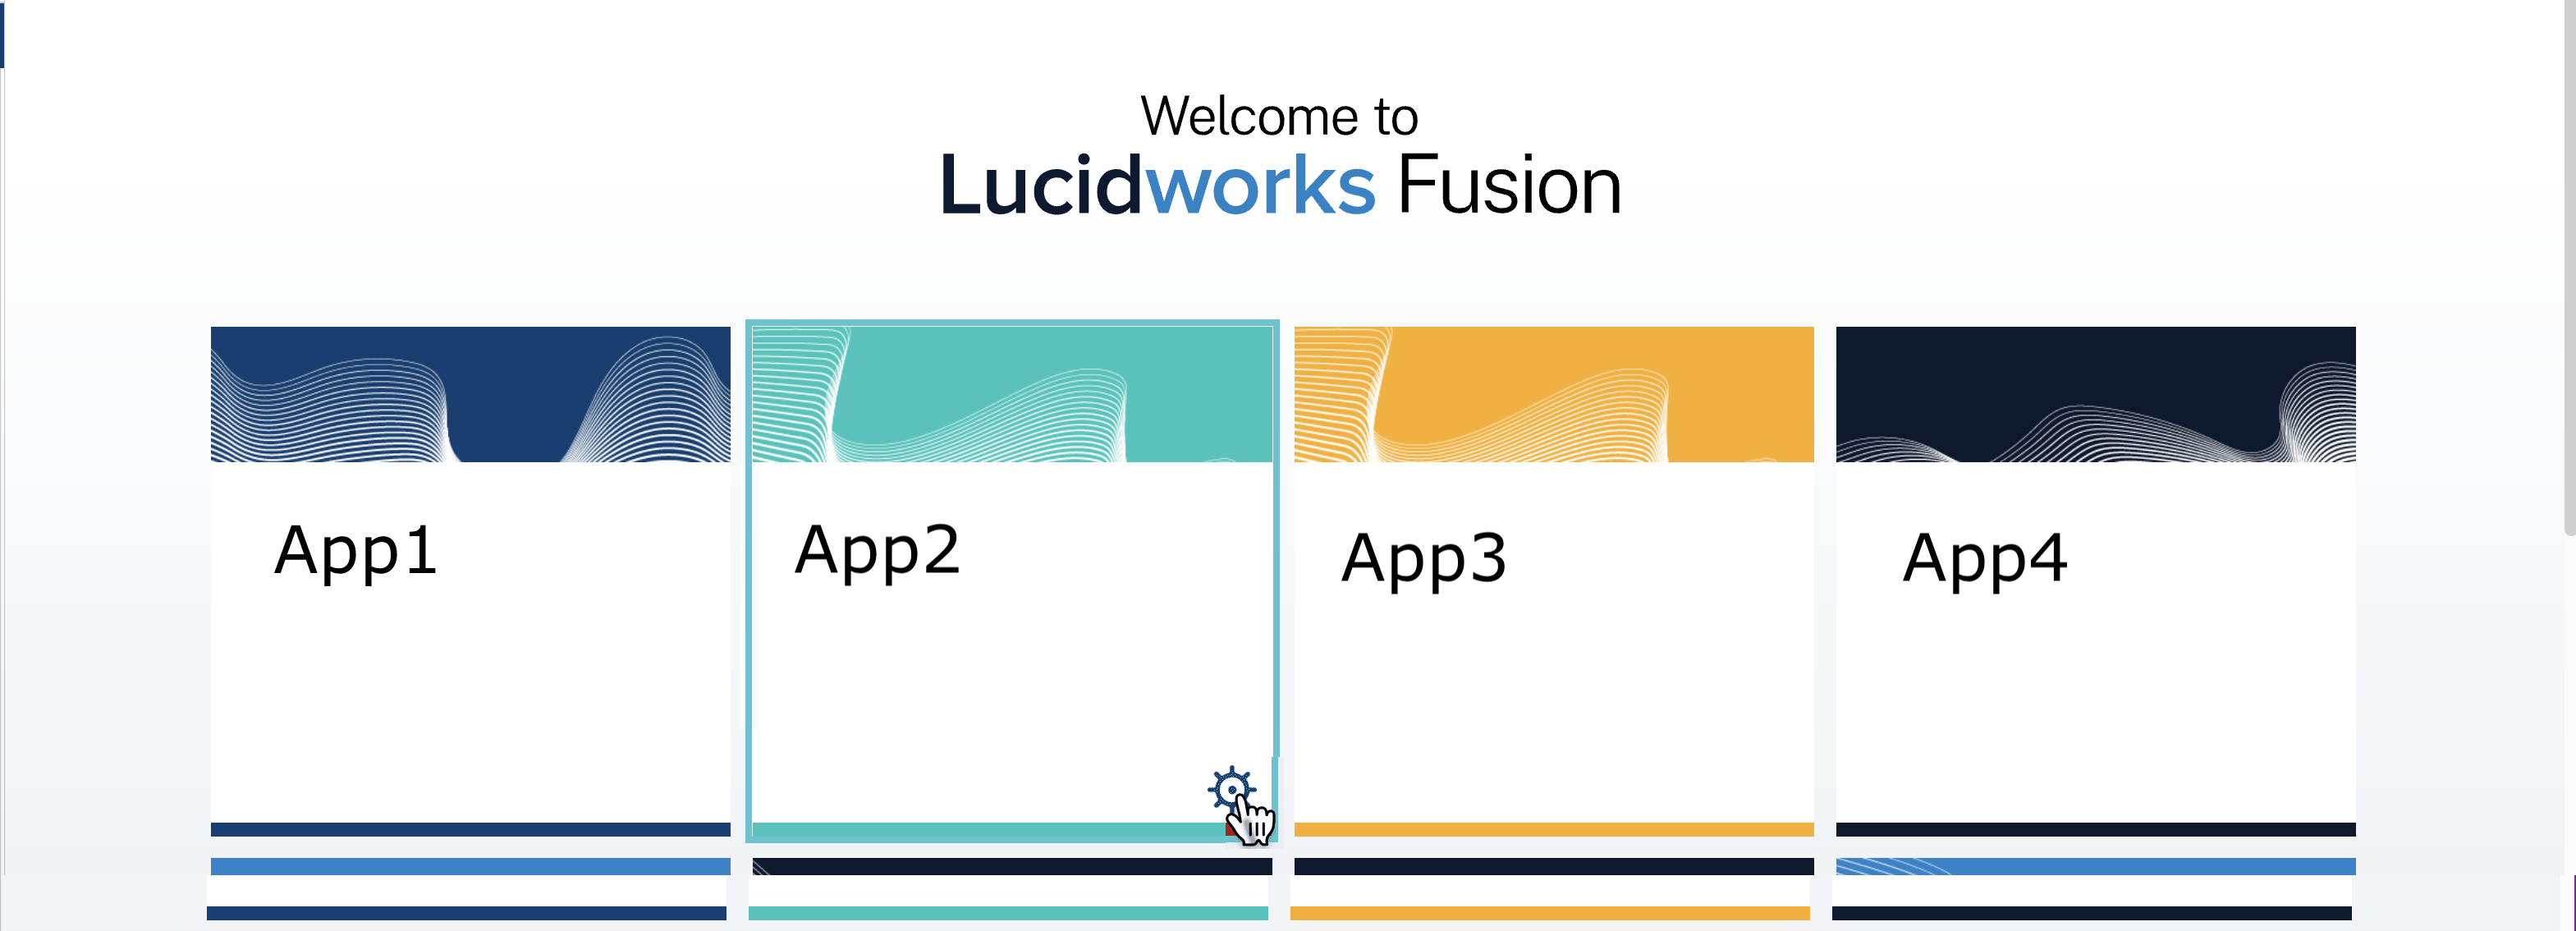
How to export an app with the Fusion UI- Navigate to the launcher.
-
Hover over the app you want to export and click the Configure icon:
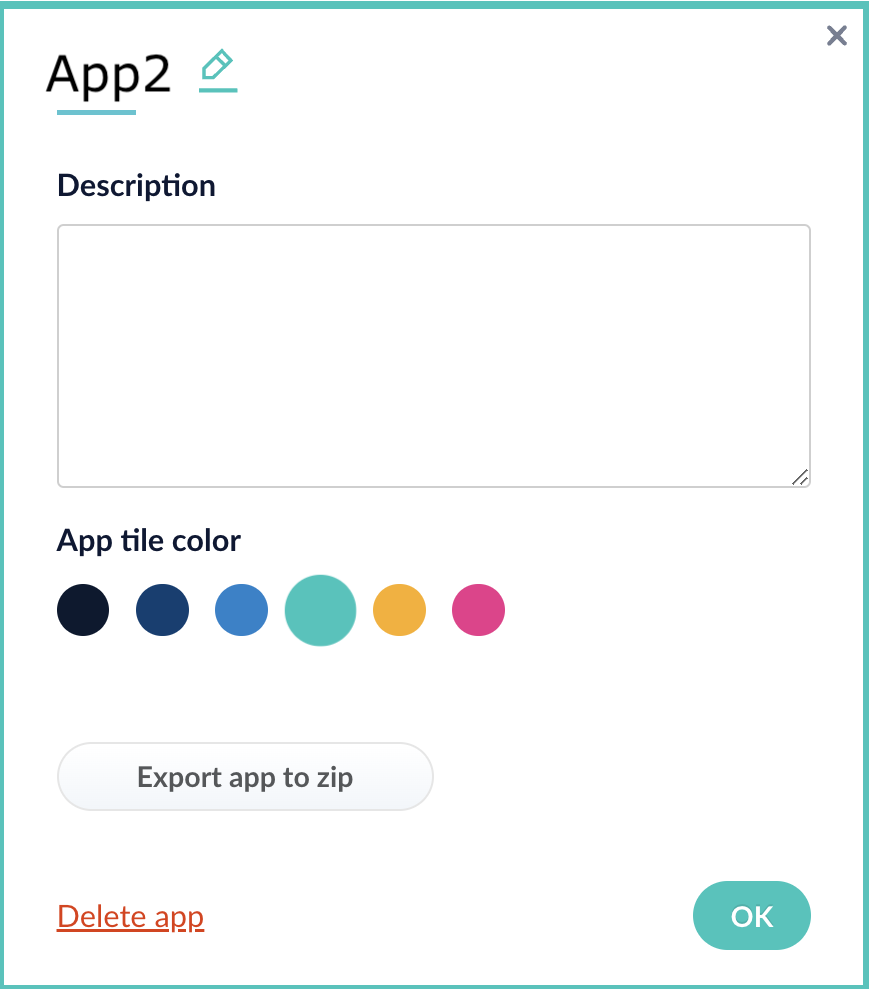
-
In the app config window, click Export app to zip:
Import an app with the Fusion UI
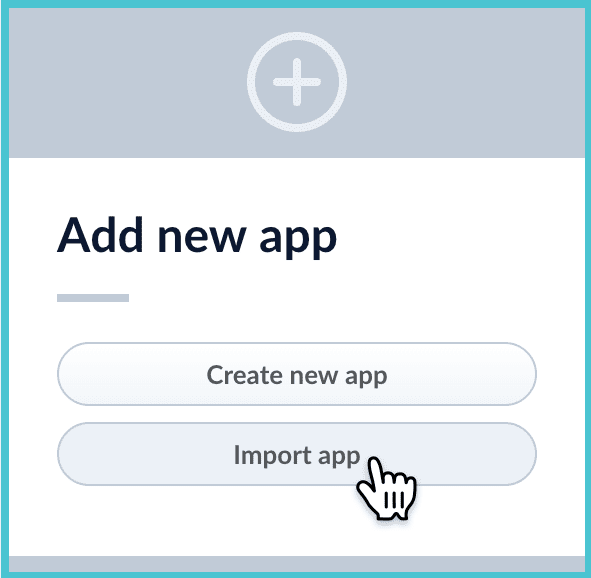
How to import an app with the Fusion UI- Navigate to the launcher.
-
Click Import app.
- Under Data File, click Choose File and select the zip file containing the app you want to import.
-
If your app has usernames and passwords in a separate file, select it under Variables File.
If the Variables File is needed, it must be a separate file that is not in a .zip file. It is a .json map of variables to values. The following is an example:
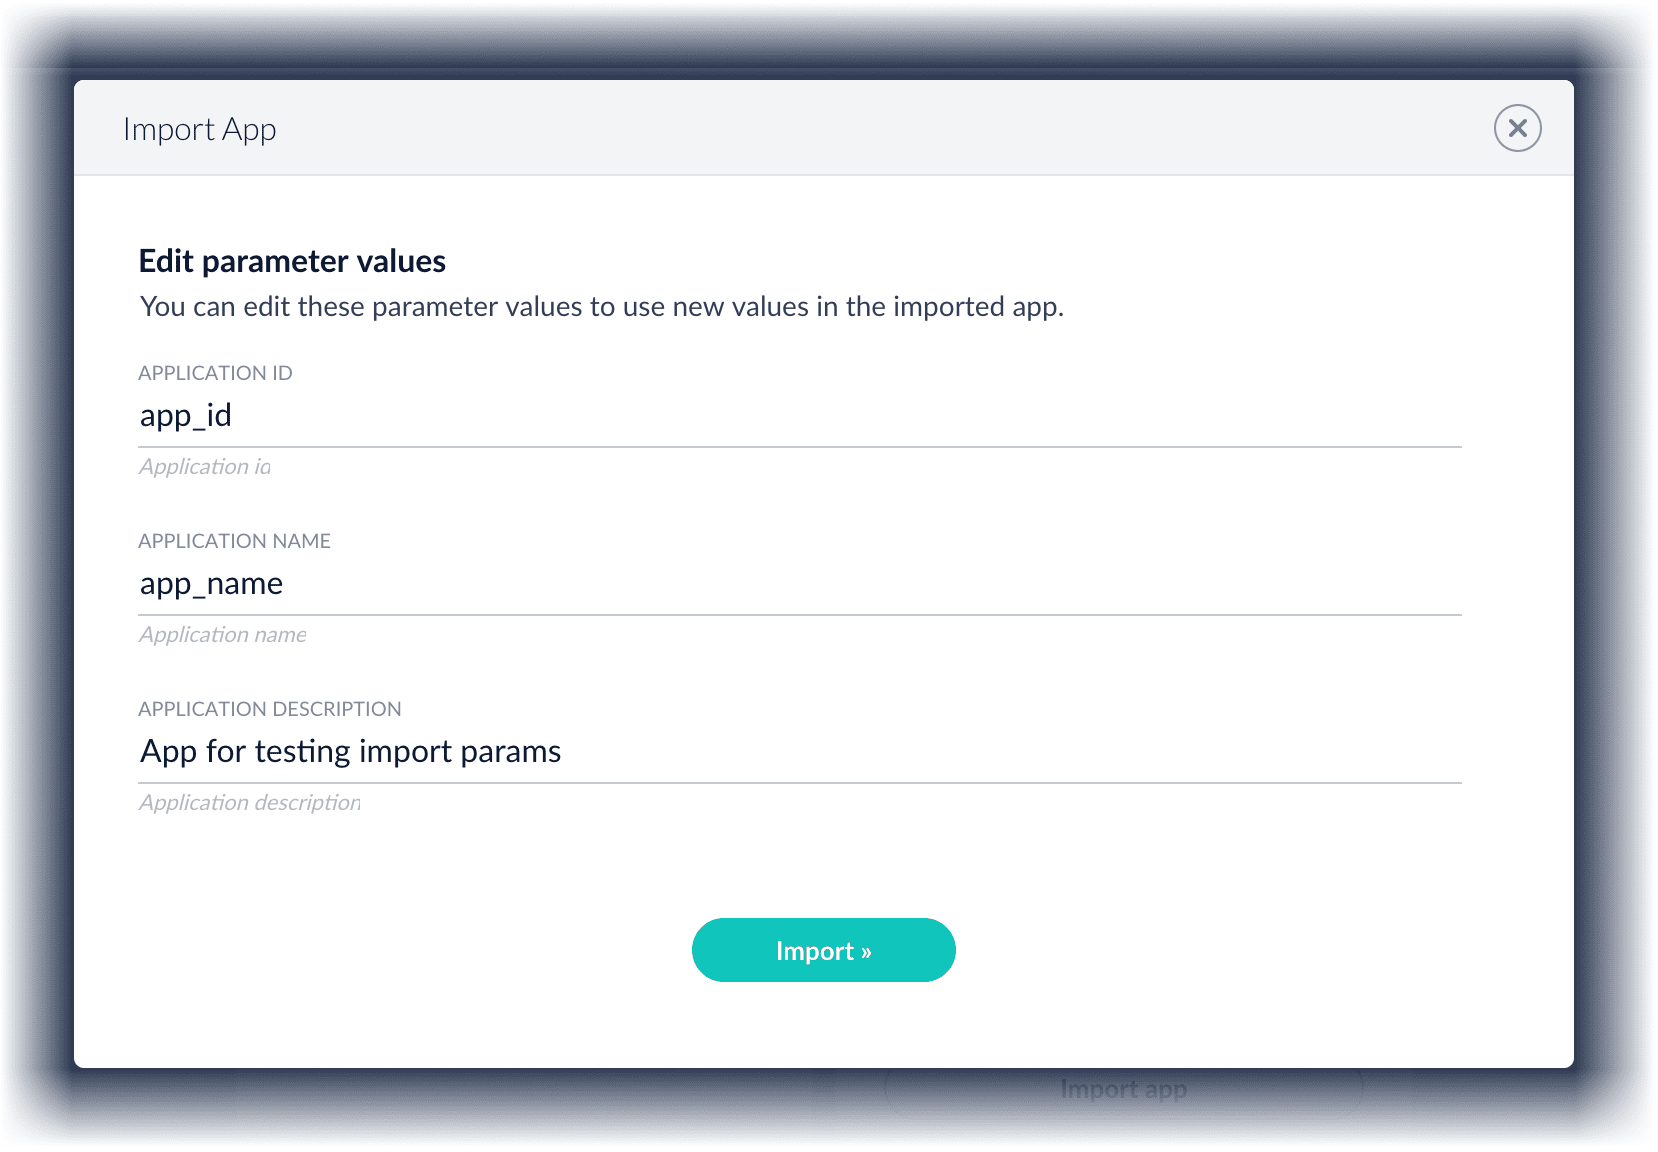
-
You can sometimes edit parameter values to use the new values in the imported app. If this is the case, Fusion displays a dialog box that lets you edit the parameter values.
Copy an app
To copy an app from one deployment to a different one, export the app on the source deployment, and then import the app on the target deployment.Import objects into an app
You can import objects into the currently open app.How to import objects into an open app- In the Fusion launcher, click the app into which you want to import objects. The Fusion workspace appears.
- Click System > Import Fusion Objects.
The Import Fusion Objects window opens.
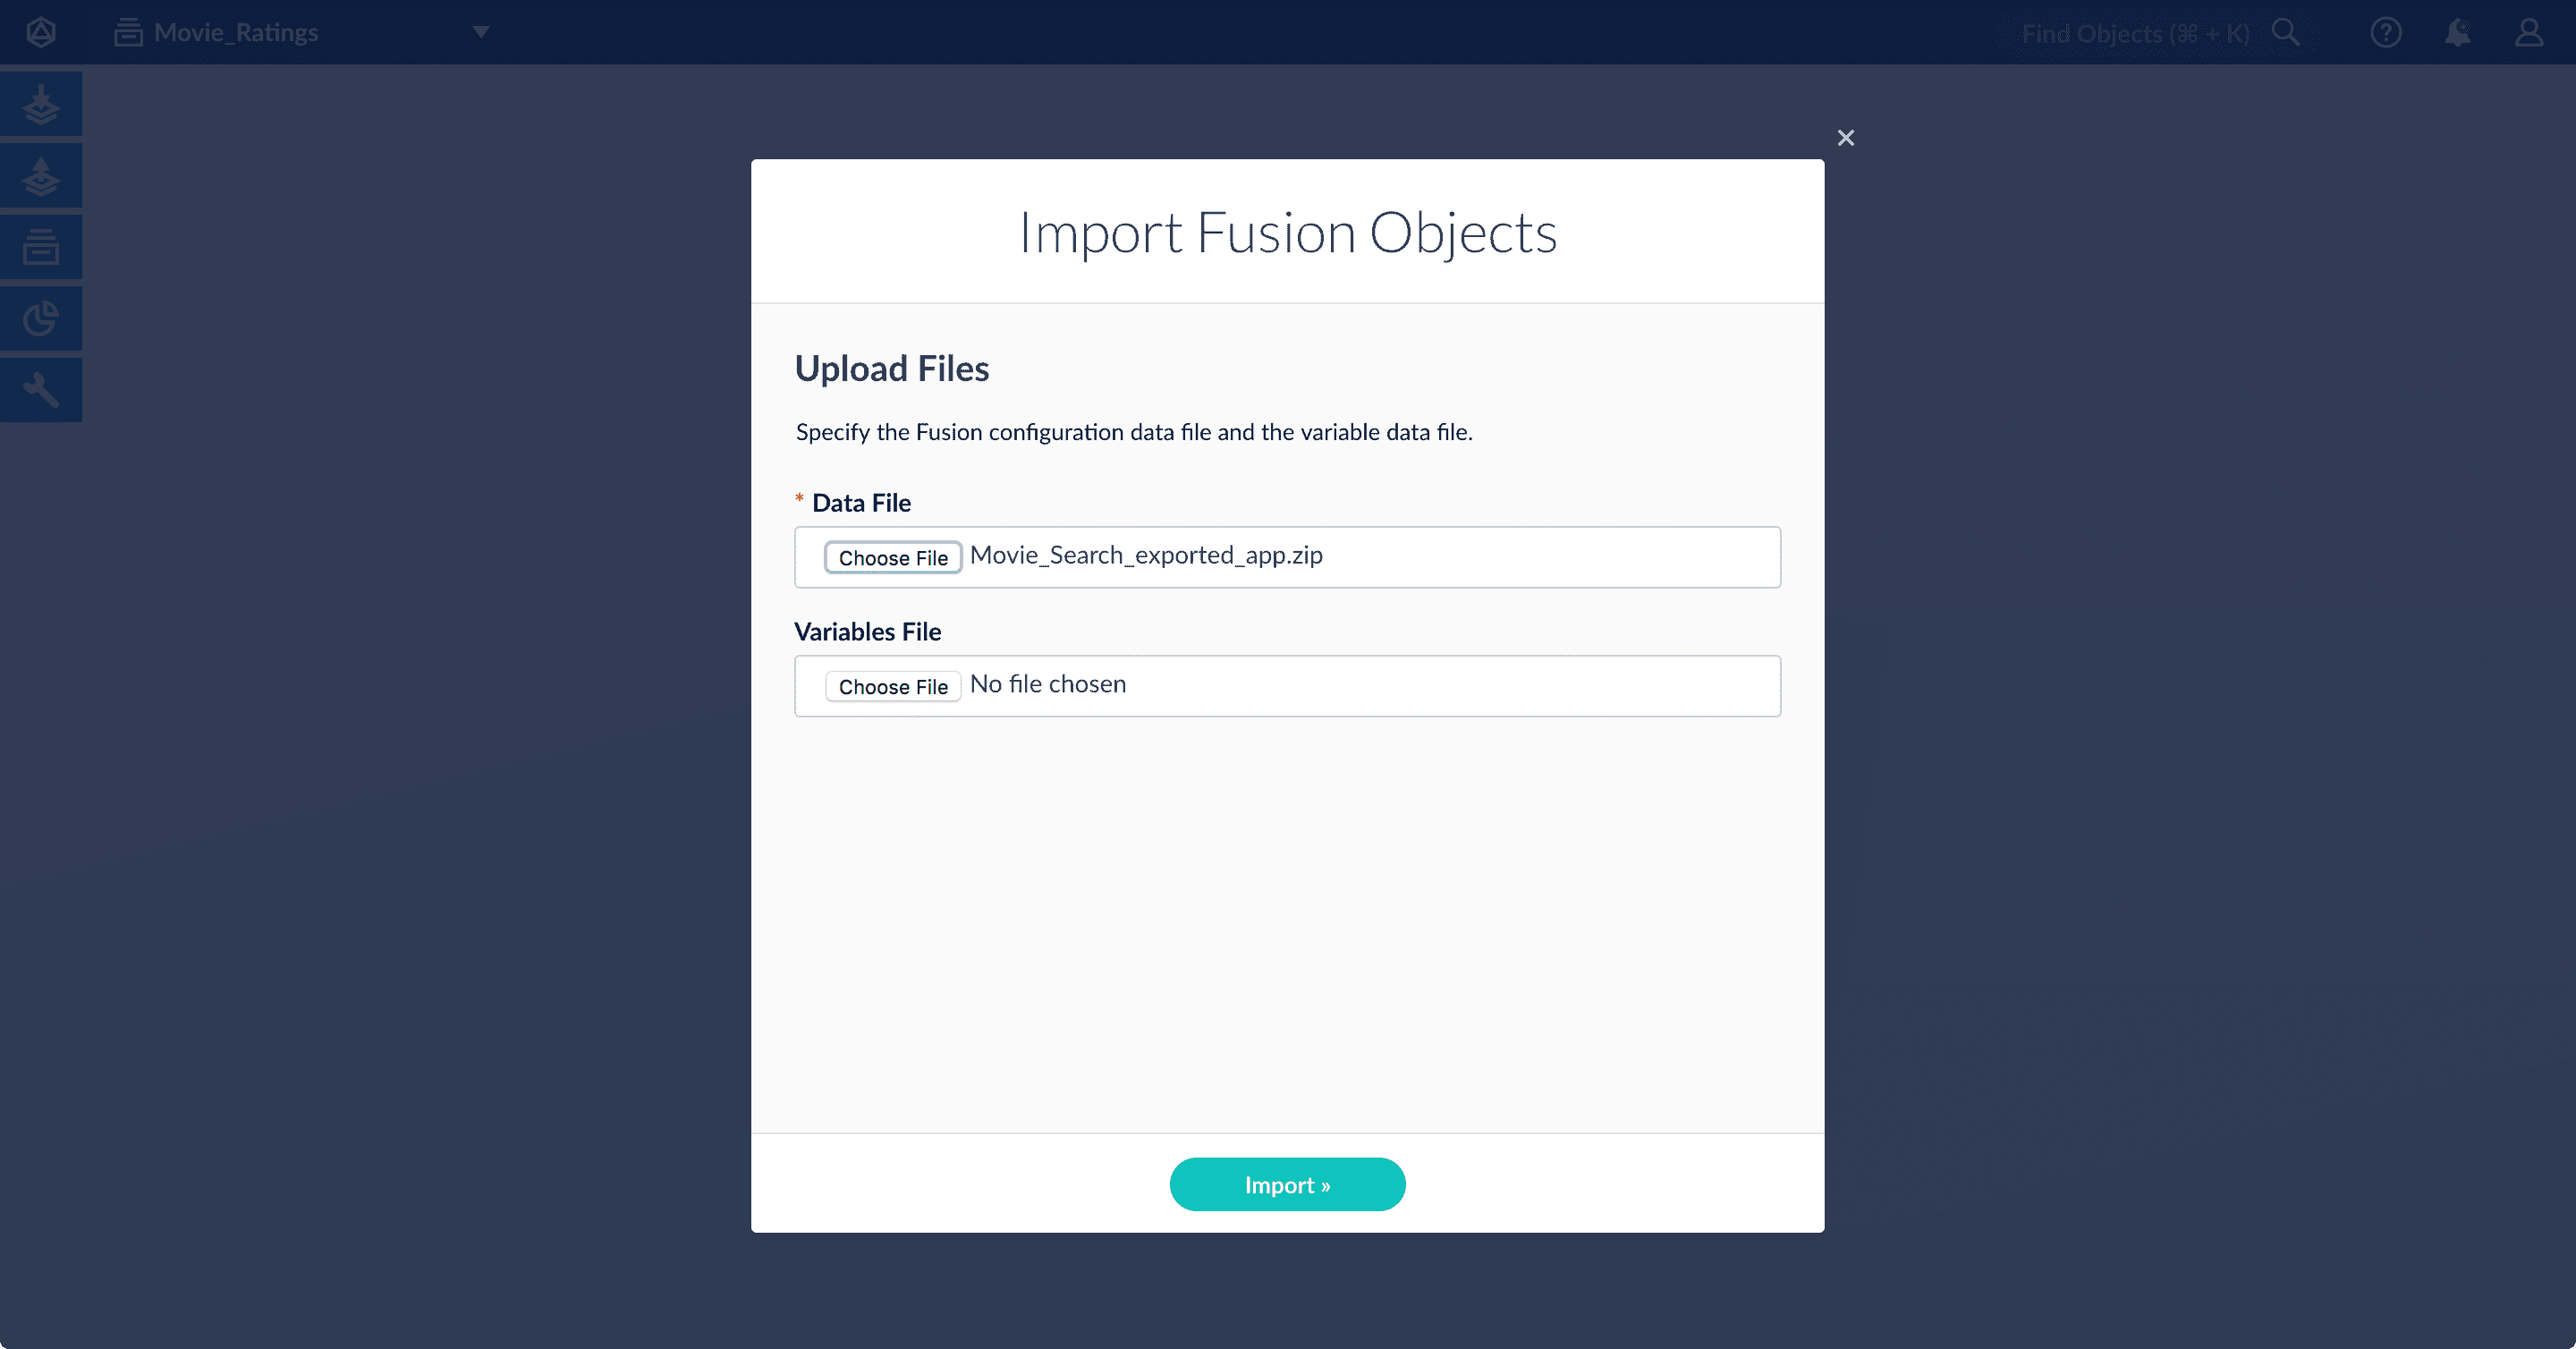
- Select the data file from your local filesystem. If you are importing usernames and passwords in a separate file, select it under Variables File.
- Click Import.
If there are conflicts, Fusion prompts you to specify an import policy:
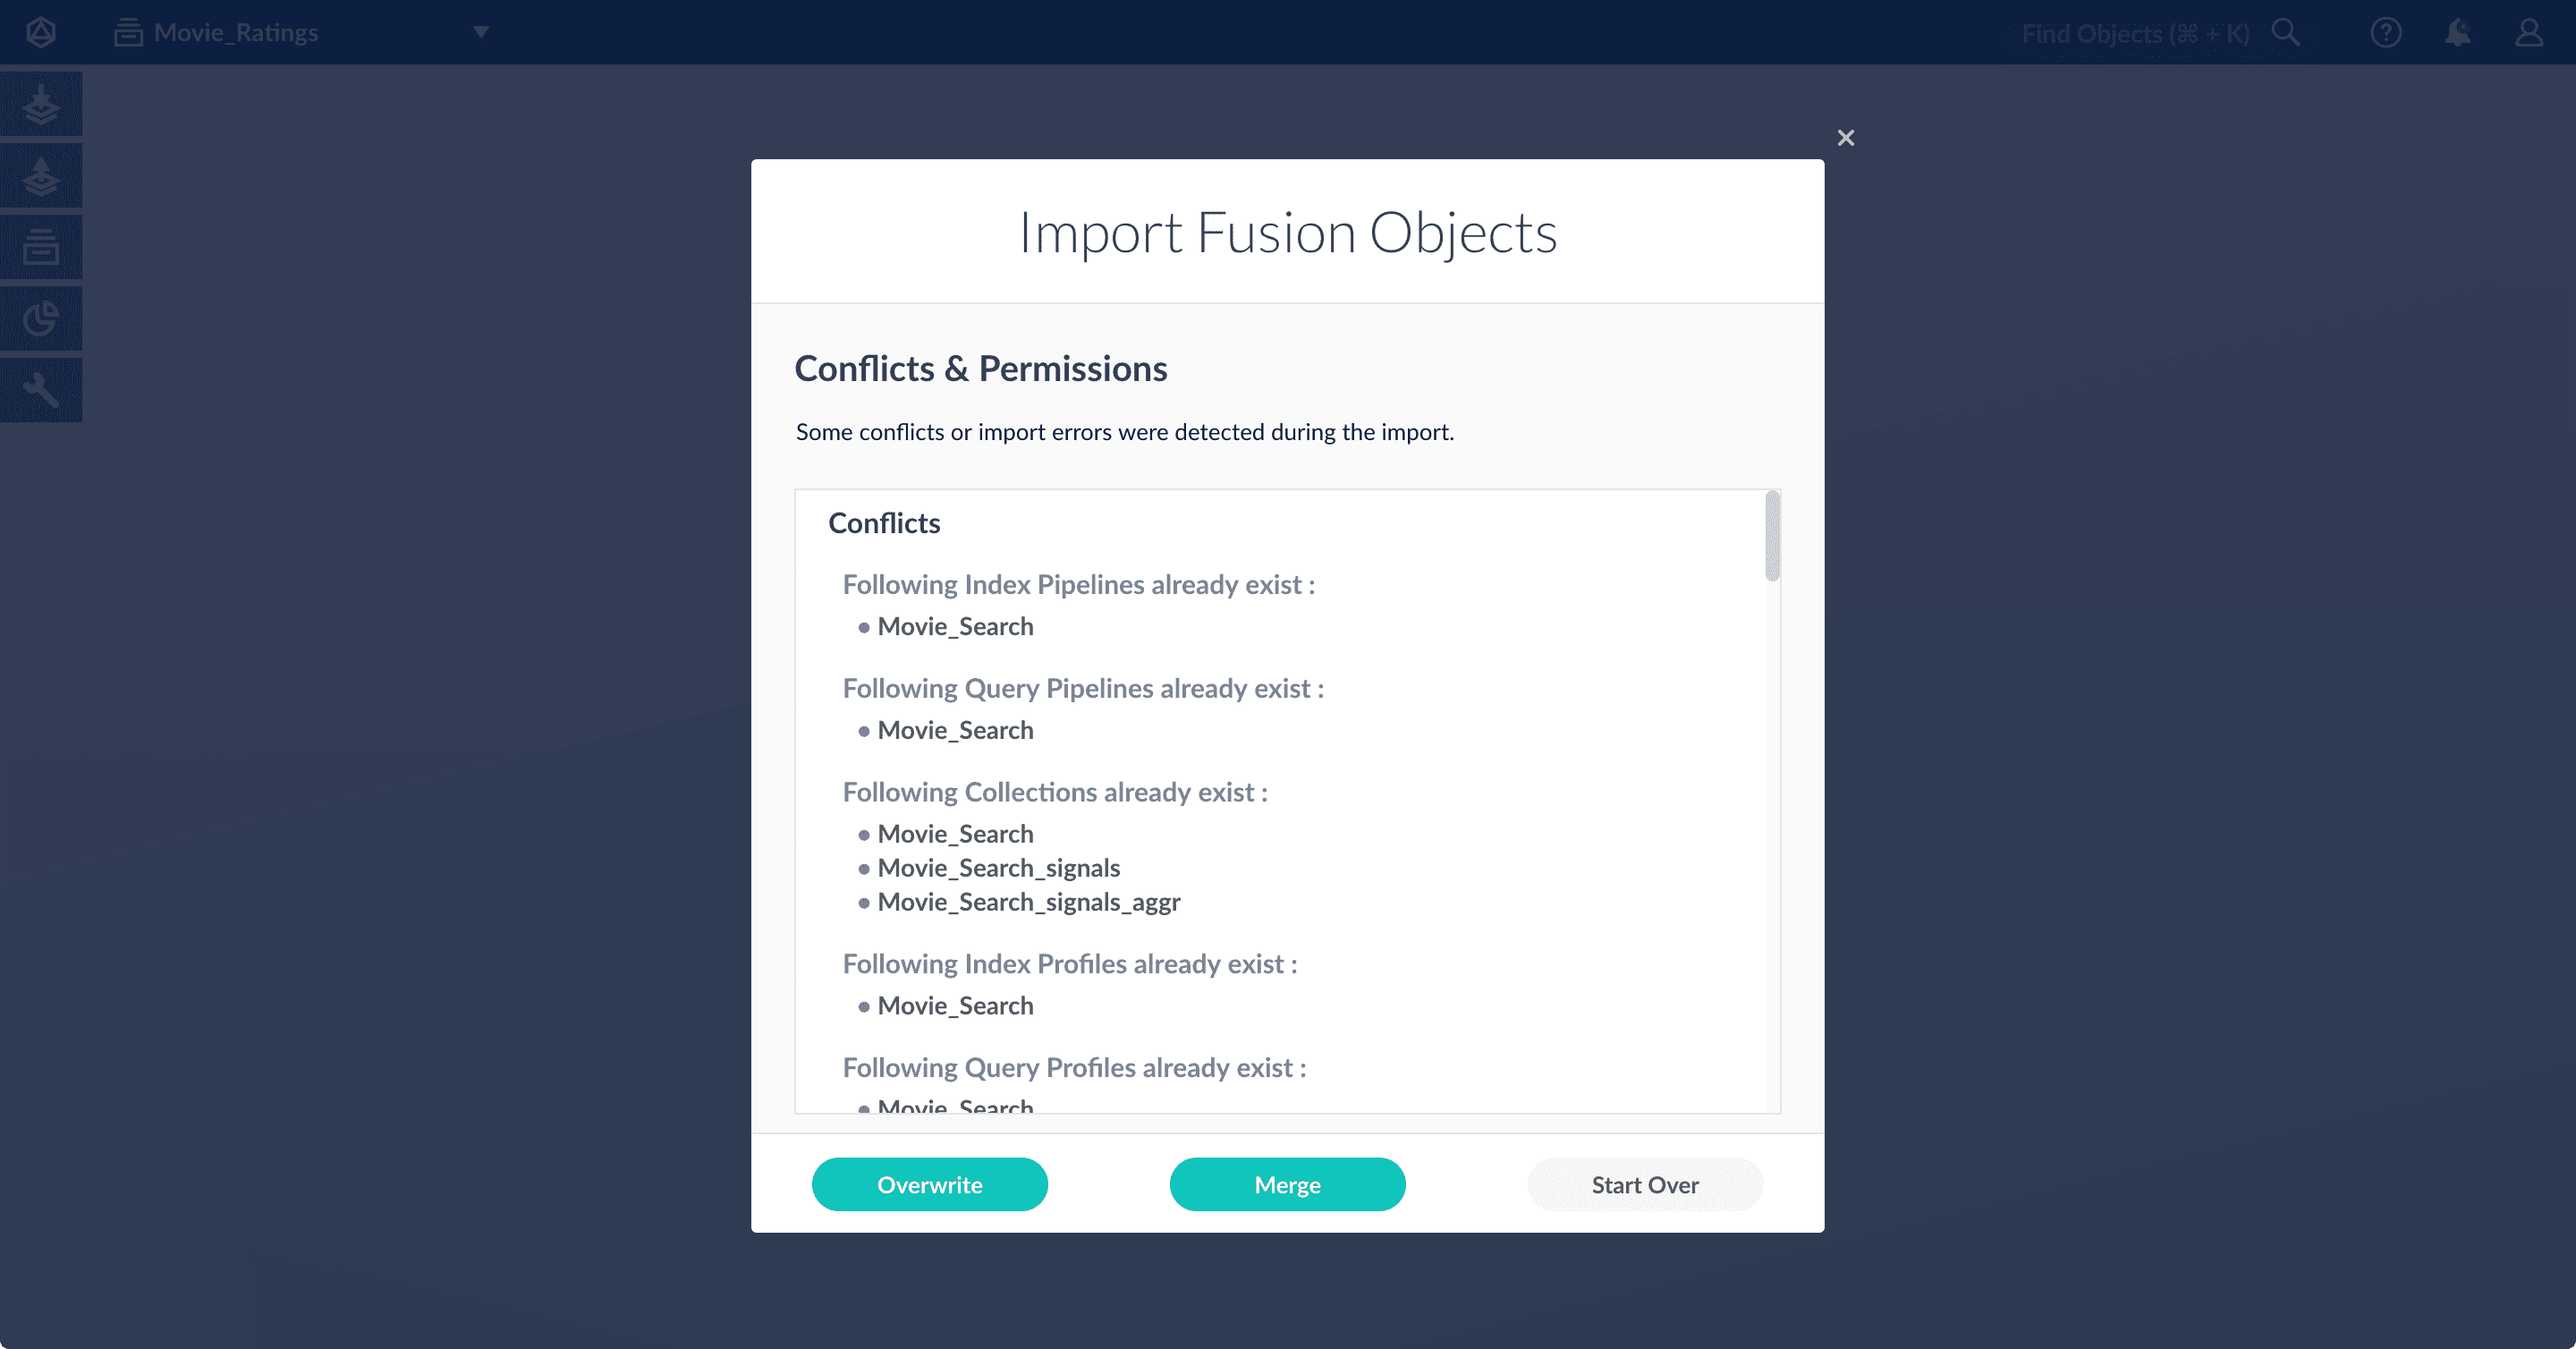
- Click Overwrite to overwrite the objects on the target system with the ones in the import file.
- Click Merge to skip all conflicting objects and import only the non-conflicting objects.
- Click Start Over to abort the import.
Fusion confirms that the import was successful:
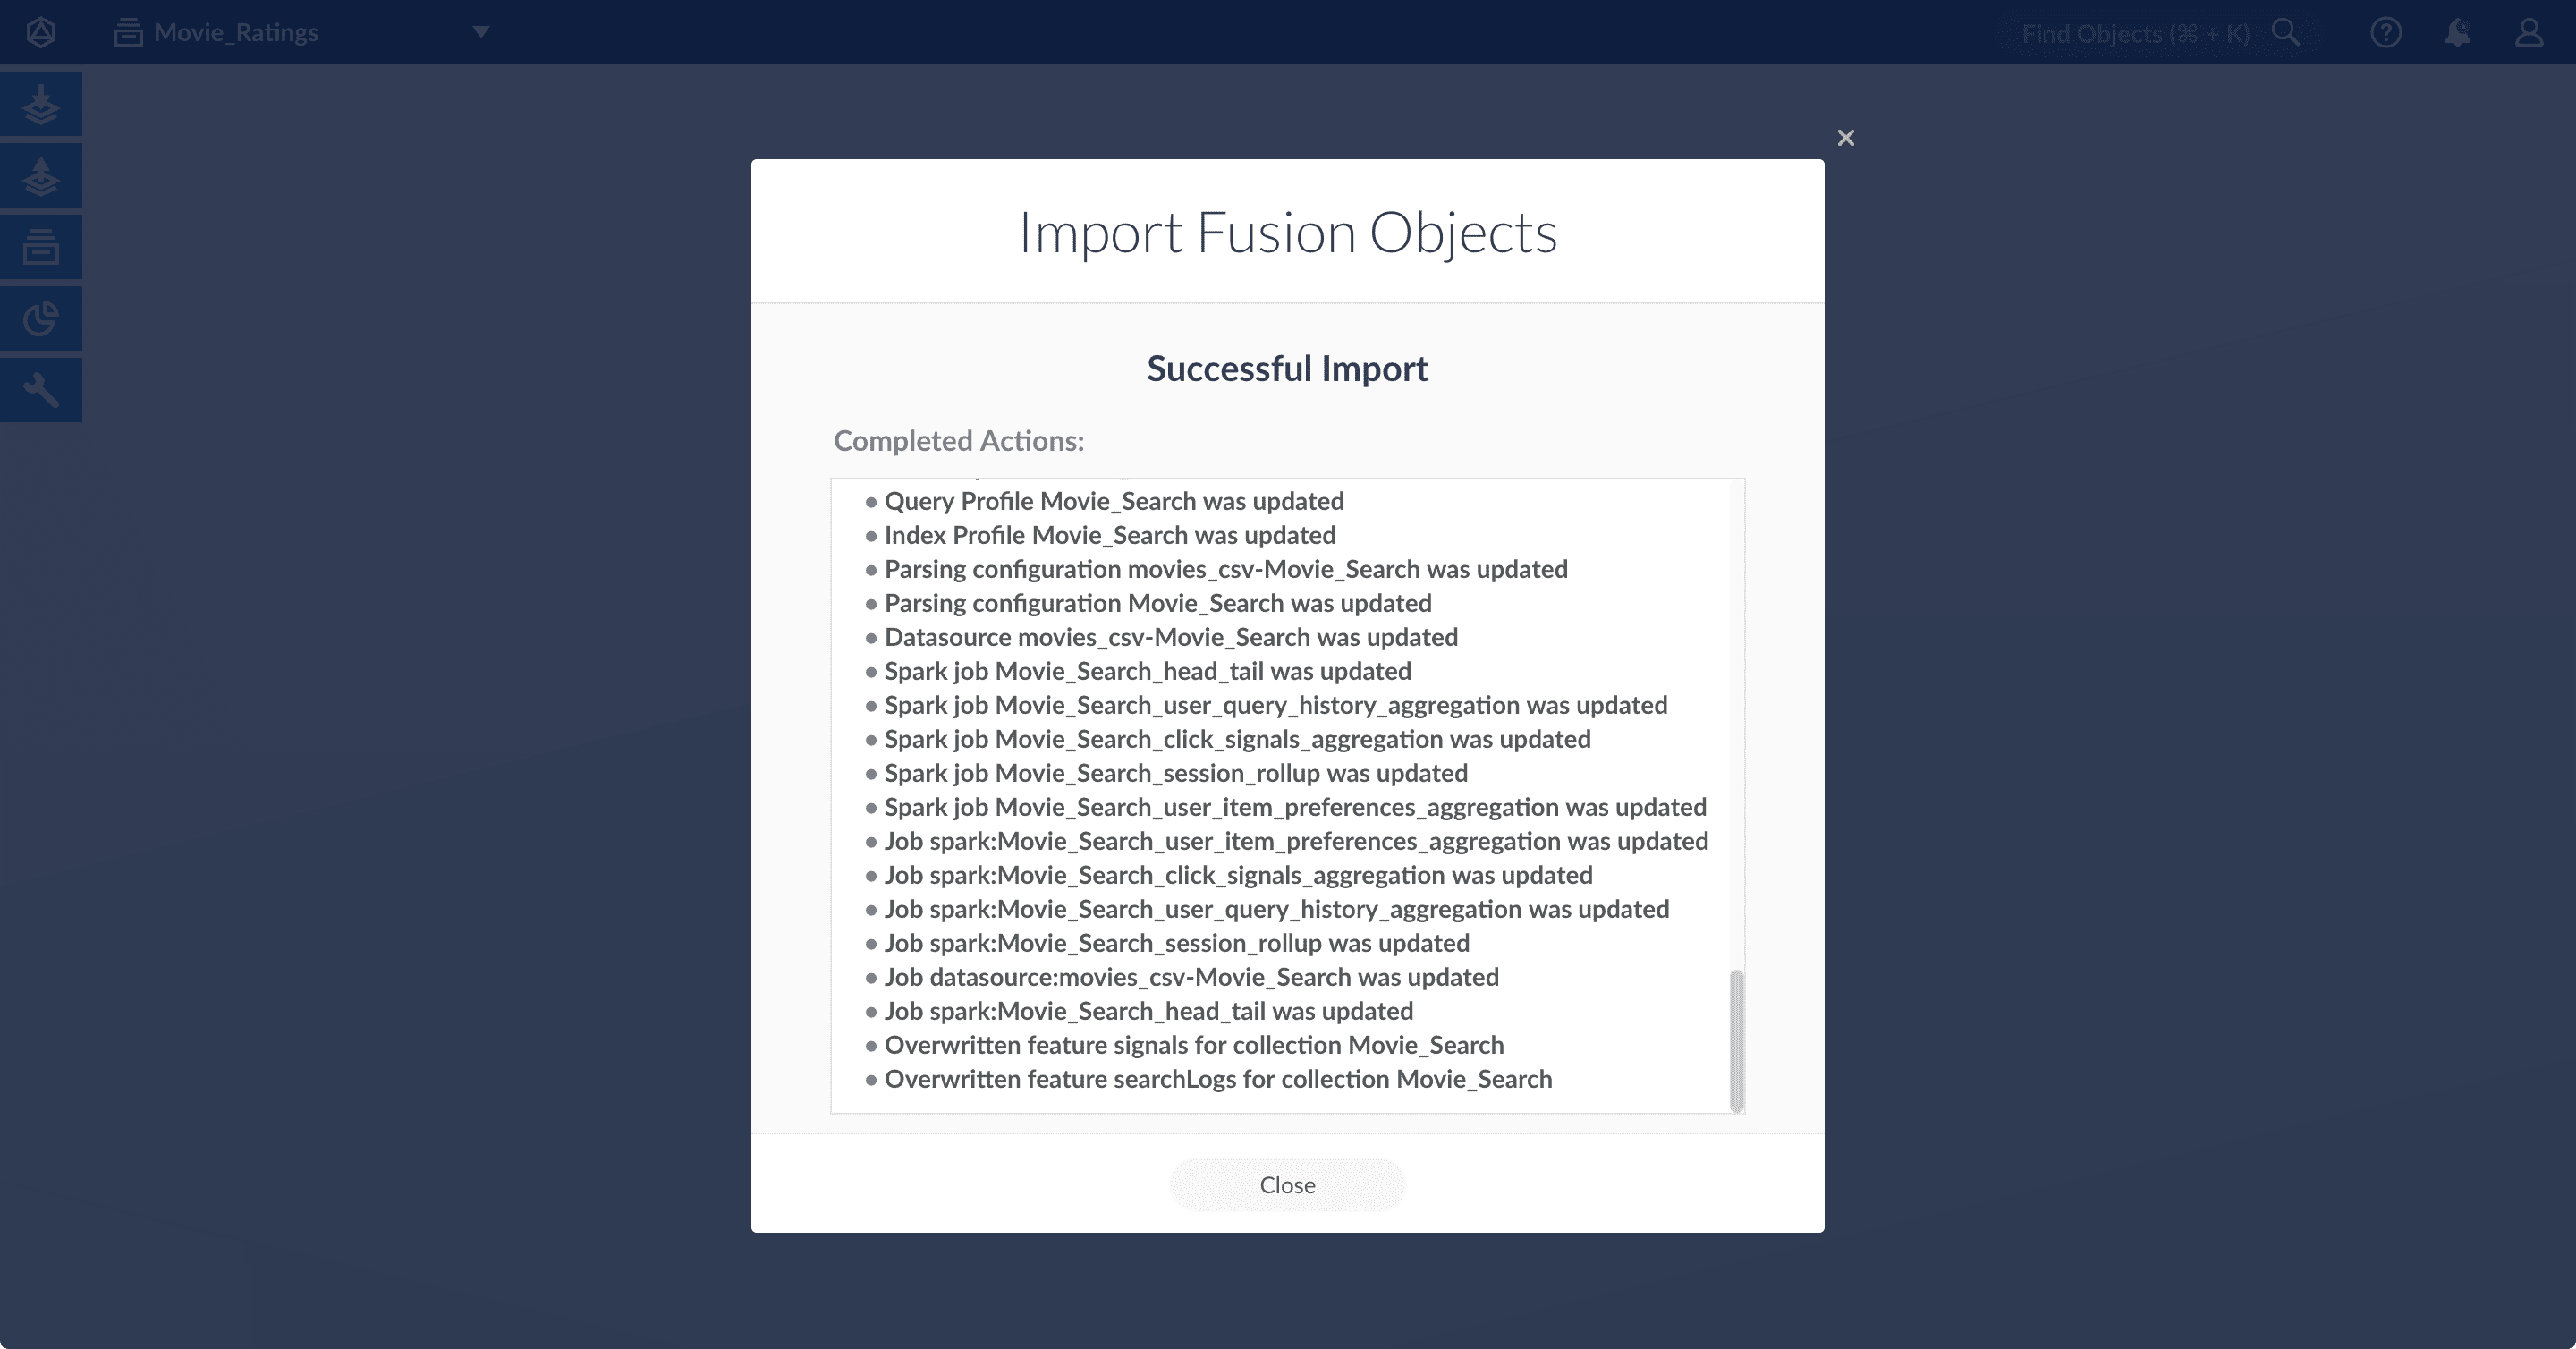
- Click Close to close the Import Fusion Objects window.
Add an object to an app
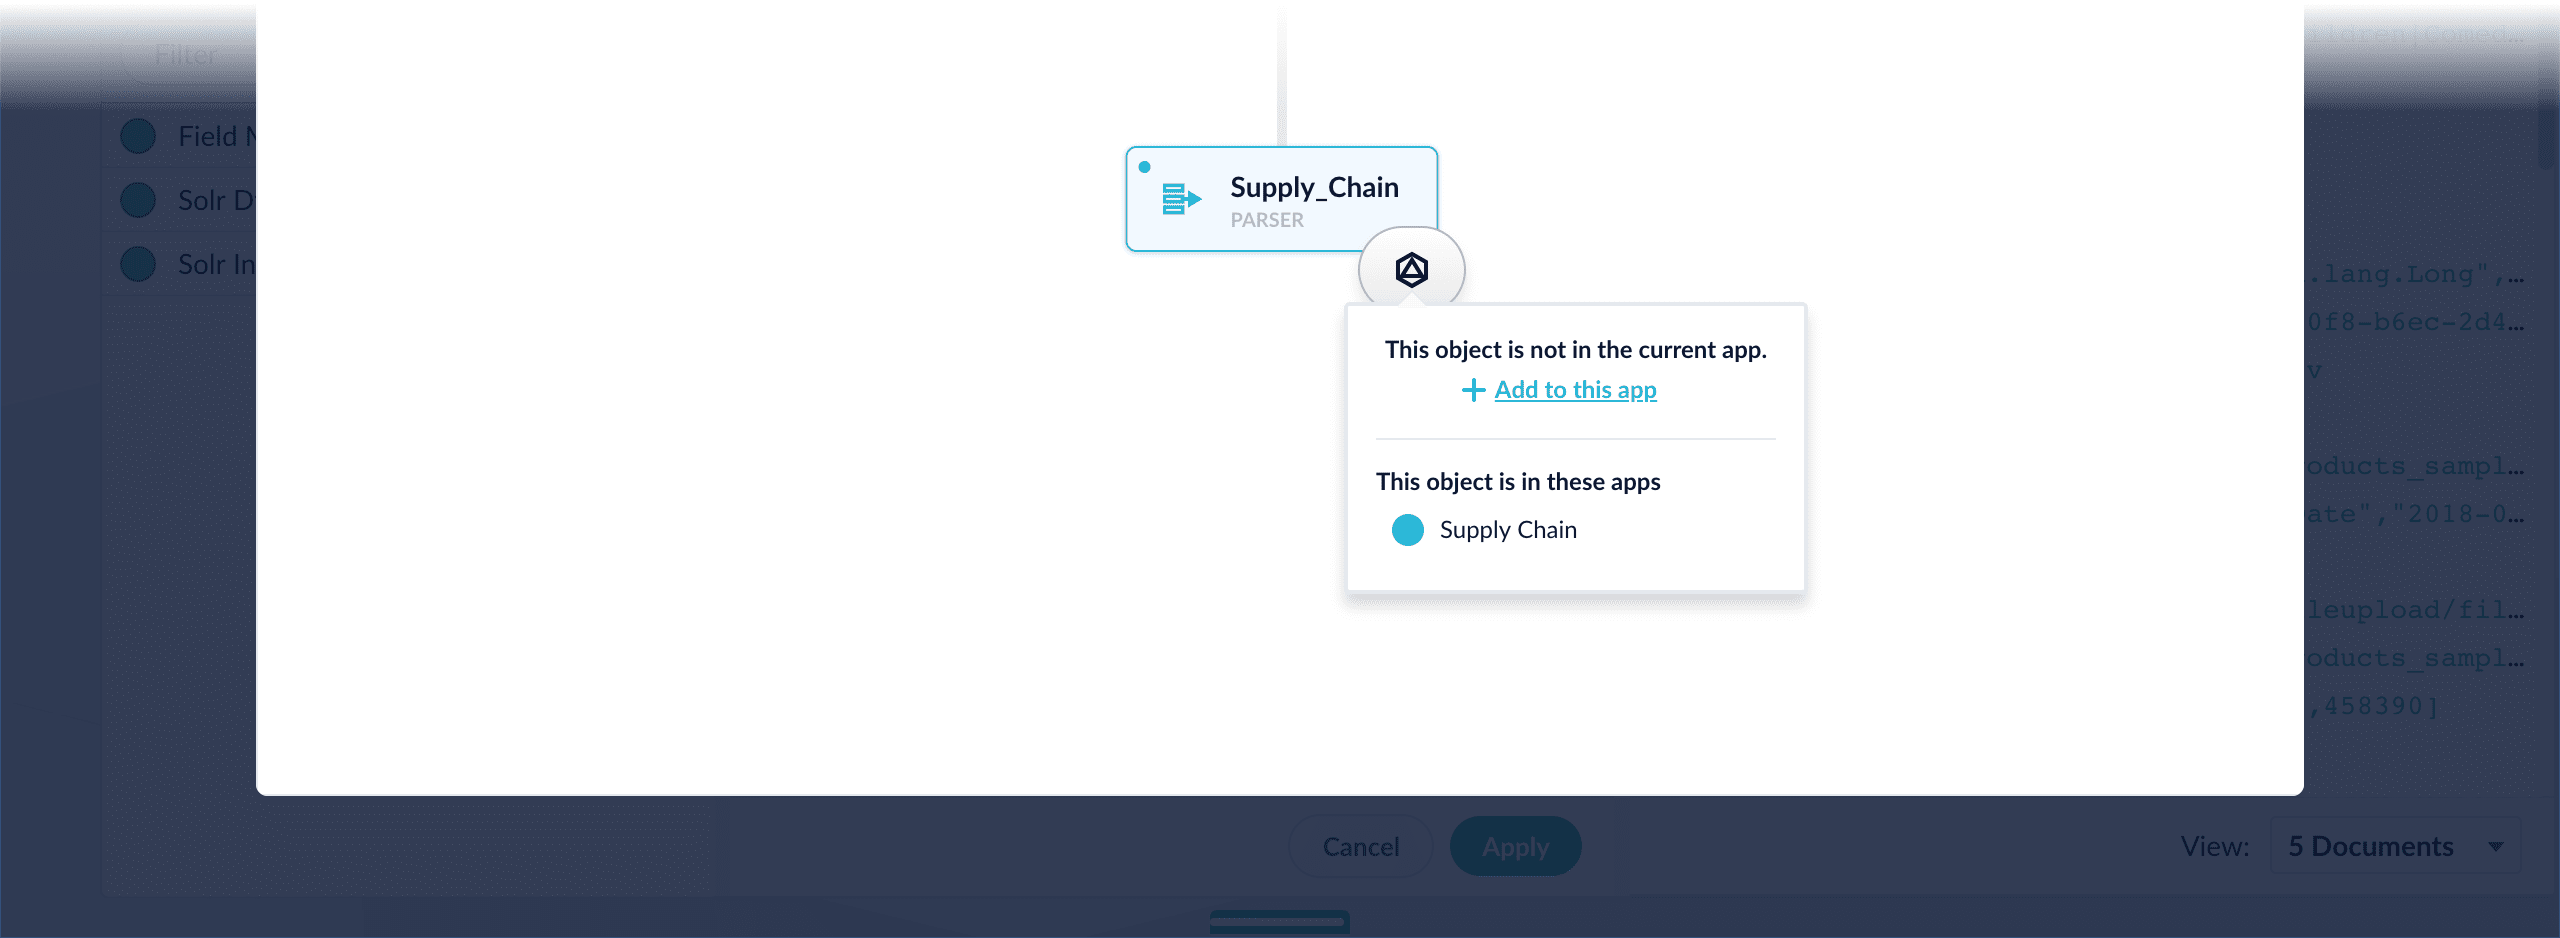
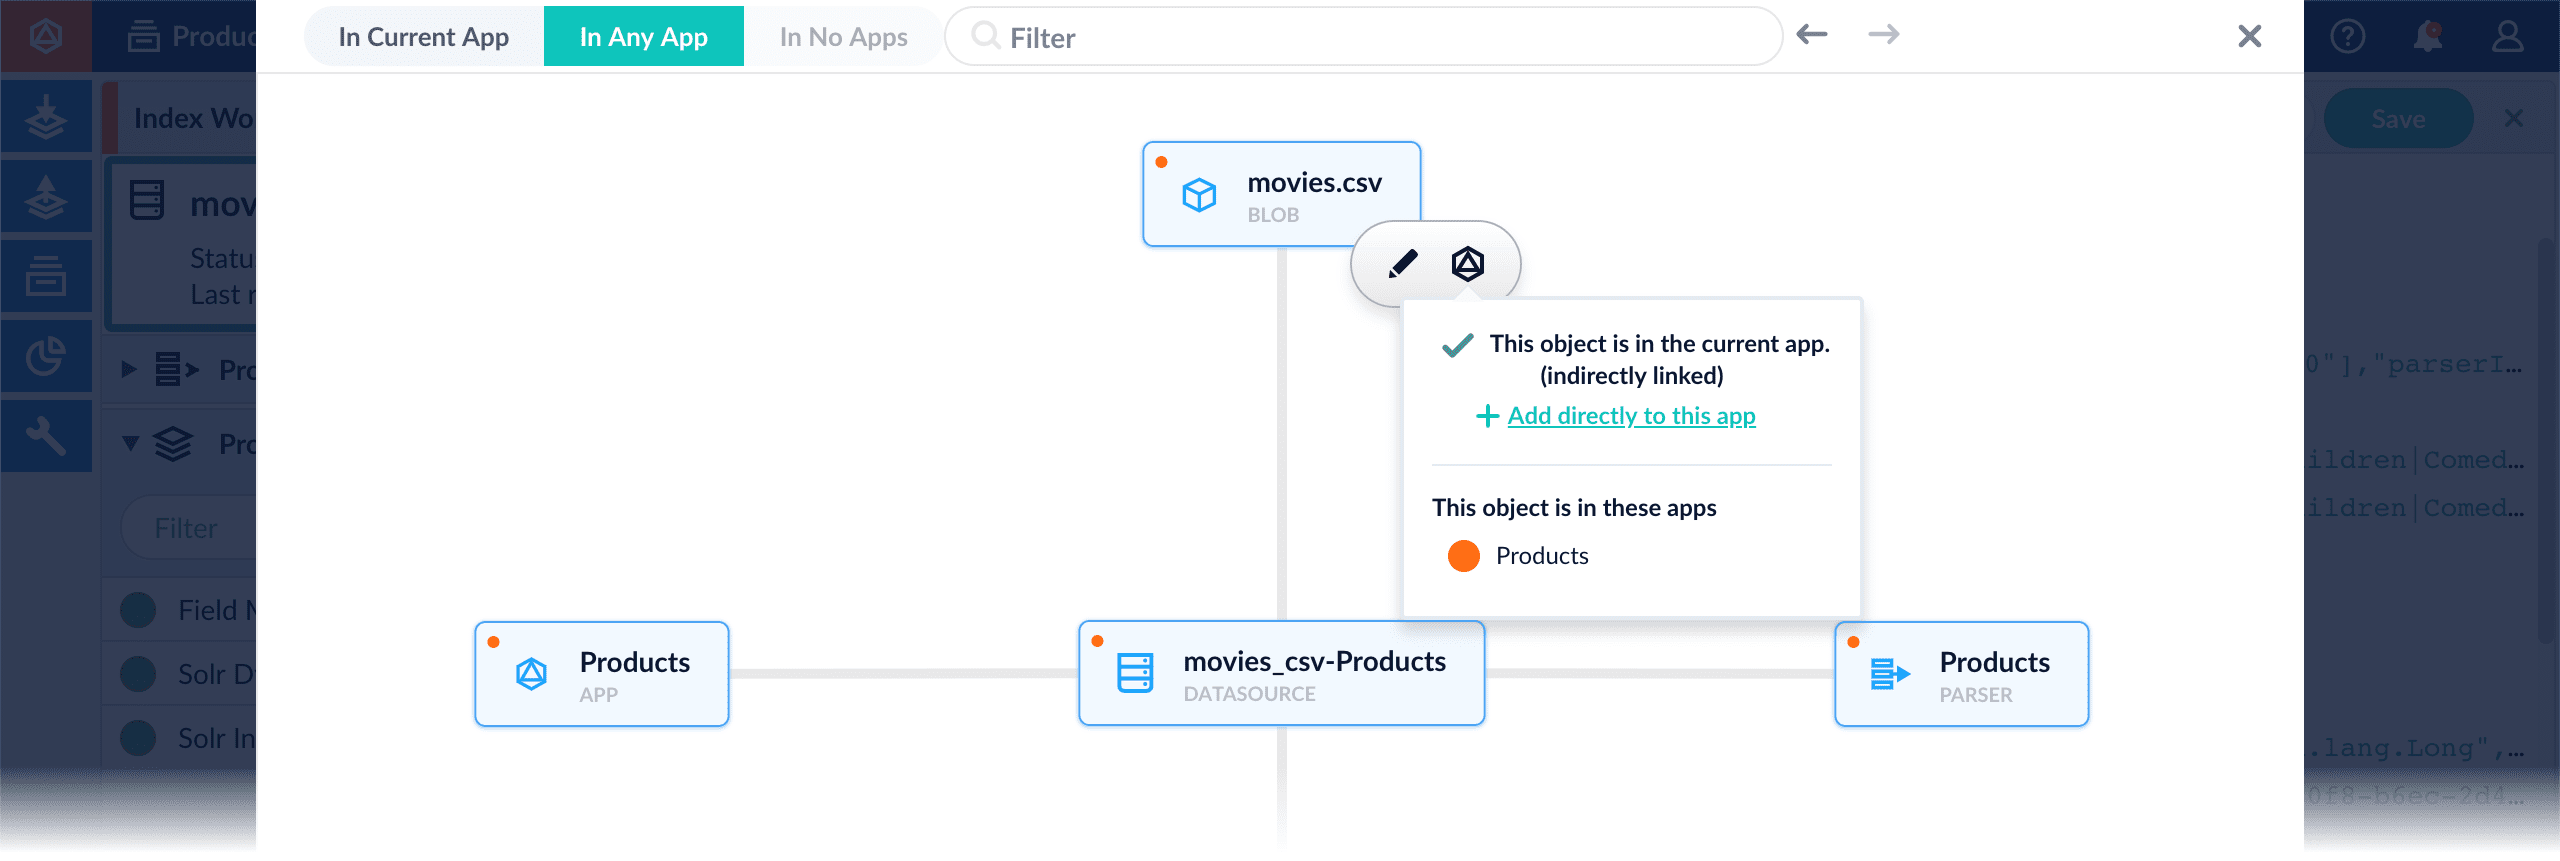
You can add objects present in other apps (or in no apps) to the open app. Some objects are linked to other apps. You can also add those directly to an app.-
Add an object to an app – While in the Fusion workspace for the app to which you want to add an object, open Object Explorer and click In Any App. Search for or browse to the object you want to add. Hover over the object, click the App
 icon, and then click Add to this app.
-
Add an object to an app directly – In cases when an object is linked to an app, but is not linked directly to the app (it is linked via some dependency), you can add the object to an app directly.
While in the Fusion workspace for the app to which you want to add an object directly, open Object Explorer and click In Any App. Search for or browse to the object you want to add. Hover over the object, click the App icon, and then click Add to this app directly.
Fetch Items-for-Item Recommendations (Content-Based Method)
Fetch Items-for-Item Recommendations (Content-Based Method)
You can download and import a query pipeline that works out of the box to fetch the items-for-item recommendations generated by the default Content-Based Recommender job.There are two separate pipelines attached below which work in different ways to query and return recommendations.Query for recommendations onlyNo additional configuration is needed to use this pipeline with the default BPR job configuration.Boost recommended products from catalogSee also
- Download the
APPName_item_item_rec_pipelines_content.jsonfile. - Rename the file to replace
APPNamewith the name of your Managed Fusion app, such asProductCatalog_item_item_rec_pipelines_bpr.json. - Open the JSON file, replace all instances of
APPNamewith the name of your Managed Fusion app, such asProductCatalog, and save it. - Import the JSON file into your Managed Fusion instance using the Query Pipelines REST API:
- In the Managed Fusion UI, navigate to Query > Query Pipelines to verify that the new pipeline is available.
This pipeline should be used to query the collection where the recommendations are stored. It makes a query against the
itemId field and returns the recommended itemId values. To get the actual items, you need to make a second query to the respective catalog collection with the returned itemId values.-
Download the
APPName_content_boost.jsonfile - Rename the file to replace
APPNamewith the name of your Managed Fusion app, such asProductCatalog_item_item_rec_pipelines_bpr.json. - Open the JSON file, replace all instances of
APPNamewith the name of your Managed Fusion app, such asProductCatalog. - Fill in the
collectionname field in the firstRecommend Items for Itemstage and save the file. - Import the JSON file into your Managed Fusion instance using the Query Pipelines REST API:
- In the Managed Fusion UI, navigate to Query > Query Pipelines to verify that the new pipeline is available.
This pipeline queries the recommendations collection and then makes a subsequent query to the actual catalog collection boosting the recommended items and returning the actual items from the catalog. This pipeline will therefore also return recommendations even if none were generated/available.
This pipeline expects a request parameter called
id=itemId to be appended to the request. An example query URL to this pipeline would look like https://EXAMPLE_COMPANY.b.lucidworks.cloud/api/query-pipelines/APPName_items_for_user_bpr_boost/collections/catalog/select?q=**:**&id=SomeItemIdIf the pipeline does not appear in the Query Pipelines panel, you may need to attach it to your app like this: Go to System > Object Explorer, click the In No Apps filter, hover over the pipeline, click the icon, and select Add to this app.