- Latest version: v1.3.0
- Compatible with Fusion version: 5.9.4 and later
- Full crawling and recrawling of pages and assets in Adobe Experience Manager
- Basic authentication
In Fusion 5, the username and password fields have moved under Authentication Settings > Login Settings.
- OAuth authentication
- Security trimming to filter results based on user permissions
- Filter document crawling by including and excluding paths and configuring content properties when setting up the connector.
- Specific wait time between fetch requests to throttle crawls, if necessary
- Optional crawling of child paths
Configure AEM V2 Connector
Configure AEM V2 Connector
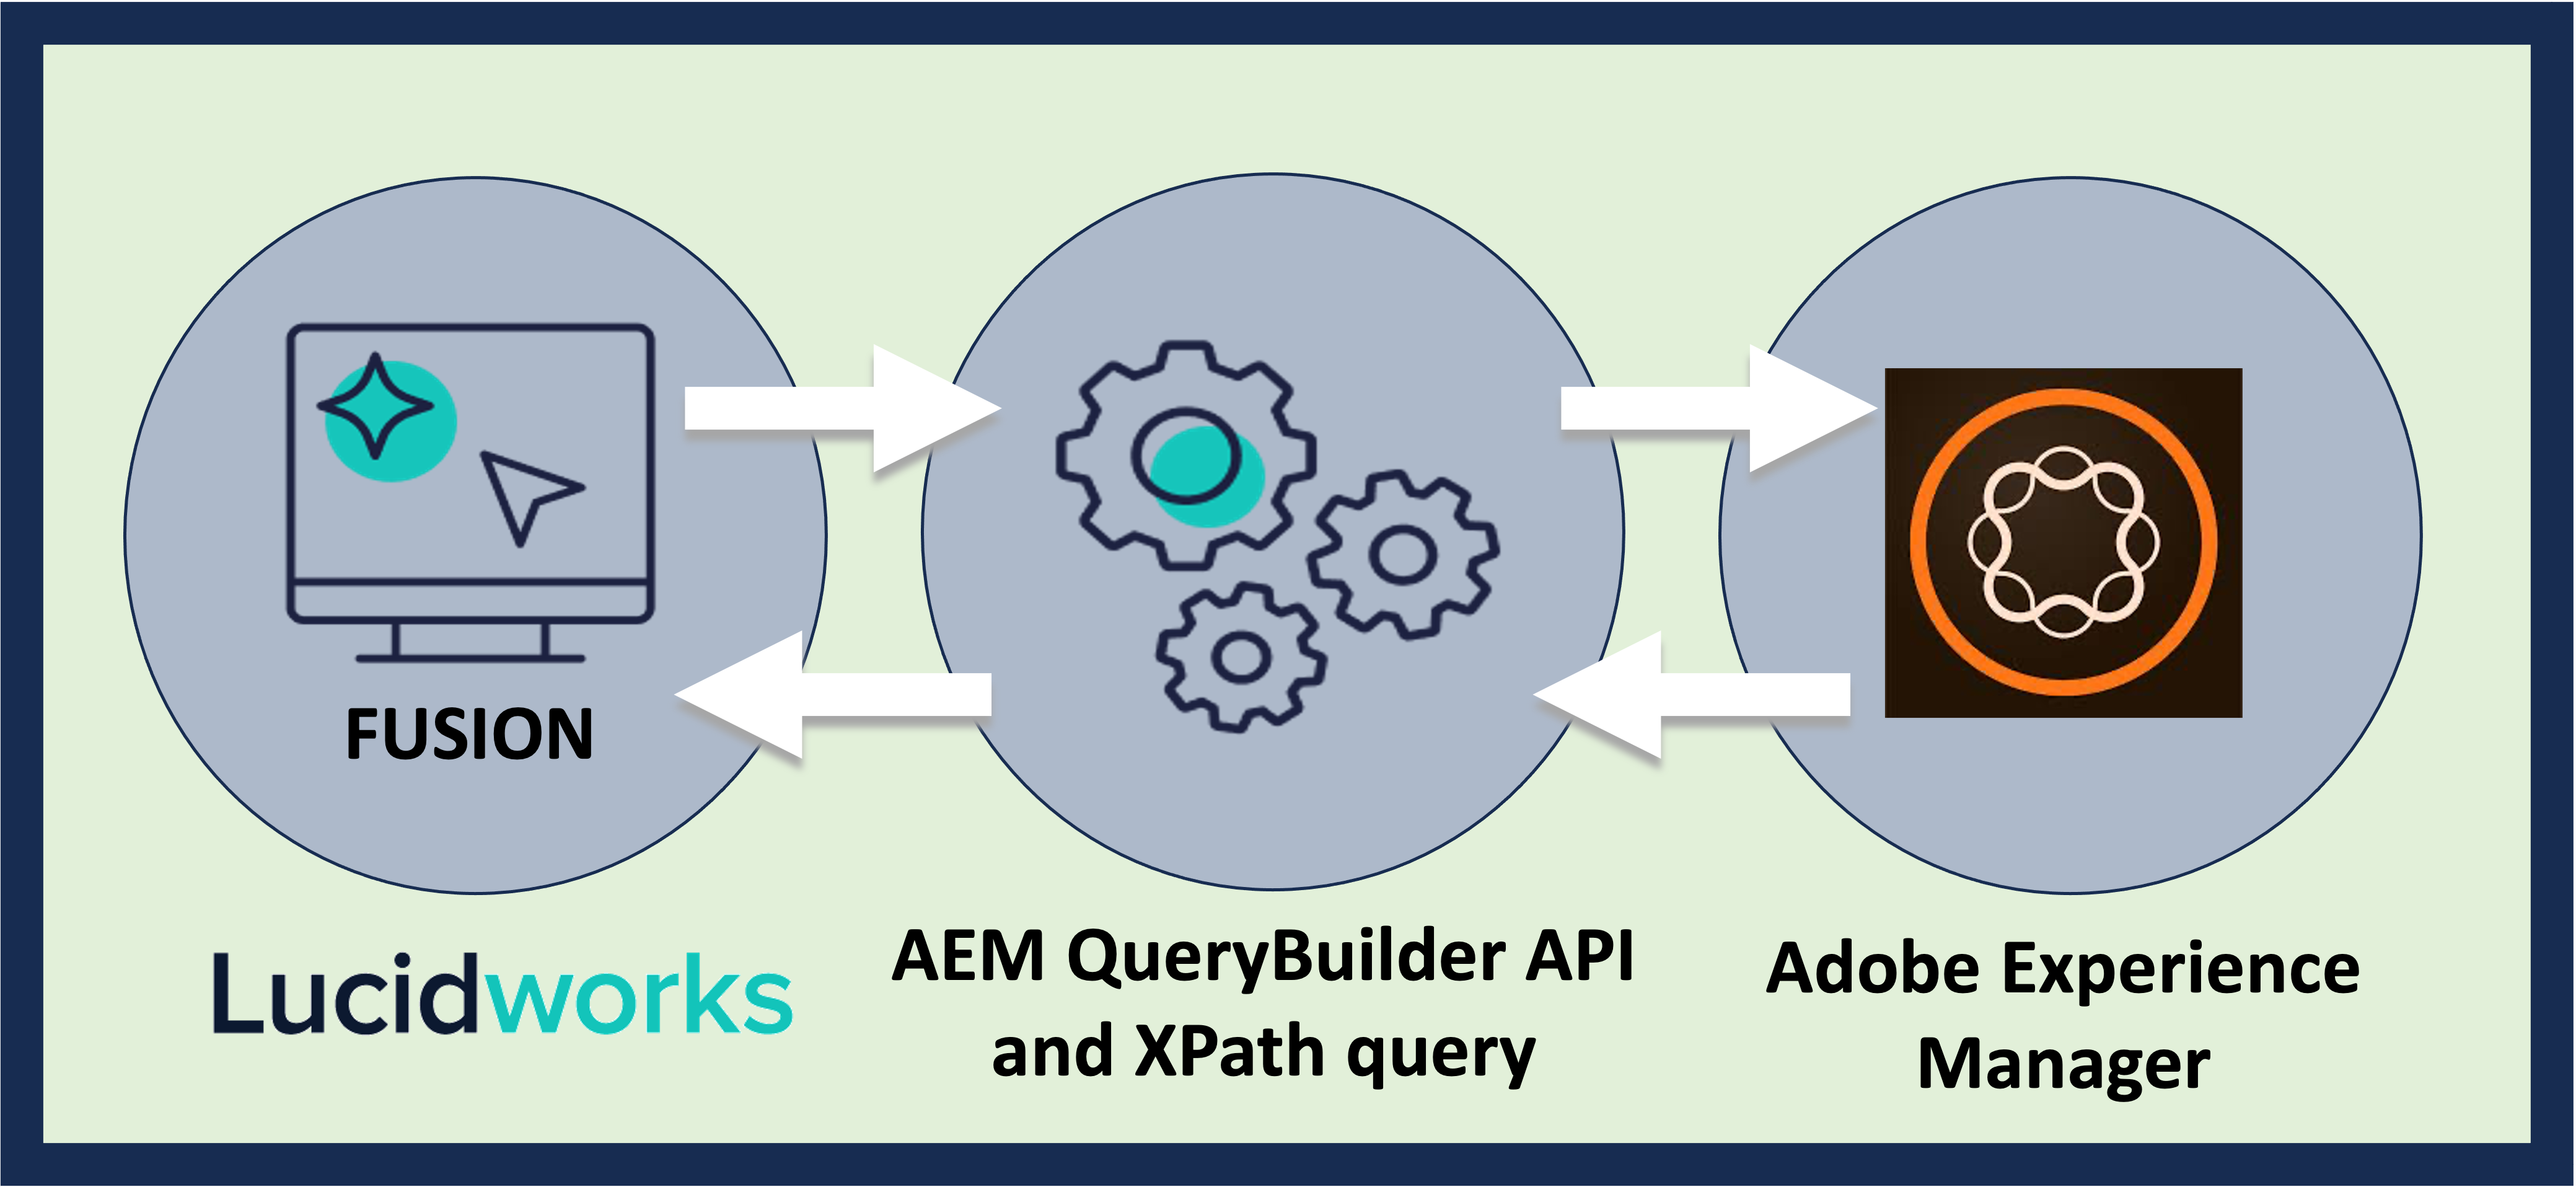
This document explains how to configure an AEM V2 connector to crawl data in Adobe Experience Manager. This connector is compatible with Fusion 5.5.1 and later.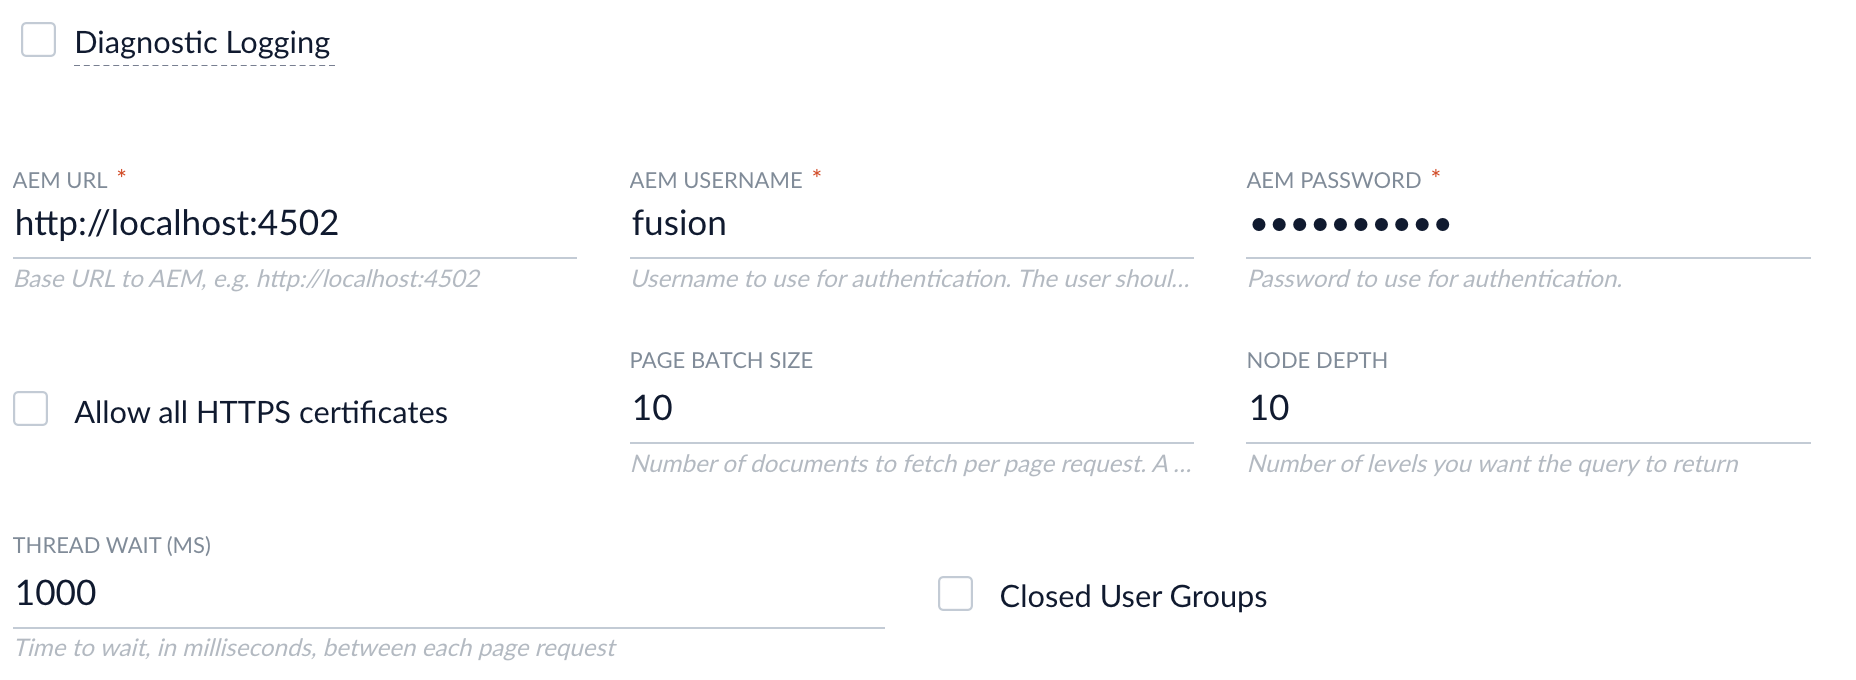

Configure AEM Datasource
- In Fusion, under Indexing > Datasources, click Add, then select AEM
- Enter a Configuration ID
- Enter the AEM URL (the URL used to access the AEM Admin UI) as well as the AEM username and password used to authenticate access to the QueryBuilder JSON Servlet.
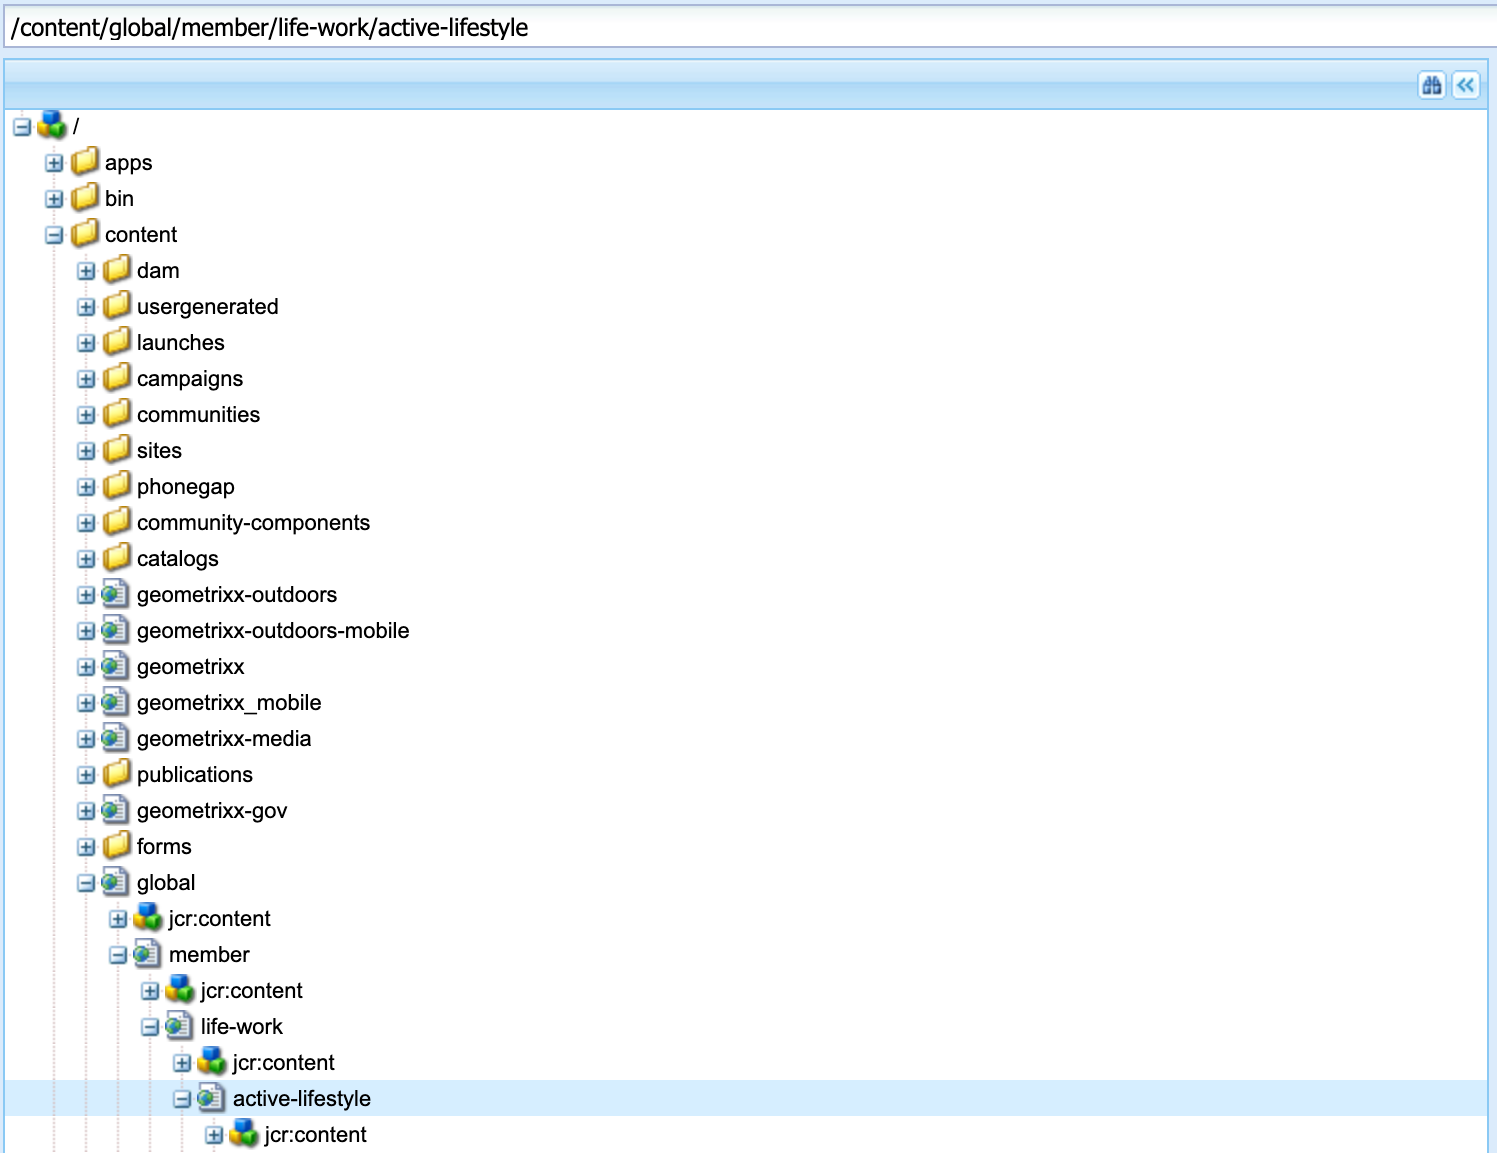
- Go to AEM to log in and access CRXDE Lite. In the CRXDE Lite UI, select a path to crawl. Enter this path into Fusion. Click Add to crawl multiple paths.
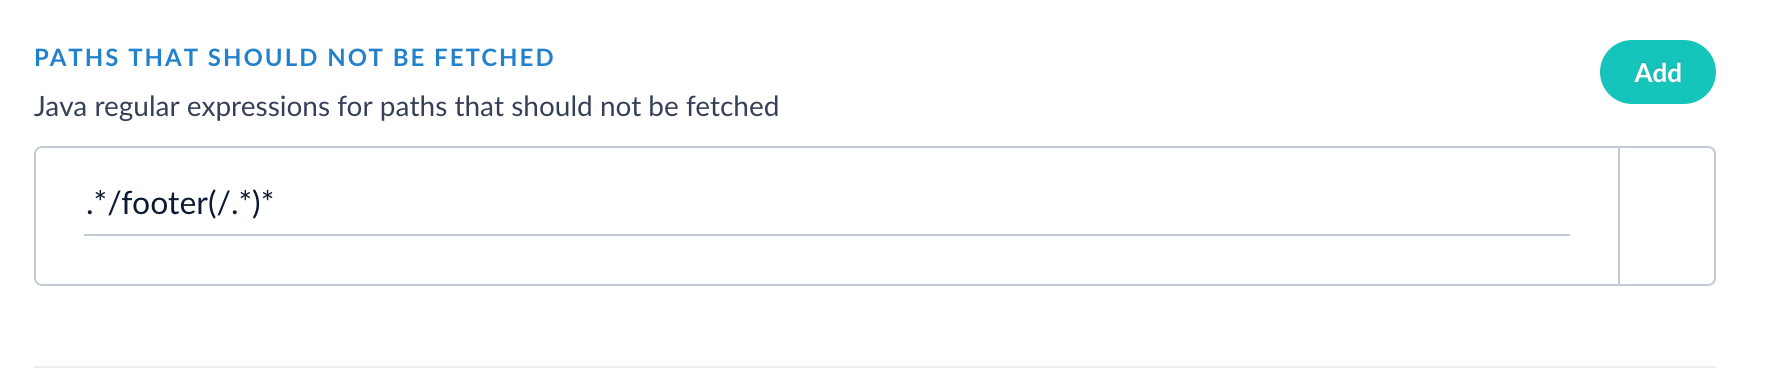
- Optional: To exclude paths from the crawl, in Fusion, enter a Java Regular Expression (regex) that represents paths to exclude in the indexed content.
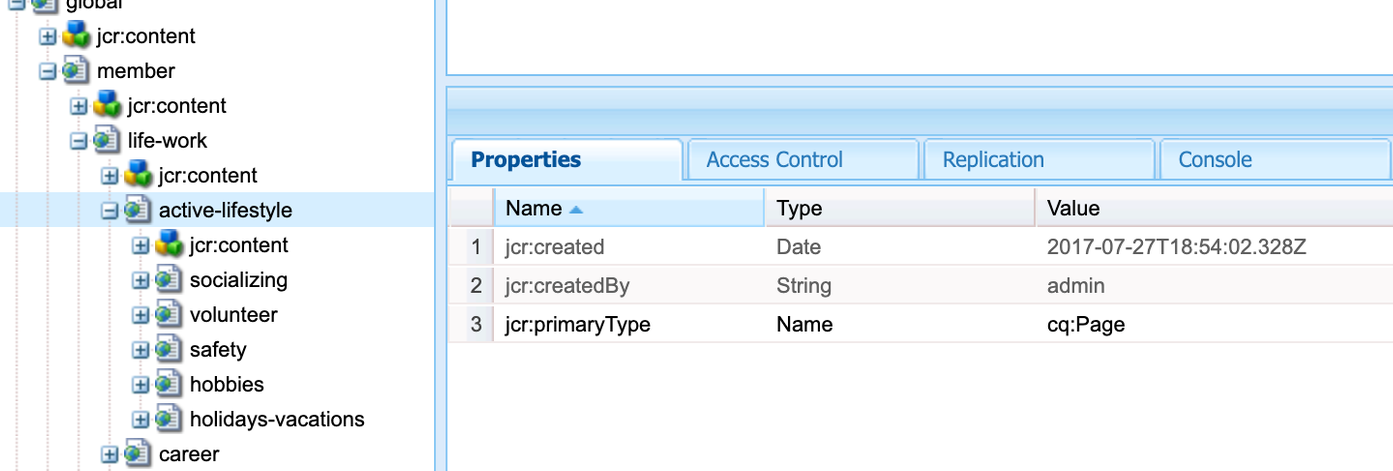
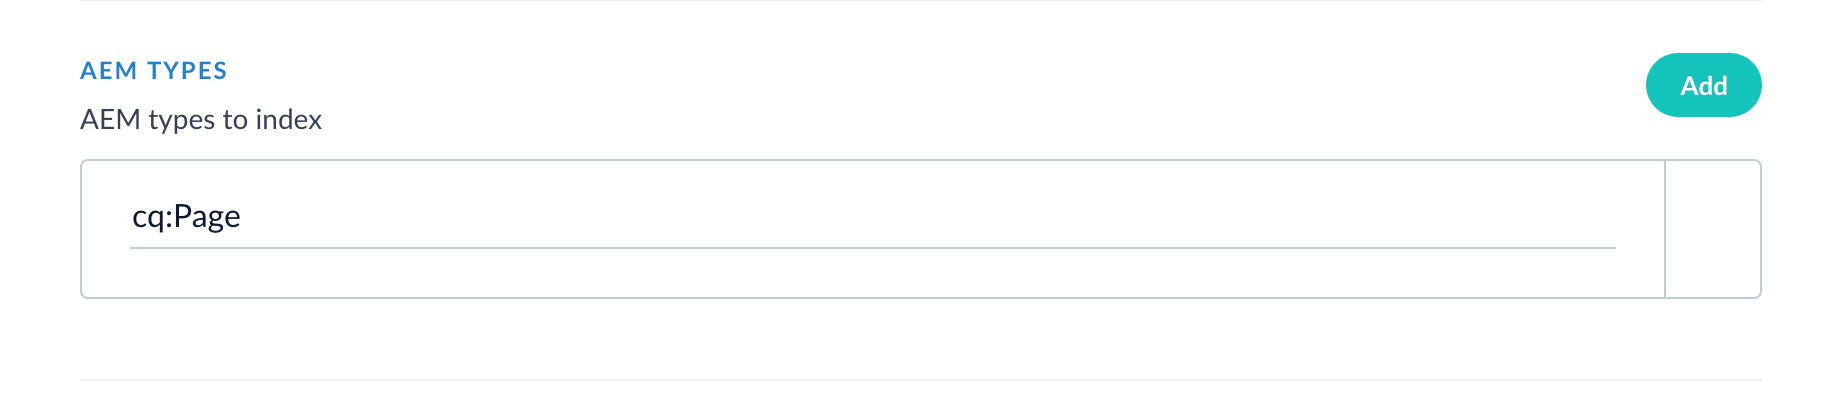
- In Fusion, enter the AEM type to crawl. In the CRXDE Lite UI, this is the
jcr:primaryType. In this example, the AEM connector is configured to crawl the AEM Typecq:Page, which represents web content pages.
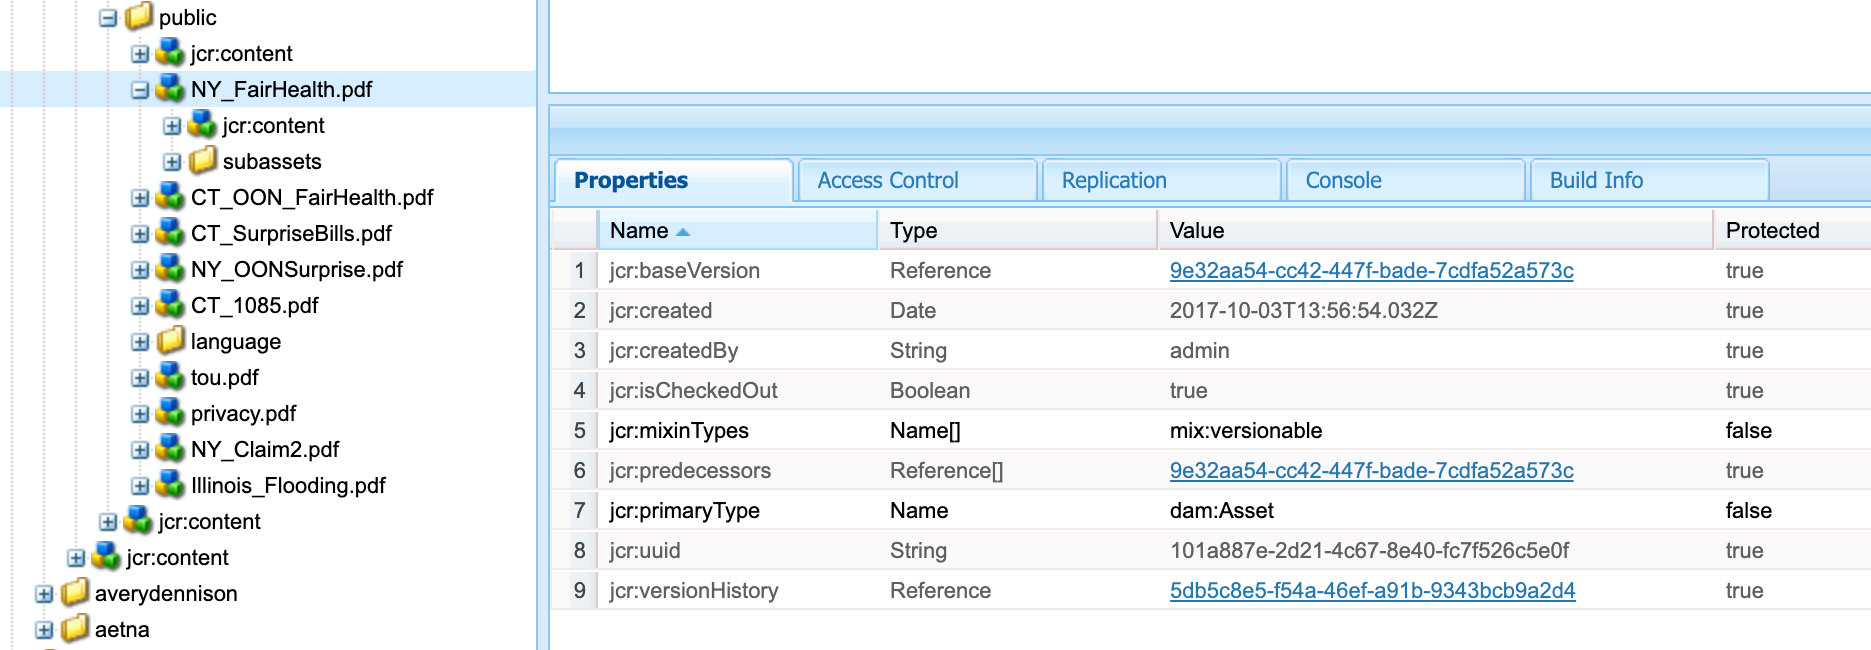
- To index assets with a particular file extension, locate a file type in CRXDE Lite and enter the value of the
jcr:primaryTypeinto Fusion. In this example, the value of NY_FairHealth.pdf isdam:Asset.
- You can choose which content properties to include and exclude from the index. These parameter values are represented by Java regex. For example, to only include properties that start with “jcr” enter
jcr:(.*). - In Fusion, click Save when you’re done configuring the AEM datasource.
Configuration settings
| Setting | Notes |
|---|---|
| AEM URL | Required. This is the URL used to access the AEM Admin UI. |
| AEM Username | Required. The user should have sufficient permissions to read content paths and access Users/Group APIs in case Security Trimming is needed. |
| AEM Password | Required. |
| Page Batch Size | Number of documents to fetch per page request. A higher value can increase crawling speed but also increases memory usage. |
| Thread wait (ms) | Number of milliseconds to wait between fetch requests. This property can be used to throttle a crawl if necessary. |
| Paths to search | Required. |
| Paths that should not be fetched | Java regex for paths that should not be fetched. |
| AEM Types | Required. AEM document type jcr:primaryType to include in the index. Examples: cq:Page, dam:Asset. |
| Attachment types | File extensions to index. |
| Content Property Include Regexes | A list of regex strings of content properties to include in indexed documents. Example: jcr:.*. |
| Content Property Exlude Regexes | A list of regex strings of content properties to exclude from indexed documents. Example: sling:.* |
| Enable Security Trimming | Enable this setting for content filtering of results based on the user’s id passed in during query. |
| Group Mappings | AEM user groups mapped to indexed values in the security trimming field which are used to filter content based on user id passed in query. |
| Cache Expire Time (m) | Specifies how long a query is cached in minutes. |
Field data population
There are multiple sources where AEM data is indexed. The/bin/querybuilder.json endpoint data is mandatory and must exist in order for a document to be indexed.Note the list of fields that can appear in an indexed document:| Field | Source | Comments |
|---|---|---|
id | <AEM_URL>/bin/querybuilder.json | Field: path |
content_txt | <AEM_URL>/bin/querybuilder.json | Whole data in text format. |
<rest fields> | <AEM_URL>/bin/querybuilder.json | All top level fields of JSON object. |
body_t | <AEM_URL>/crx/de/download.jsp | Used if path ends with one of Attachment types OR path does not end with: /jcr:content. |
body_t | <AEM_URL><id> | Used if there is no jcr data. If response status code is something other than 200, Fusion assumes there is no file to download under that path. |
body_t | [content_txt] | Defaults to [content_txt] if body_t is empty. |
parentPage | Id of document that contains attachment or link. | Populated in case of attachment/link. |
type | File extension of the path. | Populated in case of attachment/link. |
file_size | <AEM_URL>/bin/querybuilder.json | :jcr:data; used if jcr data is not empty. |
file_size | <AEM_URL>/bin/querybuilder.json | dam:size; used if jcr data is empty. |
Prerequisites
Perform these prerequisites to ensure the connector can reliably access, crawl, and index your data. Proper setup helps avoid configuration or permission errors, so use the following guidelines to keep your content available for discovery and search in Fusion.AEM instance
- AEM Author instance must be reachable over HTTP/HTTPS.
- The QueryBuilder JSON API must be enabled. It’s typically located at
/bin/querybuilder.json. - The JCR Download endpoints must be accessible, such as
/crx/de/download.jspor direct node paths.
Configure an AEM service account
Create a service account with the following:- Read access to content paths being crawled
- Access to user and group APIs if using security trimming
- Permissions to access the following:
- Page metadata, such as
cq:Pageorjcr:content - Binary attachments such as PDFs and DOCX files
- JCR nodes and properties
- If using group mapping, access to
/libs/cq/security/userinfo.jsonor equivalent endpoints
- Page metadata, such as
Content Paths
- You must define one or more JCR root paths to crawl, such as
/content/SITE_NAME/en. - Optionally provide:
- Exclude path regexes to filter out subtrees
- Attachment extension types
- JCR property include/exclude filters
Authentication
Setting up the correct authentication according to your organization’s data governance policies helps keep sensitive data secure while allowing authorized indexing. The AEM V2 connector supports two modes of authenticating to your AEM instance: basic HTTP and OAuth. Fusion handles session management as needed, including cookie handling and token renewal. Basic HTTP authentication:- Provide a standard AEM
usernameandpasswordwith read access to JCR paths. - If using security trimming, the AEM account also requires read access to the user and groups APIs.
- Paste in an Access Token and optional Refresh Token.
- If you do not have a pre-obtained token, the connector can fetch a token using JWT authentication.
AEM connector OAuth authorization
AEM connector OAuth authorization
The AEM V2 Connector supports OAuth 2.0 authorization with JWT token.There are three ways the connector can get Access Token:

Supported authorization options
Requests are authorized by including an Access Token in the Authorization header.Example:- From the datasource configuration
- From AEM server using Refresh Token
- From AEM server using JWT token
Client Id, Client Secret, and Redirect Uri can be found in the AEM admin page under Security > Oauth Clients:Getting Access Token
- Open this URL in a browser:
- You are redirected to login page (if you are not logged in):

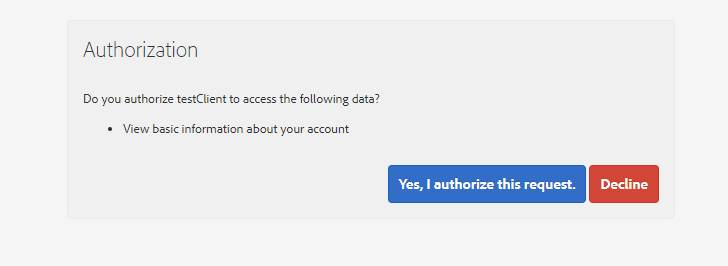
- Logging in redirects you to confirm the authorization. Click Yes, I authorize this request.
- You are redirected to the URL provided in
redirect_uriwith parametercode:REDIRECT_URI?code=AUTHORIZATION_CODE. - Copy the value of the
codeparameter. This is your Authorization Code. - Execute the request to get Access Token:
Example:Response:
Getting Refresh Token
To get Refresh Token, follow the same proccess for Access Token, but:- You must include
offline_accessin the scope list. - You must revoke all the previously obtained token. It can be done by clicking Revoke All Tokens.
Getting JWT Bearer Token
- Download Private Key from the AEM Oauth client section. You should have downloaded file store.p12.
-
Run:
When asked about password type
notasecret. You should have generated file named store.crt.pem. -
Run:
You should have generated file named store.private.key.txt.
-
Create JWT token with the below payload and encrypt it with the private key using RS256:
For example, install pyjwt with
pip install pyjwtto encrypt with this python script:
Remote connectors
V2 connectors support running remotely in Fusion versions 5.7.1 and later. Refer to Configure Remote V2 Connectors.Configure Remote V2 Connectors
Configure Remote V2 Connectors
If you need to index data from behind a firewall, you can configure a V2 connector to run remotely on-premises using TLS-enabled gRPC.The gRPC connector backend is not supported in Fusion environments deployed on AWS.The
Prerequisites
Before you can set up an on-prem V2 connector, you must configure the egress from your network to allow HTTP/2 communication into the Fusion cloud. You can use a forward proxy server to act as an intermediary between the connector and Fusion.The following is required to run V2 connectors remotely:- The plugin zip file and the connector-plugin-standalone JAR.
- A configured connector backend gRPC endpoint.
- Username and password of a user with a
remote-connectorsoradminrole. - If the host where the remote connector is running is not configured to trust the server’s TLS certificate, you must configure the file path of the trust certificate collection.
If your version of Fusion doesn’t have the
remote-connectors role by default, you can create one. No API or UI permissions are required for the role.Connector compatibility
Only V2 connectors are able to run remotely on-premises. You also need the remote connector client JAR file that matches your Fusion version. You can download the latest files at V2 Connectors Downloads.Whenever you upgrade Fusion, you must also update your remote connectors to match the new version of Fusion.
System requirements
The following is required for the on-prem host of the remote connector:- (Fusion 5.9.0-5.9.10) JVM version 11
- (Fusion 5.9.11) JVM version 17
- Minimum of 2 CPUs
- 4GB Memory
Enable backend ingress
In yourvalues.yaml file, configure this section as needed:-
Set
enabledtotrueto enable the backend ingress. -
Set
pathtypetoPrefixorExact. -
Set
pathto the path where the backend will be available. -
Set
hostto the host where the backend will be available. -
In Fusion 5.9.6 only, you can set
ingressClassNameto one of the following:nginxfor Nginx Ingress Controlleralbfor AWS Application Load Balancer (ALB)
-
Configure TLS and certificates according to your CA’s procedures and policies.
TLS must be enabled in order to use AWS ALB for ingress.
Connector configuration example
Minimal example
Logback XML configuration file example
Run the remote connector
logging.config property is optional. If not set, logging messages are sent to the console.Test communication
You can run the connector in communication testing mode. This mode tests the communication with the backend without running the plugin, reports the result, and exits.Encryption
In a deployment, communication to the connector’s backend server is encrypted using TLS. You should only run this configuration without TLS in a testing scenario. To disable TLS, setplain-text to true.Egress and proxy server configuration
One of the methods you can use to allow outbound communication from behind a firewall is a proxy server. You can configure a proxy server to allow certain communication traffic while blocking unauthorized communication. If you use a proxy server at the site where the connector is running, you must configure the following properties:- Host. The hosts where the proxy server is running.
- Port. The port the proxy server is listening to for communication requests.
- Credentials. Optional proxy server user and password.
Password encryption
If you use a login name and password in your configuration, run the following utility to encrypt the password:- Enter a user name and password in the connector configuration YAML.
-
Run the standalone JAR with this property:
- Retrieve the encrypted passwords from the log that is created.
- Replace the clear password in the configuration YAML with the encrypted password.
Connector restart (5.7 and earlier)
The connector will shut down automatically whenever the connection to the server is disrupted, to prevent it from getting into a bad state. Communication disruption can happen, for example, when the server running in theconnectors-backend pod shuts down and is replaced by a new pod. Once the connector shuts down, connector configuration and job execution are disabled. To prevent that from happening, you should restart the connector as soon as possible.You can use Linux scripts and utilities to restart the connector automatically, such as Monit.Recoverable bridge (5.8 and later)
If communication to the remote connector is disrupted, the connector will try to recover communication and gRPC calls. By default, six attempts will be made to recover each gRPC call. The number of attempts can be configured with themax-grpc-retries bridge parameters.Job expiration duration (5.9.5 only)
The timeout value for irresponsive backend jobs can be configured with thejob-expiration-duration-seconds parameter. The default value is 120 seconds.Use the remote connector
Once the connector is running, it is available in the Datasources dropdown. If the standalone connector terminates, it disappears from the list of available connectors. Once it is re-run, it is available again and configured connector instances will not get lost.Enable asynchronous parsing (5.9 and later)
To separate document crawling from document parsing, enable Tika Asynchronous Parsing on remote V2 connectors.connector-plugins entry in your values.yaml file:
Learn more
AEM connector OAuth authorization
AEM connector OAuth authorization
The AEM V2 Connector supports OAuth 2.0 authorization with JWT token.There are three ways the connector can get Access Token:
Supported authorization options
Requests are authorized by including an Access Token in the Authorization header.Example:- From the datasource configuration
- From AEM server using Refresh Token
- From AEM server using JWT token
Client Id, Client Secret, and Redirect Uri can be found in the AEM admin page under Security->Oauth Clients:Getting Access Token
-
Open this URL in a browser:
-
You are redirected to login page (if you are not logged in):
-
Logging in redirects you to confirm the authorization. Click Yes, I authorize this request.
-
You are redirected to the URL provided in
redirect_uriwith parametercode:<REDIRECT_URI>?code=<AUTHORIZATION_CODE>. -
Copy the value of the
codeparameter. This is your Authorization Code. -
Execute the request to get Access Token:
Example:
Getting Refresh Token
To get Refresh Token, follow the same process for Access Token, but:- You must include
offline_accessin the scope list. - You must revoke all the previously obtained token. It can be done by clicking Revoke All Tokens.
Getting JWT Bearer Token
- Download Private Key from the AEM Oauth client section. You should have downloaded file store.p12.
-
Run:
When asked about password type
notasecret. You should have generated file named store.crt.pem. -
Run
You should have generated file named store.private.key.txt.
-
Create JWT token with the below payload and encrypt it with the private key using RS256:
For example, install pyjwt to use this python script: