

- Latest version: v1.4.0
- Compatible with Fusion version: 5.9.4 and later
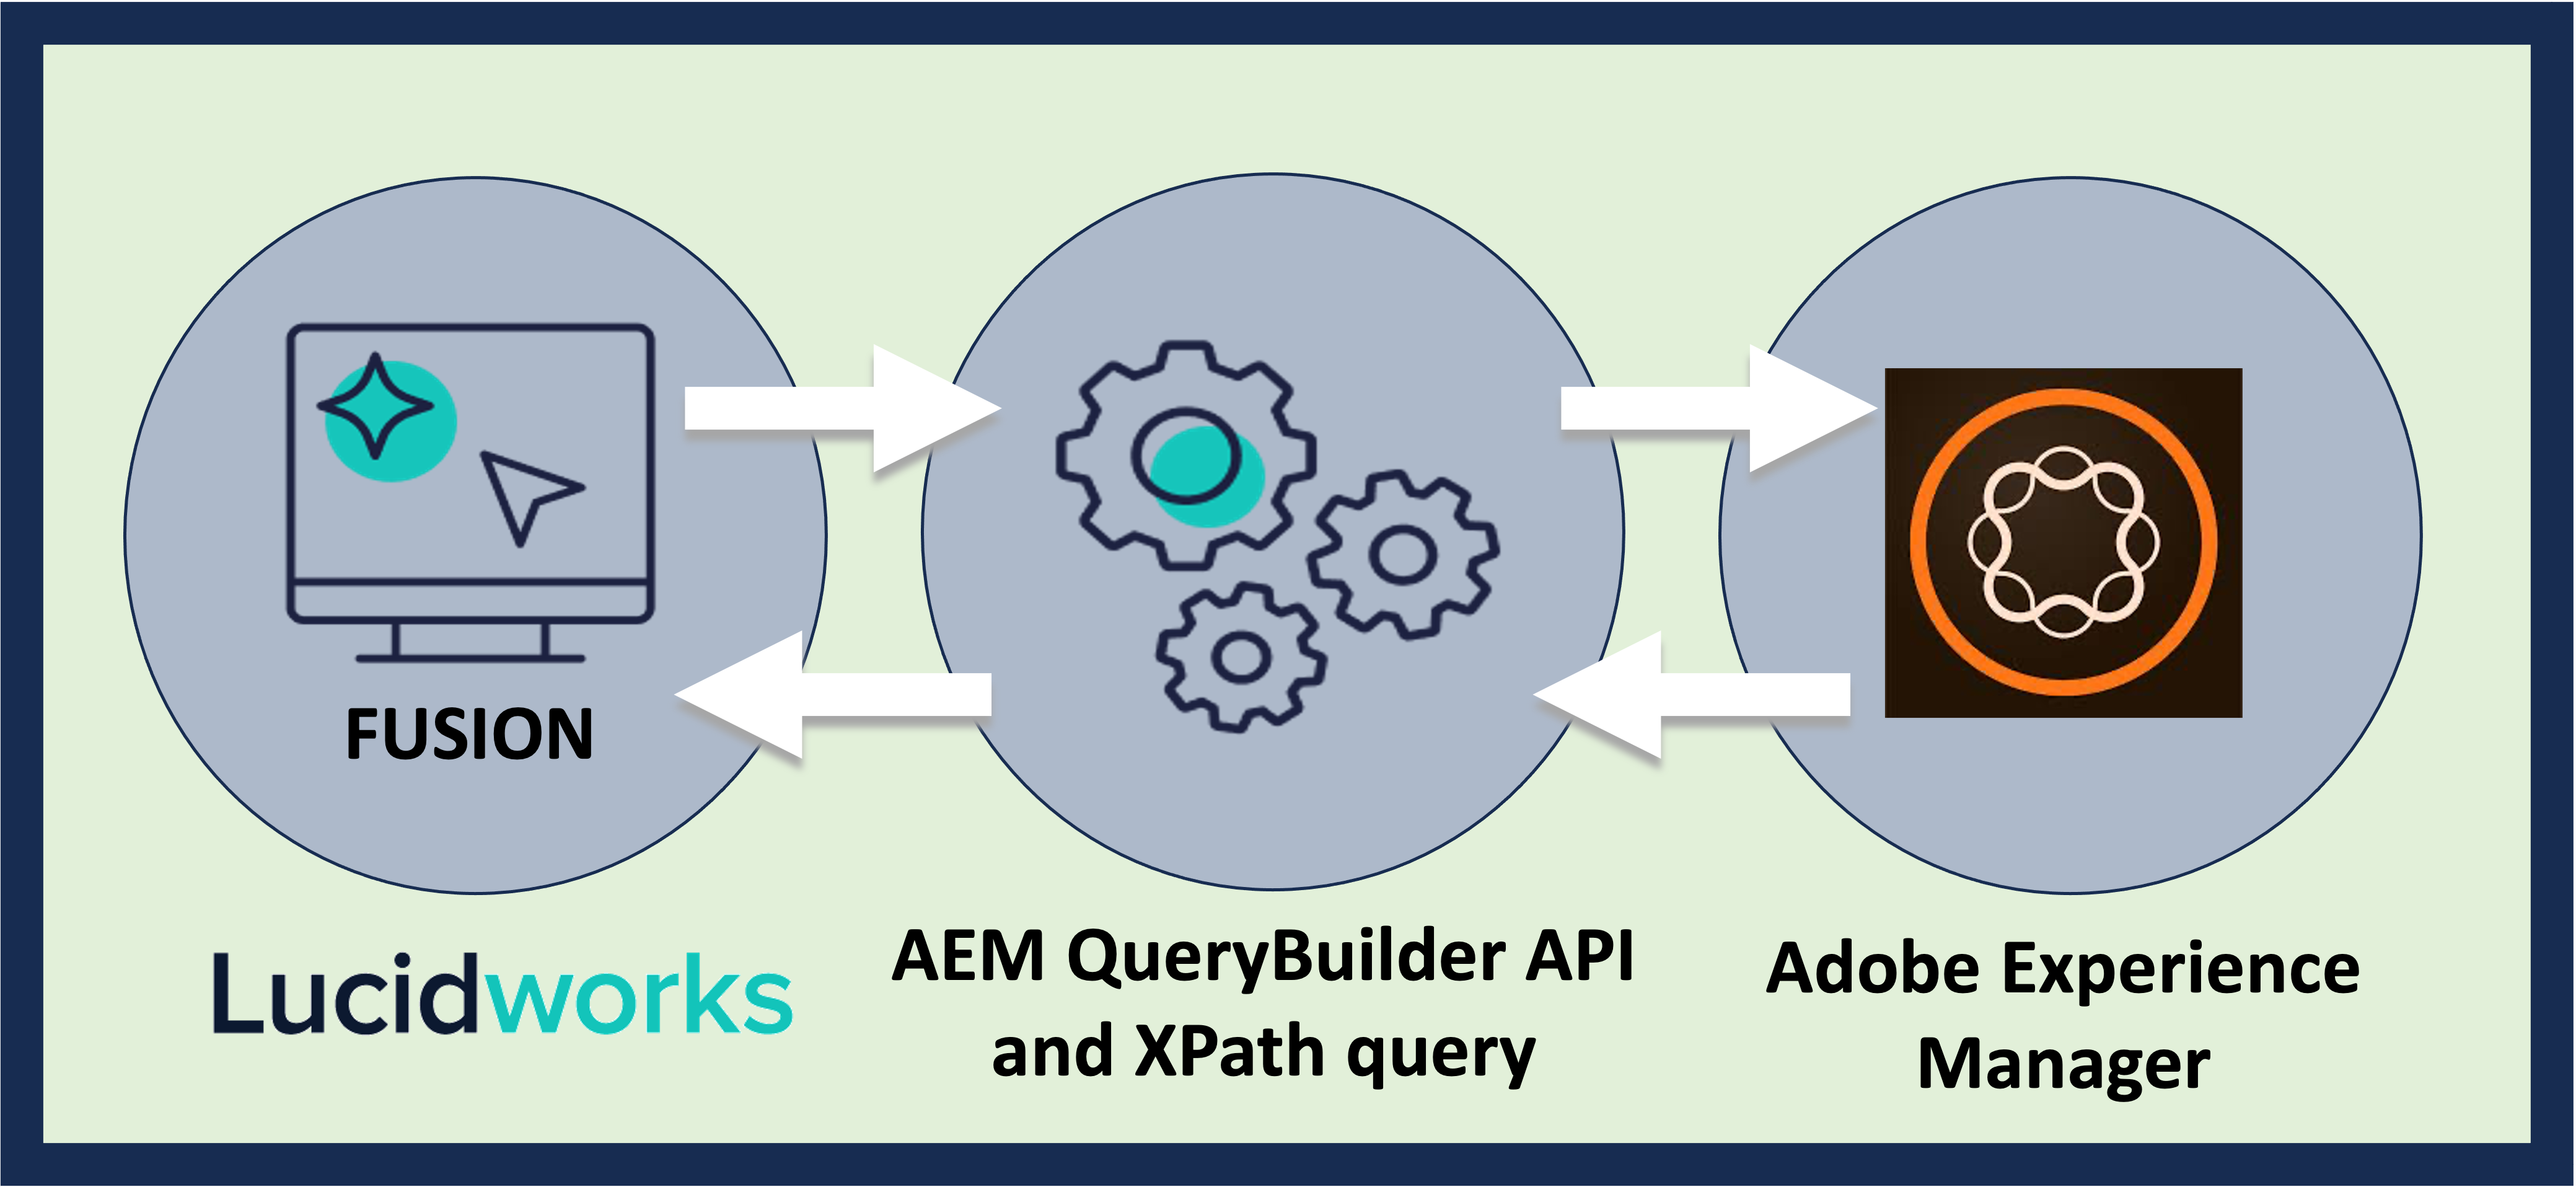
- Full crawling and recrawling of pages and assets in Adobe Experience Manager
- Basic authentication
In Fusion 5, the username and password fields have moved under Authentication Settings > Login Settings.
- OAuth authentication
- Security trimming to filter results based on user permissions
- Filter document crawling by including and excluding paths when setting up the connector
- Specific wait time between fetch requests to throttle crawls, if necessary
- Optional crawling of child paths
- RSA PEM private key authentication via Adobe Identity Management Service (IMS), with automatic token renewal
The AEM V2 connector is officially tested with AEM 6.5. While this connector has not been officially tested with AEM as a Cloud Service, page and metadata crawling over OAuth 2.0 (Adobe IMS) generally works there. Binary and attachment crawling aren’t supported for AEM Cloud Service because the
/crx/de download path the connector relies on isn’t available outside the local AEM SDK. Security trimming has not been validated against Cloud Service’s IMS-backed user/group model.Configure AEM V2 Connector
Configure AEM V2 Connector
This document explains how to configure an AEM V2 connector to crawl data in Adobe Experience Manager. This connector is compatible with Fusion 5.5.1 and later.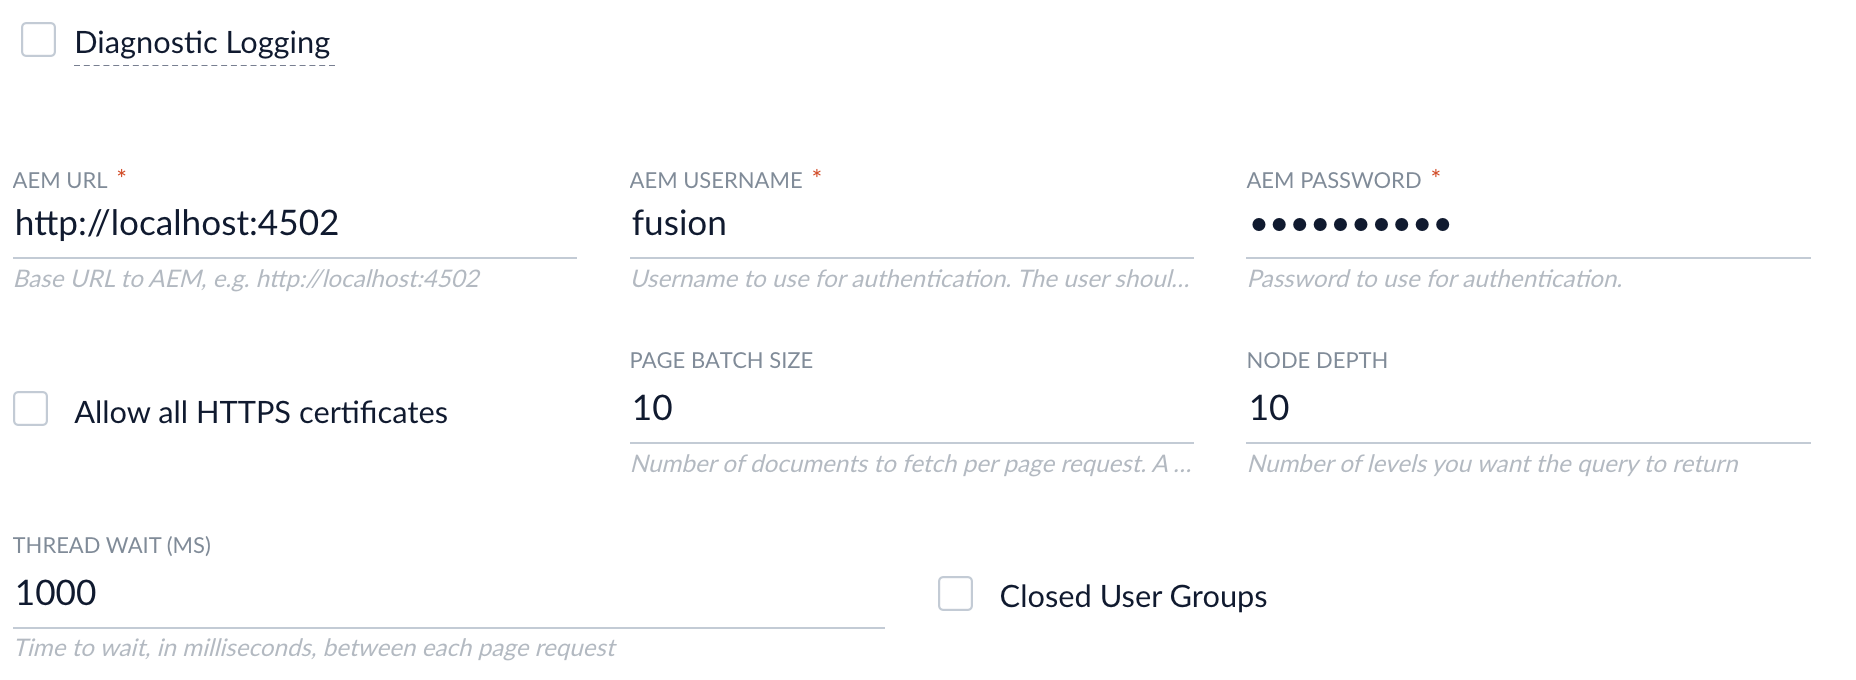
Configure AEM Datasource
- In Fusion, under Indexing > Datasources, click Add, then select AEM
- Enter a Configuration ID
- Enter the AEM URL (the URL used to access the AEM Admin UI) as well as the AEM username and password used to authenticate access to the QueryBuilder JSON Servlet.
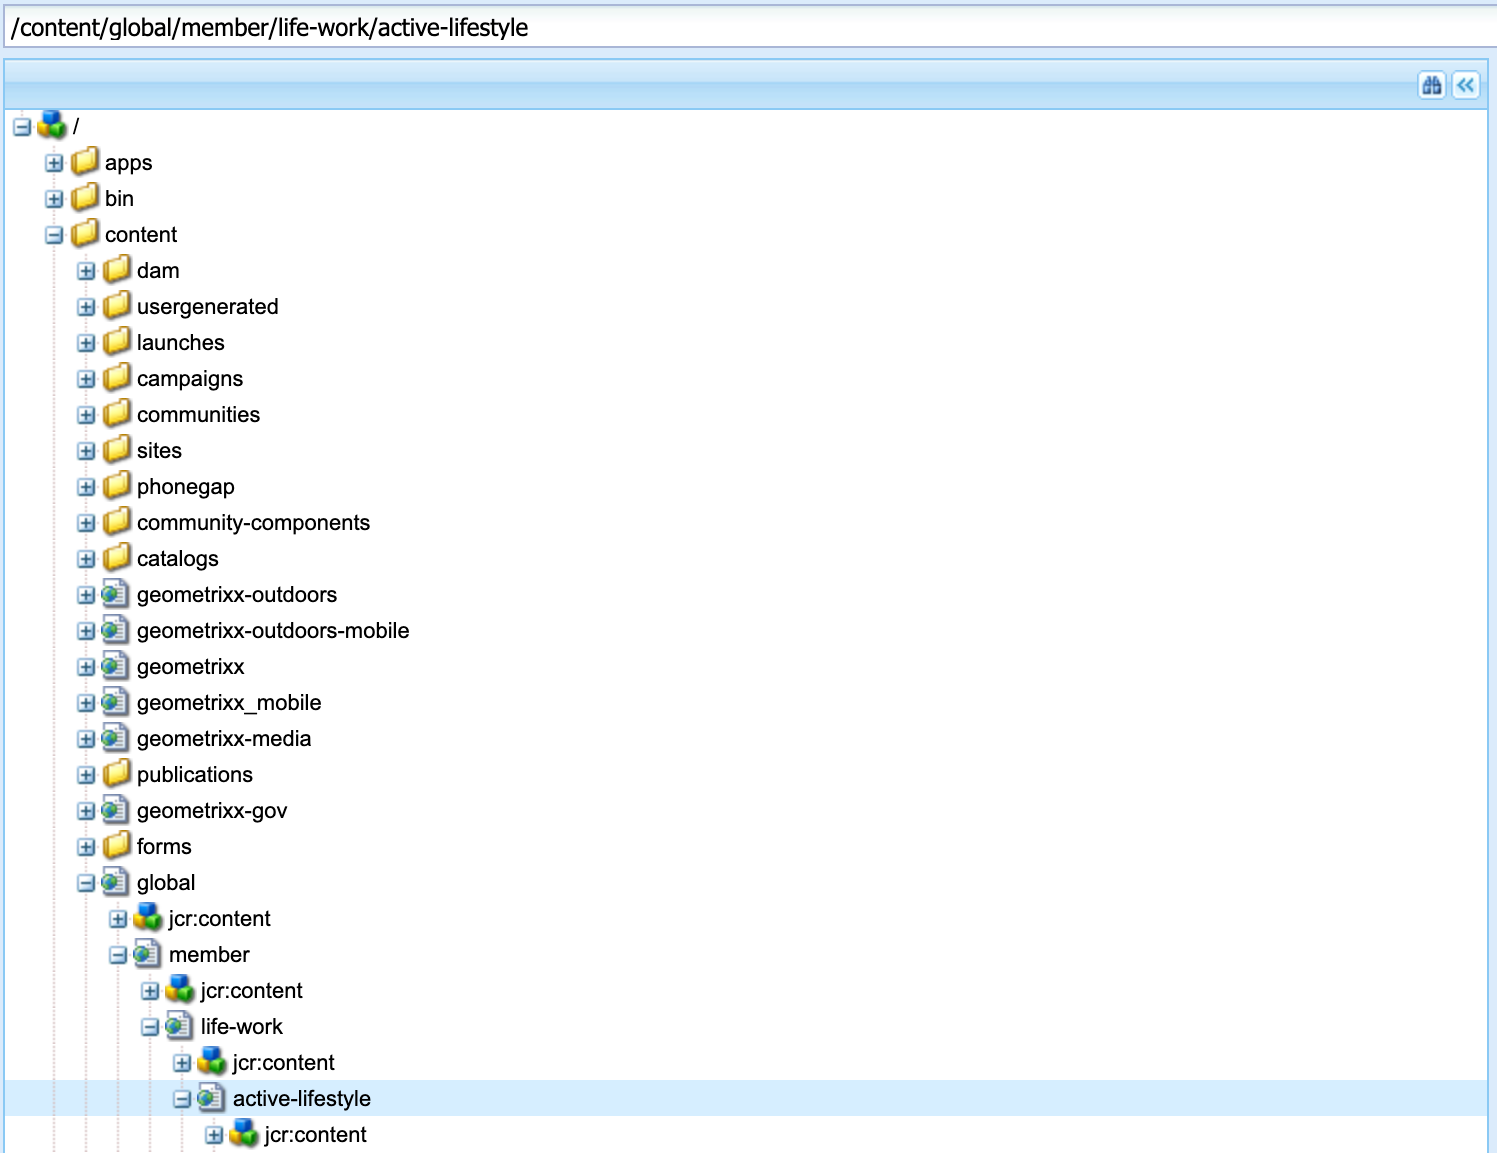
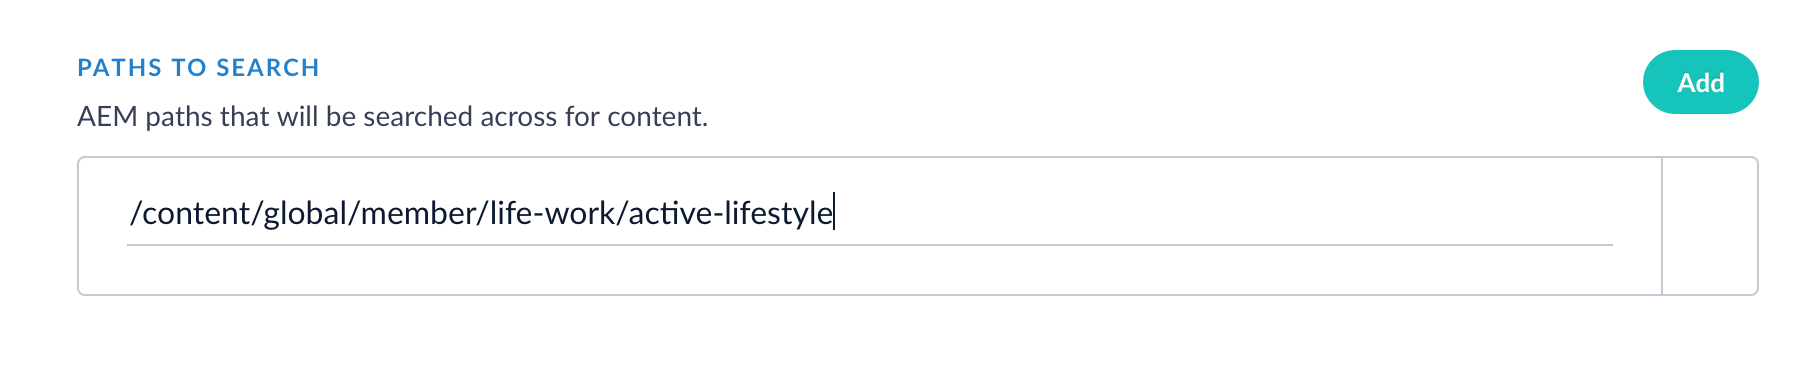
- Go to AEM to log in and access CRXDE Lite. In the CRXDE Lite UI, select a path to crawl. Enter this path into Fusion. Click Add to crawl multiple paths.
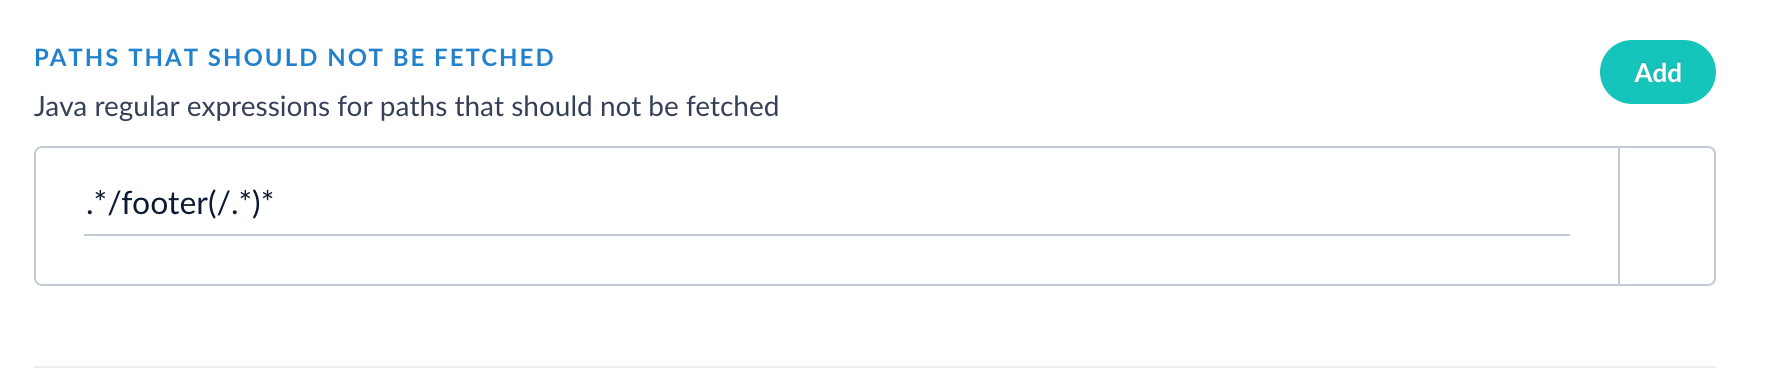
- Optional: To exclude paths from the crawl, in Fusion, enter a Java Regular Expression (regex) that represents paths to exclude in the indexed content.
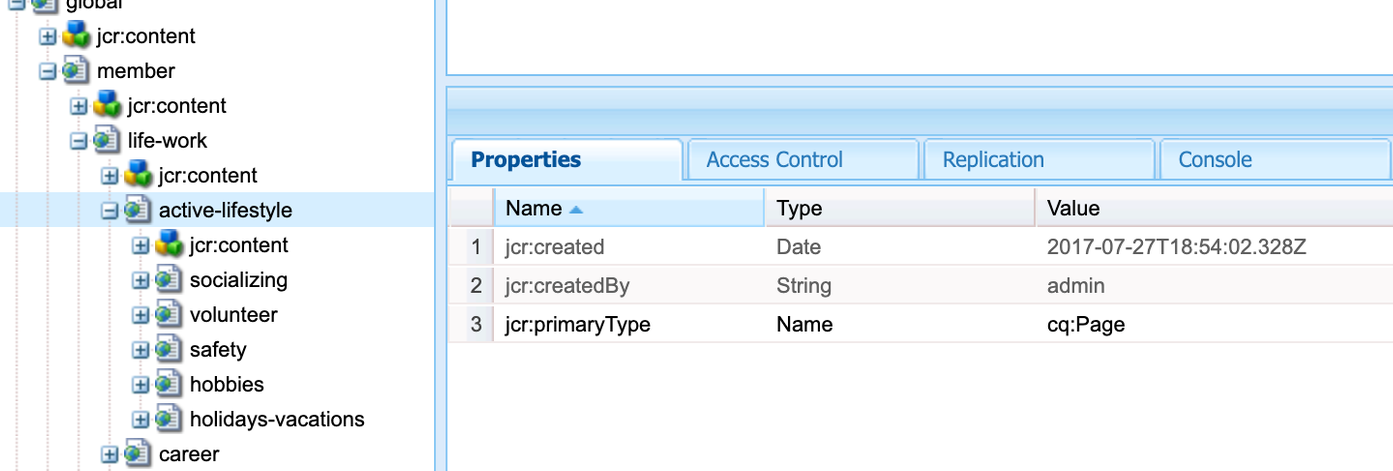
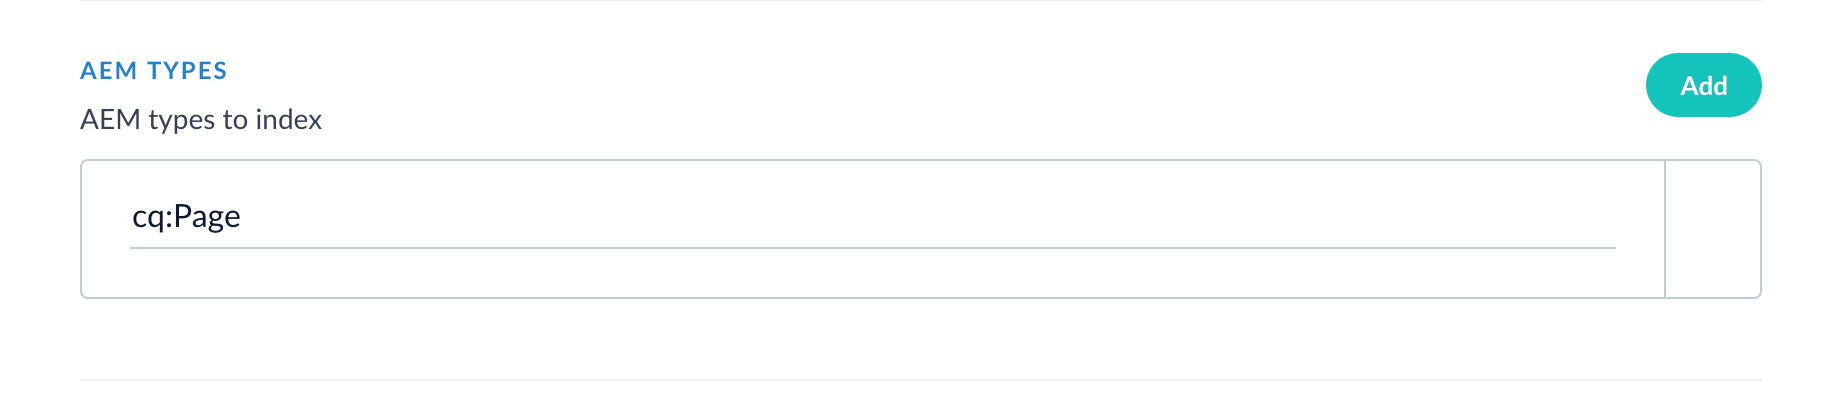
- In Fusion, enter the AEM type to crawl. In the CRXDE Lite UI, this is the
jcr:primaryType. In this example, the AEM connector is configured to crawl the AEM Typecq:Page, which represents web content pages.
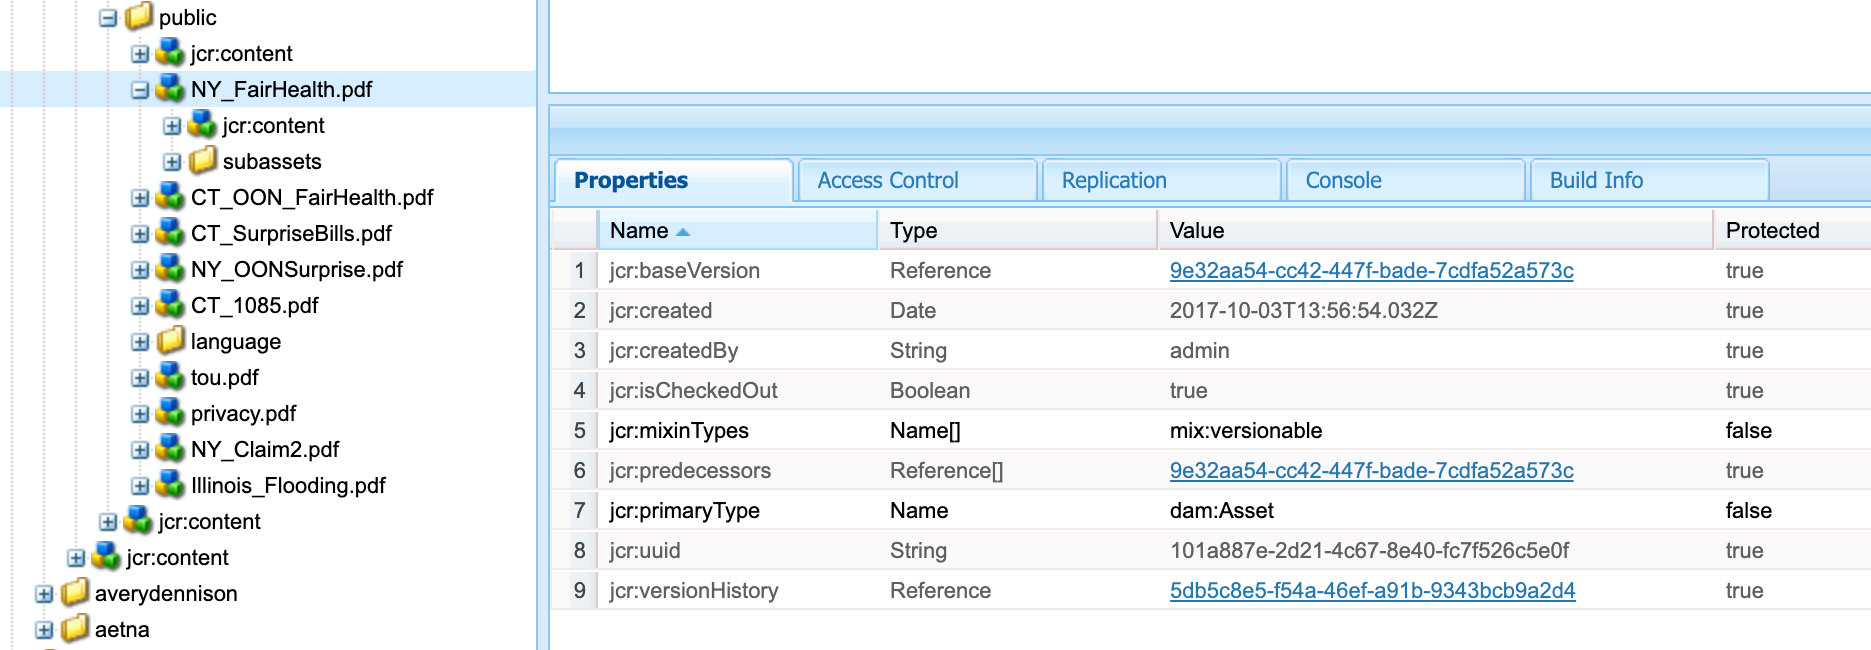
- To index assets with a particular file extension, locate a file type in CRXDE Lite and enter the value of the
jcr:primaryTypeinto Fusion. In this example, the value of NY_FairHealth.pdf isdam:Asset.
- You can choose which content properties to include and exclude from the index. These parameter values are represented by Java regex. For example, to only include properties that start with “jcr” enter
jcr:(.*). - In Fusion, click Save when you’re done configuring the AEM datasource.
Configuration settings
Field data population
There are multiple sources where AEM data is indexed. The/bin/querybuilder.json endpoint data is mandatory and must exist in order for a document to be indexed.Note the list of fields that can appear in an indexed document:Prerequisites
Perform these prerequisites to ensure the connector can reliably access, crawl, and index your data. Proper setup helps avoid configuration or permission errors, so use the following guidelines to keep your content available for discovery and search in Fusion.AEM instance
- AEM Author instance must be reachable over HTTP/HTTPS.
- The QueryBuilder JSON API must be enabled. It’s typically located at
/bin/querybuilder.json. - The JCR Download endpoints must be accessible, such as
/crx/de/download.jspor direct node paths.
Configure an AEM service account
Create a service account with the following:- Read access to content paths being crawled
- Access to user and group APIs if using security trimming
- Permissions to access the following:
- Page metadata, such as
cq:Pageorjcr:content - Binary attachments such as PDFs and DOCX files
- JCR nodes and properties
- If using group mapping, access to
/libs/cq/security/userinfo.jsonor equivalent endpoints
- Page metadata, such as
Content Paths
- You must define one or more JCR root paths to crawl, such as
/content/SITE_NAME/en. - Optionally provide:
- Exclude path regexes to filter out subtrees
- Attachment extension types
- JCR property include/exclude filters
Authentication
Setting up the correct authentication according to your organization’s data governance policies helps keep sensitive data secure while allowing authorized indexing. The AEM V2 connector supports two modes of authenticating to your AEM instance: basic HTTP and OAuth. Fusion handles session management as needed, including cookie handling and token renewal. Basic HTTP authentication:- Provide a standard AEM
usernameandpasswordwith read access to JCR paths. - If using security trimming, the AEM account also requires read access to the user and groups APIs.
- Paste in an Access Token and optional Refresh Token.
- If you do not have a pre-obtained token, the connector can fetch a token using JWT authentication.
- For enterprise setups where tokens expire every 24 hours, use private key OAuth authentication via Adobe IMS. The connector automatically signs and renews tokens using a configured RSA private key, with no manual intervention required.
The AEM V2 Connector supports OAuth 2.0 authorization with JWT token along with private key OAuth 2.0 authorization.There are three ways the connector can get Access Token: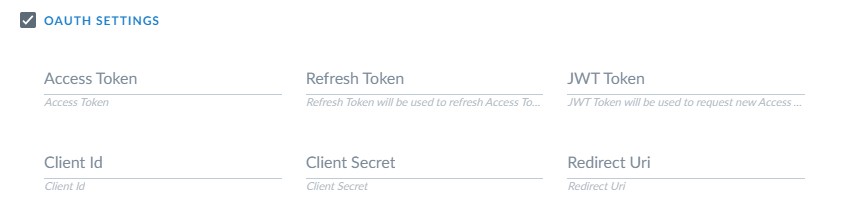
Supported authorization options
Requests are authorized by including an Access Token in the Authorization header.Example:- From the datasource configuration
- From AEM server using Refresh Token
- From AEM server using JWT token
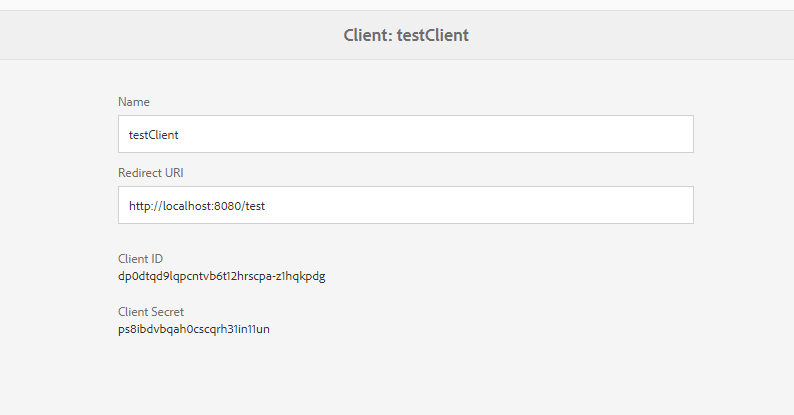
Client Id, Client Secret, and Redirect Uri can be found in the AEM admin page under Security > Oauth Clients:Getting Access Token
- Open this URL in a browser:
- You are redirected to login page (if you are not logged in):

- Logging in redirects you to confirm the authorization. Click Yes, I authorize this request.
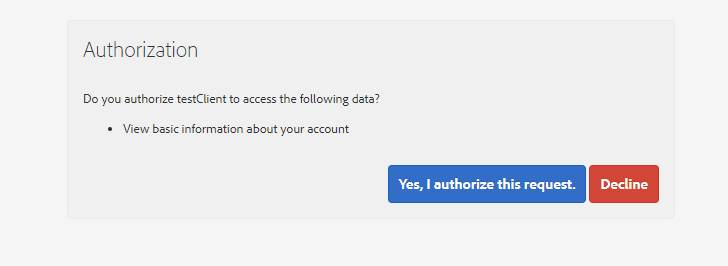
- You are redirected to the URL provided in
redirect_uriwith parametercode:REDIRECT_URI?code=AUTHORIZATION_CODE. - Copy the value of the
codeparameter. This is your Authorization Code. - Execute the request to get Access Token:
Example:Response:
Getting Refresh Token
To get Refresh Token, follow the same process for Access Token, but:- You must include
offline_accessin the scope list. - You must revoke all the previously obtained token. It can be done by clicking Revoke All Tokens.
Getting JWT Bearer Token
- Download Private Key from the AEM Oauth client section. You should have downloaded file store.p12.
-
Run:
When asked about password type
notasecret. You should have generated file named store.crt.pem. -
Run:
You should have generated file named store.private.key.txt.
-
Create JWT token with the below payload and encrypt it with the private key using RS256:
For example, install pyjwt with
pip install pyjwtto encrypt with this python script:
Private key authentication (Adobe IMS)
Use private key authentication when your AEM setup uses Adobe Identity Management System (IMS) and tokens expire every 24 hours. The connector automatically signs its own JWT from a configured RSA private key and exchanges it for an access token at the Adobe IMS endpoint, refreshing automatically when tokens expire.Configure the following fields in your Fusion datasource:The connector:
- Builds and signs a JWT (RS256) using the private key and configured claims.
- Exchanges the JWT for an access token at
https://ims-na1.adobelogin.com/ims/exchange/jwt/. - Automatically refreshes the access token on expiry with no manual intervention.
Security trimming
The AEM V2 connector supports graph security trimming. If you are using Fusion 5.18.0 or later, you can use separate collections to store your content and your ACLs. Use a separate sidecar collection if you need to manage ACL data independently of the rest of your content. To use a sidecar collection for your ACLs, you must create the ACL collection before configuring your datasource to read from this collection. To enable graph security trimming for your datasource:- Navigate to Indexing > Datasources.
- Open your datasource.
- Under Graph Security Filtering Configuration, select Enable security trimming.
- If you are using a sidecar collection in Fusion 5.18.0 or later, set ACL Collection ID to your ACL collection name (for example,
acl_collection). - Save your changes.
If you are transitioning from using the same collection to creating a sidecar collection for ACLs, you must run a full recrawl of your datasource so the ACLs route to the sidecar collection. ACL documents stored in the content collection from before the migration remain in the content collection unless the collection is reindexed or manually cleaned.
Remote connectors
V2 connectors support running remotely in Fusion versions 5.7.1 and later. For more information, see Configure remote V2 connectors. Below is an example configuration showing how to specify the file system to index under theconnector-plugins entry in your values.yaml file: