- The Index Workbench. Navigate to Indexing > Index Workbench > Configure Datasource. You can upload a particular ZIP file or select a datasource type which includes supported Fusion connectors. The list is divided datasources already installed and datasources not yet installed. When you select an uninstalled connector from the list, the system installs the connector.
- Datasources. Navigate to Indexing > Datasources. If you click Add, you can select from a list of supported Fusion connectors. The list is divided into connectors already installed and connectors not yet installed. When you select an uninstalled connector from the list, the system installs the connector.
- The Connector Datasources API. You can also use these endpoints to manage the crawl database and view connector schema.
- Generate diagnostic logs
- Limit document crawl levels or the number of documents obtained and indexed
- Exclude or include files based on file extension, text or patterns in the document, and authentication methods
- Set recrawl rules
- Enter links where you want the crawl to begin
Learn more
Schedule a Datasource Job
Schedule a Datasource Job
- Create a datasource.
- Navigate to System > Scheduler.
- Select the datasource from the job list.
- Click New Schedule.
- Select and configure a trigger:
- After Another Job Completes
Enter the job ID and job result that trigger this one. - Cron String
Enter a Quartz cron expression. See the Quartz documentation for details. - Start + Interval
Enter a start date/time, an interval, and the interval units.
- After Another Job Completes
Start a datasource job
Start a datasource job
To start a datasource job, complete the following:
- Navigate to Collections > Jobs.
- Select the job you want to run and click Run > Start.
- To view the job status information and its result, click Job History.
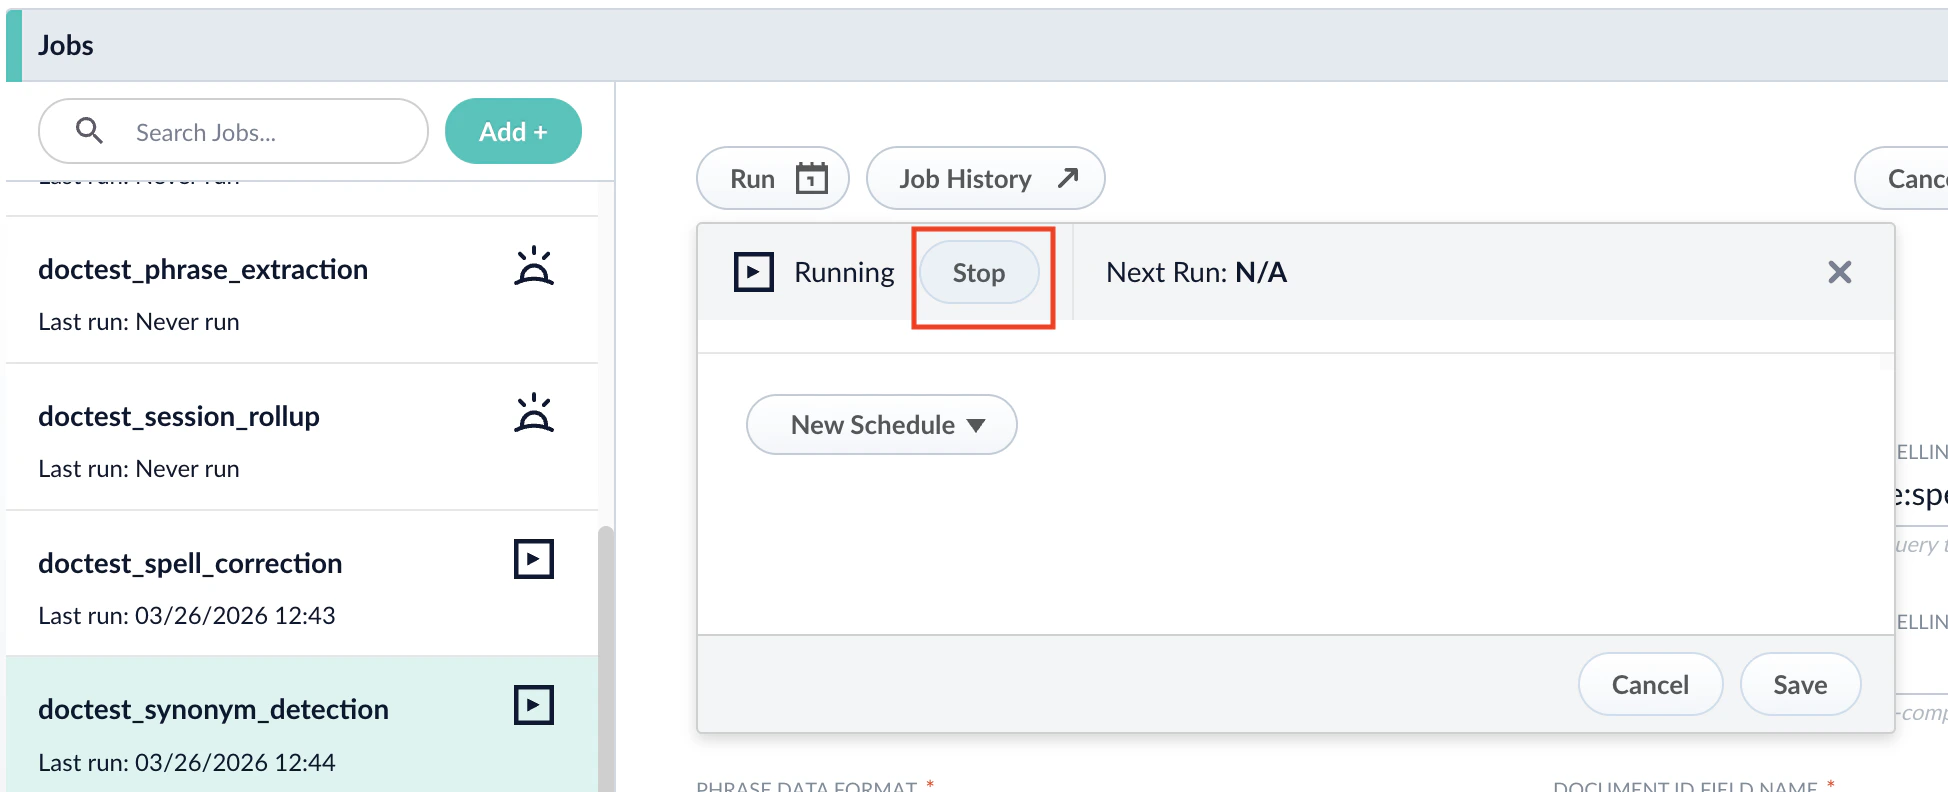
Stop a datasource job
Stop a datasource job
To stop a datasource job, complete the following:For more information, see Start/pause/abort a job.For more information, see Delete a parser.For more information, see Skip pending async requests.For more information, see Refresh a subscription.
-
After you start the job, you can click Stop in the Run window to stop the job.
- To stop parsing, execute the command to delete the applicable parser in the Parsers CRUD API:
- To cancel Lucidworks AI requests, execute the following command in the Index Pipelines API:
- To reset the index subscription, execute the following command in the Subscriptions API: