The Highlight stage allows you to highlight key parts of fields by generating snippets and appending match tags to the highlighted terms. The highlight match tags can then be styled in your web search application.Documentation Index
Fetch the complete documentation index at: https://doc.lucidworks.com/llms.txt
Use this file to discover all available pages before exploring further.
To see highlighting in the Query Workbench, turn it on by setting Format Results > Display highlighting? to 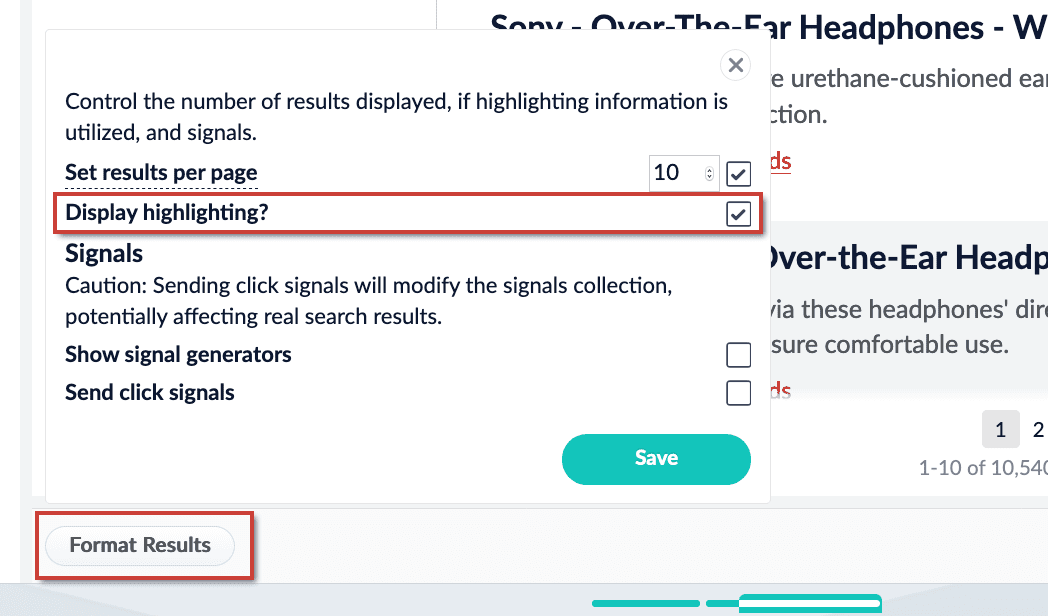
true:- Highlight Query Pipeline Stage. Introduced in Fusion 5.2.0, the Query Highlight pipeline stage allows you to configure standard options for highlighting using Solr’s Unified highlighter instead of adding Solr request parameters. For instructions, see Configure the Highlight Query Pipeline Stage.
- Additional Query Parameters stage. For Fusion 5.2.0 and later, the same method used in Fusion 5.1.x can be used. Configure highlighting with the Additional Query Parameters stage. For instructions, see Configure Highlighting in the Query Workbench.
Configure the Highlight Query Pipeline Stage
Configure the Highlight Query Pipeline Stage
The Highlight stage allows you to highlight key parts of fields by generating snippets and appending match tags to the highlighted terms. The highlight match tags can then be styled in your web search application.
- Highlight Query Pipeline Stage
Introduced in Fusion 5.2.0, the Query Highlight pipeline stage allows you to configure standard options for highlighting using Solr’s Unified highlighter instead of adding Solr request parameters. - Additional Query Parameters stage
For Fusion 5.2.0 and later, the same method used in Fusion 5.1.x can be used. Configure highlighting with the Additional Query Parameters stage.
Instructions
- Navigate to Querying > Query Workbench.
- Click Add a Stage and choose Highlight from the list.
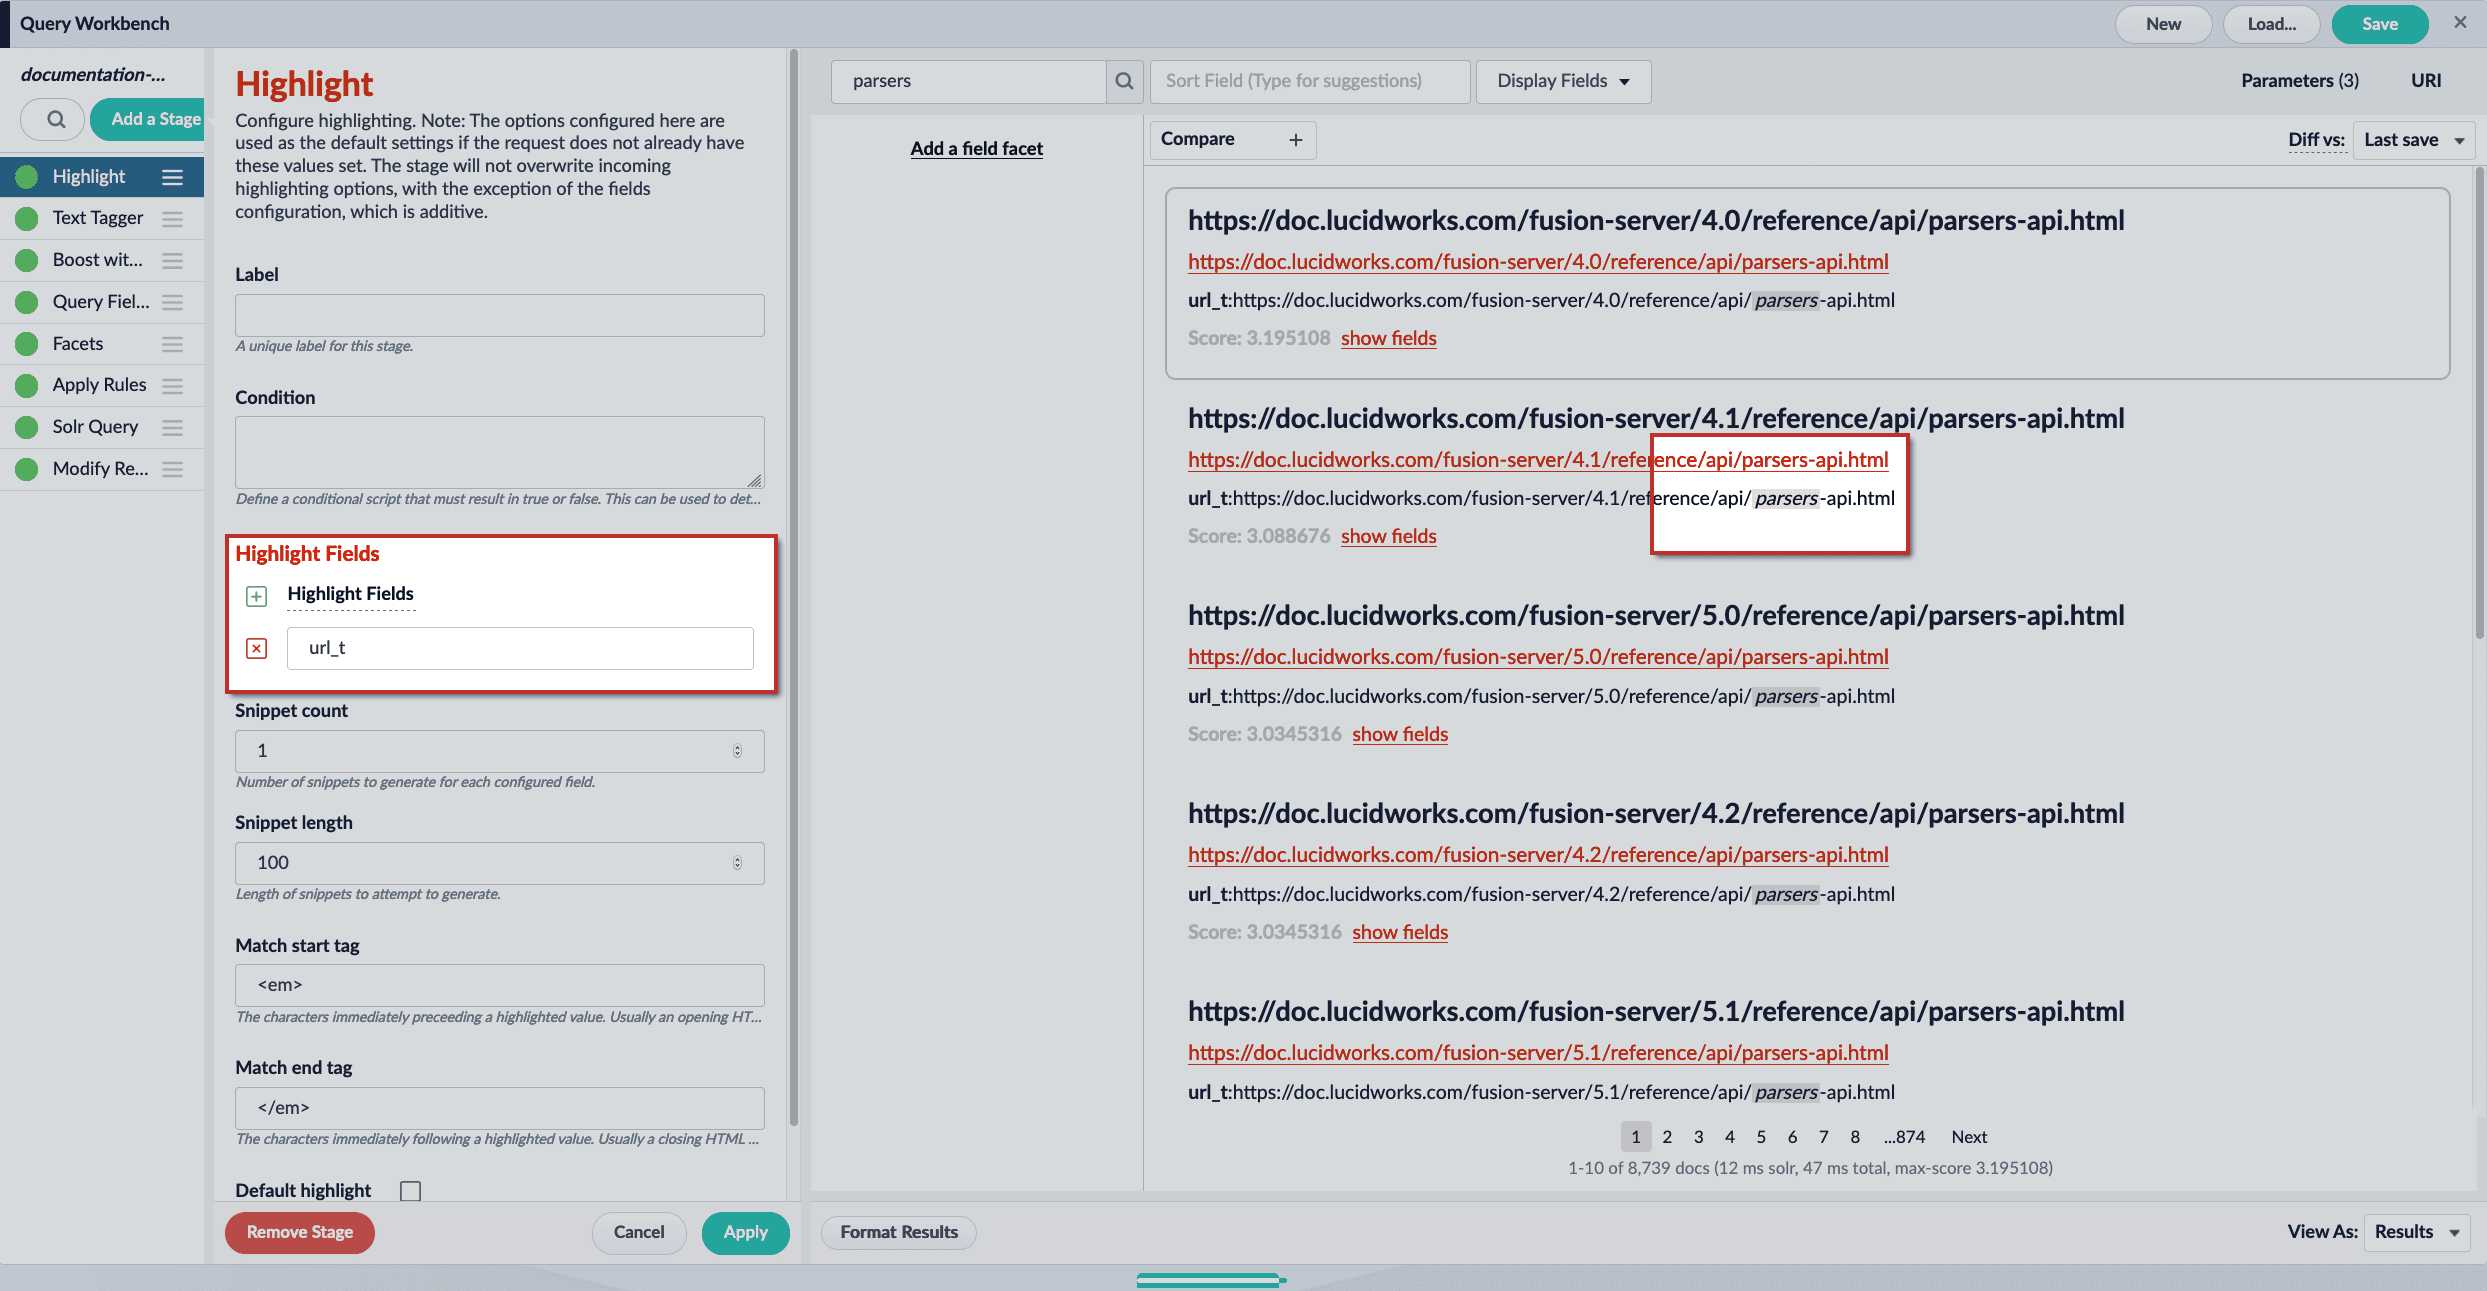
- Click the + Highlight Fields button, and input the field name(s) to configure highlighting for. Repeat to enter multiple fields, if desired.
-
Assign a **Snippet count** value. With a value of
3, Fusion will attempt to generate 3 snippets containing highlighted terms. -
Assign a **Snippet length** value. With a value of
100, Fusion will attempt to create snippets that are around 100 characters in length. -
Assign **Match tag** values. These values are used to wrap the highlighted terms. By default,
<em>and</em>are used. You can use other values for the match tags, such as<span style="background-color:powderblue;">and</span>, but the Fusion UI will not reflect your custom styles. -
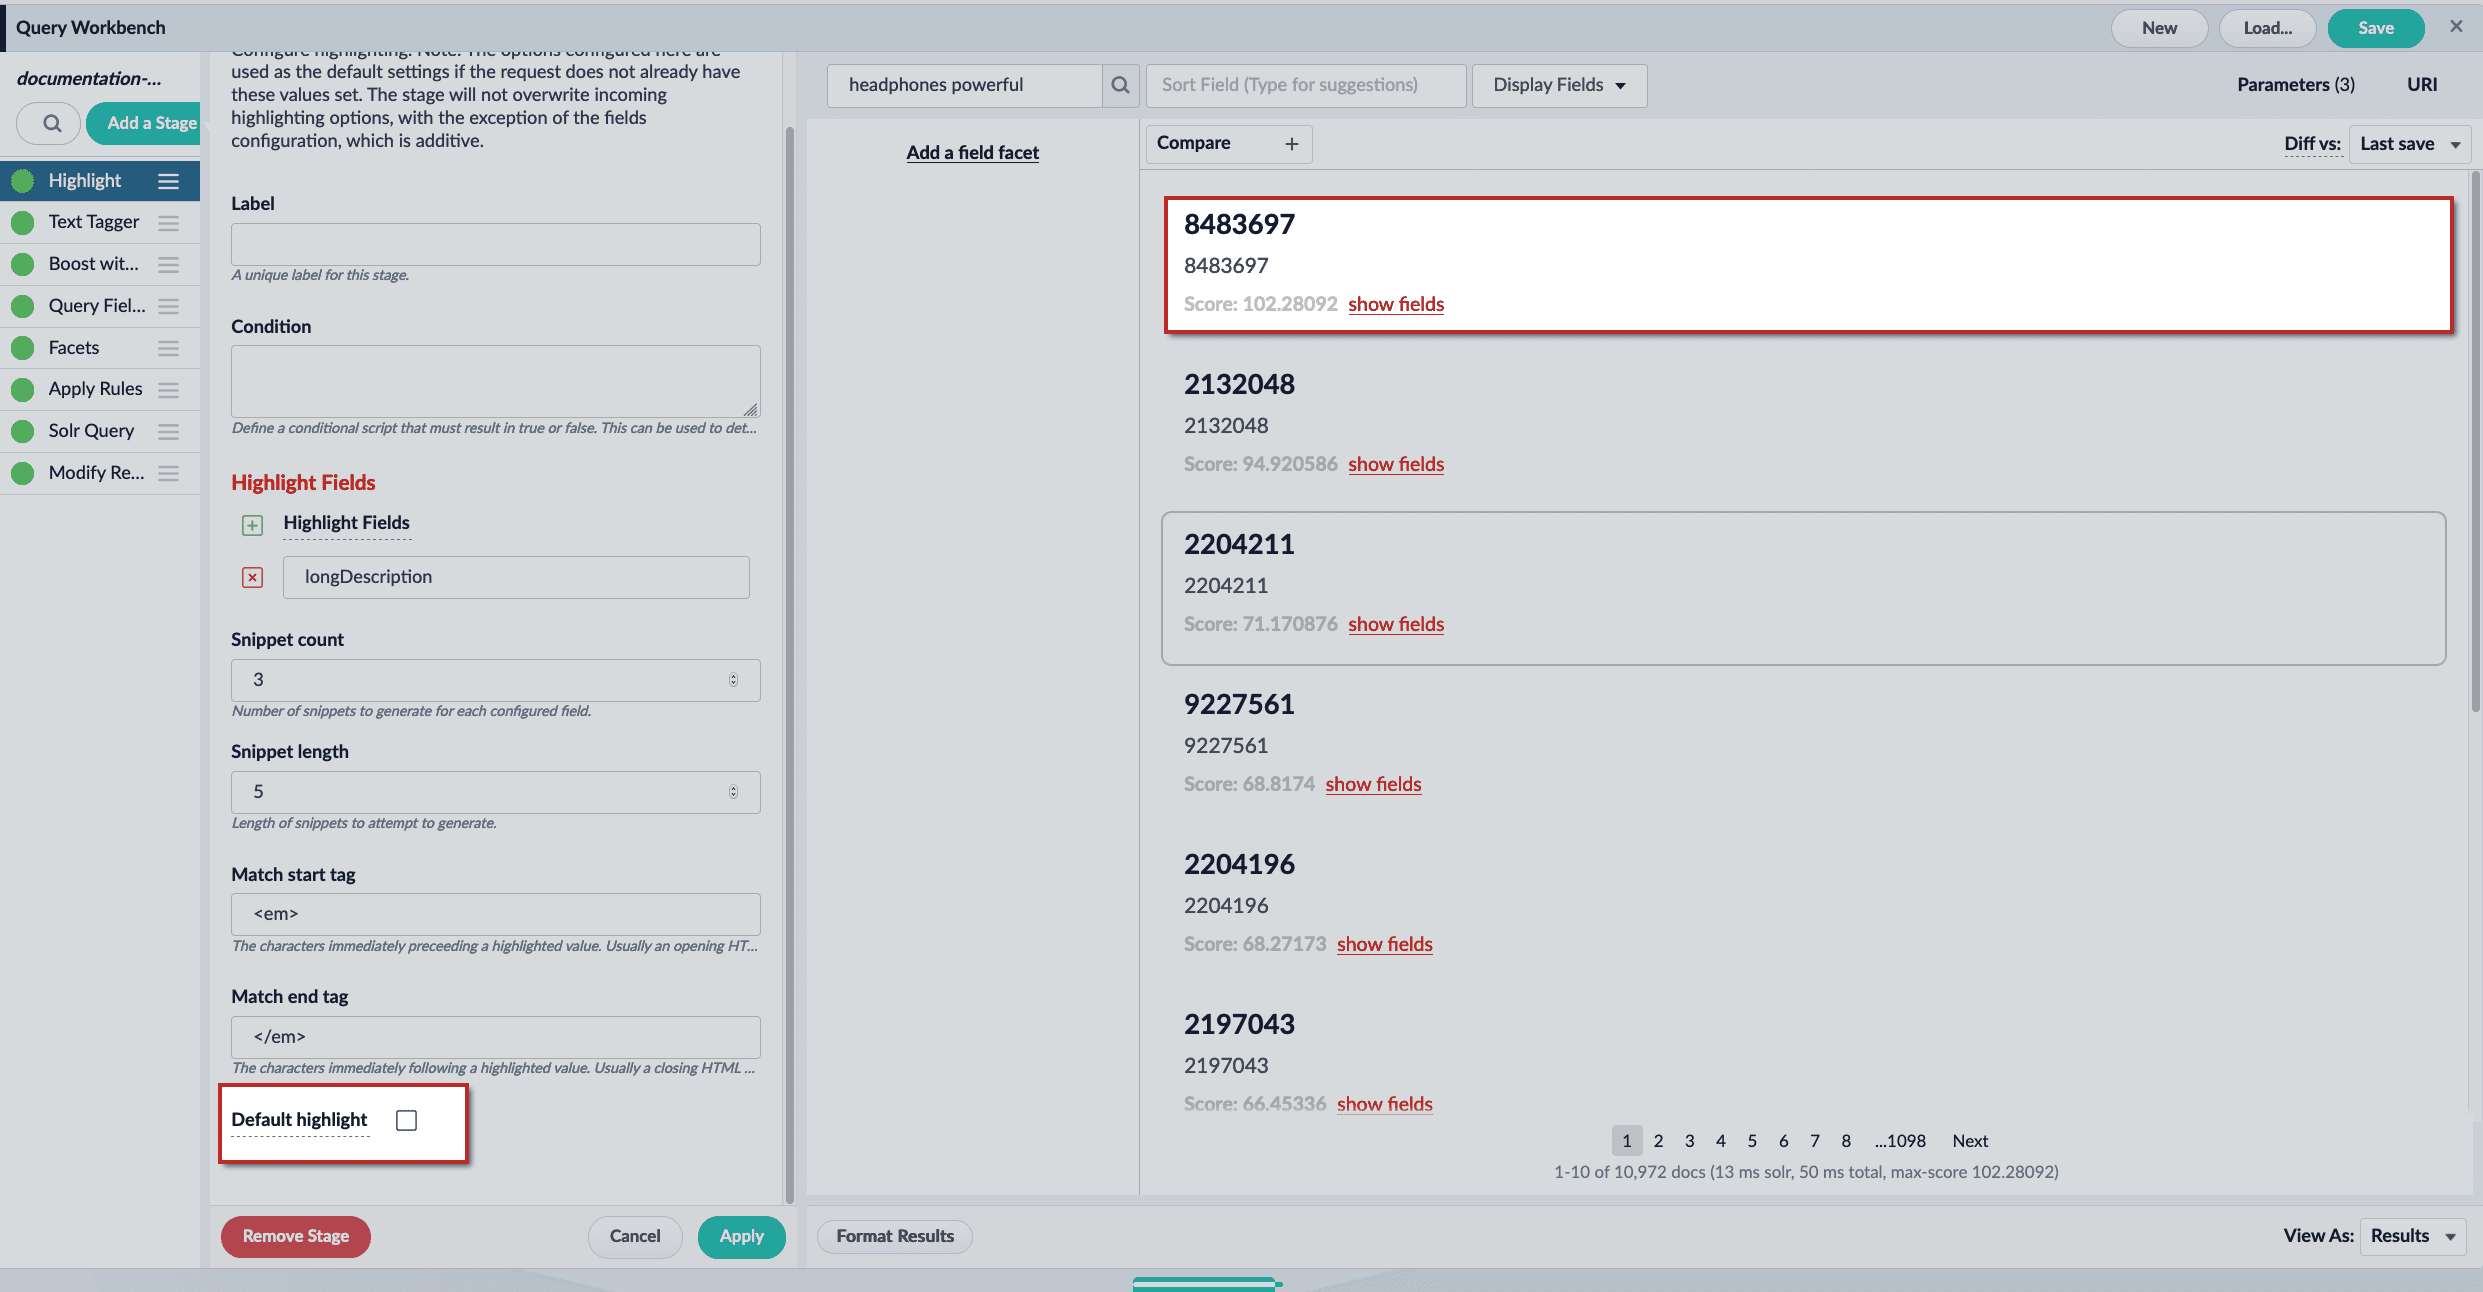
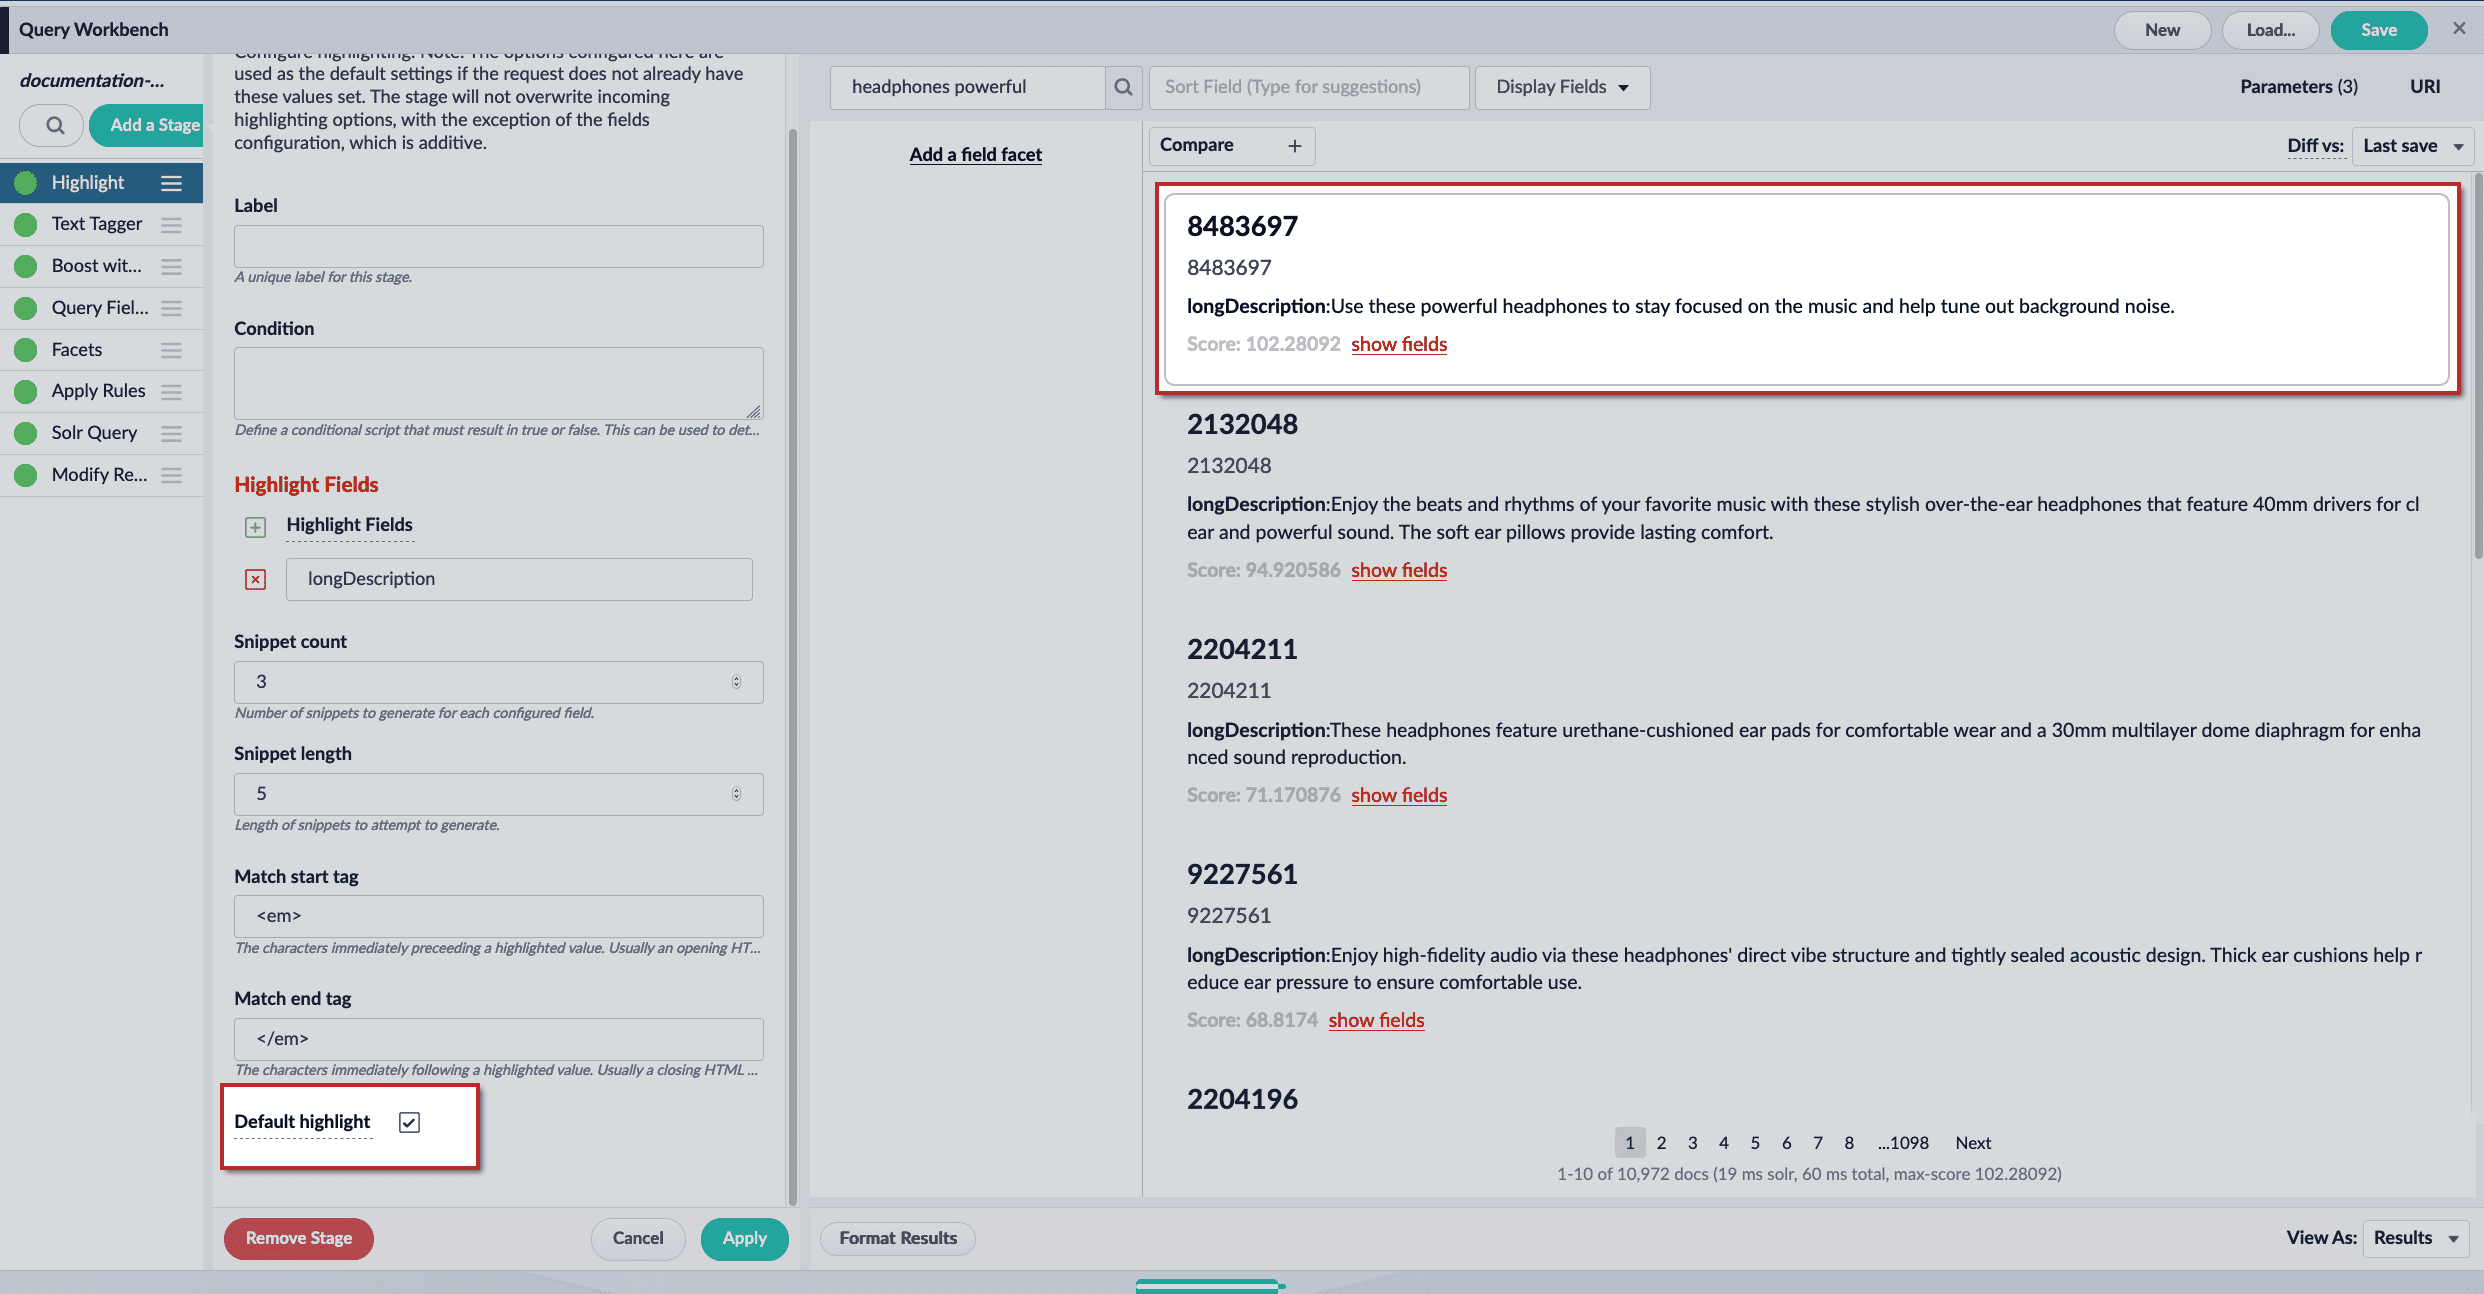
(optional) Set Default highlight to
trueif you want to generate snippets even when no highlights are found. The Snippet count and Snippet length values are still in effect. -
Click the Apply button to preview highlighting.
To see highlighting in the Query Workbench, turn it on by setting Format Results > Display highlighting? to
true: - If you are satisfied with your changes, click the Save button to save the pipeline.
Configure Highlighting in the Query Workbench
Configure Highlighting in the Query Workbench
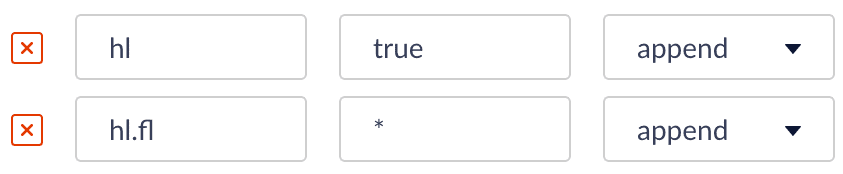
Search results can be displayed with the search terms highlighted, by adding these Solr query parameters to the Additional Query Parameters stage of the query pipeline:
hl=truehl.fl=*
- Highlight Query Pipeline Stage Introduced in Fusion 5.2.0, the Query Highlight pipeline stage allows you to configure standard options for highlighting using Solr’s Unified highlighter instead of adding Solr request parameters.
-
Additional Query Parameters stage
- For Fusion 5.1.x, configure highlighting with the Additional Query Parameters stage. This method can still be used in Fusion 5.2.0 and later.
- For Fusion 4.x.x, configure highlighting with the Additional Query Parameters stage.
- Add the Additional Query Parameters stage to your query pipeline, or select it if it is already there.
-
Under Parameters and Values, add the following query parameters and values:
- Click Apply. At this point, no highlighting appears in the preview panel.
- At the bottom of the window, click Format Results.
-
Select Display highlighting.

-
Click Save.
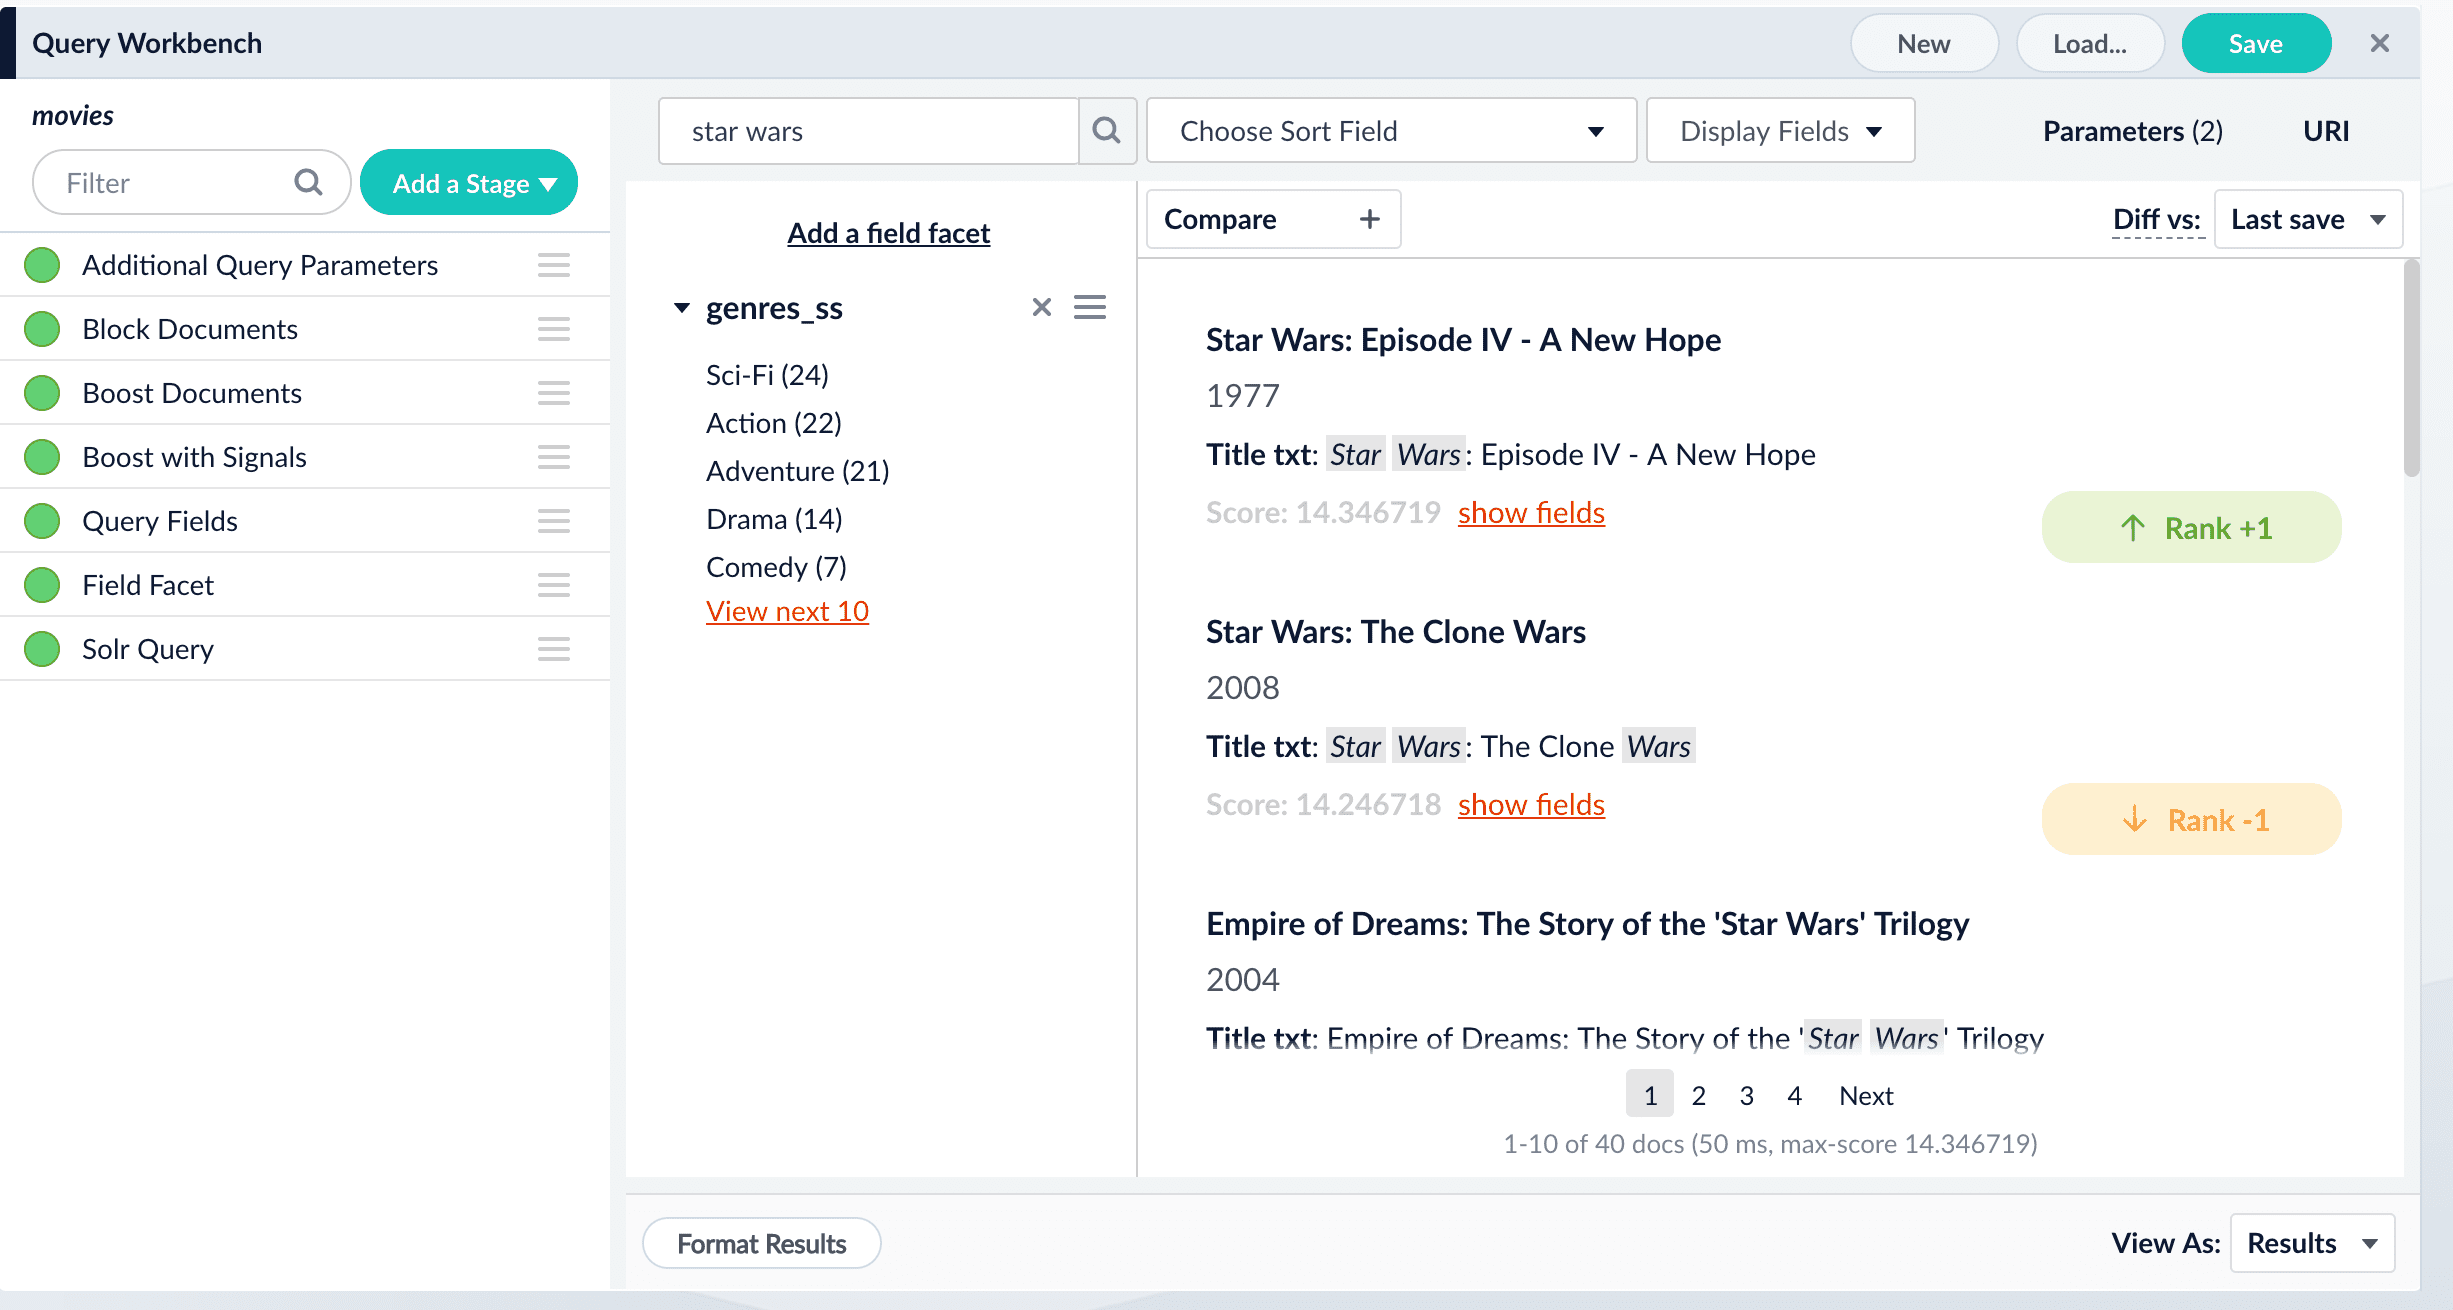
Now our search results include highlighted search terms:
Query pipeline stage condition examples
Stages can be triggered conditionally when a script in the Condition field evaluates to true. Some examples are shown below. Run this stage only for mobile clients:Parameters
Highlight Fields
Specifies the fields to use for highlighting. Highlighting should be used for text fields only. These fields are typically identified by the_t suffix, for example: longDescription_t.
Snippet count
Specifies the number of snippets to generate for each configured field. When Snippet count is assigned a value of3, for example, the following is returned:
Snippet length
Controls the length of snippets. The Snippet length value is a character count. For example, setting Snippet count to3 and Snippet length to 5 will attempt to generate 3 snippets that are at least 5 characters long:
500, may result in a single long snippet despite a Snippet count value of 3:
Match tags
Specifies the tags to use for identifying highlighted portions of the snippet. By default<em> and </em> are used. Match tags are appended to the highlight response field:
JSON
<span style="background-color:powderblue;"> and </span>, but the Fusion UI will not reflect your custom styles.
Default highlight
If no highlighting match is found, the results are returned without highlighting. This is easiest to see in the JSON. In the examples below,longDescription_t is as the Highlight Fields value.