The Fusion UI gives you easy access to all of Fusion Server’s features. The UI service utilizes the API service, so each UI feature has an API equivalent. For programmatic access to the features you see in the UI, see the API Reference Guide.Documentation Index
Fetch the complete documentation index at: https://doc.lucidworks.com/llms.txt
Use this file to discover all available pages before exploring further.
Logging in
The Proxy service runs on port 8764 by default. Access the Fusion UI through the Proxy service. To log in, point your browser to this port on the Fusion host, for example,http://localhost:8764/.
When you are the first user to log in:
Fusion Server prompts you to set the password for the “admin” account and agree to the license terms. All other accounts must be created by an admin.

Quickstart
Quickstart
The Quickstart is a wizard that lets you explore some of Fusion’s core capabilities: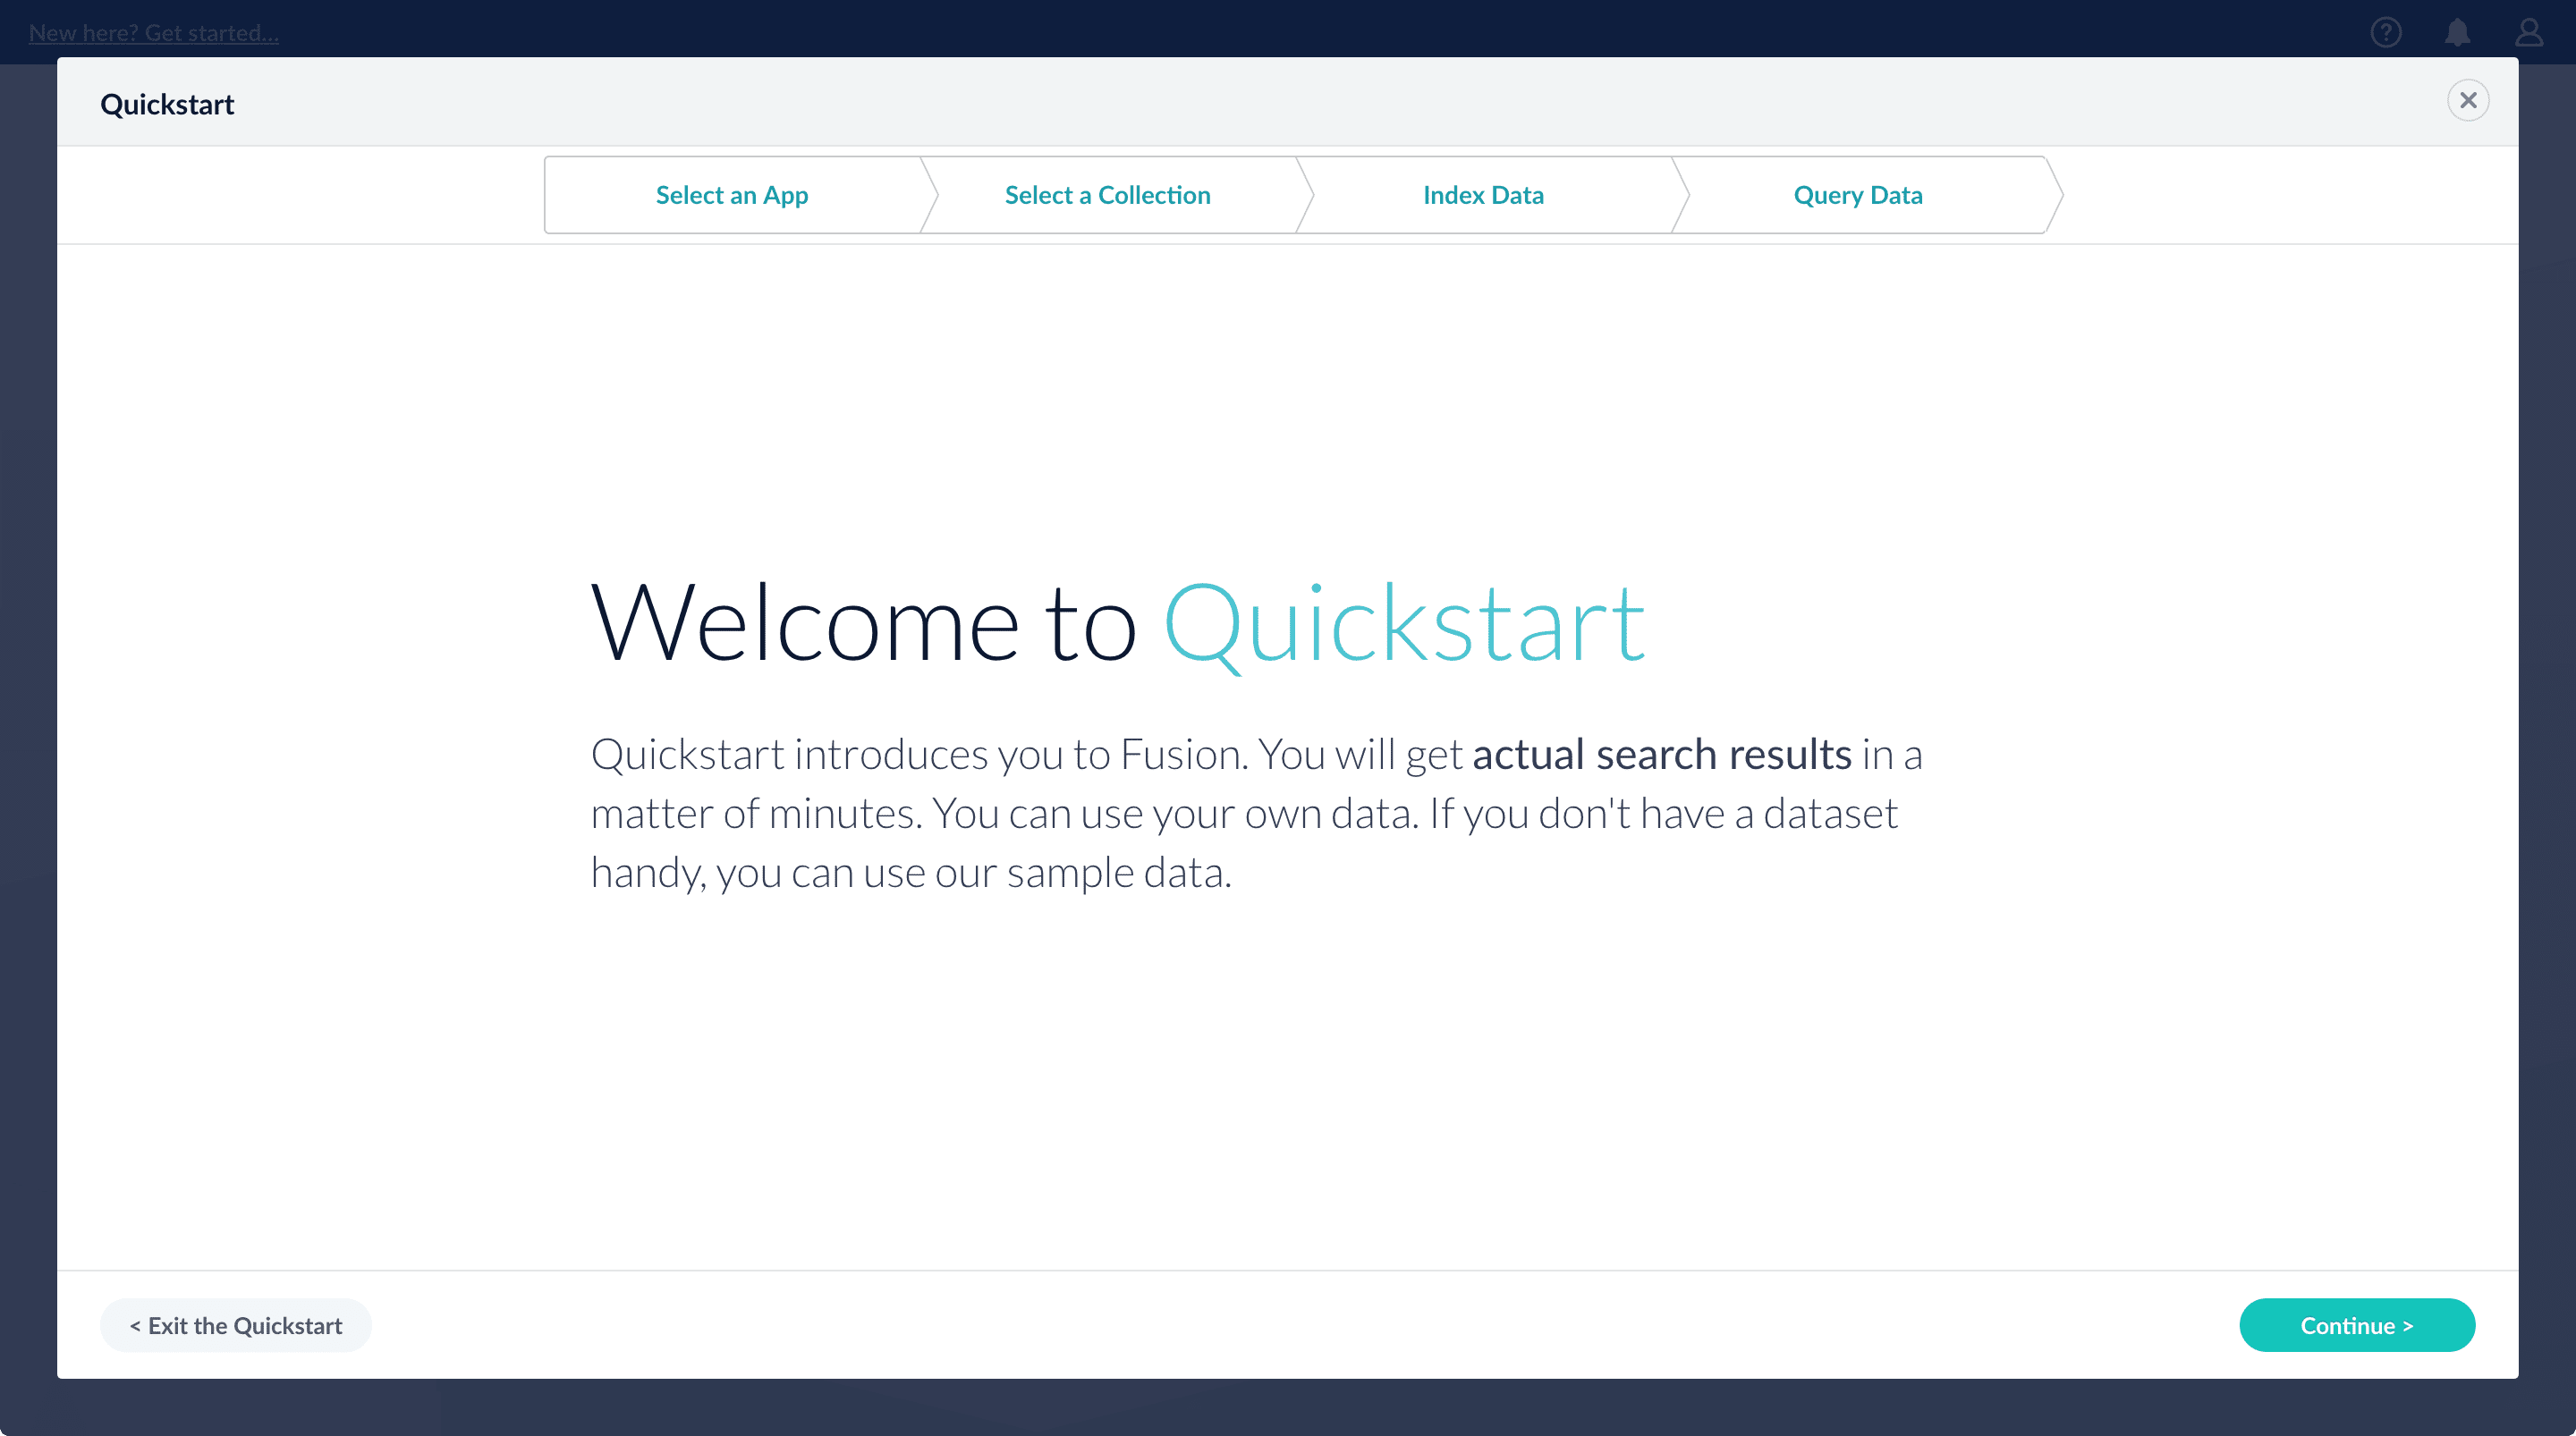
- Creating or selecting an app
- Selecting a collection (where data is stored)
- Indexing data
- Searching
Using The Quickstart Wizard
The course for Using The Quickstart Wizard focuses on using the wizard to practice using the key functions of Fusion.
Step through the Quickstart wizard
If it is not already open, open the Quickstart wizard. In the Fusion launcher, click New here? Get started….-
Click Continue.
On the Select an App screen, you can select or create an app for your quickstart data.
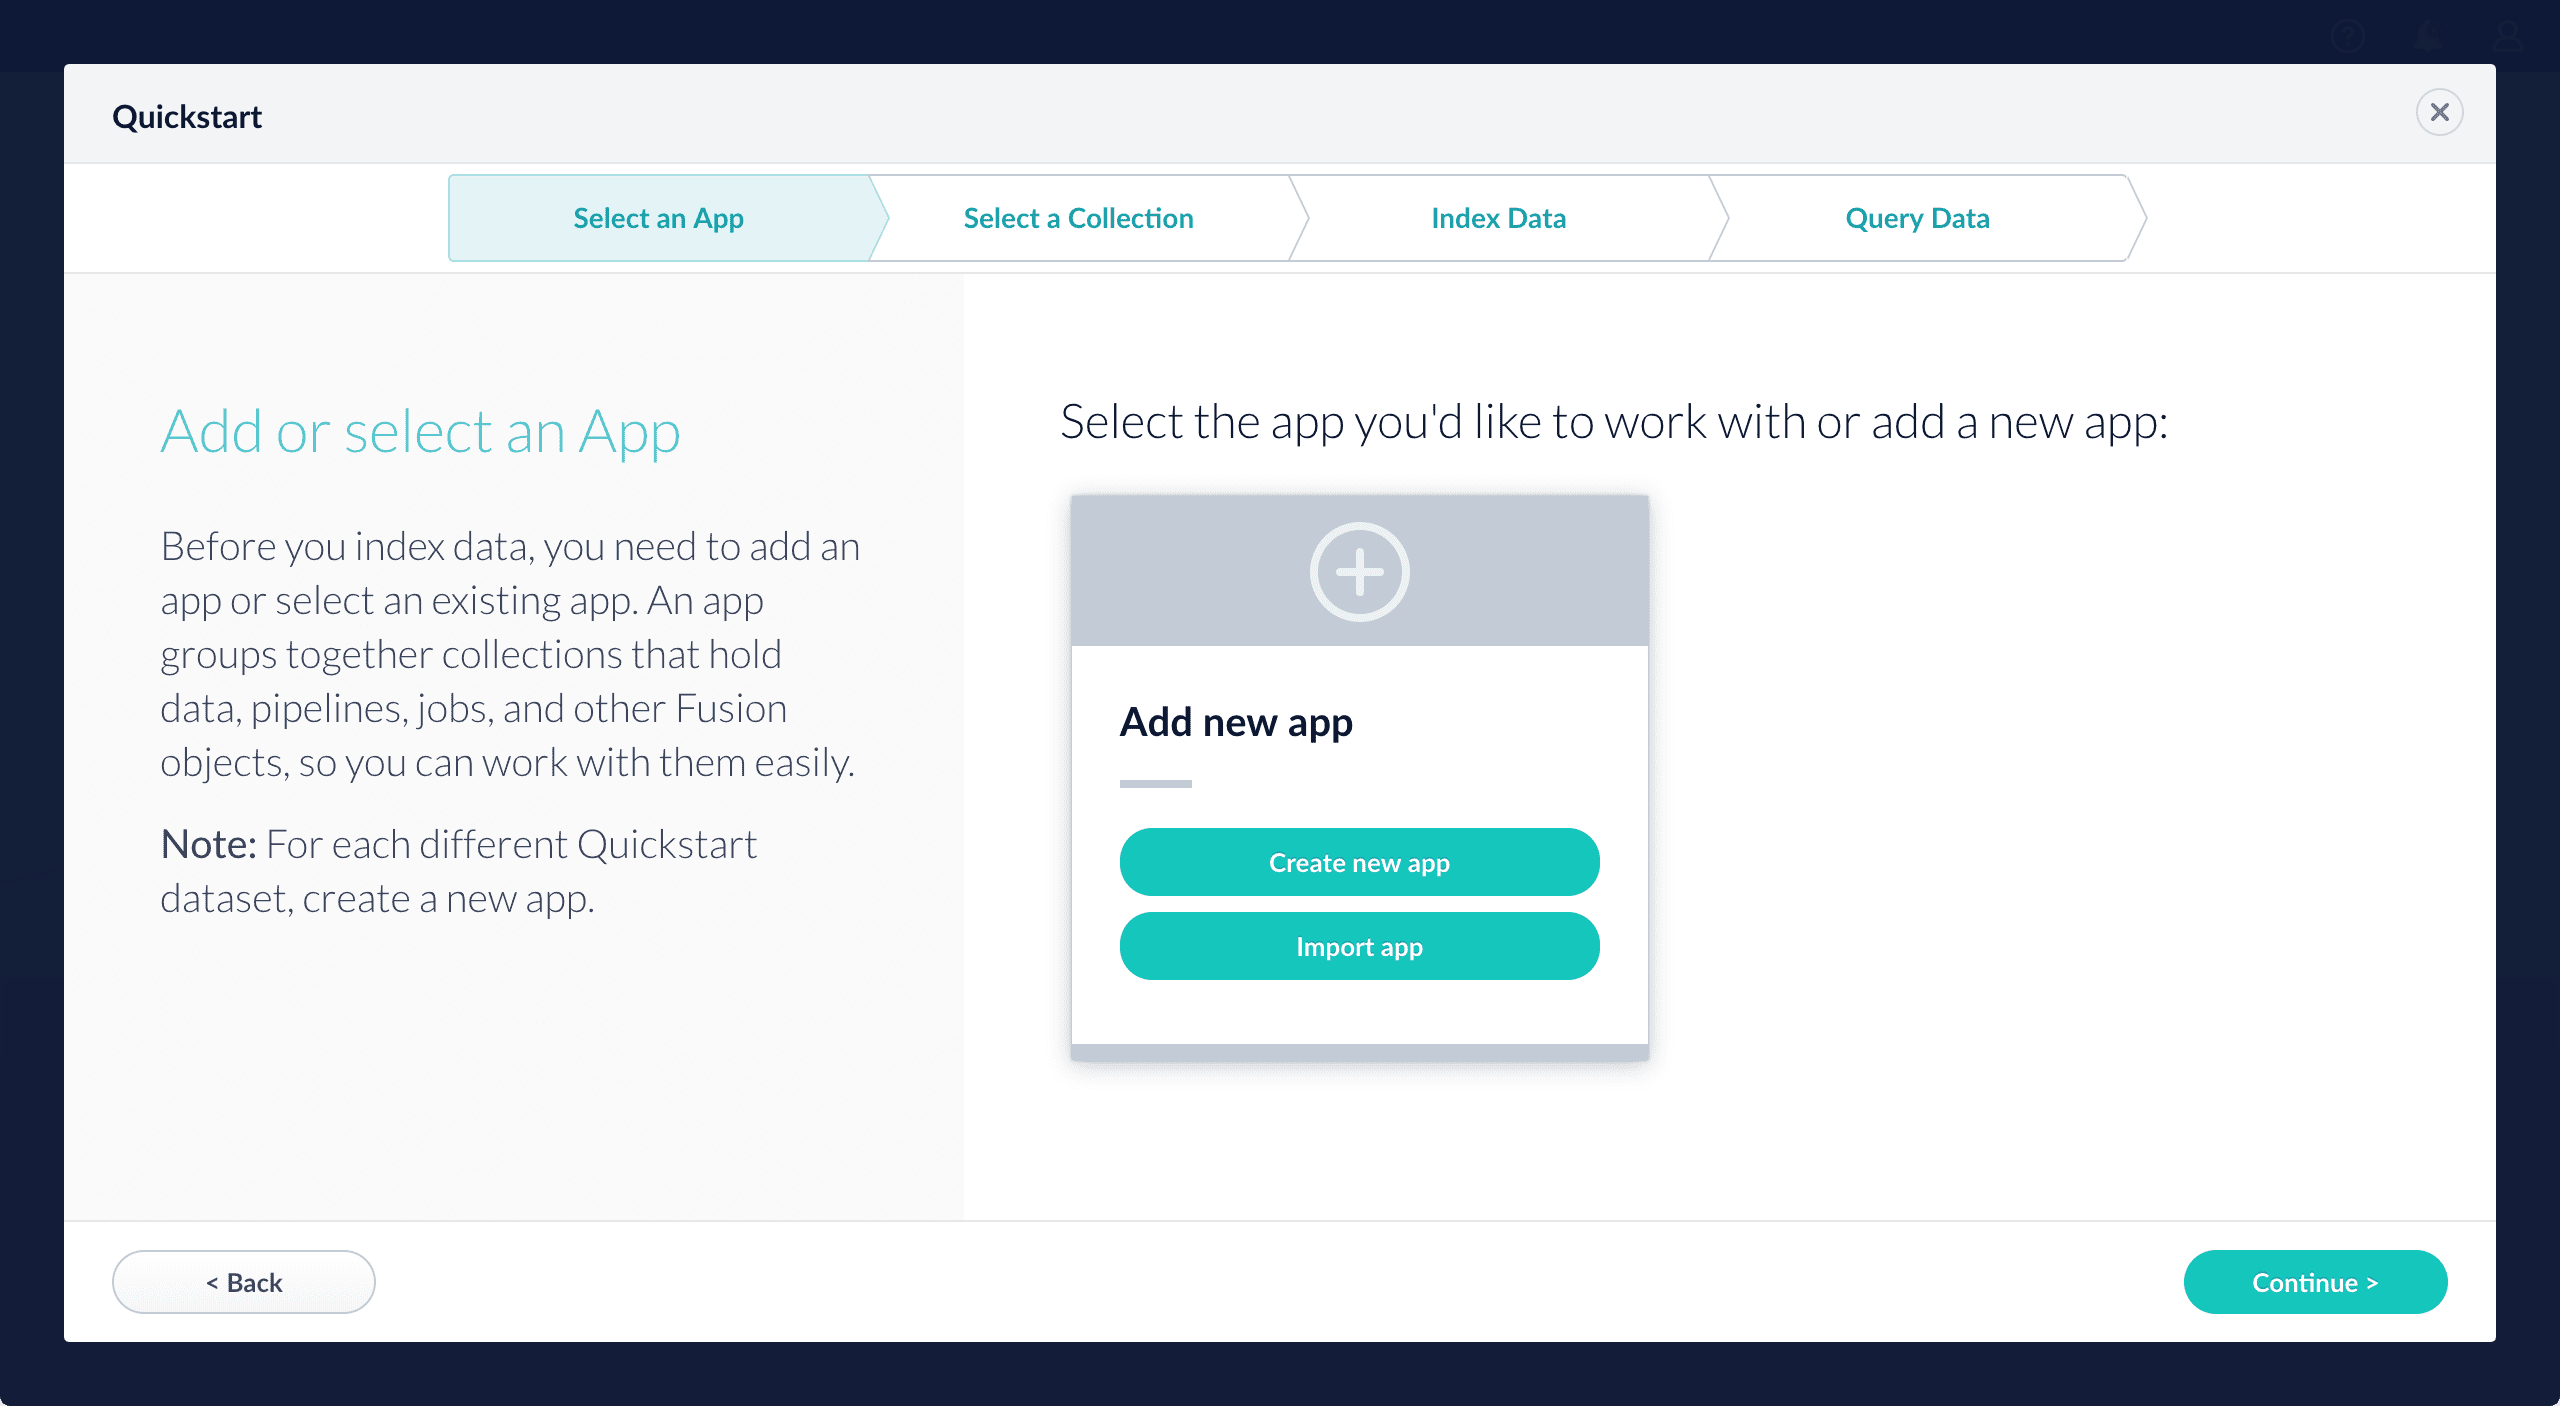
-
After selecting an app, click Continue.
On the Select a Collection screen, you can select or create a collection for your quickstart data. A collection with the same name as your app is created automatically:
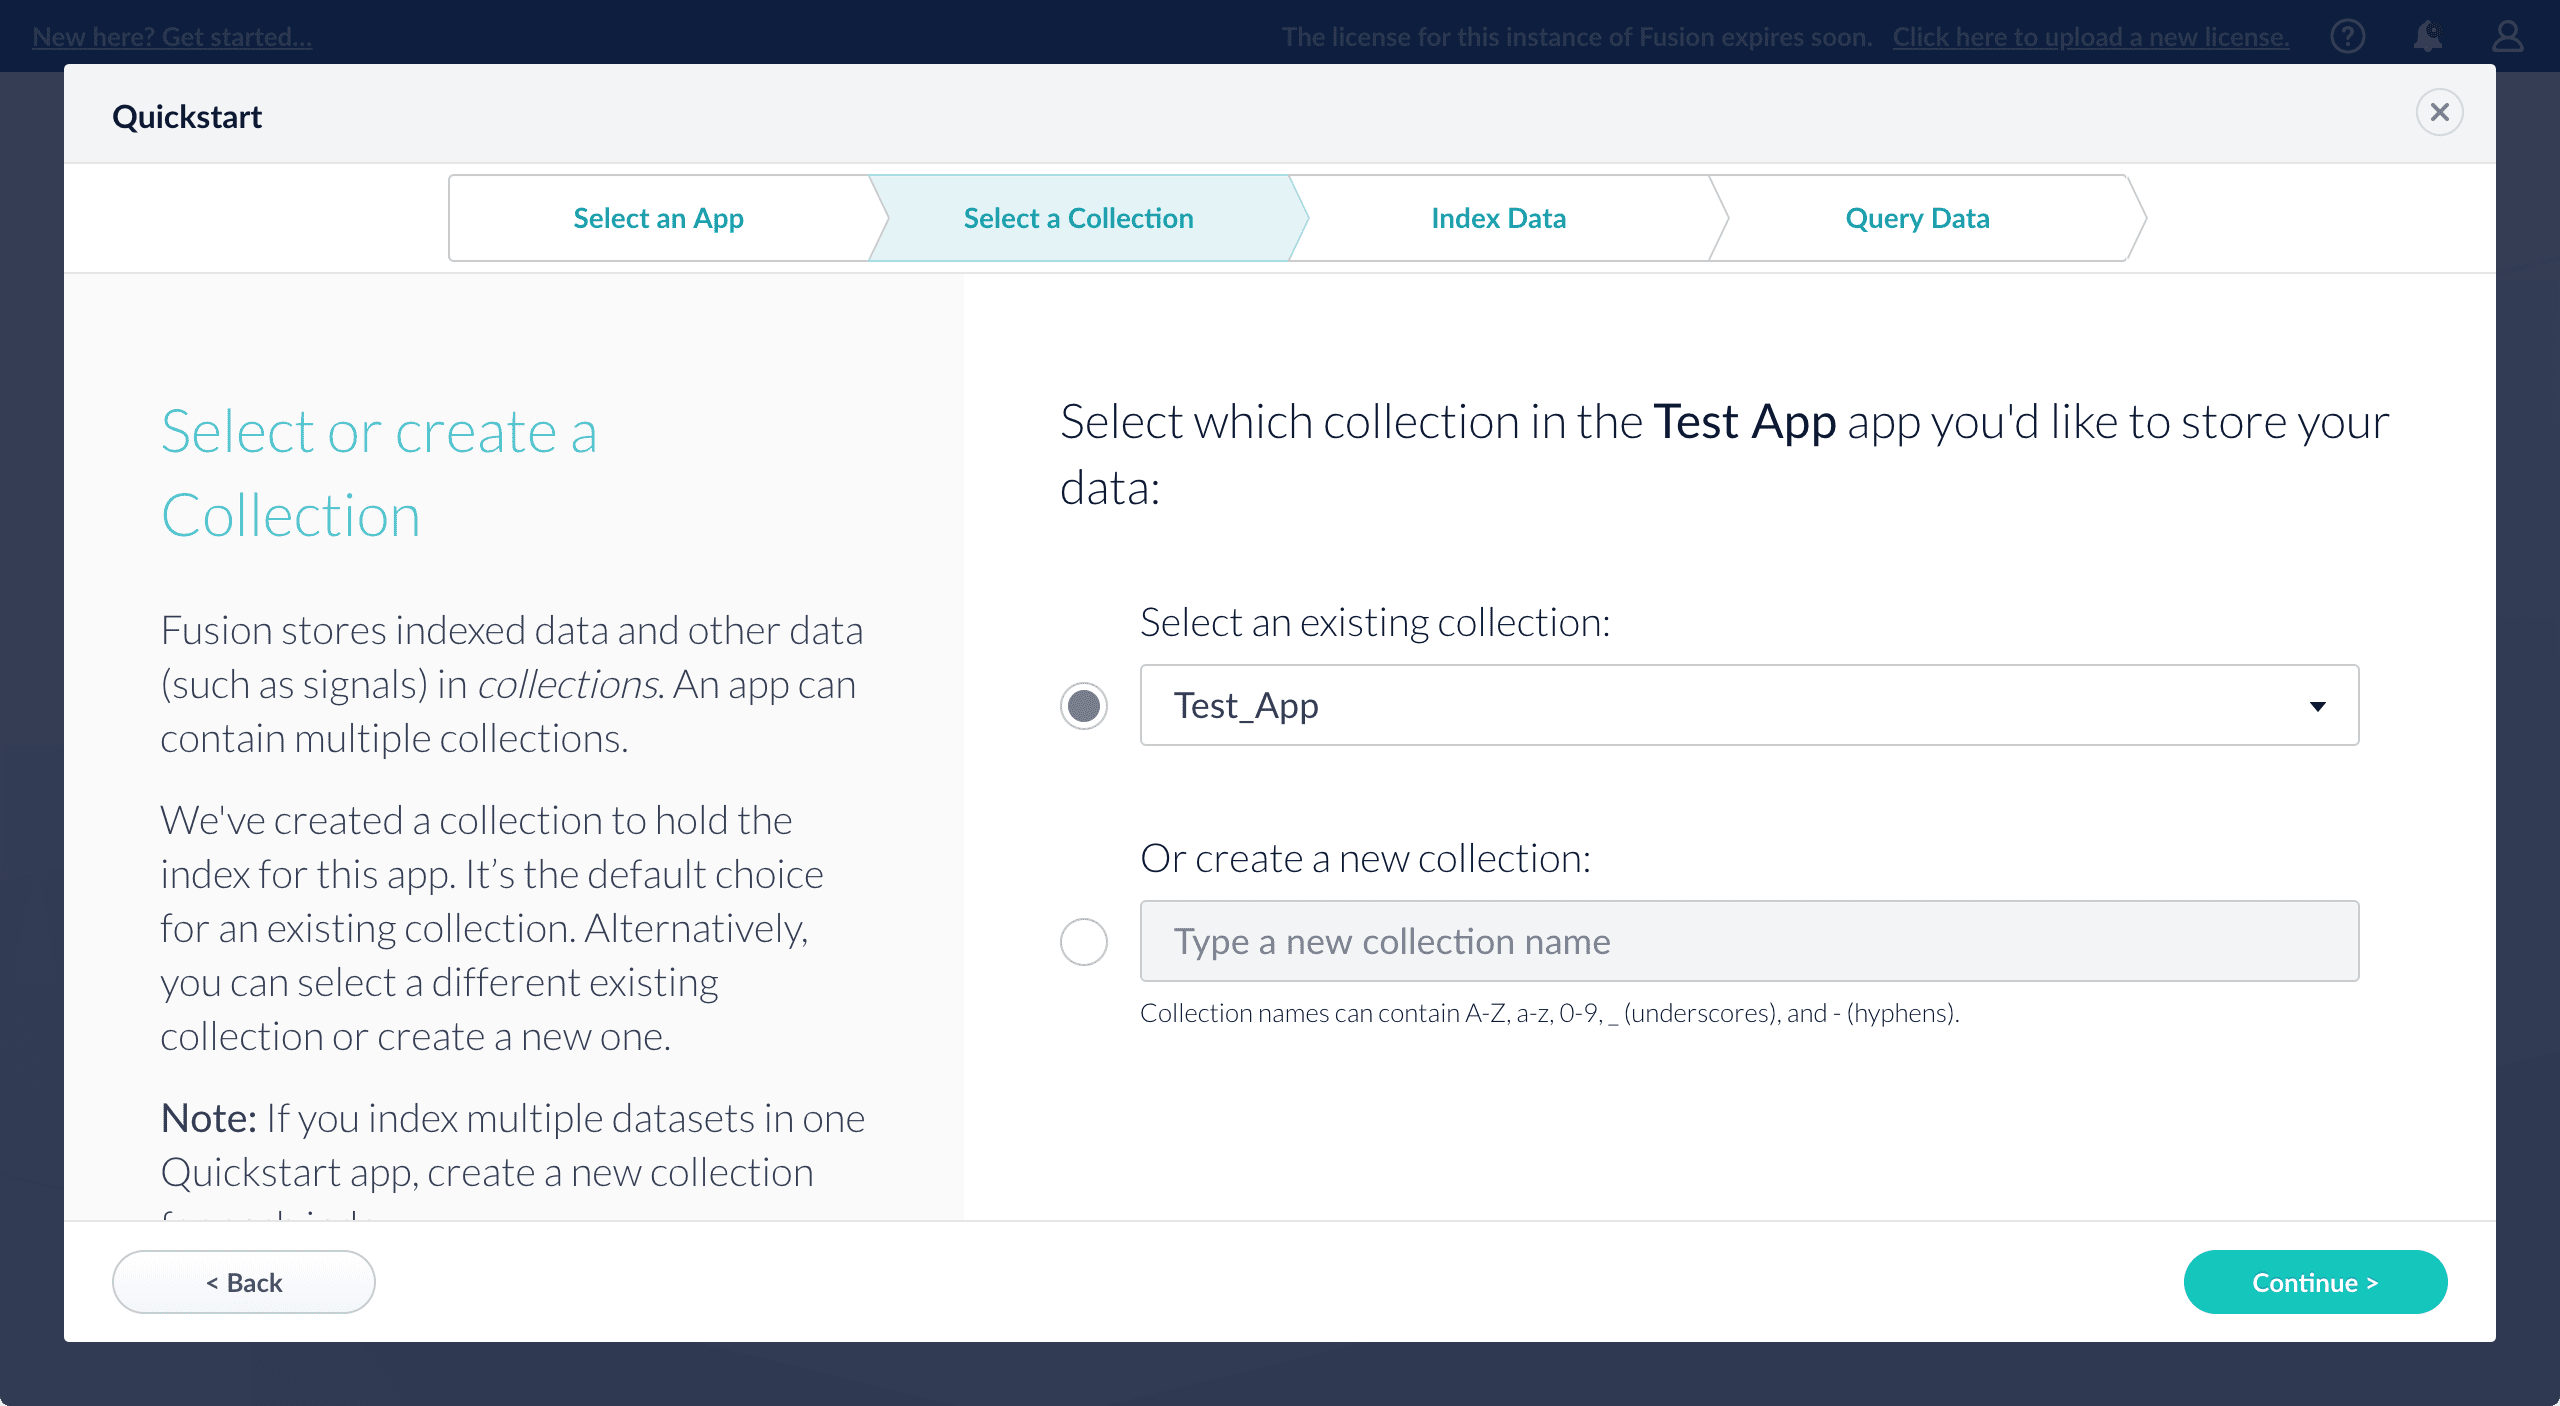
-
Click Continue.
On the Index Data screen, you can either select one of the built-in sample datasets or click Use my data to upload your own: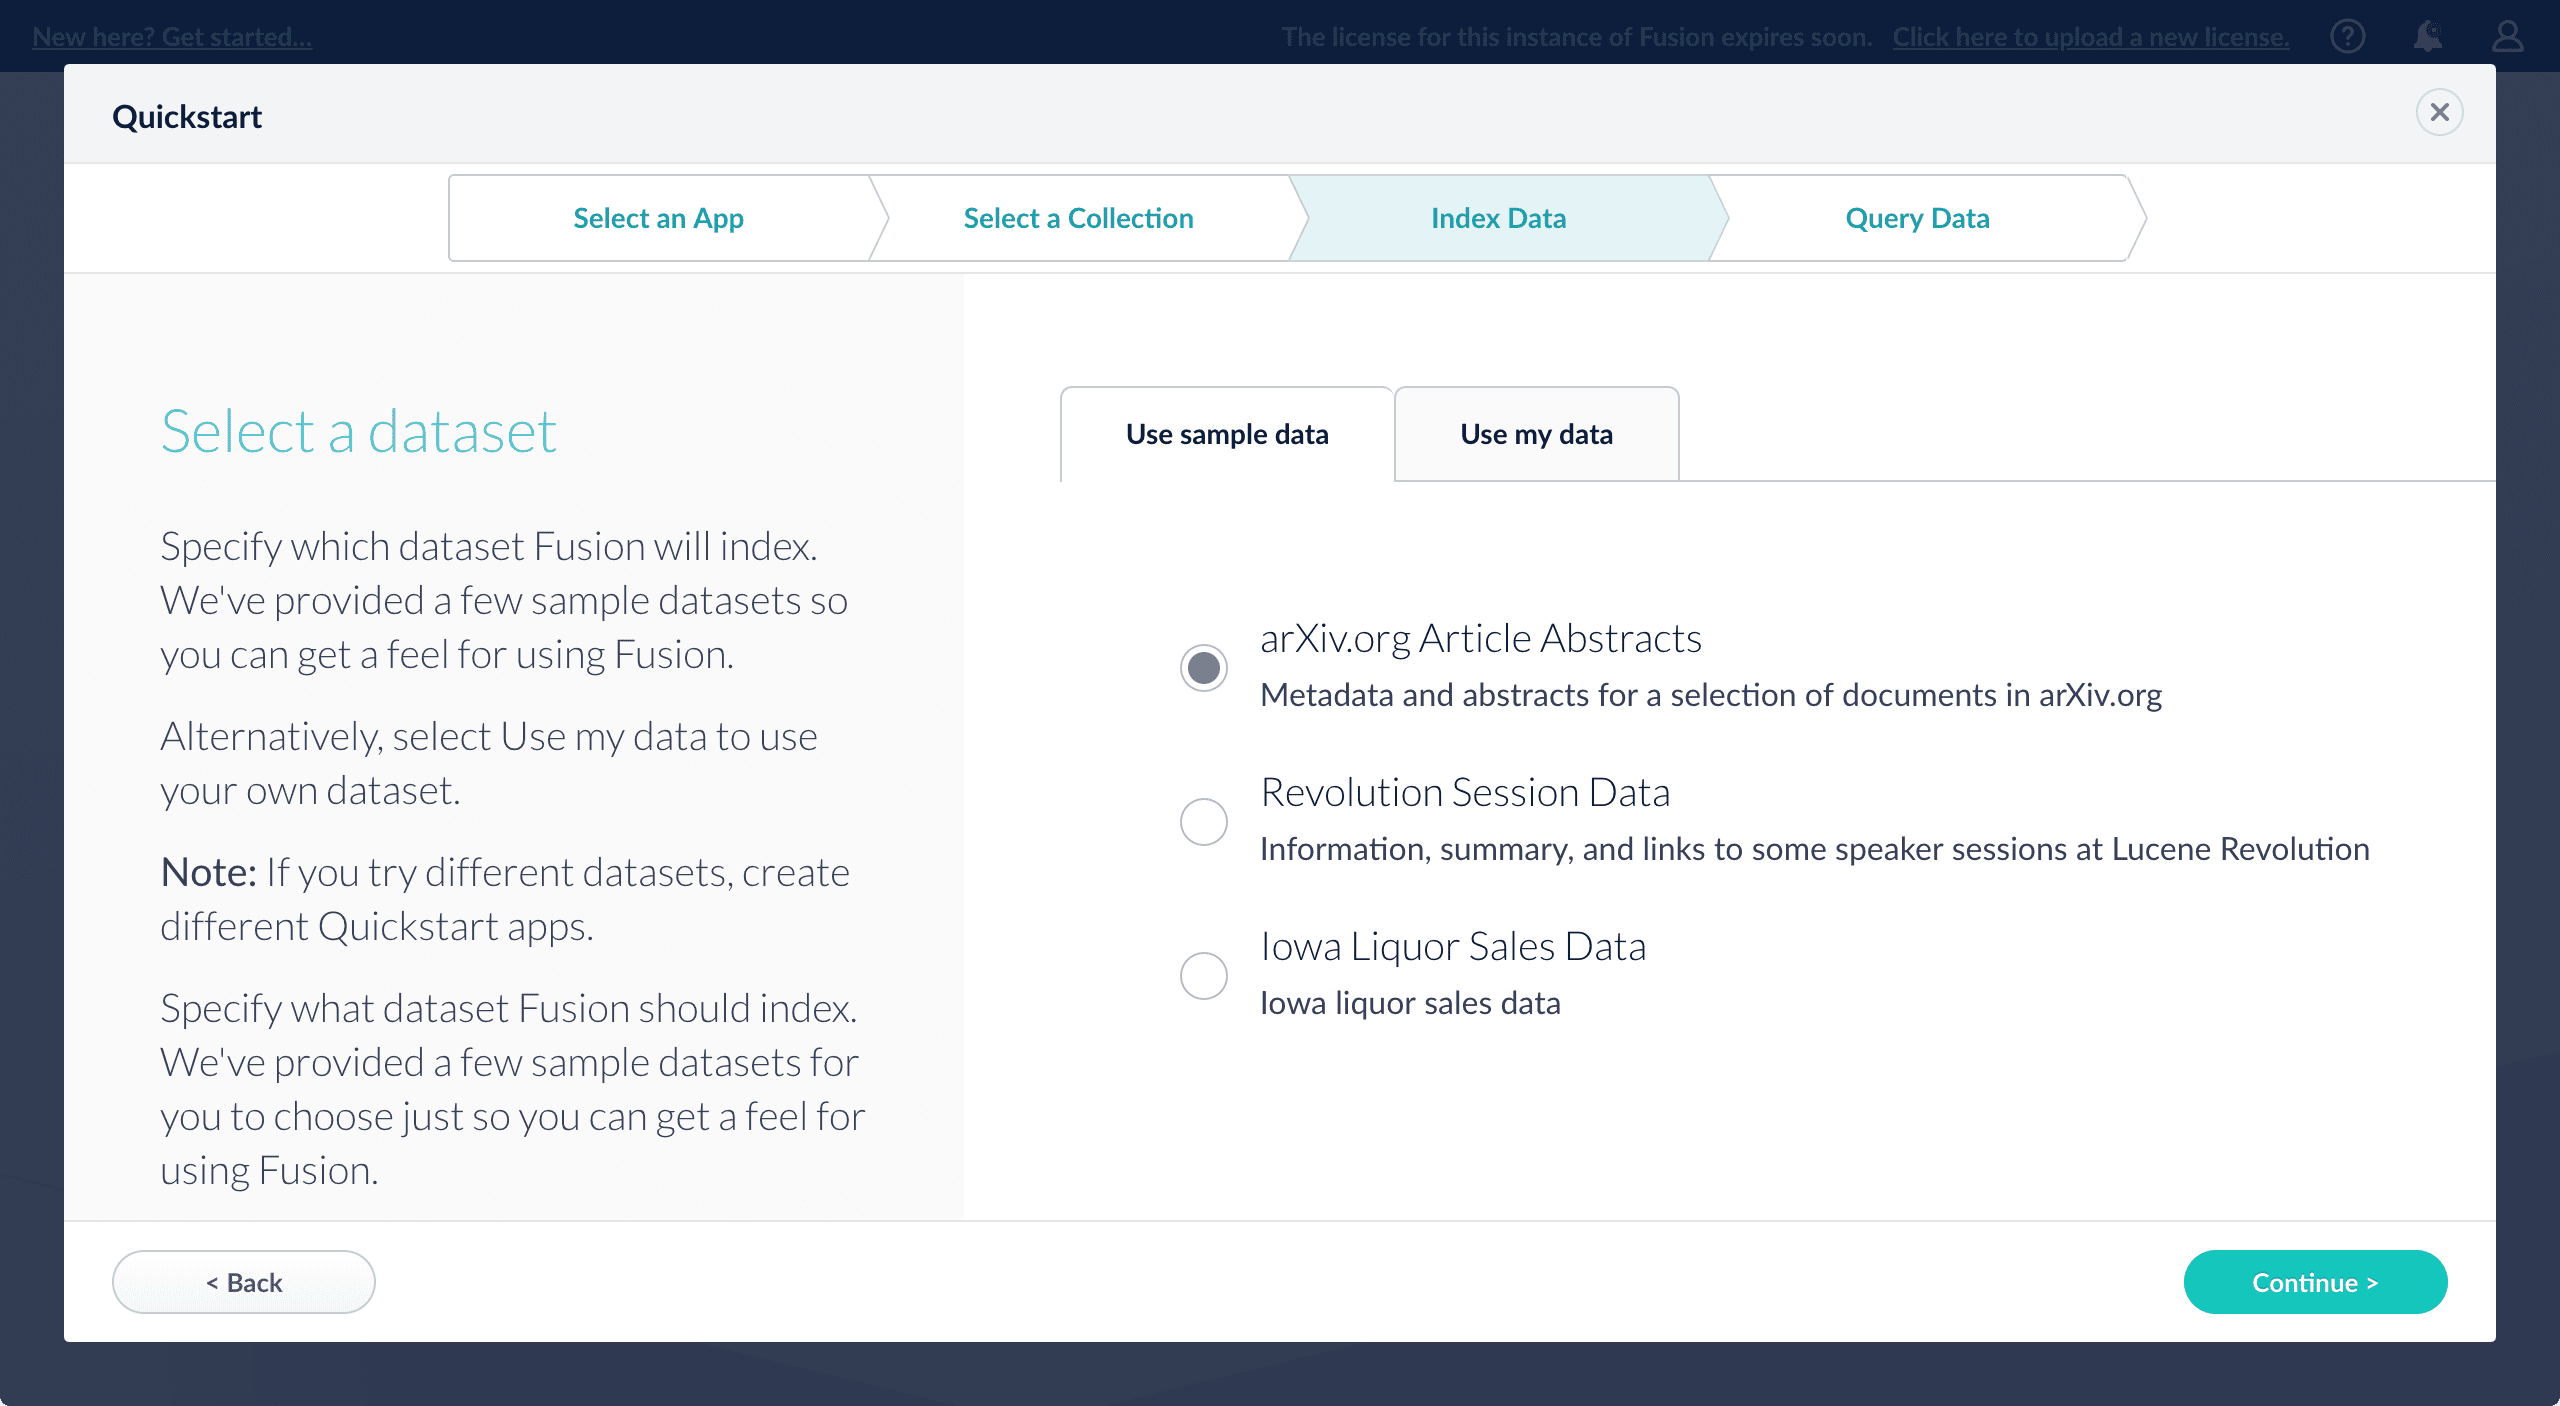
-
Click Continue.
On the Query Data screen, you can see all search results and enter your own search queries to test the indexed dataset. You can also select the display fields or view the parsed documents: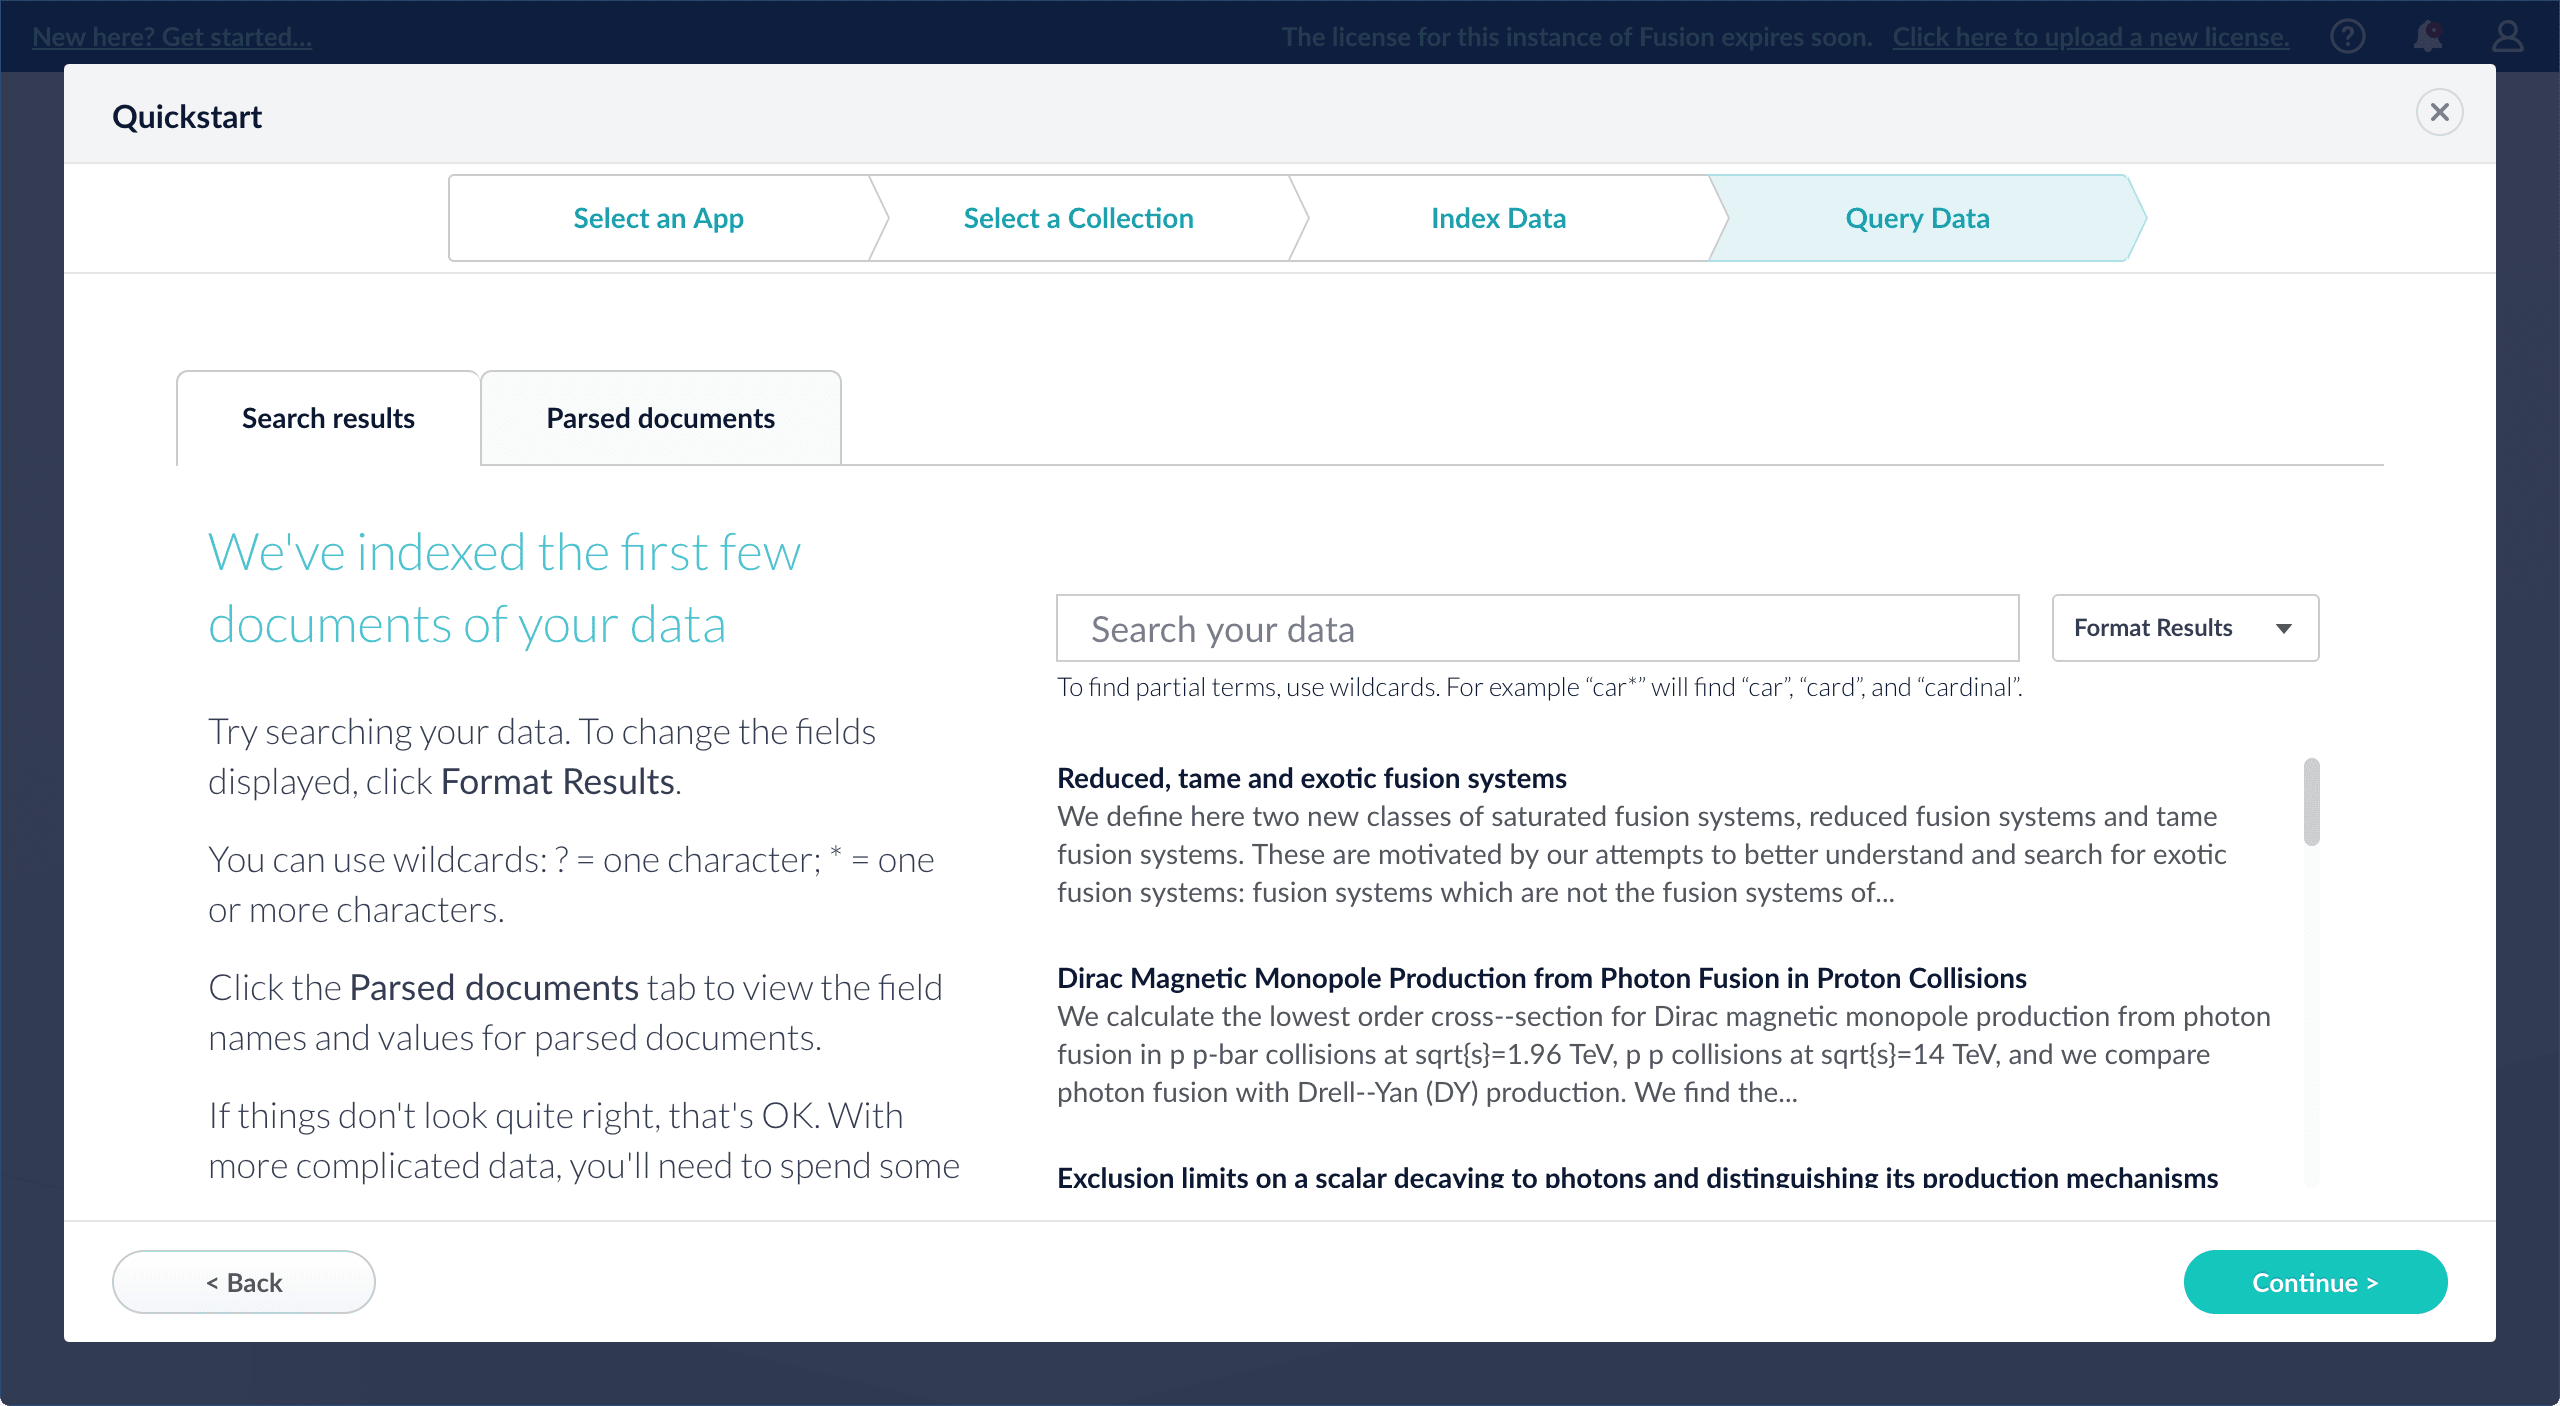
-
Click Continue.

- Open the Index Workbench to change the index pipeline.
- Open the Query Workbench to change the query pipeline. The workbenches are essentials tools in the Fusion workflow.
-
Open App Studio to create a user interface for searching this collection.
App Studio is only available in Fusion 4.1 and 4.2.
Getting Started with Fusion Server
Getting Started with Fusion Server
This tutorial takes you from installation to application-ready search data in four easy parts, using a MovieLens dataset.
- Part 1: Run Fusion and Create an App Download, install Fusion, and run Fusion, then create a Movie Search app.
- Part 2: Get Data In Use the Index Workbench to configure an index pipeline, preview the results, and get data into the Movie Search app in a format that is useful for search.
- Part 3: Get Data Out Use Query Workbench to get data out of the Movie Search app, explore the role of query pipeline stages, configure faceting, and preview search results.
- Part 4: Improve Relevancy Use signals and boosting to make search results more relevant.
A brief tour
- The launcher is where you can view all of the apps in your Fusion environment and create new ones.
- The Fusion workspace is where you configure how an app ingests, indexes, queries, and analyzes data.
The Fusion launcher
When you log in to Fusion Server, the first page is the Fusion launcher. This is where you create and launch apps: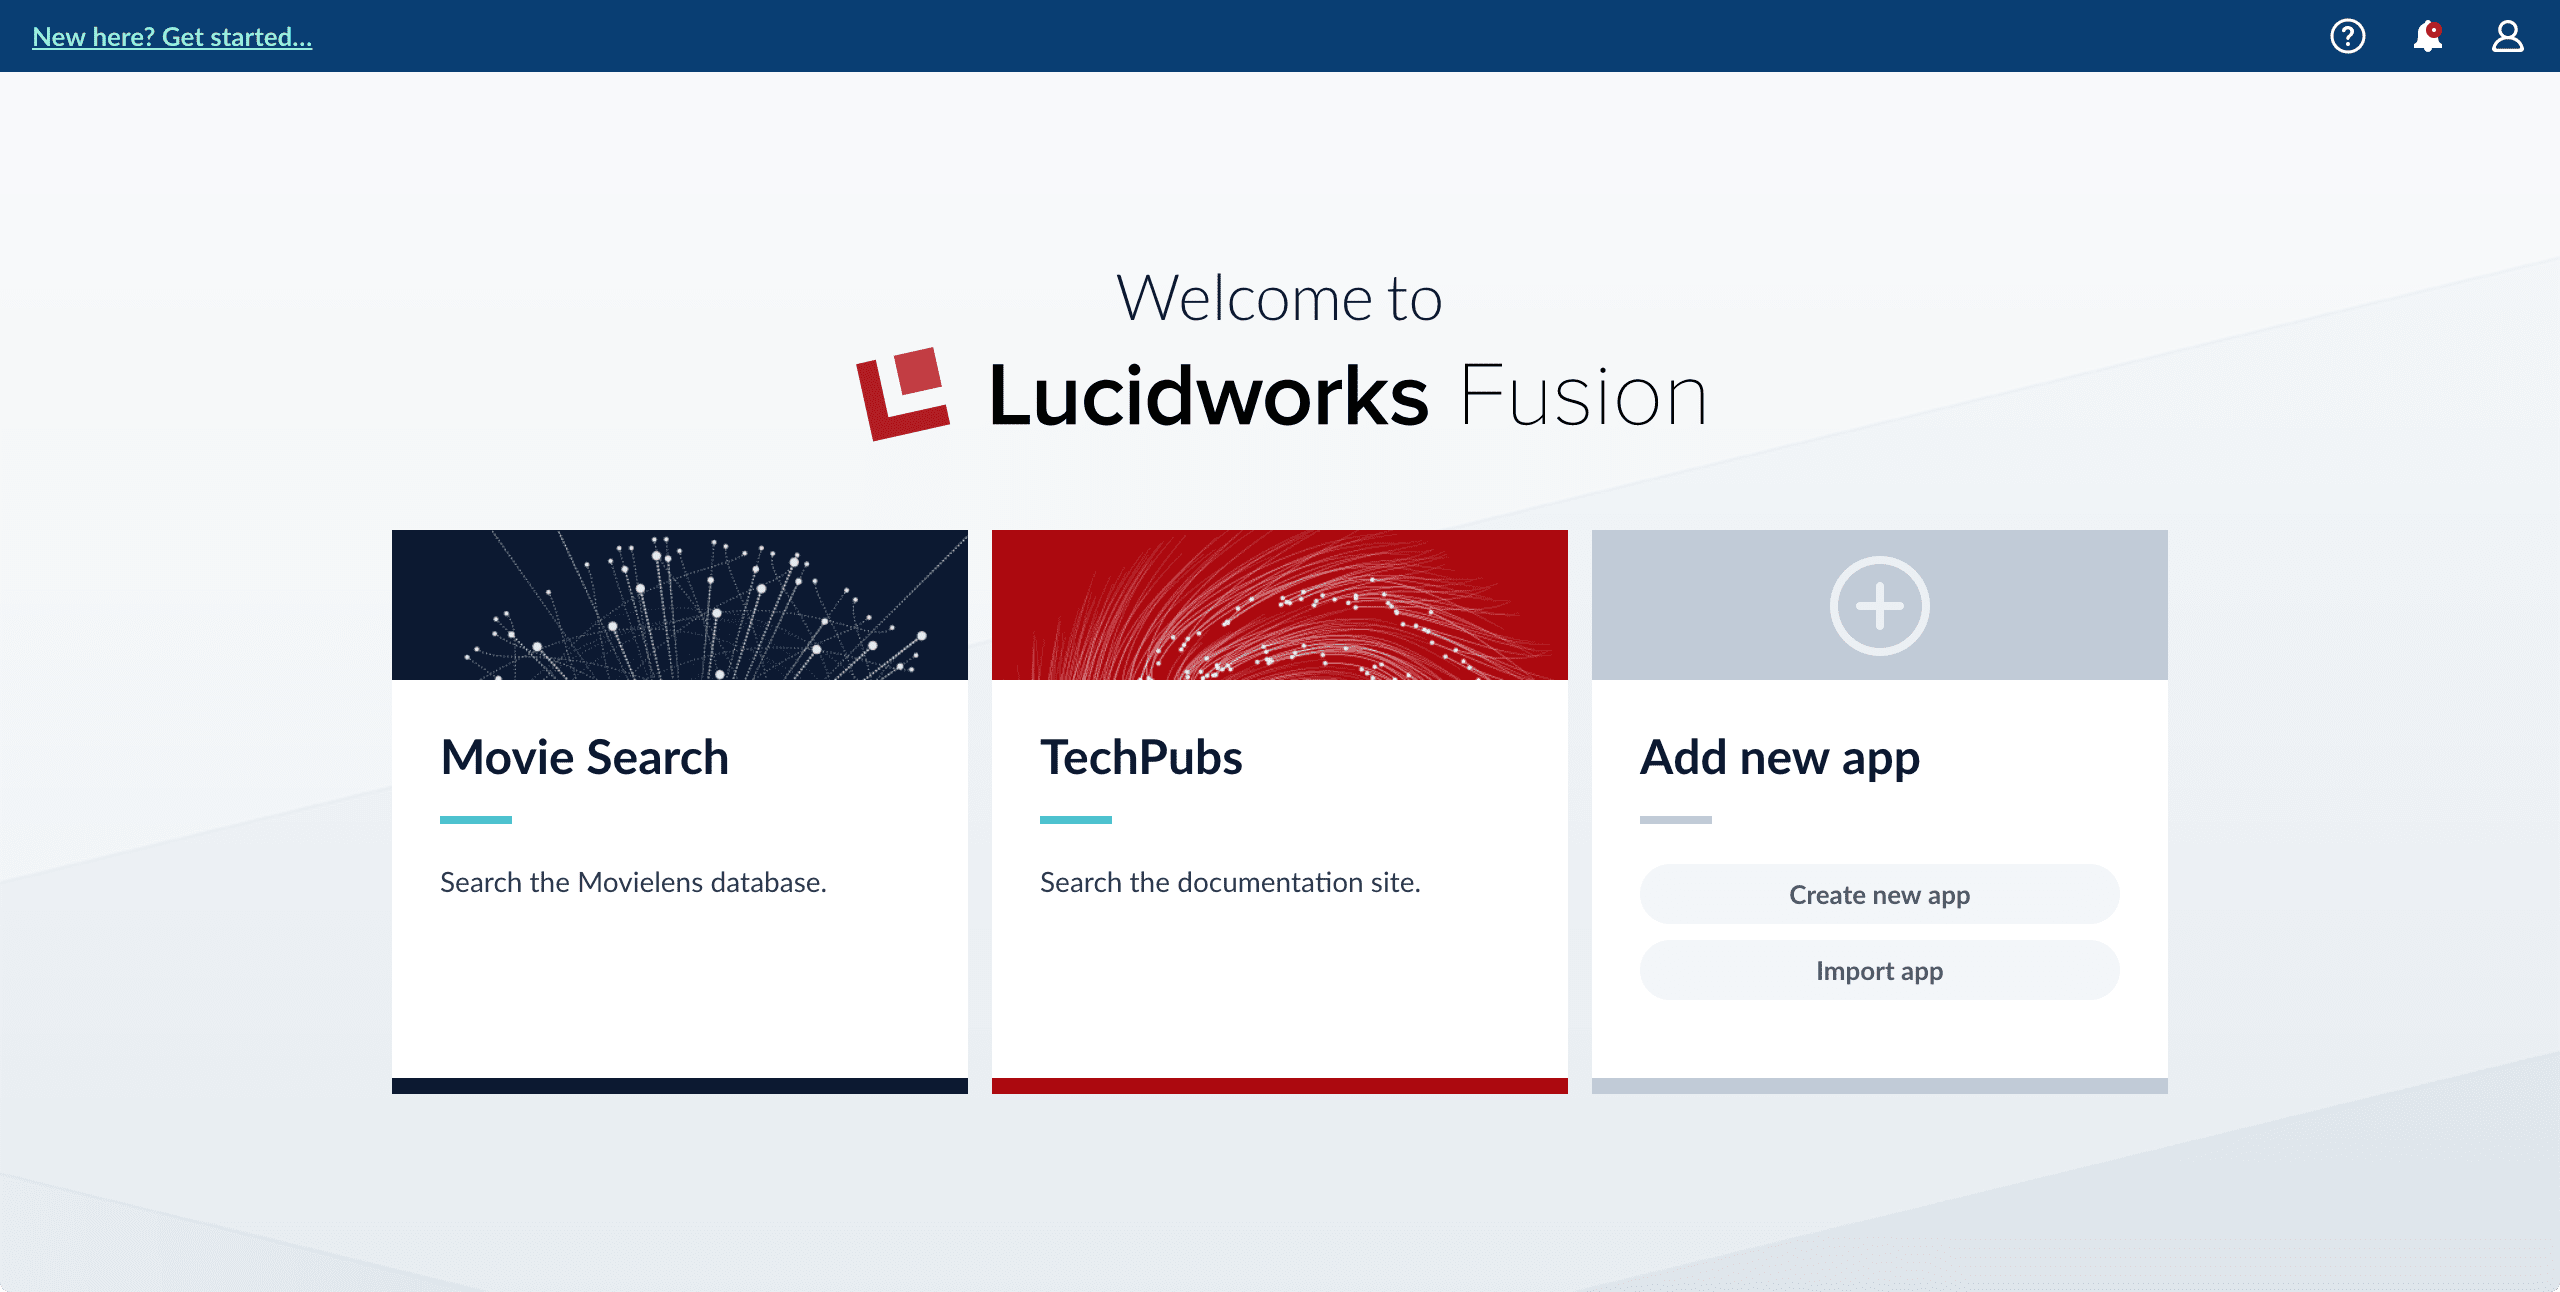
Create an App
Create an App
To create an app in App Studio:
-
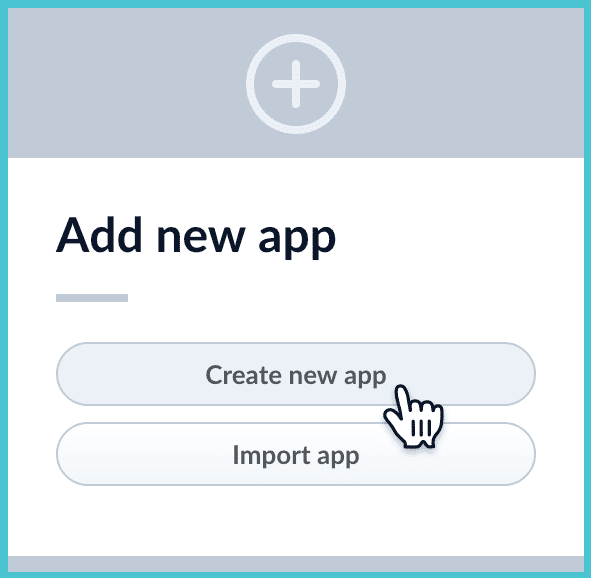
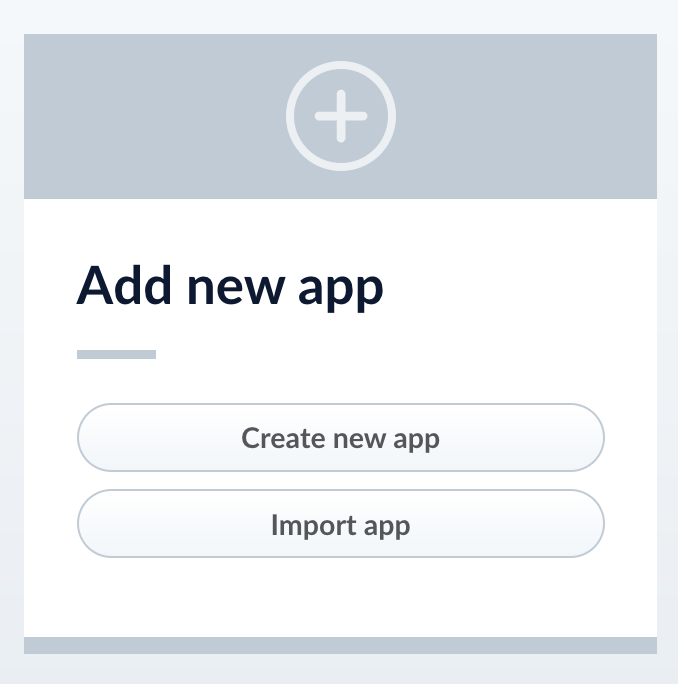
Navigate to the launcher and click Create new app.
- Enter an app name. Optionally, you can also enter a description and select the app tile color. If you want to choose the name of the first collection in the app, then deselect Create new app default collection. When you do this and click Create app (in the next step), Fusion Server prompts you to enter a name for the first collection. Otherwise, Fusion Server creates a default collection whose name is the same as the app name.
- Click Create App. The Fusion workspace appears, and you are ready to work with your app’s first collection.
The Fusion workspace
You can reach the Fusion workspace by clicking on any app in the launcher. When you enter the Fusion workspace, you find all the tools you need to configure the currently-selected app:
- On the left side are the app tool menus, where you can find tools for working with your app.
- At the top, you can use Object Explorer to search for and browse objects that are in the current app, in any app, in no apps, and in any app or no apps.
- System-wide tools are in the upper right corner.
App tool menus
On the left side of the screen are five menus where you can find tools for working with your app:- Indexing (getting data in)
The Index Workbench is the primary tool for getting data into your app through the Fusion UI. It provides an all-in-one view of the components of a datasource. You can also access those components individually through this menu. - Querying (getting data out)
For getting data out, the Query Workbench is the main tool. It shows you a live preview of search results while you configure and fine tune your query pipelines.
See also Getting Data Out. - Collection management
Manage your data collections and configure their features.
See also Collection Management. - System administration
System administration for your apps.
See the System Administration with the Fusion UI.
Finding objects in Object Explorer
At the top of the Fusion workspace is a Find Objects search field. When you click Find Objects, Object Explorer opens.
Share Objects Between Fusion Apps
Share Objects Between Fusion Apps
Sharing objects between apps lets you reuse parts of apps and synchronize apps without duplicating objects. For example, after you have developed a query pipeline that is well-suited to your data and search application, you can reuse it in another app with a different set of datasources.To share an object between apps:
When a shared object is modified in one app, the changes affect all other apps that share the object.
- Navigate to the app that does not yet include the object.
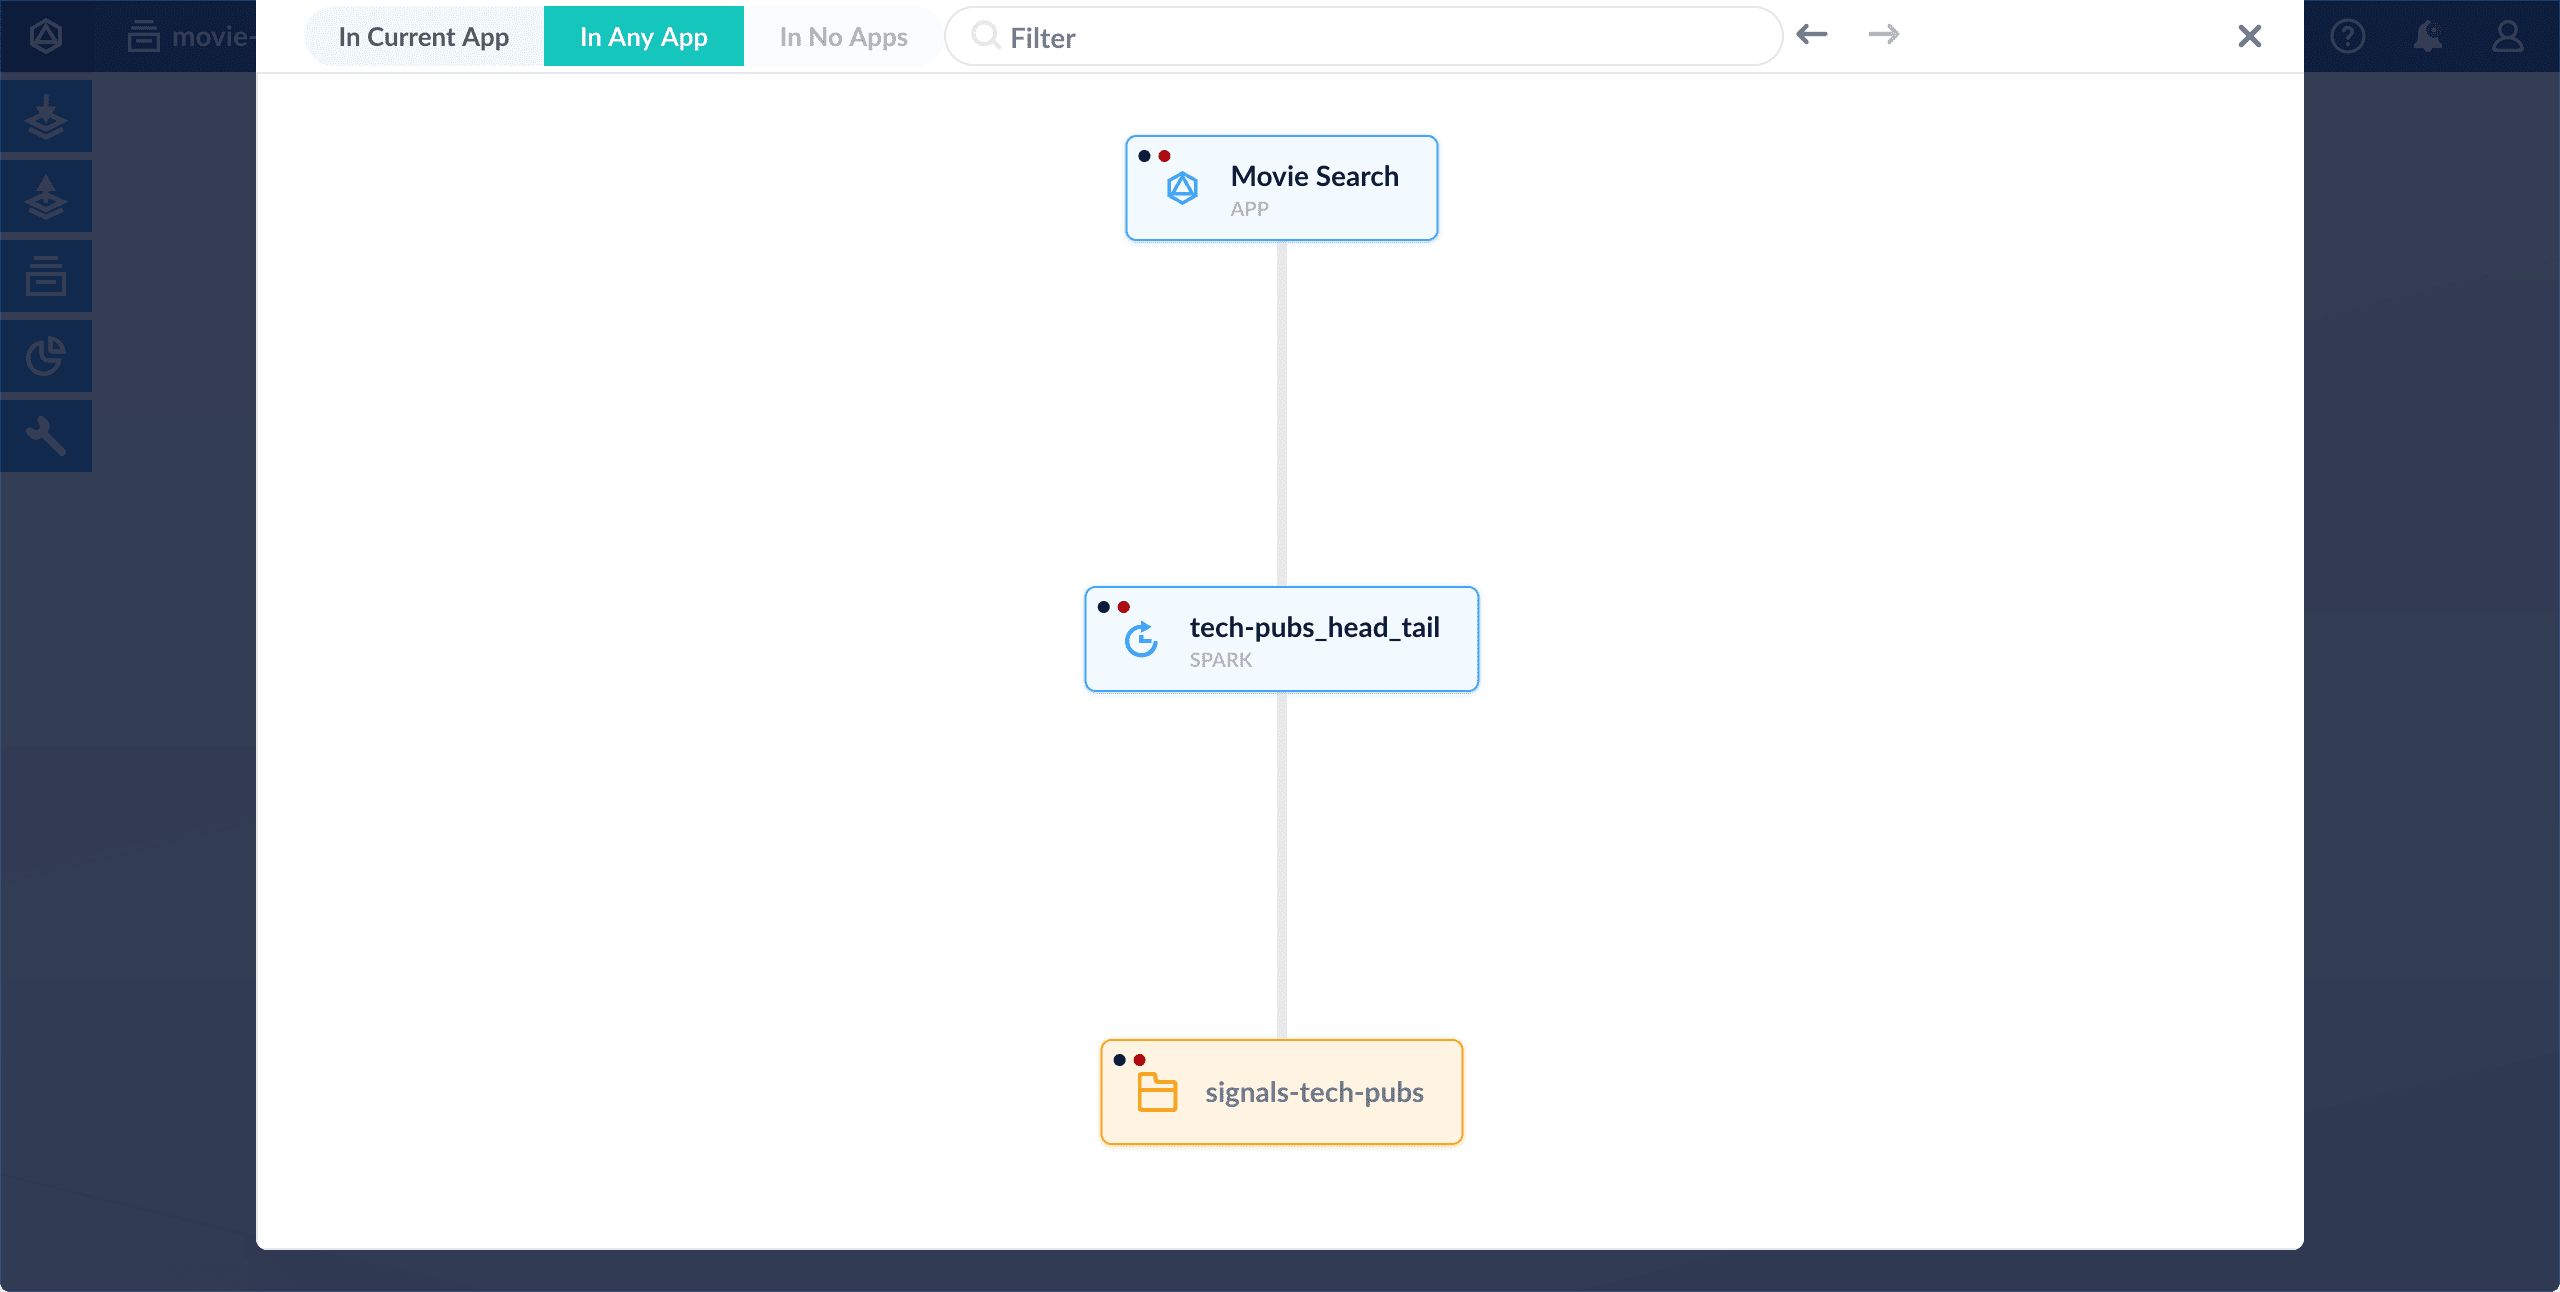
- Navigate to System > Object Explorer or click Find Objects.
- Click In Any App.
- Select the object you want to include in this app.
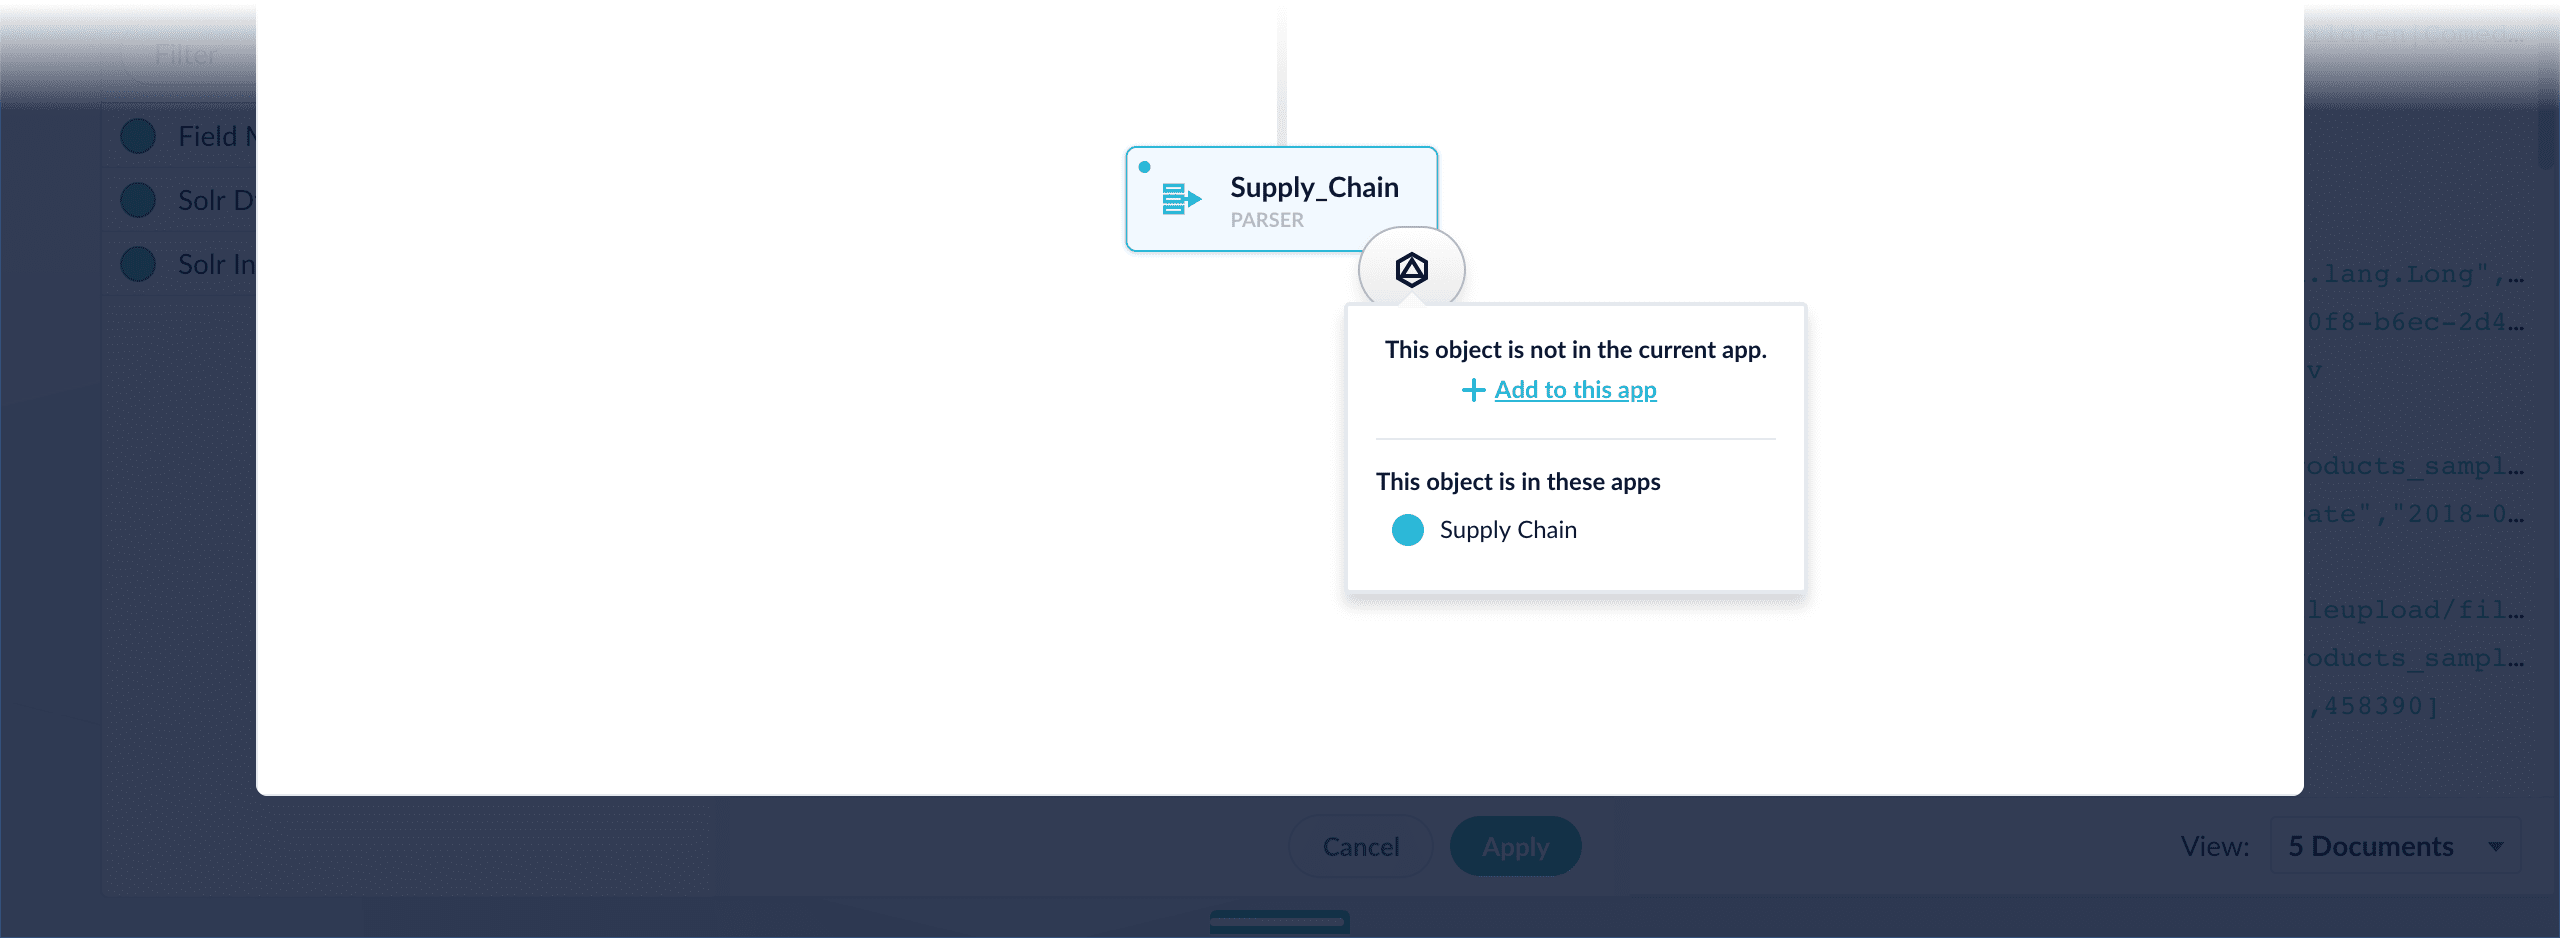
-
Hover over the object to reveal the app icon.
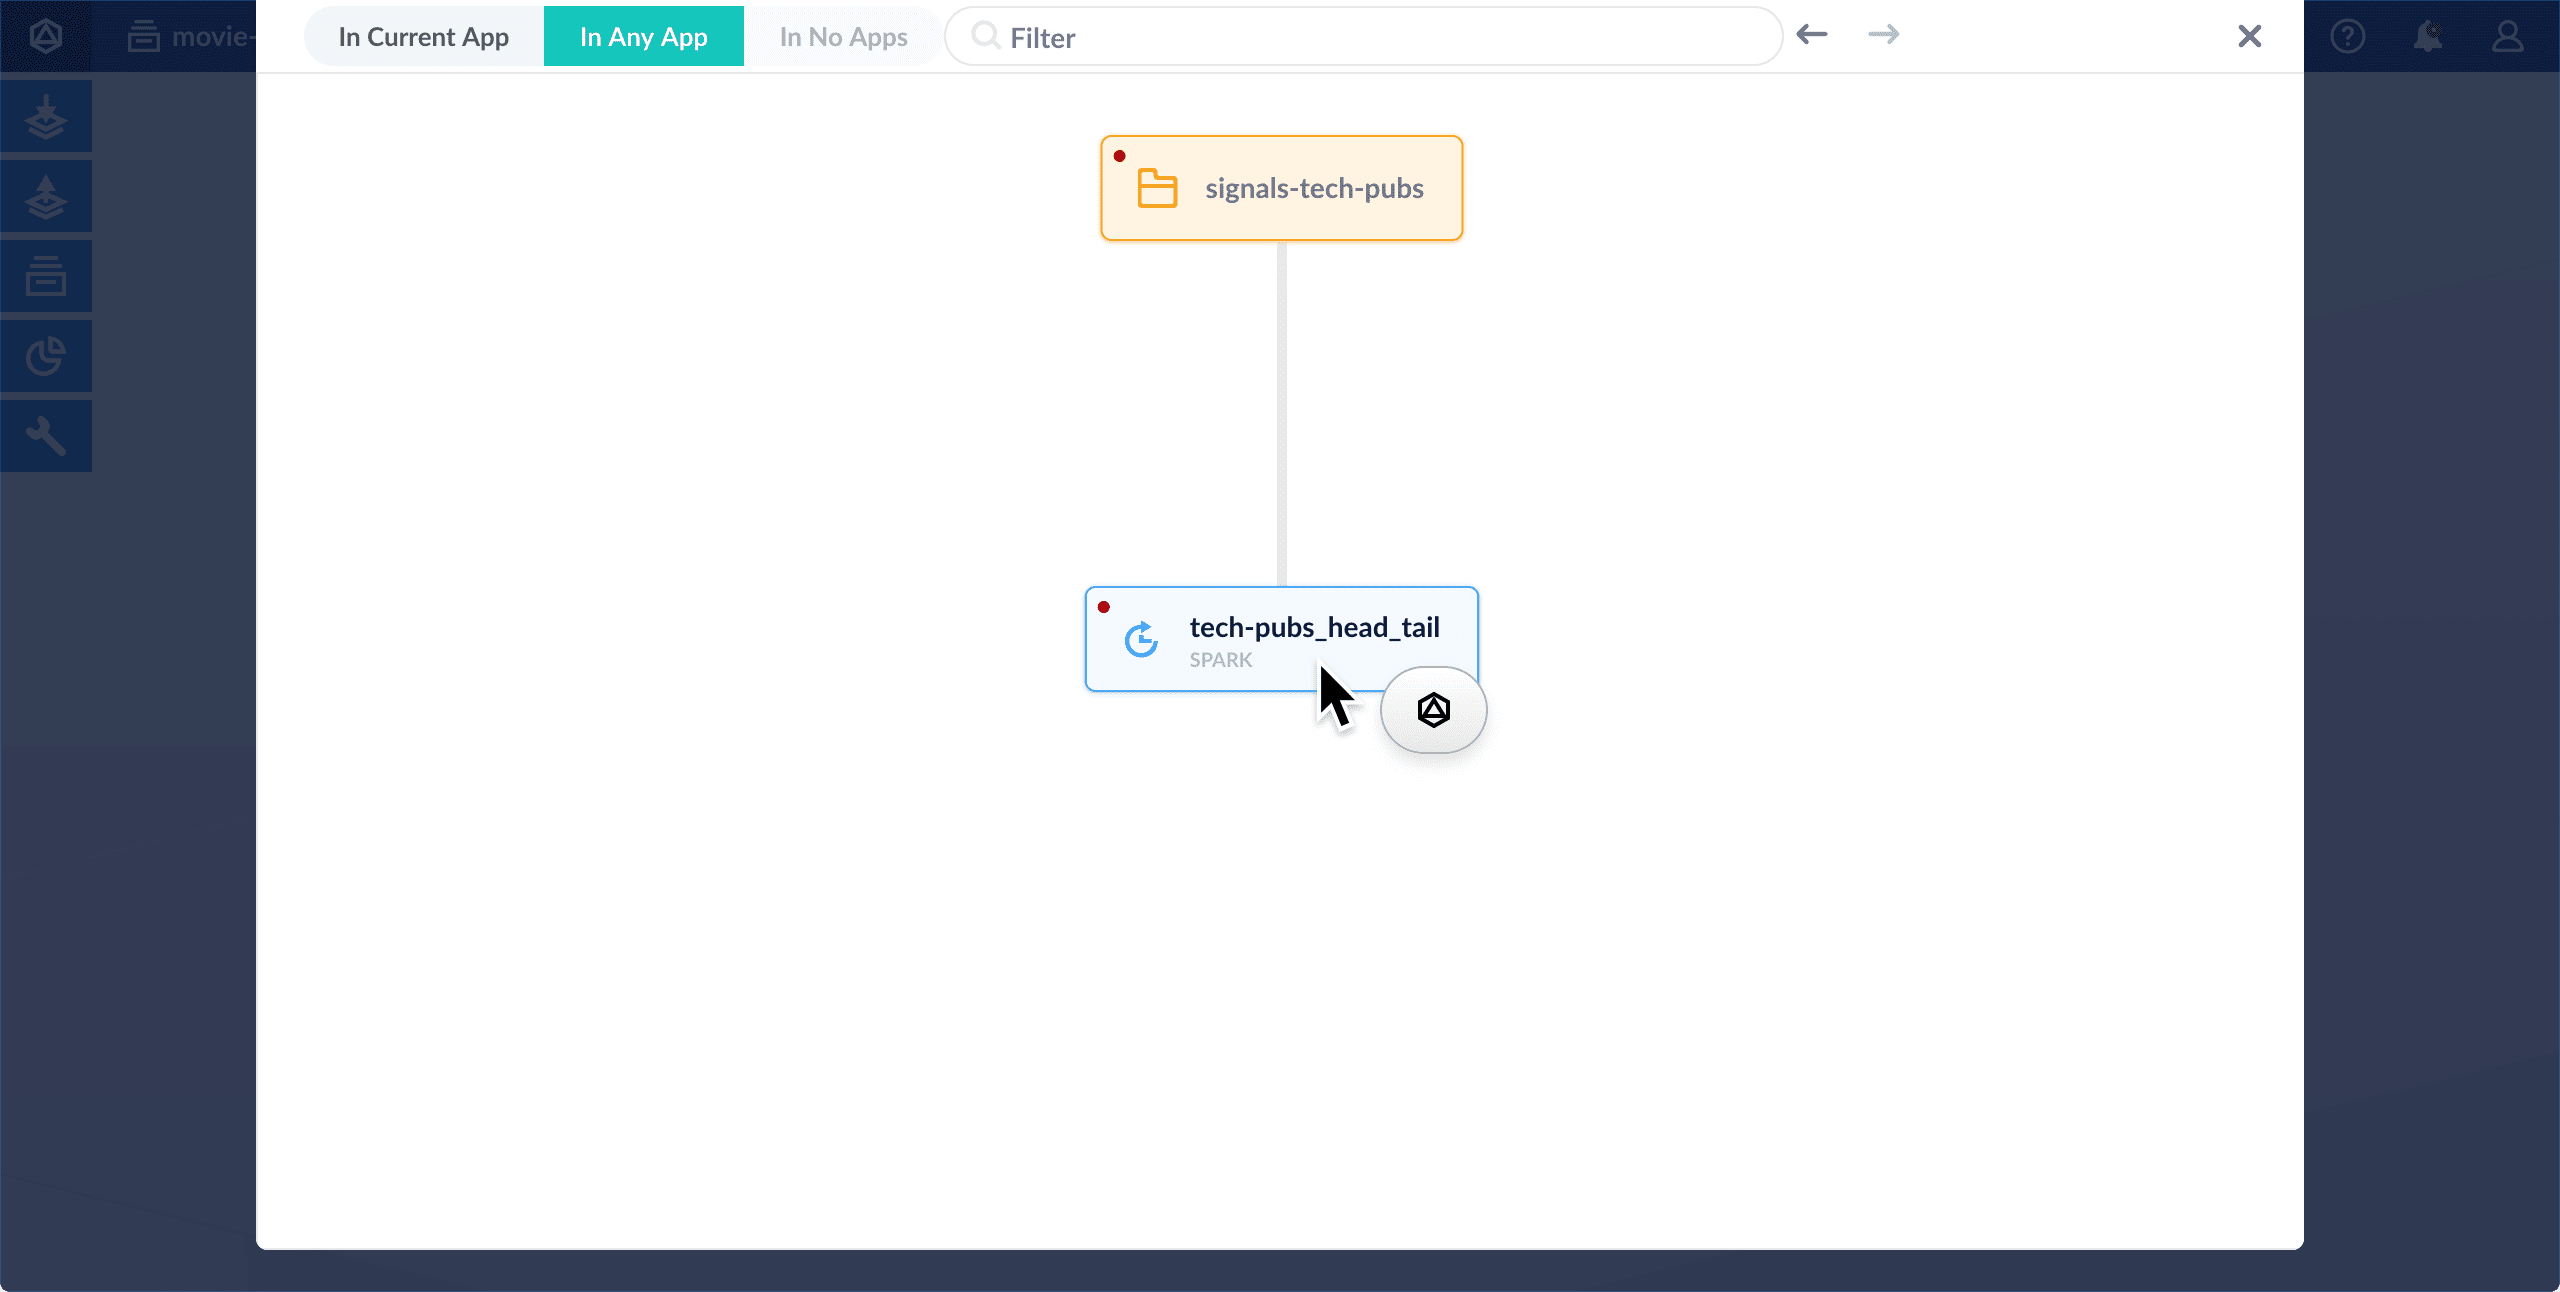
- Click the app icon.
-
Select Add to this app.
Fusion Applications and Collections
The course for Fusion Applications and Collections focuses on the features of Fusion apps and collections and best practices when working with them.
System-wide tools
On the right are menus for system-wide actions:- Help
Click here to access the documentation from the Fusion UI. - Alerts
New alerts are briefly displayed in the foreground. Open this menu to see past alerts, or to clear the alert history. - Account
Here you can edit your profile, log out, or manage your Fusion license.
Learn more
Create a New Job
Create a New Job
- In the Fusion workspace, navigate to Collections > Jobs.
- Click Add and select the job type. The New Job Configuration panel appears. This panel is different for each job type.
- Configure the new job as needed.
- Click Save.
Create and manage Fusion apps
Create and manage Fusion apps
You can create, modify, and delete apps in the Fusion UI or with the Apps API.
Manage apps in the Fusion UI
Create an app
Fusion prompts you to create an app the first time you log in. You can create additional apps at anytime from Fusion’s home page.- Log into Fusion and navigate to the home screen.
-
Click Create new app.
-
Enter a Name, Description, and select an App tile color.
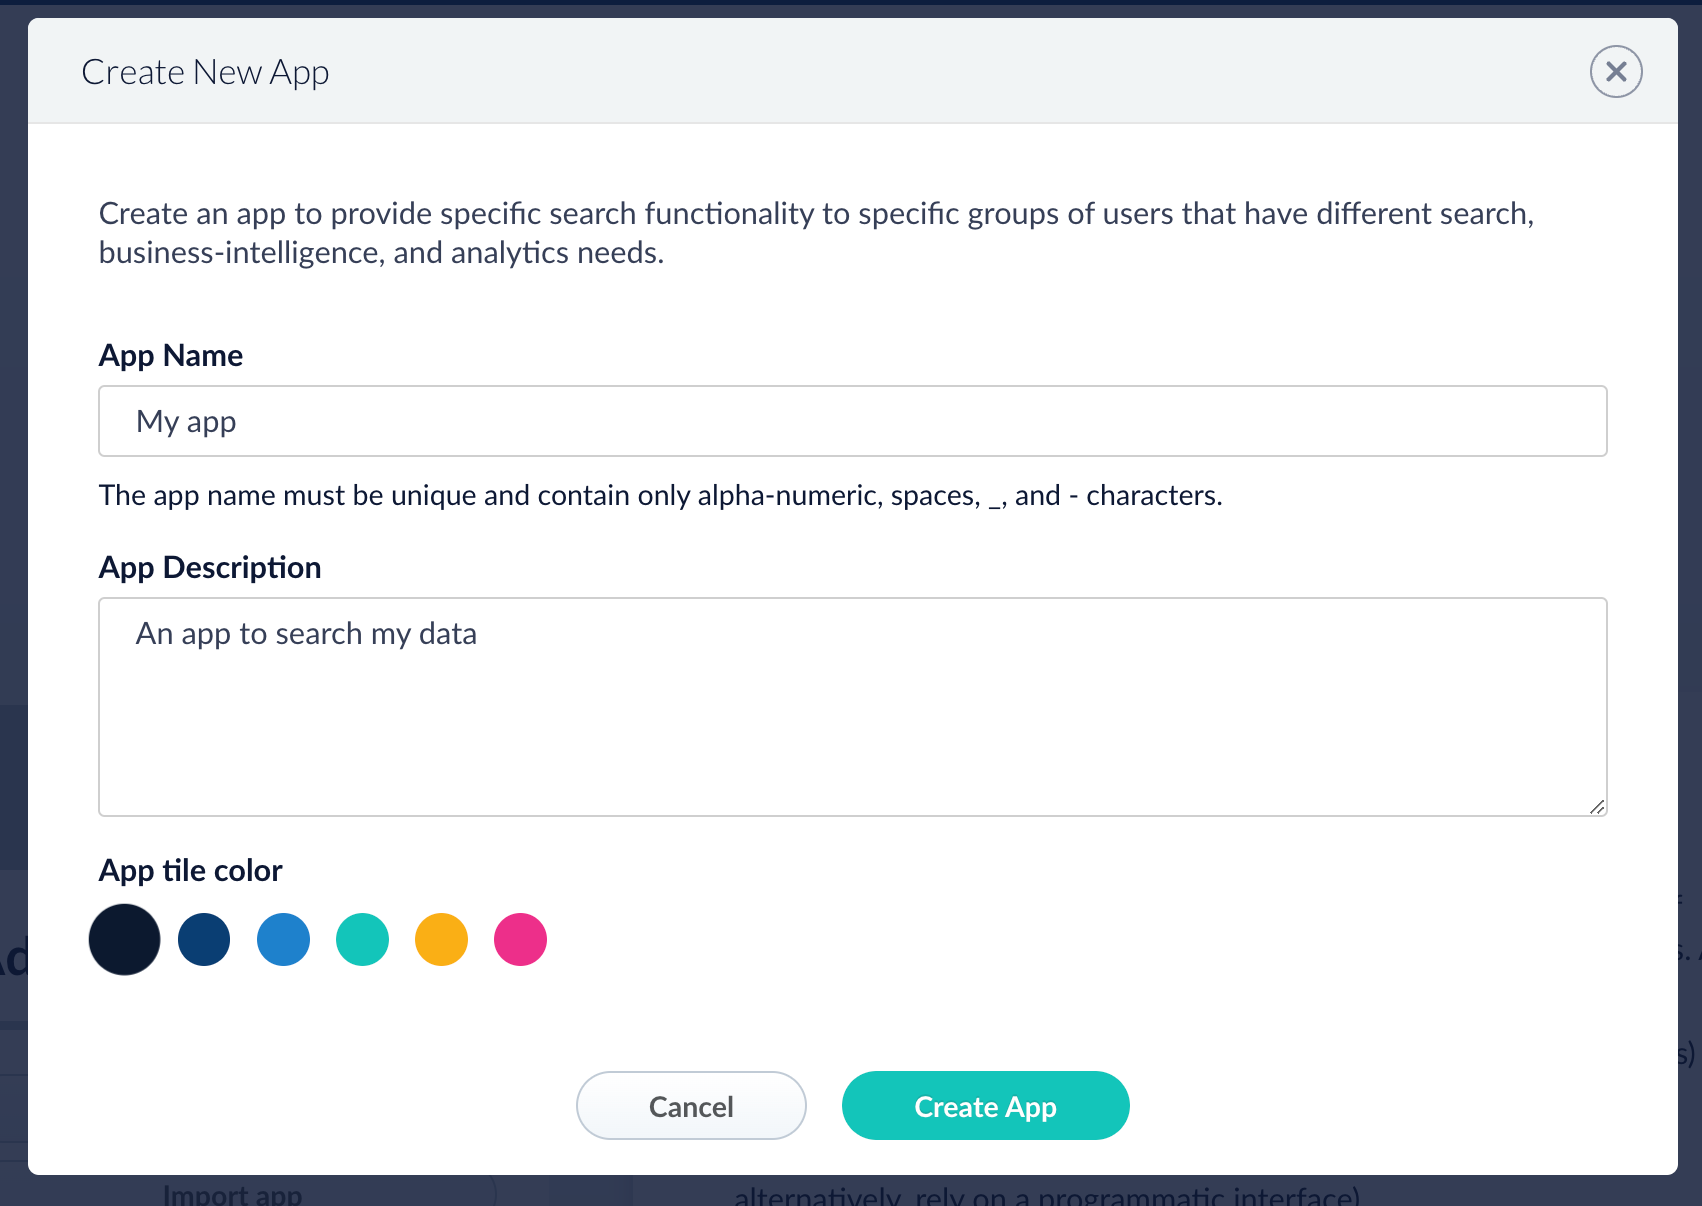
- Click Create App.
Modify or delete an app
- Log into Fusion and navigate to the home screen.
-
Click the Configure icon on the app you want to modify or delete.

-
To modify the app, click the edit icon
 .
.
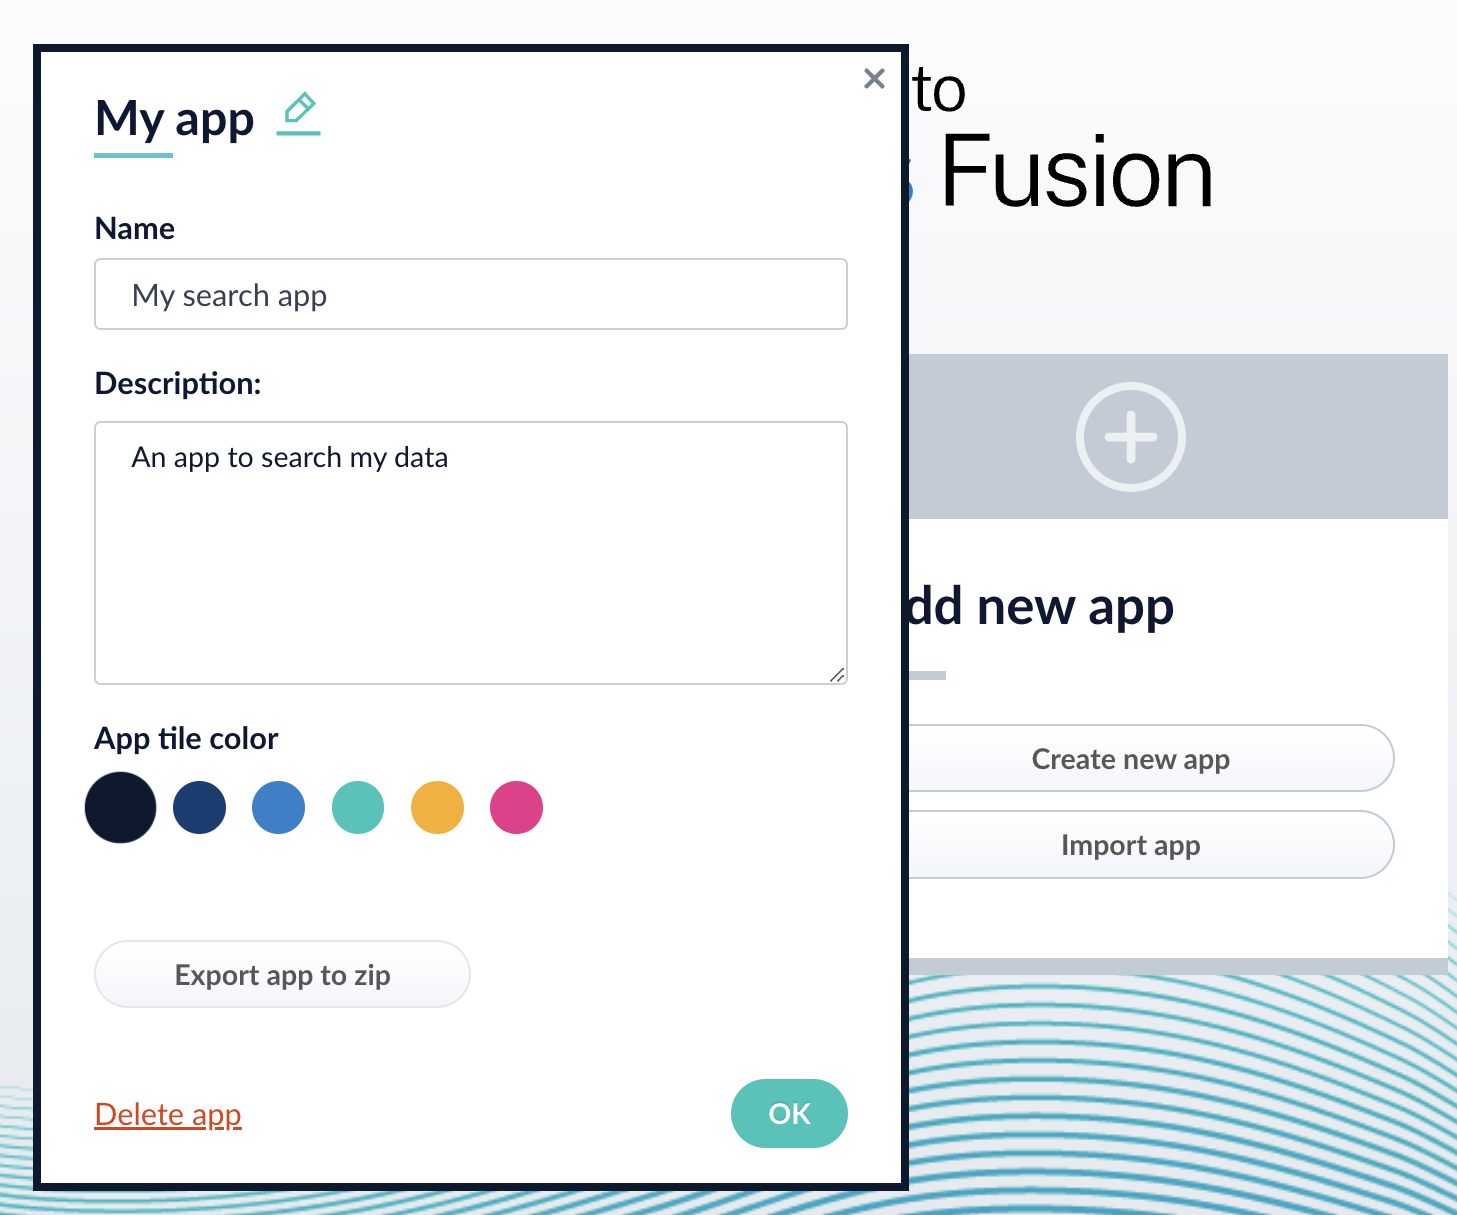
- Edit the Name or Description.
- Click OK.
-
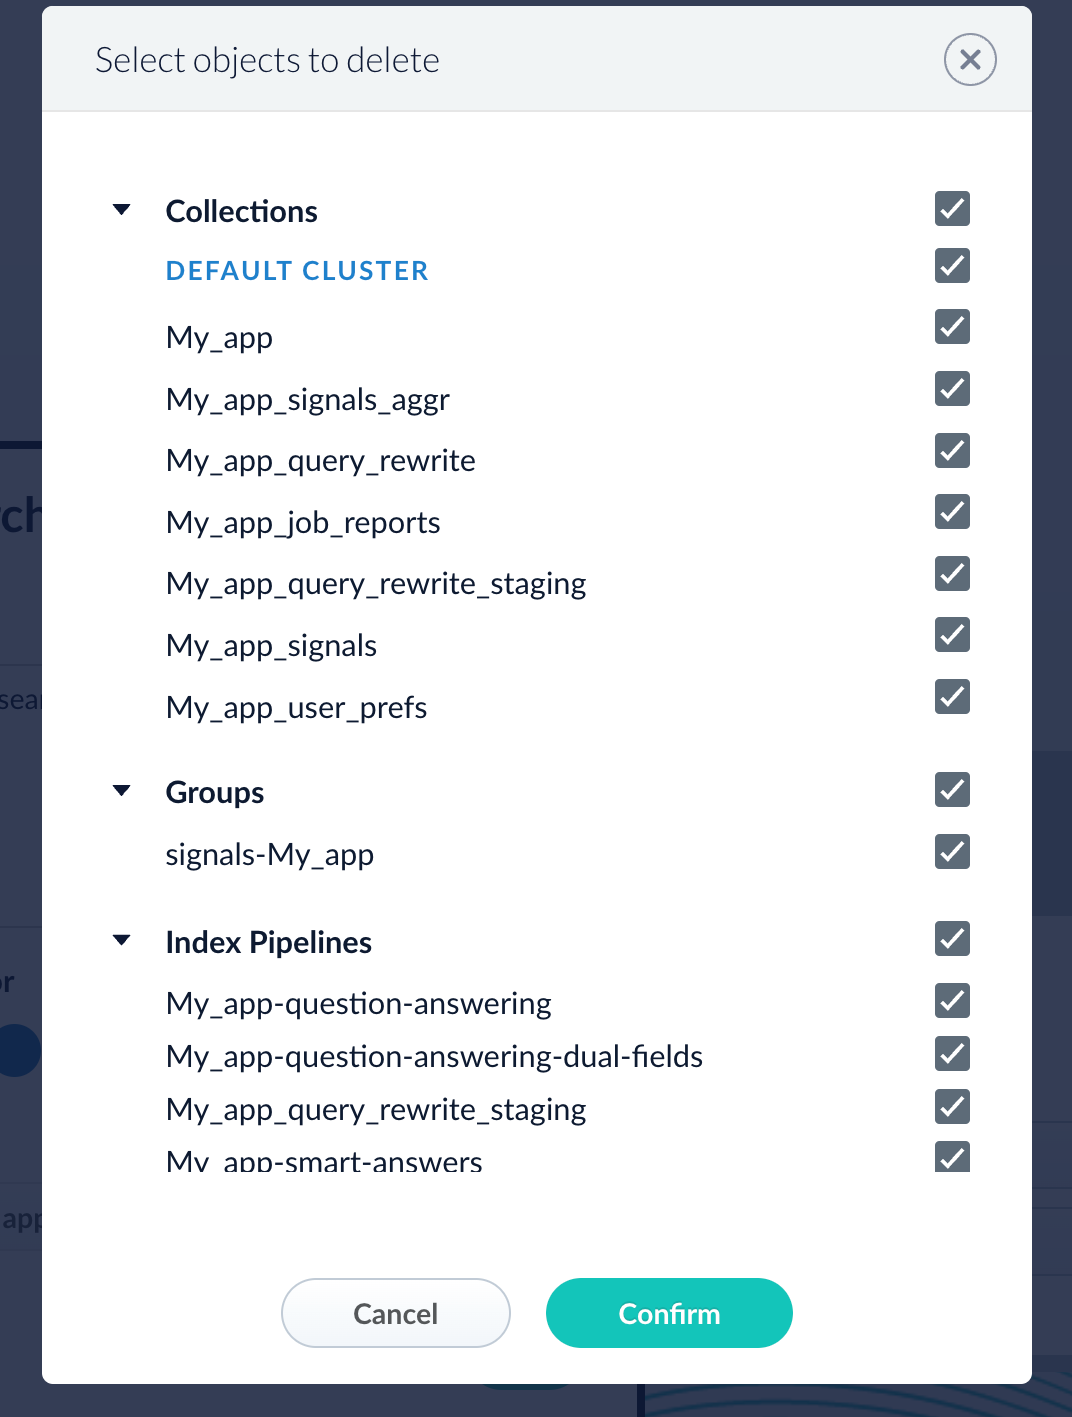
To delete the app, click Delete app.
- A dialog box appears where you can choose which associated objects to delete or retain. Only objects not associated with other objects are displayed. All objects are selected by default.
-
Click Confirm.
Manage apps with the Apps API
Create an app
Delete an app
Run the following command, replacing{id} with the name of your app. This operation take about a minute to complete.Export a Fusion App
Export a Fusion App
To export a Fusion app, you can use either the Fusion UI or the Objects API.Get all app IDs, then export one app by IDExport two apps by ID
When upgrading from one Fusion version to a later one, you must use the migrator to migrate objects. The migrator automates the process of translating relevant objects to the new version. Exporting an object from one Fusion version and importing it into a different Fusion version isn’t supported.
Export an app with the Fusion UI
- How to export an app with the Fusion UI
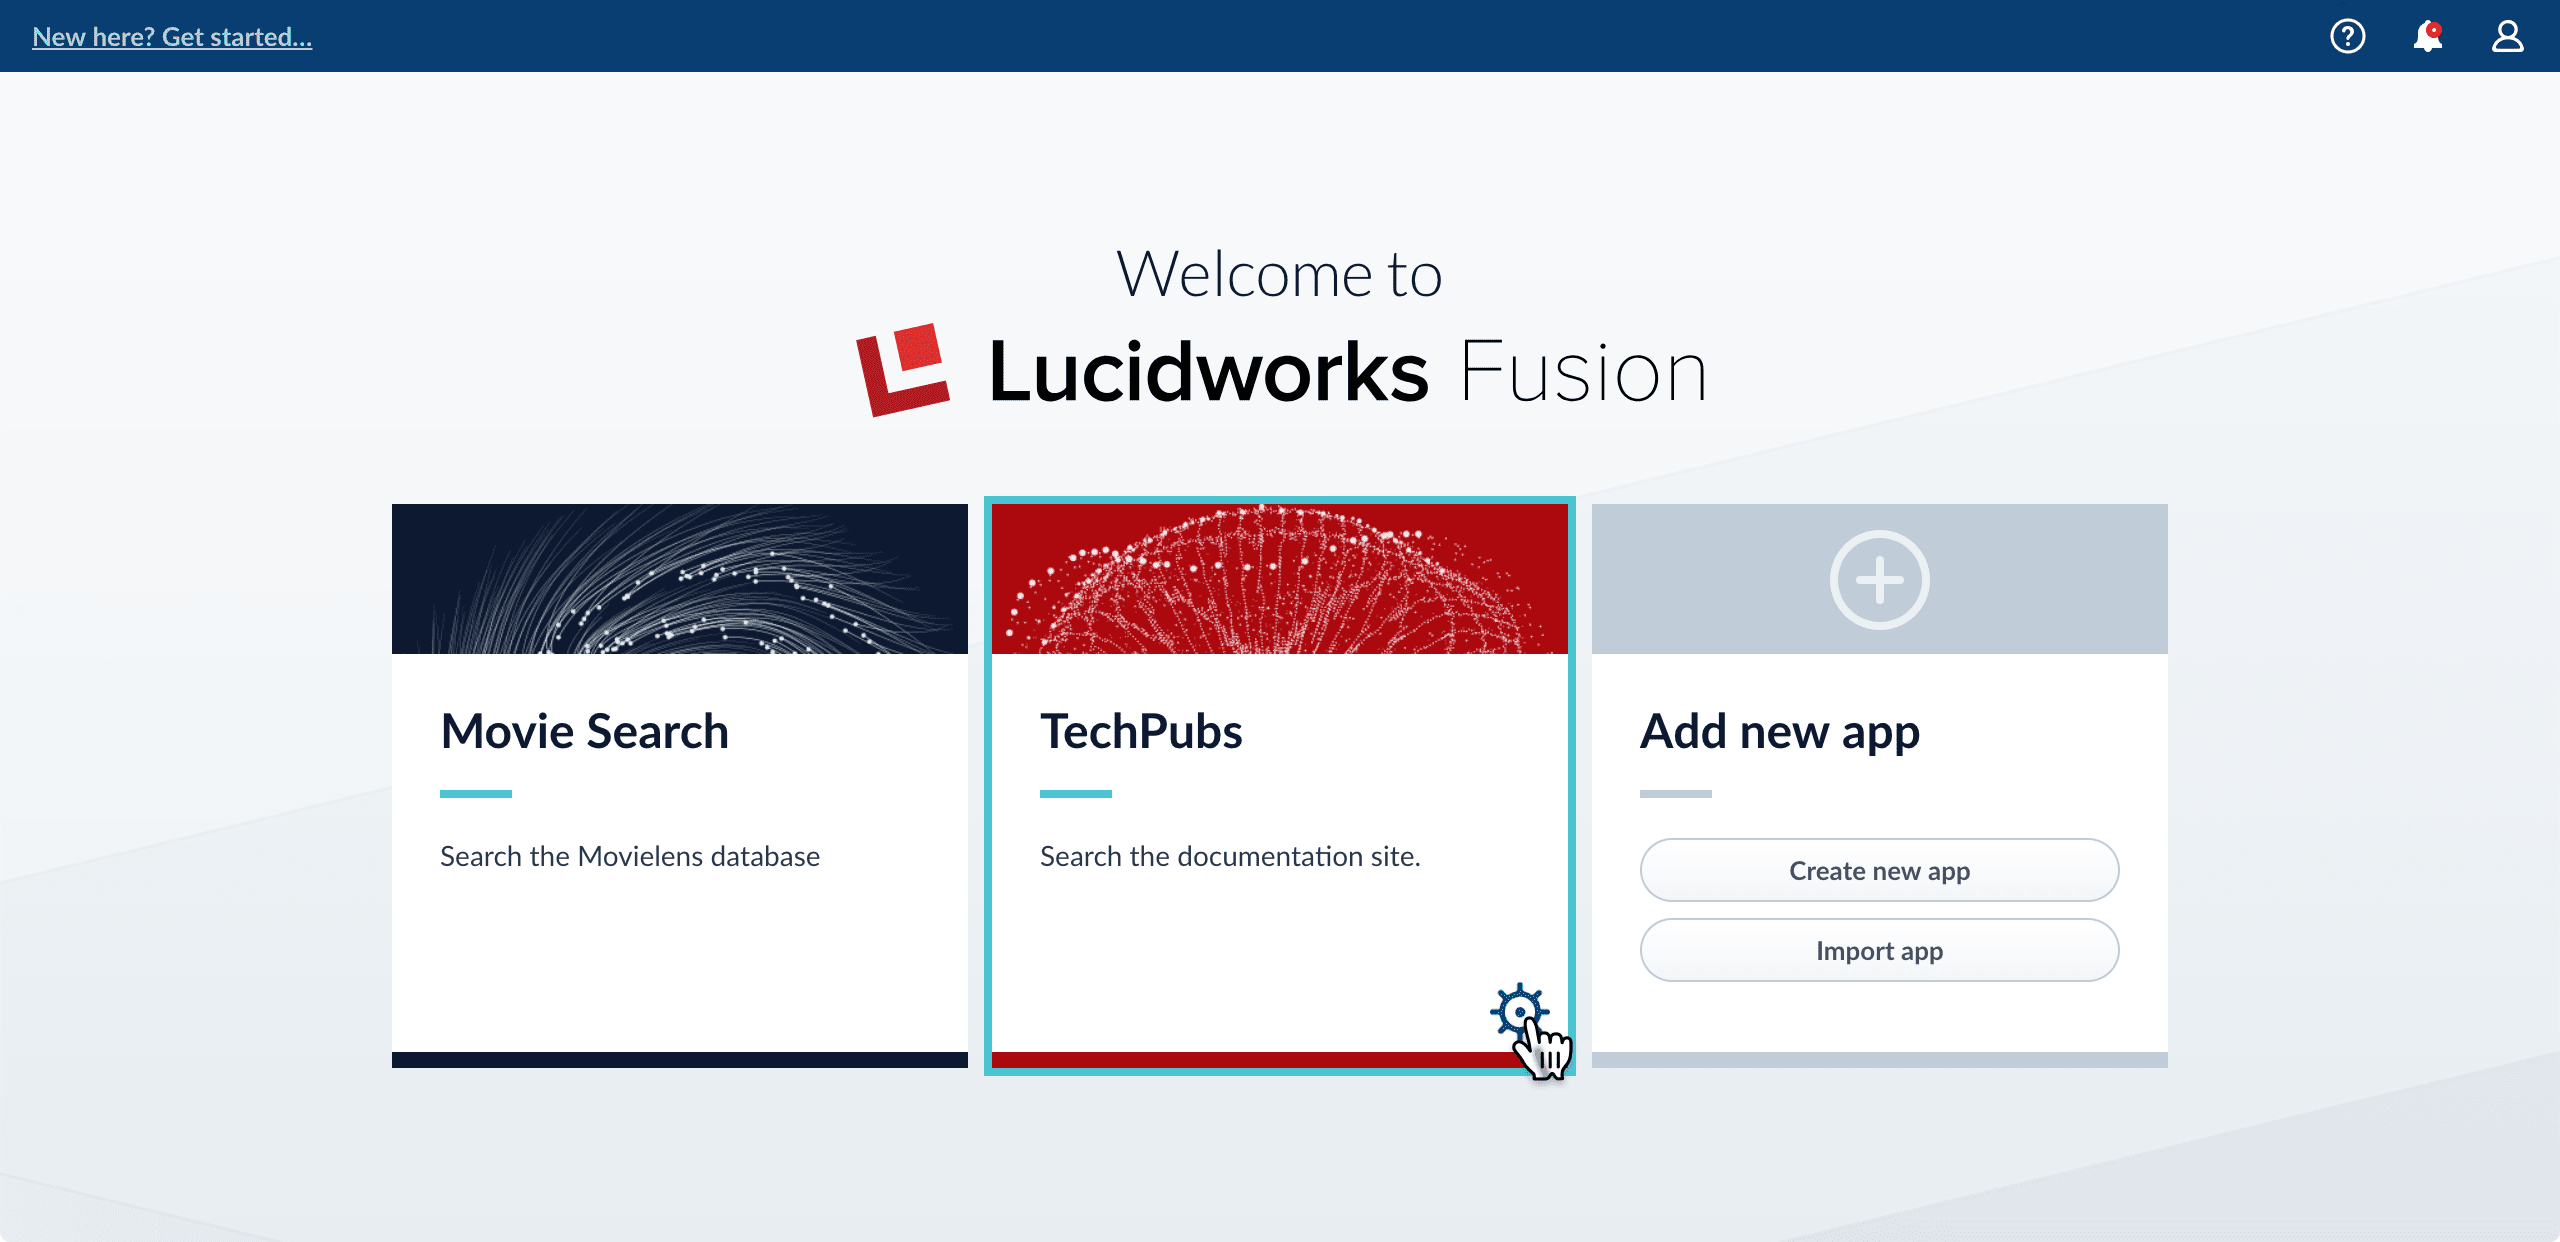
- Navigate to the launcher.
- Hover over the app you want to export and click the Configure icon:
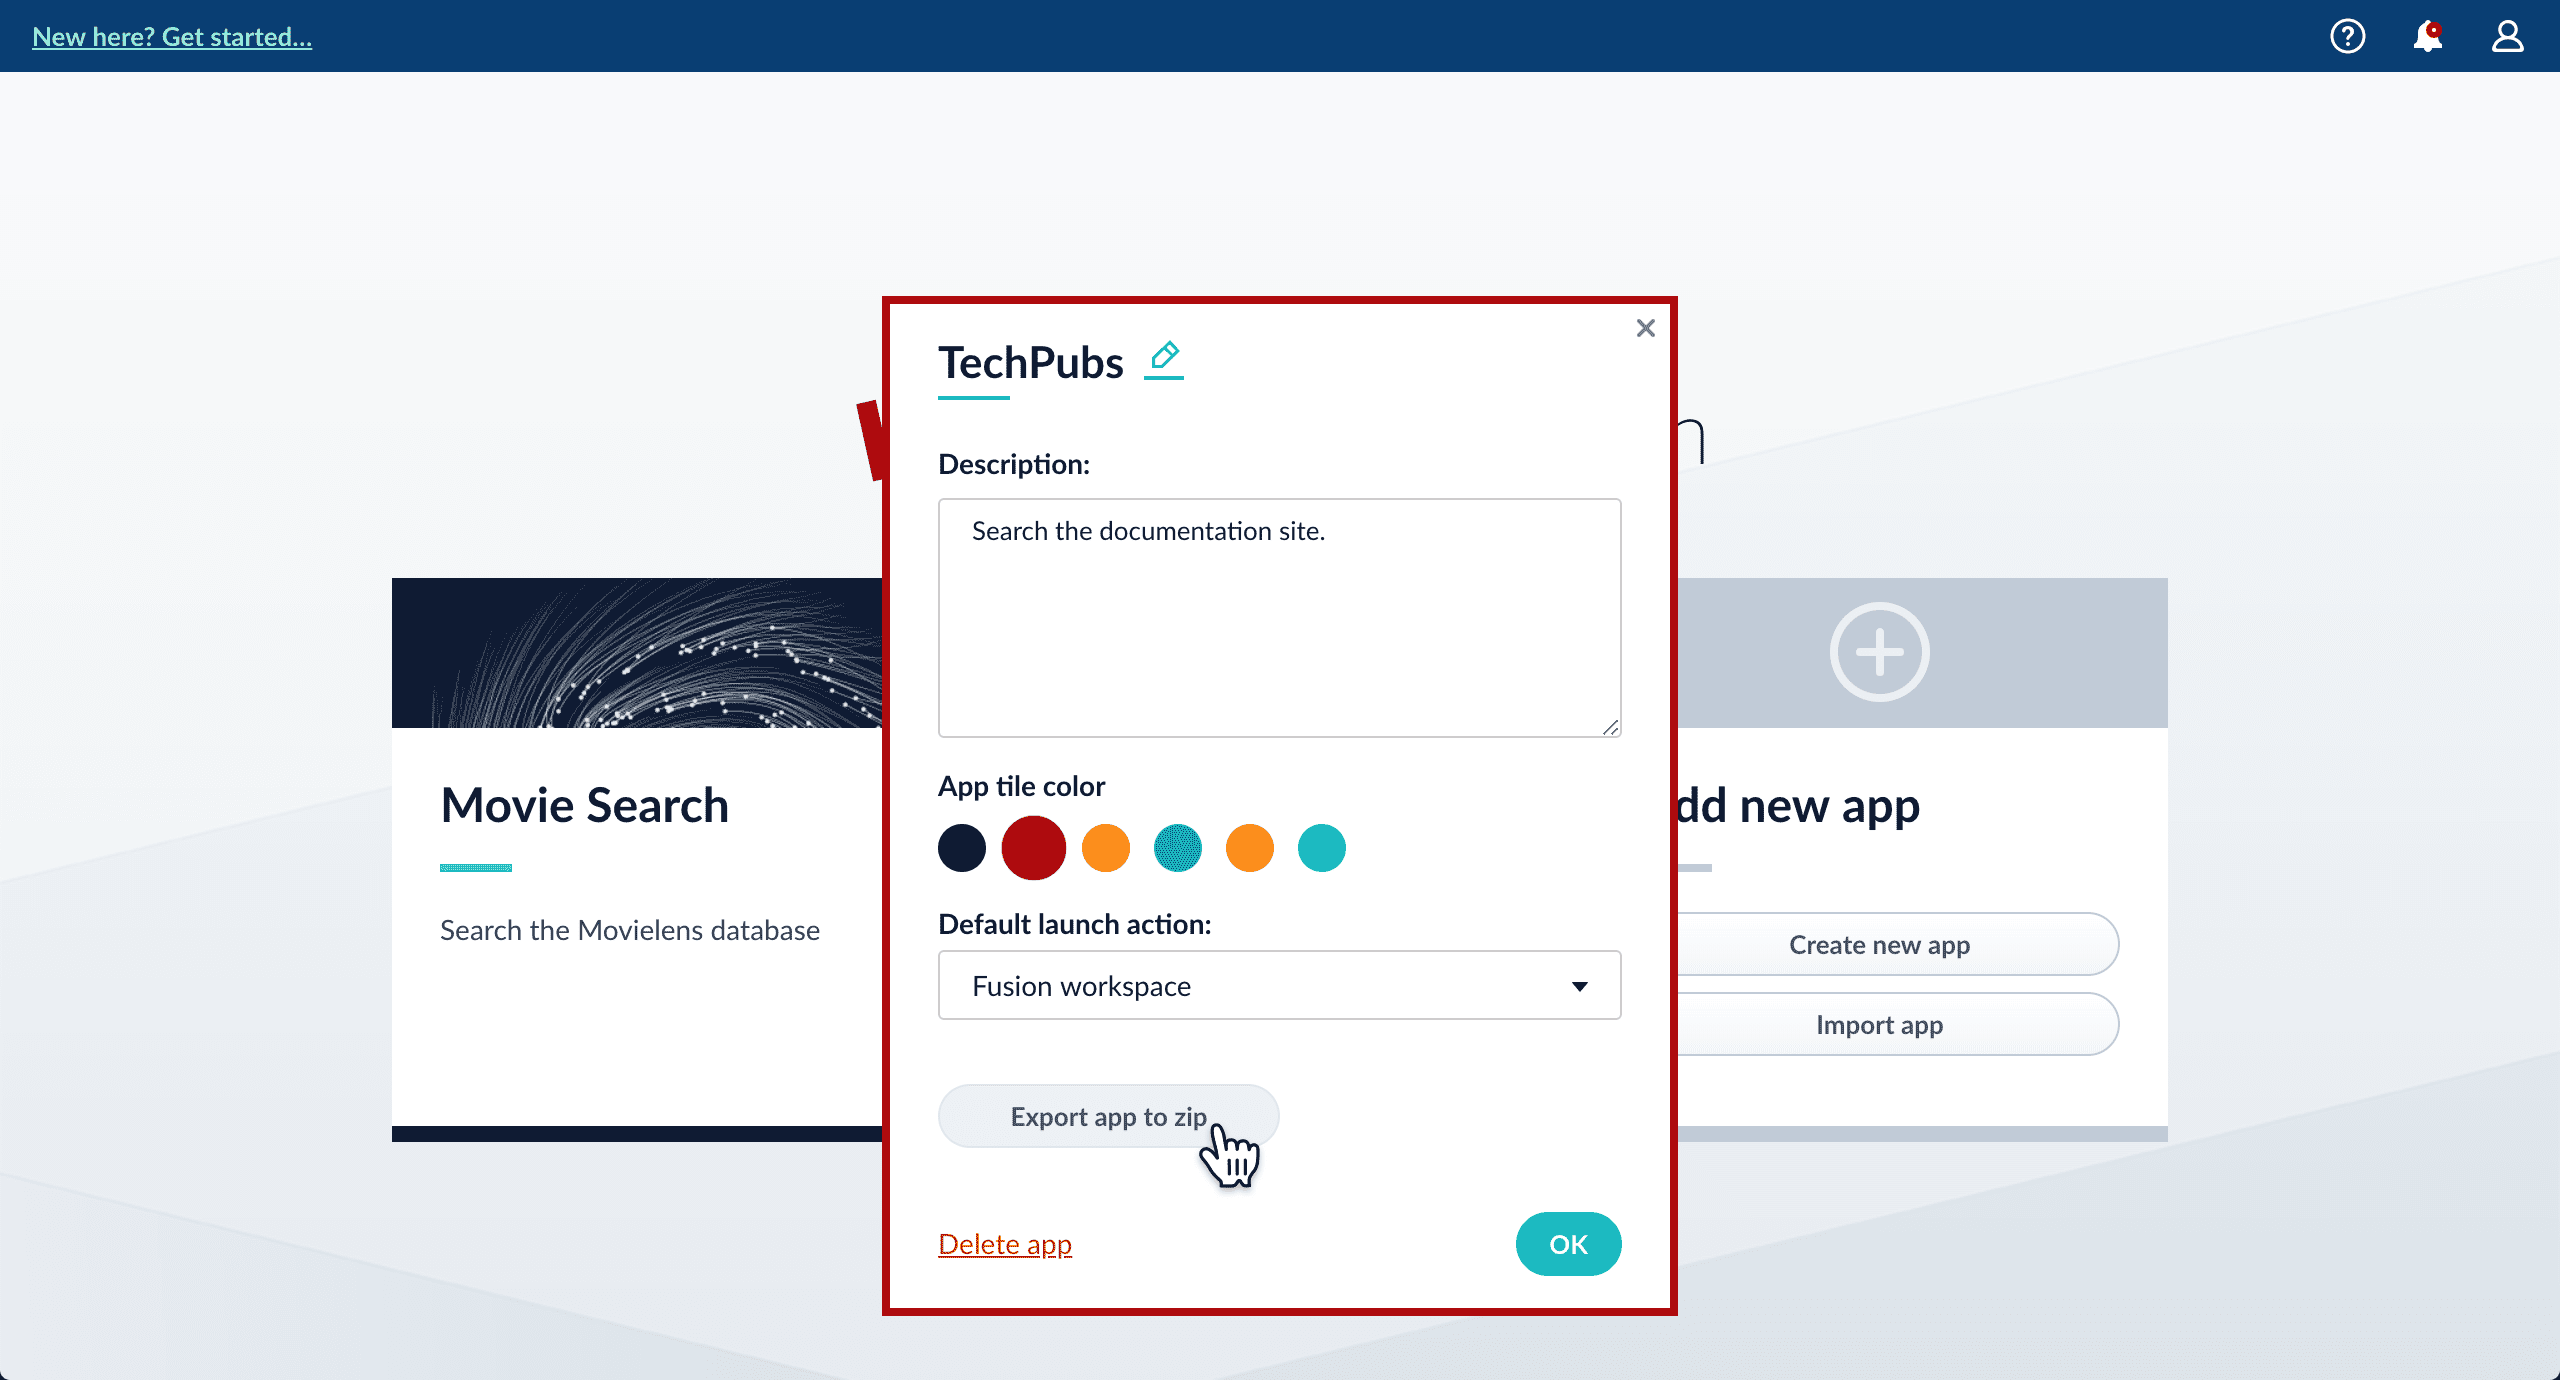
- In the app config window, click Export app to zip:
Export an app with the Objects API
The examples below show how to export one or more apps:Export all appsWhen you export an app that includes objects that are shared with other apps, then all apps linked to that object are also exported.