App Studio
App Studio is a collection of software and resources that helps you build modern, user-friendly apps to search and visualize your Fusion data. This includes: Looking to get started? Download- Appkit - The framework that drives App Studio Wizard and App Studio Enterprise.
- App Studio Enterprise - The standalone web application which you connect to your Fusion collection.
- App Studio Wizard - The app development wizard built in the Fusion 4.x UI.
Appkit
The Appkit framework provides a library of search application components encapsulated as simple building blocks that can be combined to create complex applications for search and information retrieval. See the reference docs for more information about the Appkit framework.Modules
Appkit’s suite of search components is modular, which means you are able to get a working solution into place quickly using tried-and-tested components. Read more about modules.Tags
The App Studio markup language defines a set of HTML-like elements, or tags, for defining search queries to the backend and visualizing the search results and facets, handling all the complexities of connecting to Fusion. For example, adding a radial progress bar is as simple including the following tag: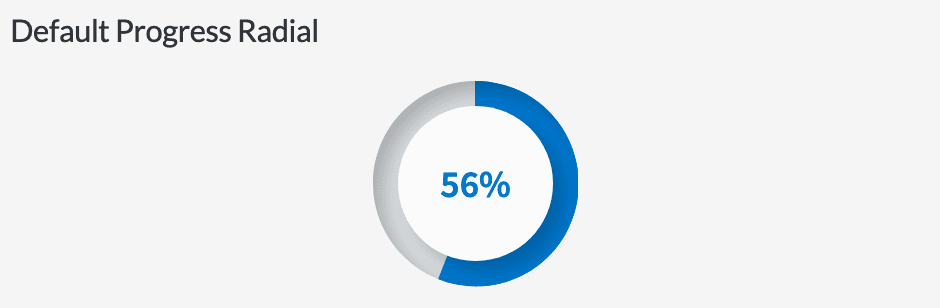
Services
App Studio exposes a number of frontend JavaScript services which encapsulate reusable processes. These services are based on the AngularJS framework. There are also backend Java web services that perform the same functions as many of the frontend services, including platform search endpoints, platform series endpoint, query suggestion/typeahead services, csv/excel export, and facet search. Read more about services.Search Platforms
Appkit integrates with a number of search engines, data warehouses and web service endpoints, even surfacing information from multiple sources simultaneously. The platform abstraction covers both search and storage sides, meaning that Appkit will implement for each platform the necessary protocols to save or index content for any platform. A number of platform adapters are available out-of-the-box with Appkit, and adding new ones is a simple exercise. Read more about search platforms.Concepts
Reference
How-to
Upgrade Appkit in Existing Apps
Upgrade Appkit in Existing Apps
When you create an Appkit webapp, it uses a specific version of Appkit. Appkit releases occur independently of App Studio releases.You can upgrade web apps to use the latest version of Appkit.How to upgrade
- Stop the app.
-
In the
package.jsonfile at the root of your project, update theappkit-uidependency to the latest Appkit version, for example: -
In the
pom.xmlfile at the root of your project, update the value of theparent.versionproperty to the latest Appkit version, for example: - Upgrade the Appkit Social module, if required.
- Perform any additional upgrade steps that are required for a specific Appkit upgrade. See the Appkit Release Notes for more information.
- Start the app.
App Studio Enterprise
App Studio Enterprise is an Appkit based web application that connects your Fusion instance, or other datasources, to the Appkit design framework. It comes preloaded with the Appkit framework library and a starter search app template. This allows you to develop and preview your search application using your data before deploying it to a production environment. Getting started only takes a few minutes and is as simple as downloading App Studio Enterprise, configuring the application to use your Fusion instance, and launching. See the README file included in the download for full instructions.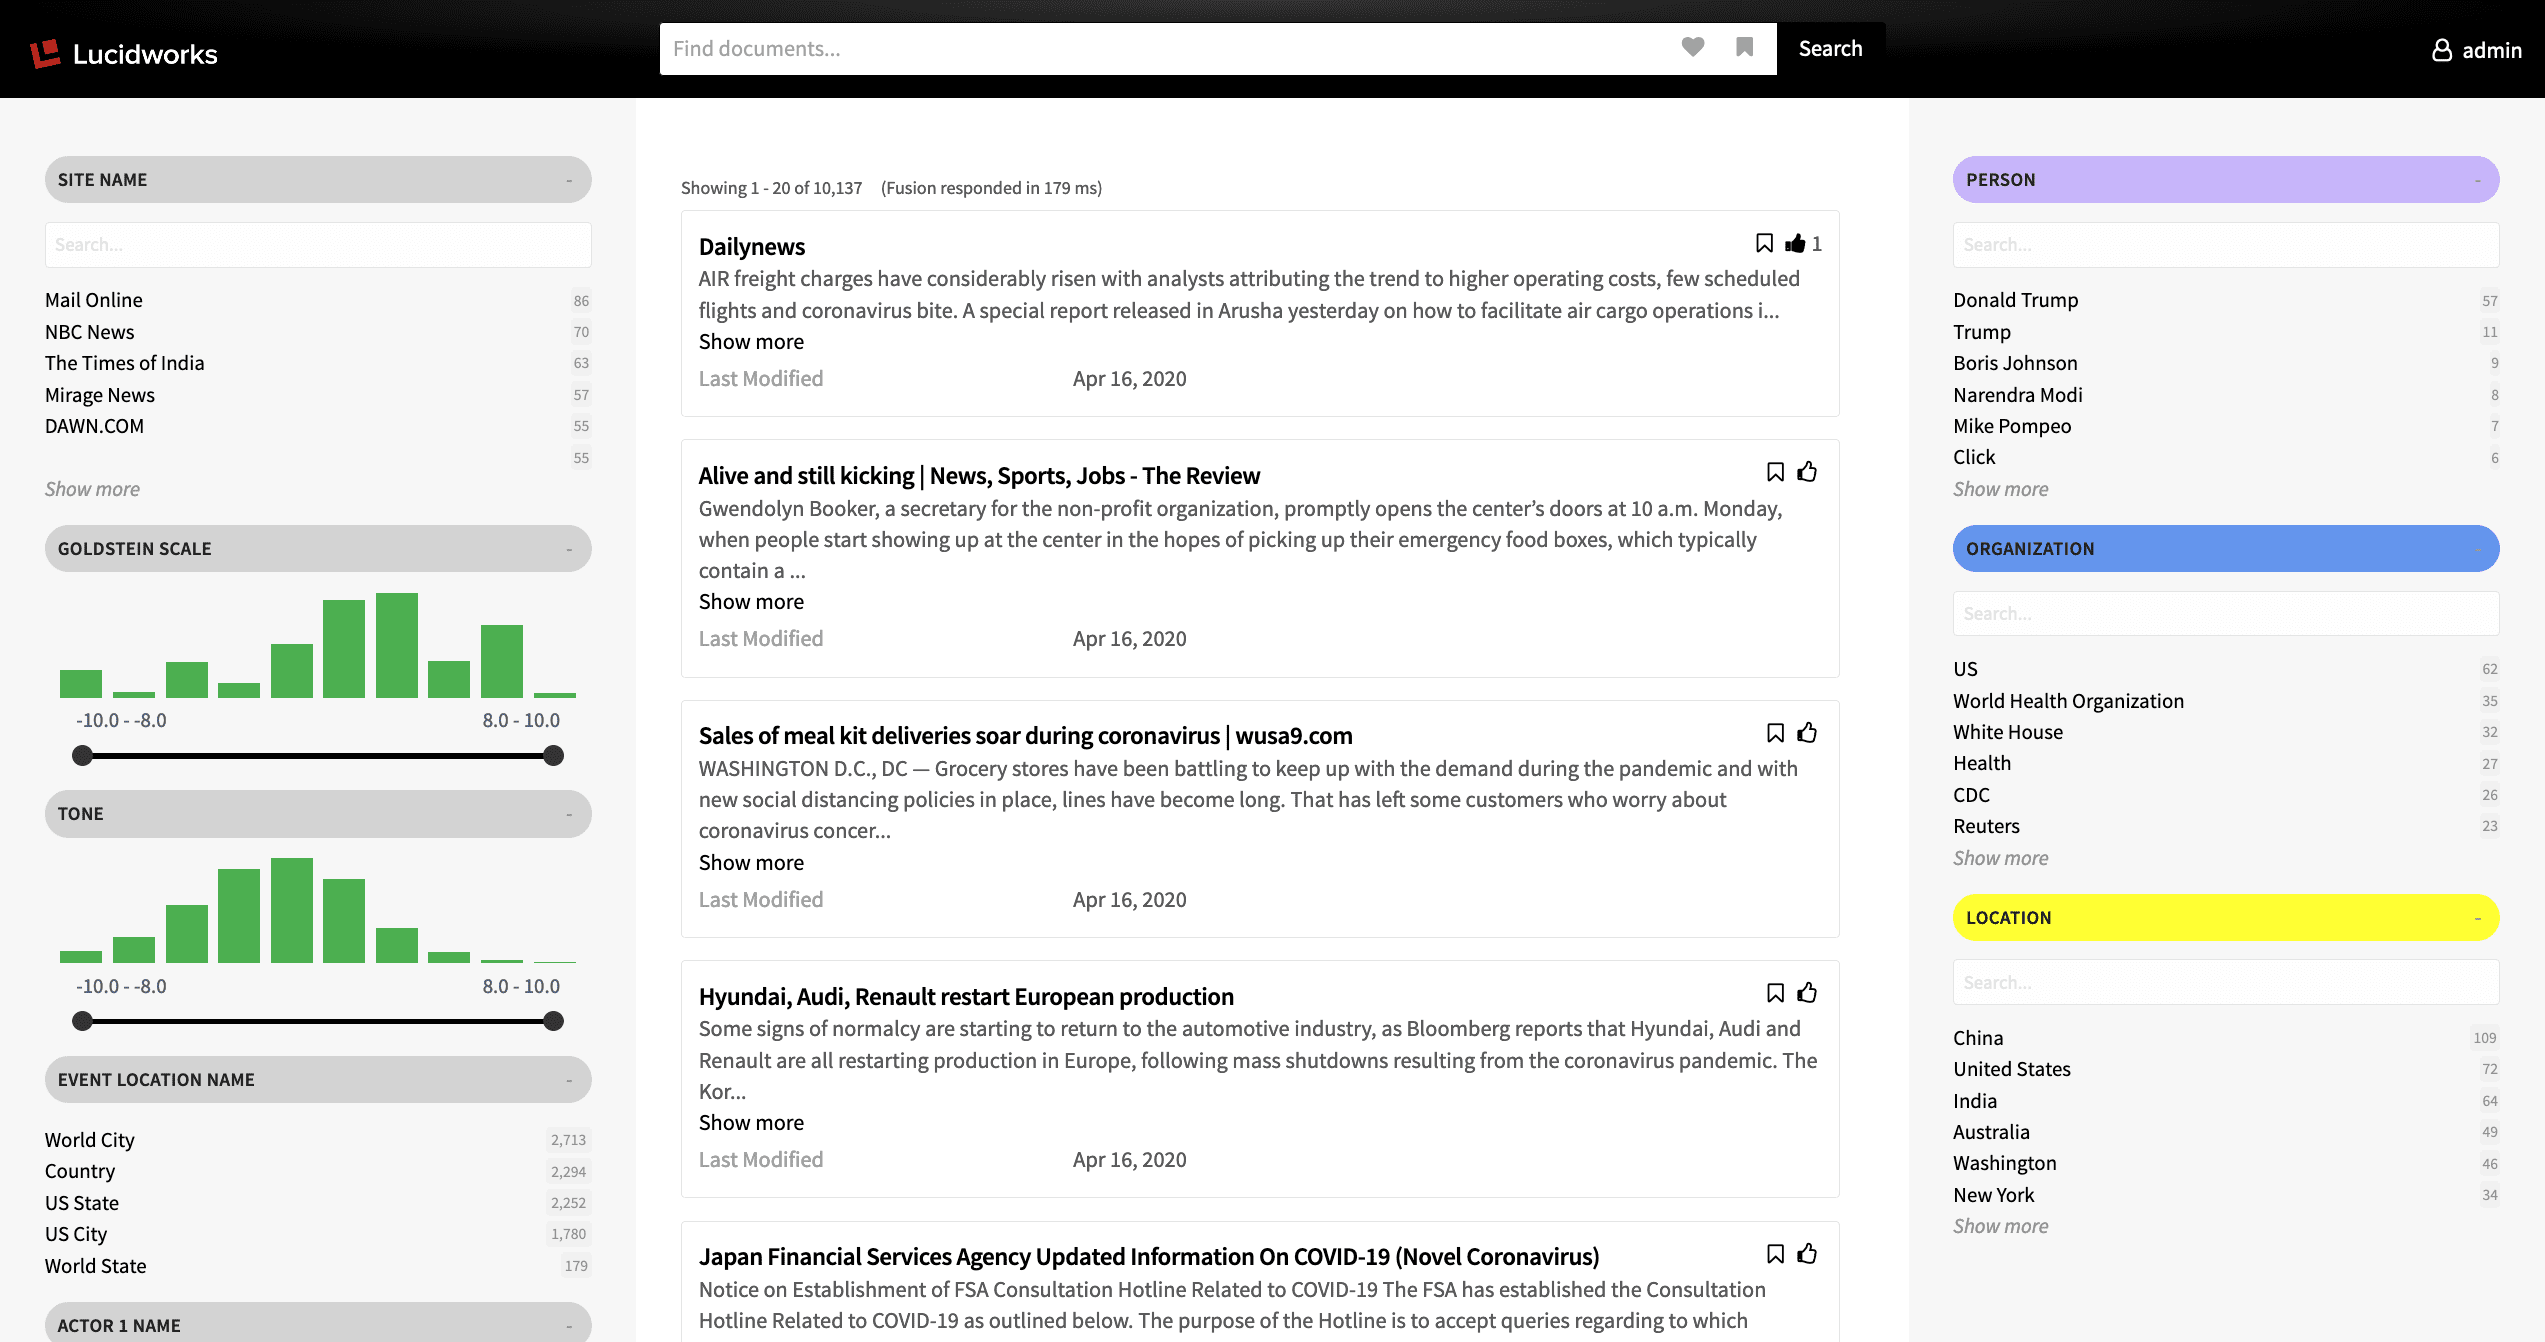
FAQHow does this differ from App Studio Wizard?Although both are powered by the Appkit framework, App Studio Enterprise is not integrated in the Fusion UI or packaged as a wizard. It is a standalone web application.
Concepts
- App Studio Enterprise Concepts
- App Studio Enterprise Downloads
- Getting Started with App Studio Enterprise
Reference
How-to
Deploy App Studio
Deploy App Studio
This article describes how to deploy App Studio in Fusion 5 or App Studio in Fusion 4.
Starting in Fusion 5.11.0, Fusion has deprecated the Webapps service. As of Fusion 5.11.0, you should instead deploy App Studio manually.
-
Create UI (create a new App Studio project)
-
Execute the
command ./app-studio packageto generate theapp-studio-enterprise.warfile. The file is created in the following location:/<$Application>/dist/app-studio-enterprise.war -
Deploy WAR (upload to webapps service)
-
Go to
https://FUSION_HOST:FUSION_PORT/webapps/UI_CONTEXT/.
App Studio Wizard
In Fusion 4.x, the App Studio Wizard is included in the Fusion UI. The wizard walks you though a step-by-step process for creating a basic search application using your data from Fusion. From there, you can continue customizing your search app with elements of the Appkit framework. A code editor is provided in the UI so you can preview your changes in real-time:
Starting in Fusion 5, App Studio is no longer included in the Fusion UI. However, you can use App Studio Enterprise to create apps for Fusion 5.
Concepts
Reference
How-to
Develop and Deploy with App Studio
Develop and Deploy with App Studio
This topic shows you the App Studio workflow from initial app development through deployment into Fusion.
This procedure does not apply to App Studio Enterprise (ASE).
Development tools and workflow
In building out a search application, App Studio developers use the following tools:- an IDE (Intellij, eclipse, VS Code, and so on)
- Maven for server-side dependency management and its integrated Jetty plugin
- NPM 9.0.2 for client-side dependency management
- Java 1.8 JDK
- Clone the repository of our project on our local system.
- Make additions and edits to the code which we then commit to the repo.
- Use the integrated Maven Jetty plugin to serve up our local application at
http://localhost:8080, where we can see most changes made to the code in real time.
Build a profile (optional)
For each environment, we can build out a profile to overlay specific parameters to this environment:Example command:mvn clean jetty:run -Dtwigkit.profile=profileNameIn App Studio apps, we can have different profiles for each environment (Dev, QA and Prod) as well as local development. These profiles contain configuration files that should overwrite the files with the corresponding names and directory locations in the main resources directory.For more details, see “Package the web application for different runtime environments - build profiles” at
https://dev.twigkit.net/docs/Getting_started/Installation/Building_from_source/?q=profile.Configure the profile (if any)
Following are the files you may want to specify for a given environment in each profile:-
message.service.fusion.confThis config file is responsible for the configuration of the way we send signals to the Fusion endpoint. The important property here isquery-profile, which should point to the query profile that manages the main collection to which we want to send signals. For example, if we specify a query profile that points to themyCollectioncollection, then App Studio sends signals to themyCollection_signalscollection (if it exists). -
platforms.fusion.fusion.confThis is our base Fusion platform configuration file. It manages all the configuration settings that are common amongst each Fusion platform. These settings are inherited by any config file in theplatforms.fusiondirectory, as this file has the same name as the directory it resides in. -
platforms.fusion.data.confThis is our configuration file for the main platform, by default. The only required parameter is thequery-profileto send these queries to. This is included in the profiles as during the course of development, there were some differences across environments in the name of this collection, so we set them individually for each environment. -
security.kerberos.confThis is an example of a security configuration file. In this case, the file in which Kerberos security is configured. The parameters set here are referenced in our configuration ofresources/spring-security.xmlwhen the app is loaded. The main parameters to understand areservice-principalandkeytab-location. The service principal should be the one used when creating the keytab file. The keytab location is the location in which the keytab resides on the server where App Studio is running. -
security.security.confThe function of this file is to set general parameters related to security. Thetypeparameter should be the type of security your app should use (kerberos,spring_security,saml, and so on). Thepasswordparameter is the key that is used when hashing passwords using thetwigcryptutility. It is to be used in combination with a ‘secret seed’ in order to generate the hash. -
services.api.fusion.confThis is the main file in which the connection to the Fusion API is configured. The host, port and protocol values are all given independently. The credentials given are that of a service account that hasPOSTrights to enable the sending of signals to Fusion. -
logback.xmlIn this file, we can add additional<logger>tags to print out additional logging on specific classes in the web apps or local logs. The main logging comes from the root packagetwigkit.
Package the app
To deploy our code to the server, we use Maven to create aWAR file:- If you are using a build profile as described above, run
mvn clean package -Dtwigkit.profile=profileName. - If you are not using a build profile, run
mvn clean package.
Deploy the app
Before you deploy an app, make sure that both of these prerequisites are met:- Fusion is installed.
- A Fusion app is created.
-
Create a new App Studio context in Fusion by executing the following command as a user who has admin rights:
-
Upload the WAR to the Fusion Webapps service:
This puts the WAR file into the Fusion blob store, and tells the Webapps service that this is the file that should be started in the specified context.
Use the Code Editor
Use the Code Editor
App Studio’s interface includes a built-in code editor that opens in your browser.The code editor modifies the file that configures your search interface (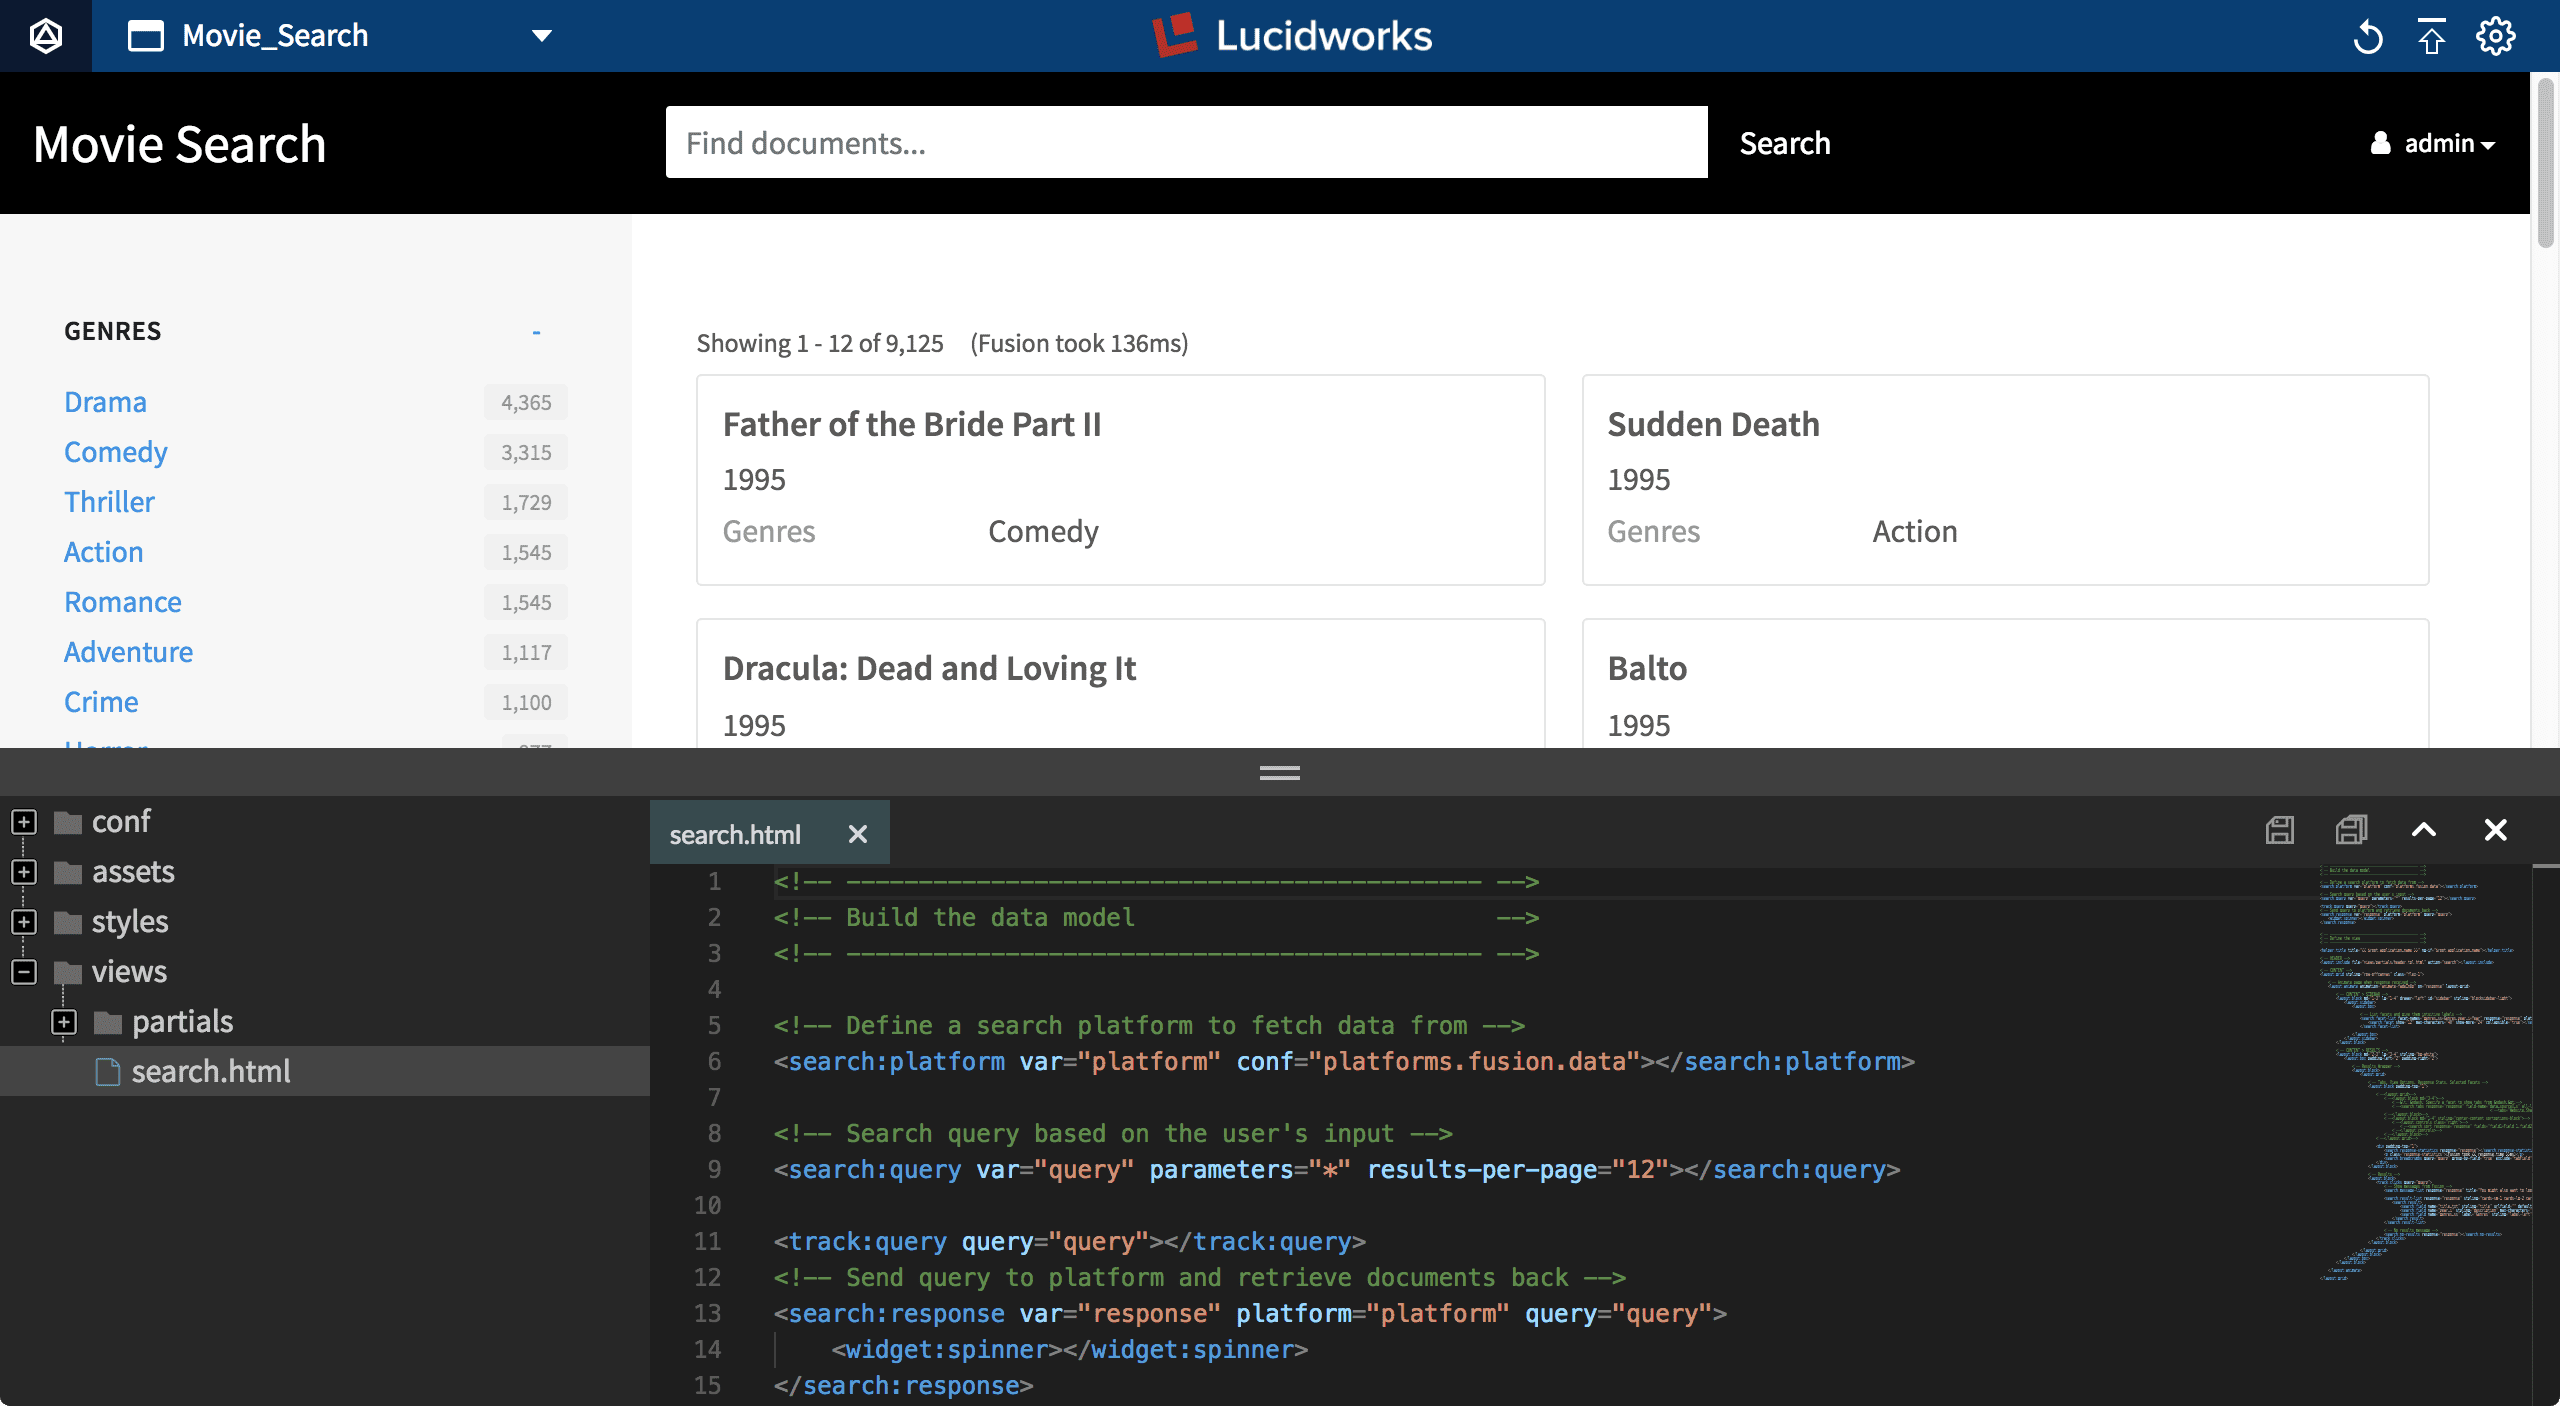
app-studio/app/views/search.html in version 4.0), using App Studio’s markup tags. Your search interface reloads automatically when you save your changes in the code editor.The code editor is also where you can publish your search interface to Fusion Server.Opening the code editor
How to open the code editor- Press the ESC key or
-
Click the code editor button:

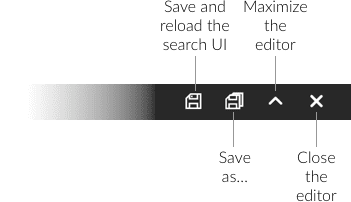
The toolbar
Saving your changes
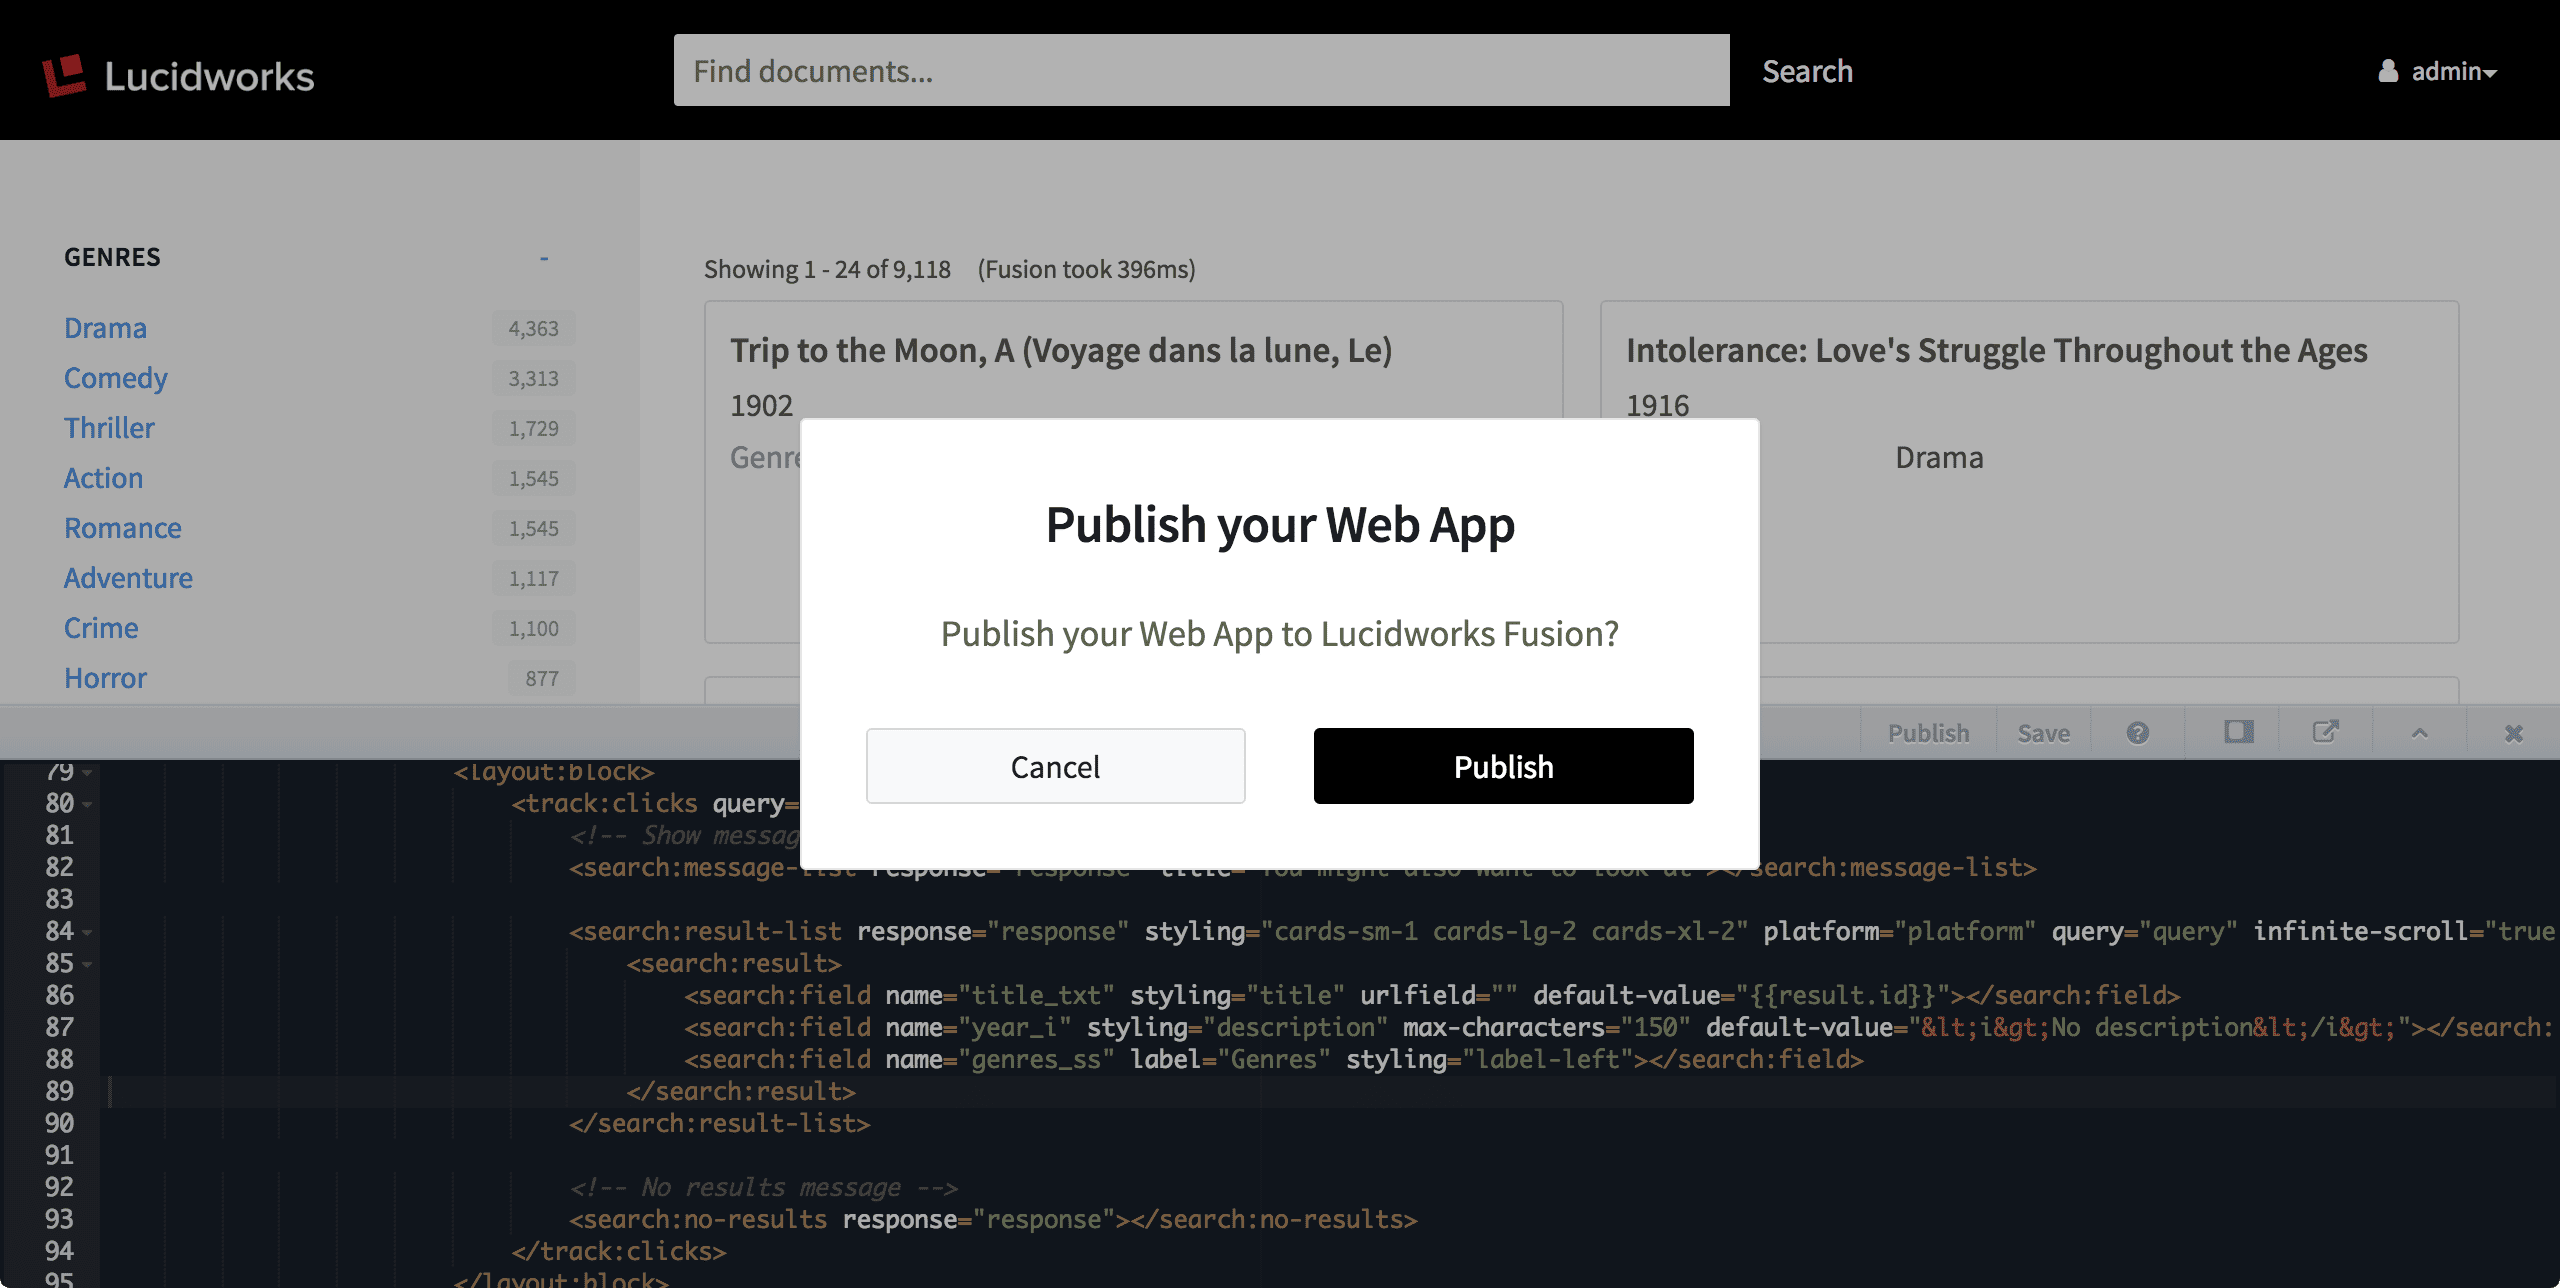
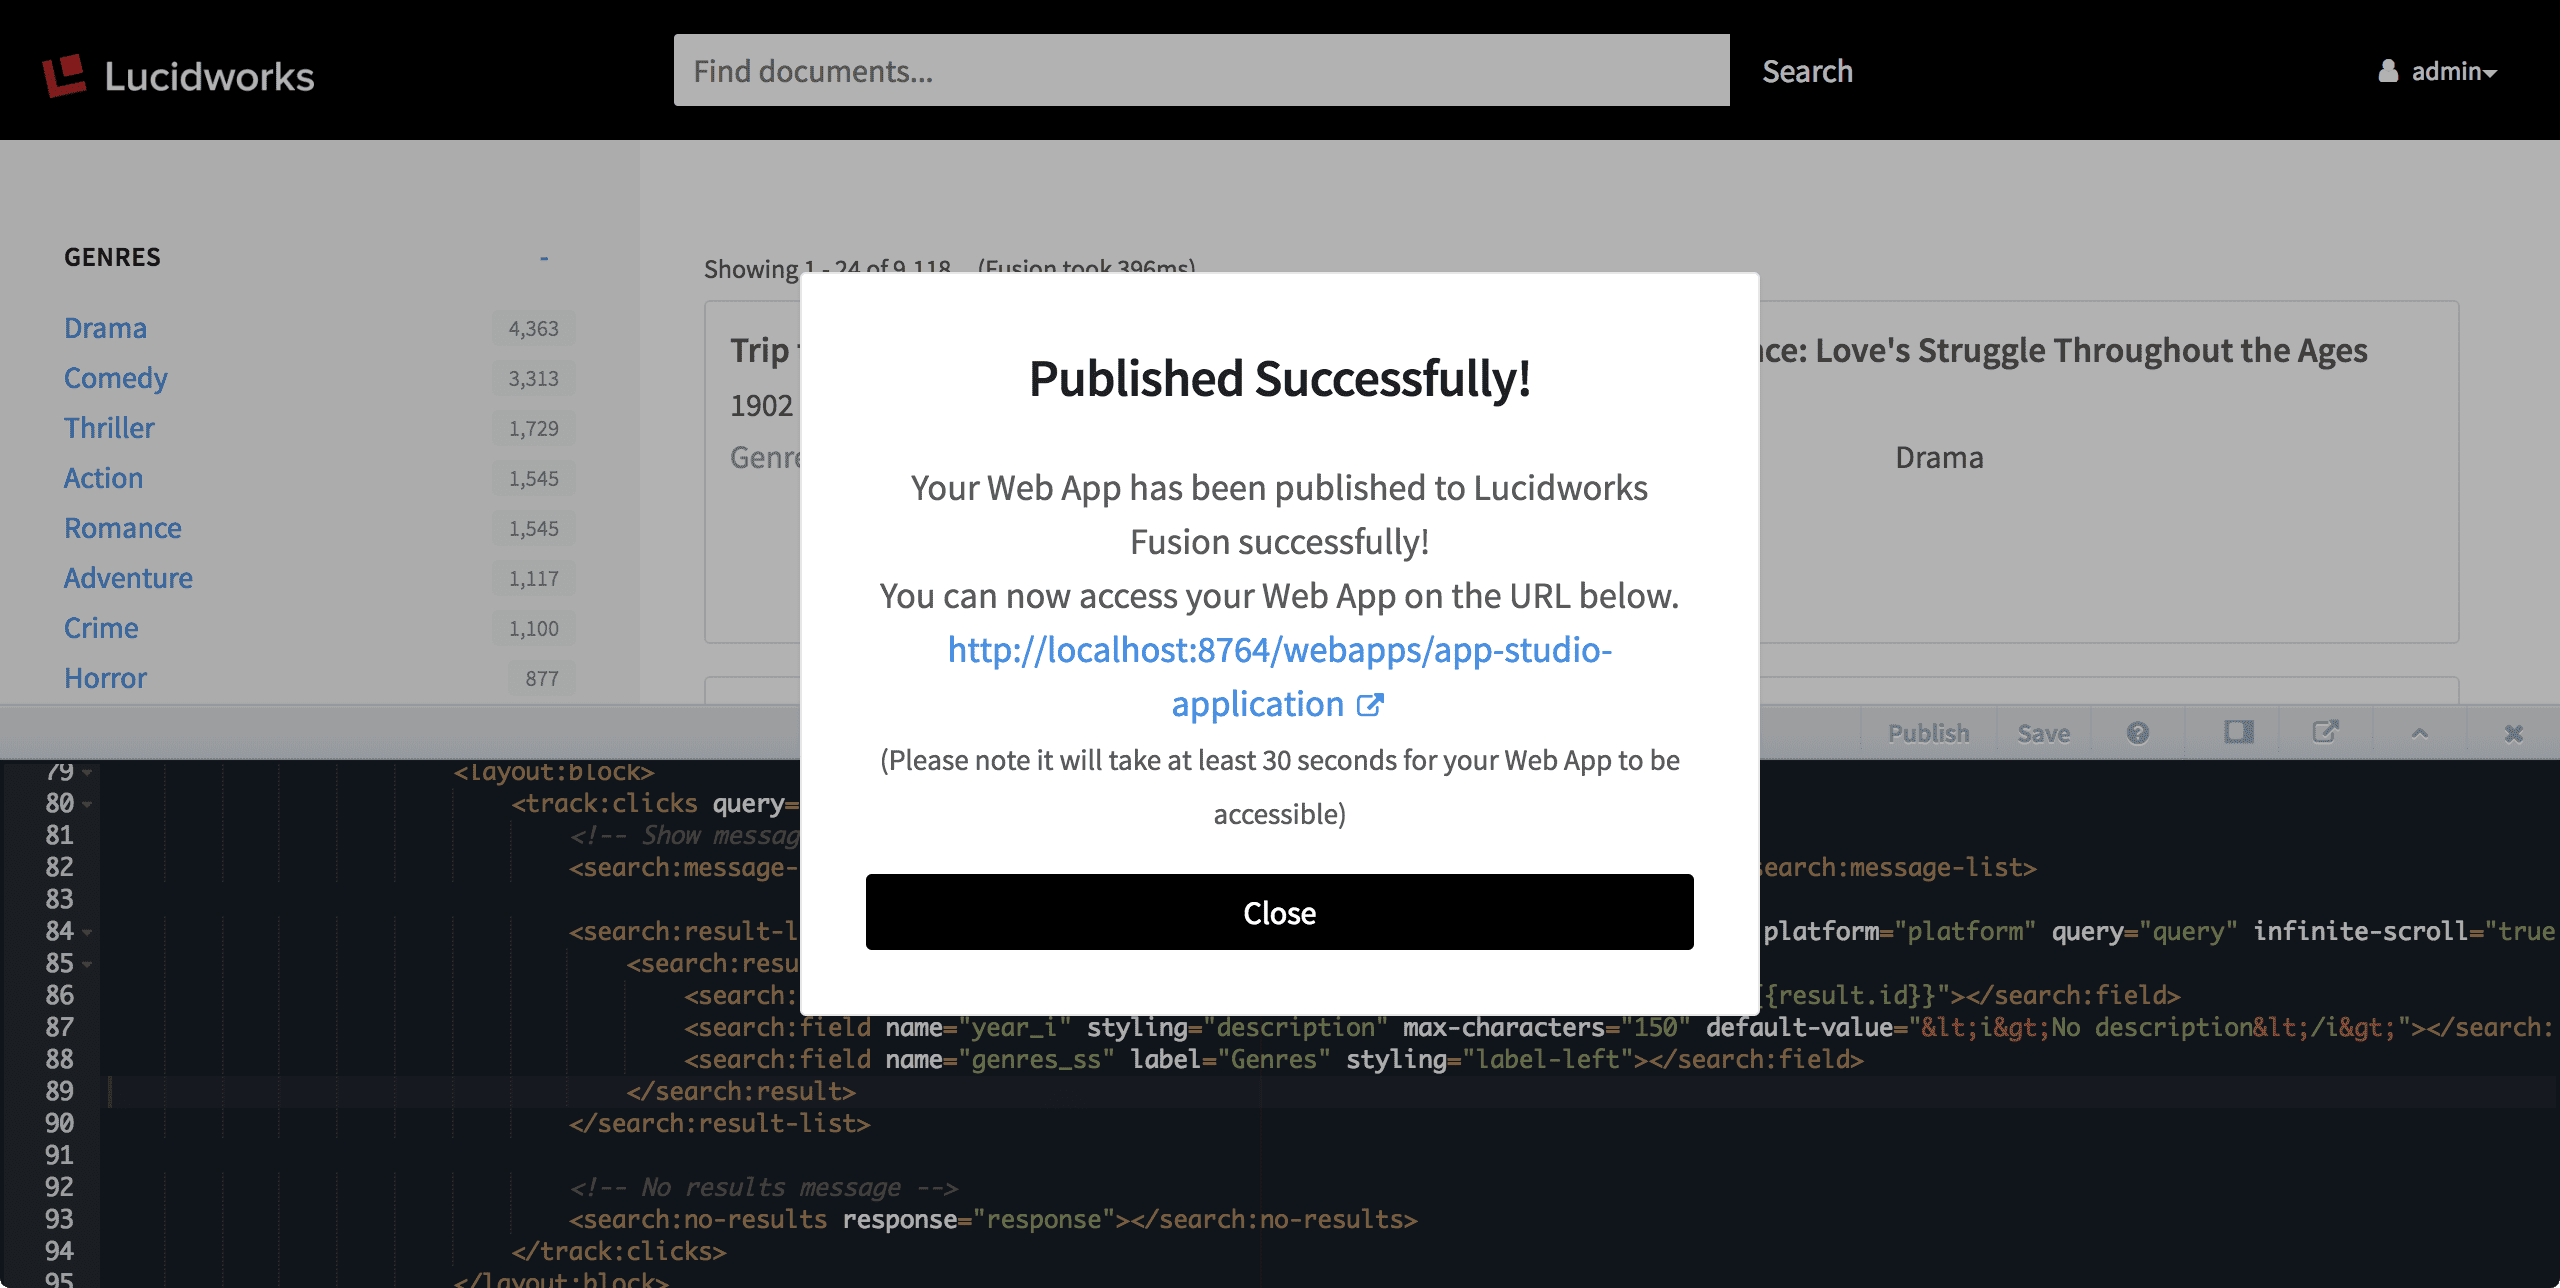
The Save button (or⌘-S/CTRL-S) saves the file and reloads the page to display your updated interface:Publishing your search interface from the code editor (version 4.0)
The Publish button deploys your search interface to Fusion. App Studio prompts you to confirm that you want to publish your Web app to Fusion:Add a Sidebar with Facets
Add a Sidebar with Facets
In App Studio, a sidebar is rendered using the simple 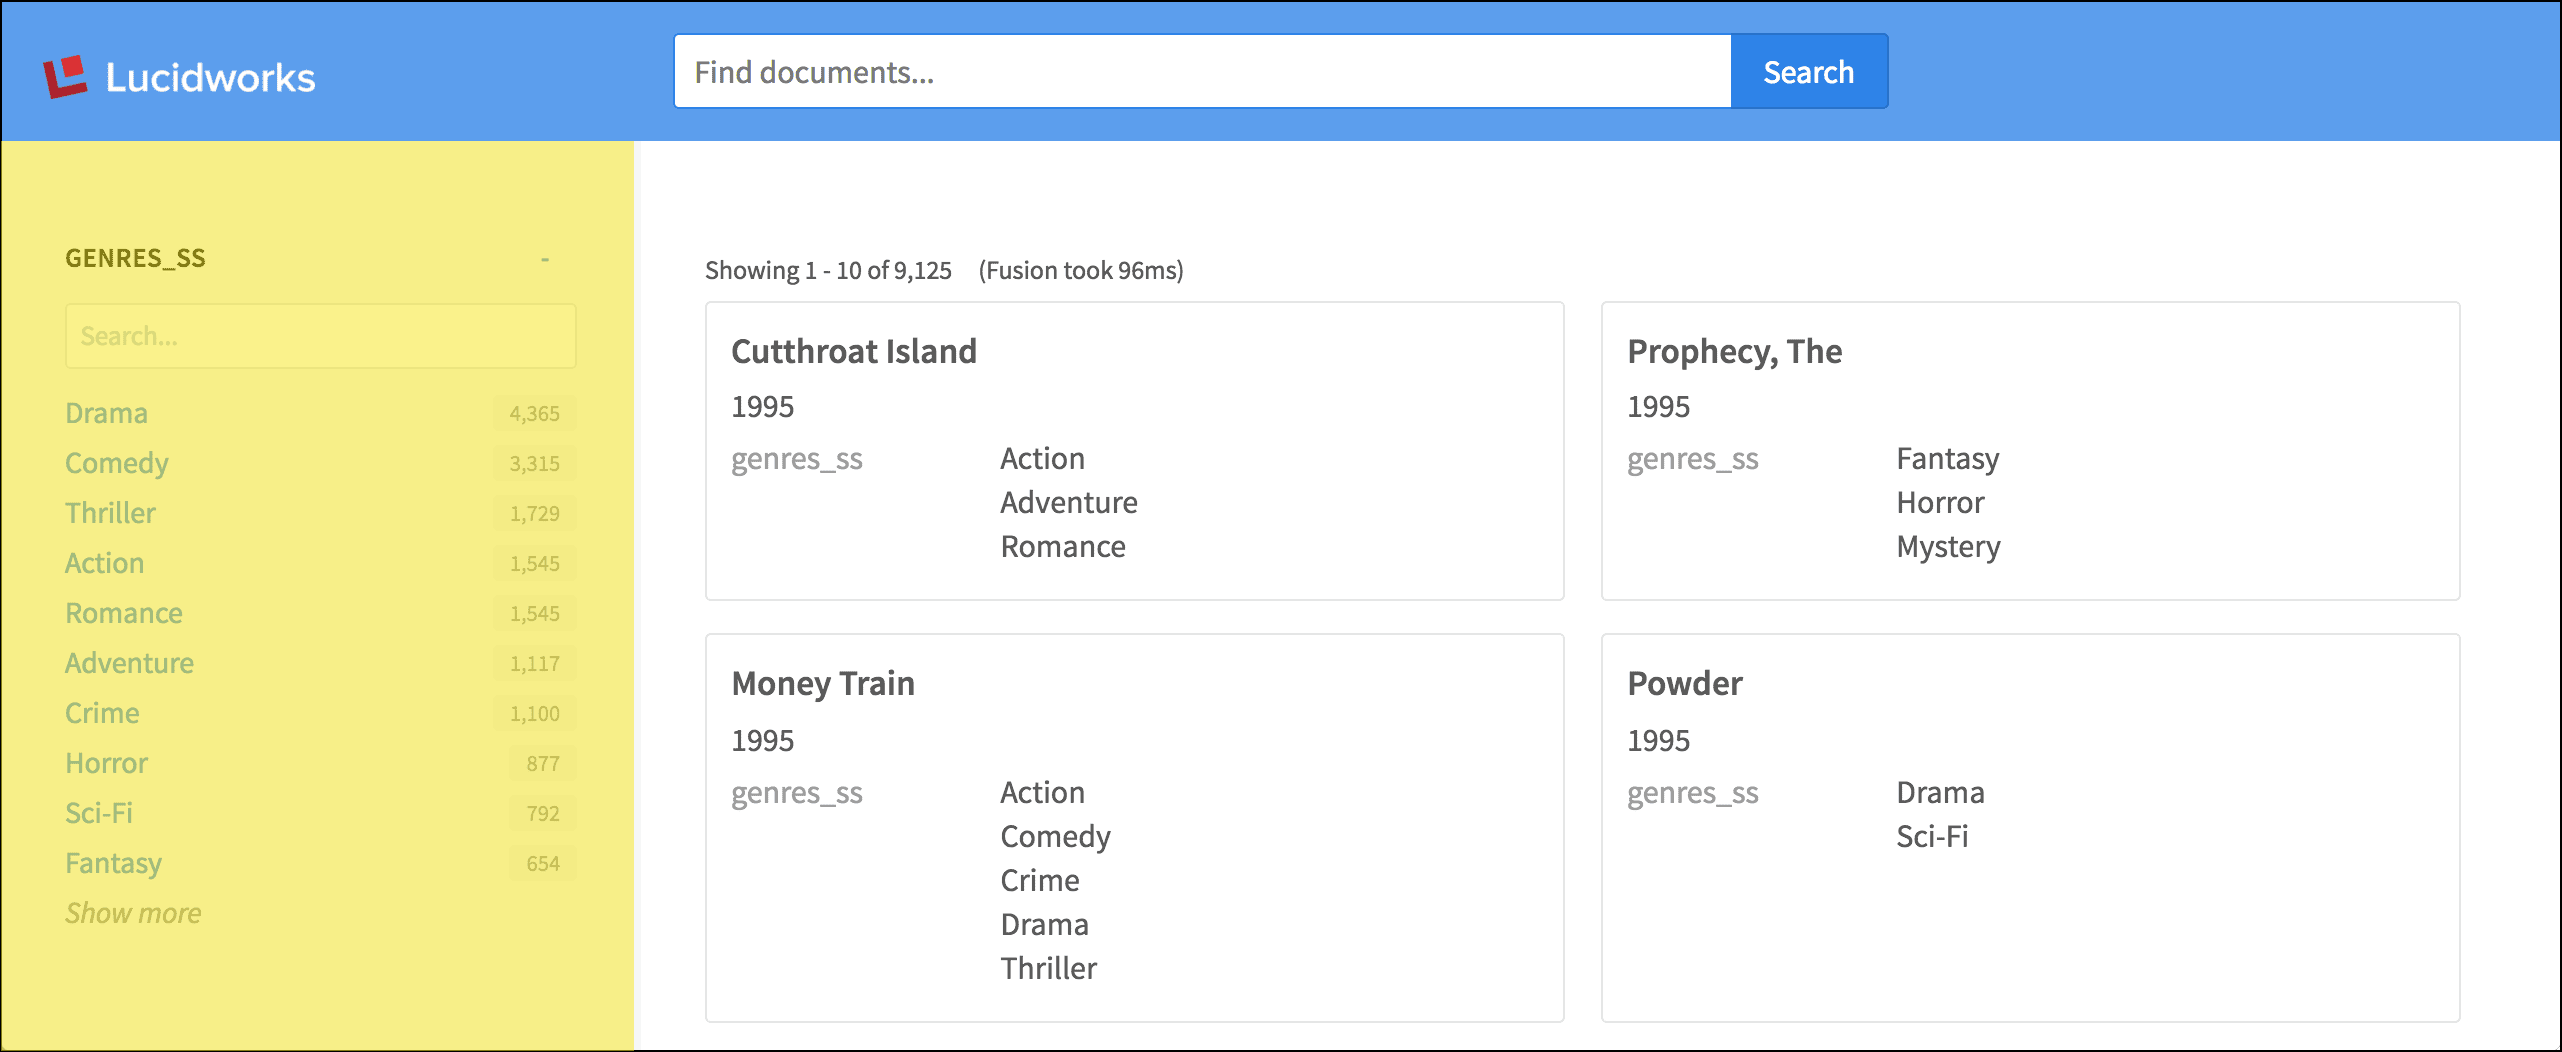
layout:sidebar tag. Within the sidebar, the search:facet-list and search:facet tags contain the parameters that configure the facet fields and their display.Configure Autocomplete
Configure Autocomplete
App Studio supports the ability to generate suggestions on the fly, also called autocomplete or type-ahead, using the Terms component or Suggest component embedded in Fusion’s Solr core.The Solr Terms component provides access to the indexed terms in a field and the number of documents that match each term. This can be used, for example, to find all terms in the Solr index that match an expansion of the given query term. For example, “car” might return CARRY, CARRIED, CARE, CARL, and so on.How to configure suggestions with the Terms component
Since the Terms component only allows suggestions one term at a time, in cases when multiple terms are being typed, suggestions are given for the last term typed.
-
Configure Fusion:
- In Fusion, navigate to Querying > Query Pipelines.
- Select the query pipeline you are using.
- Select the Solr Query pipeline stage.
-
Under configure Request Handlers Allowed for Queries, click Add
 .
.
-
Enter “Terms”.
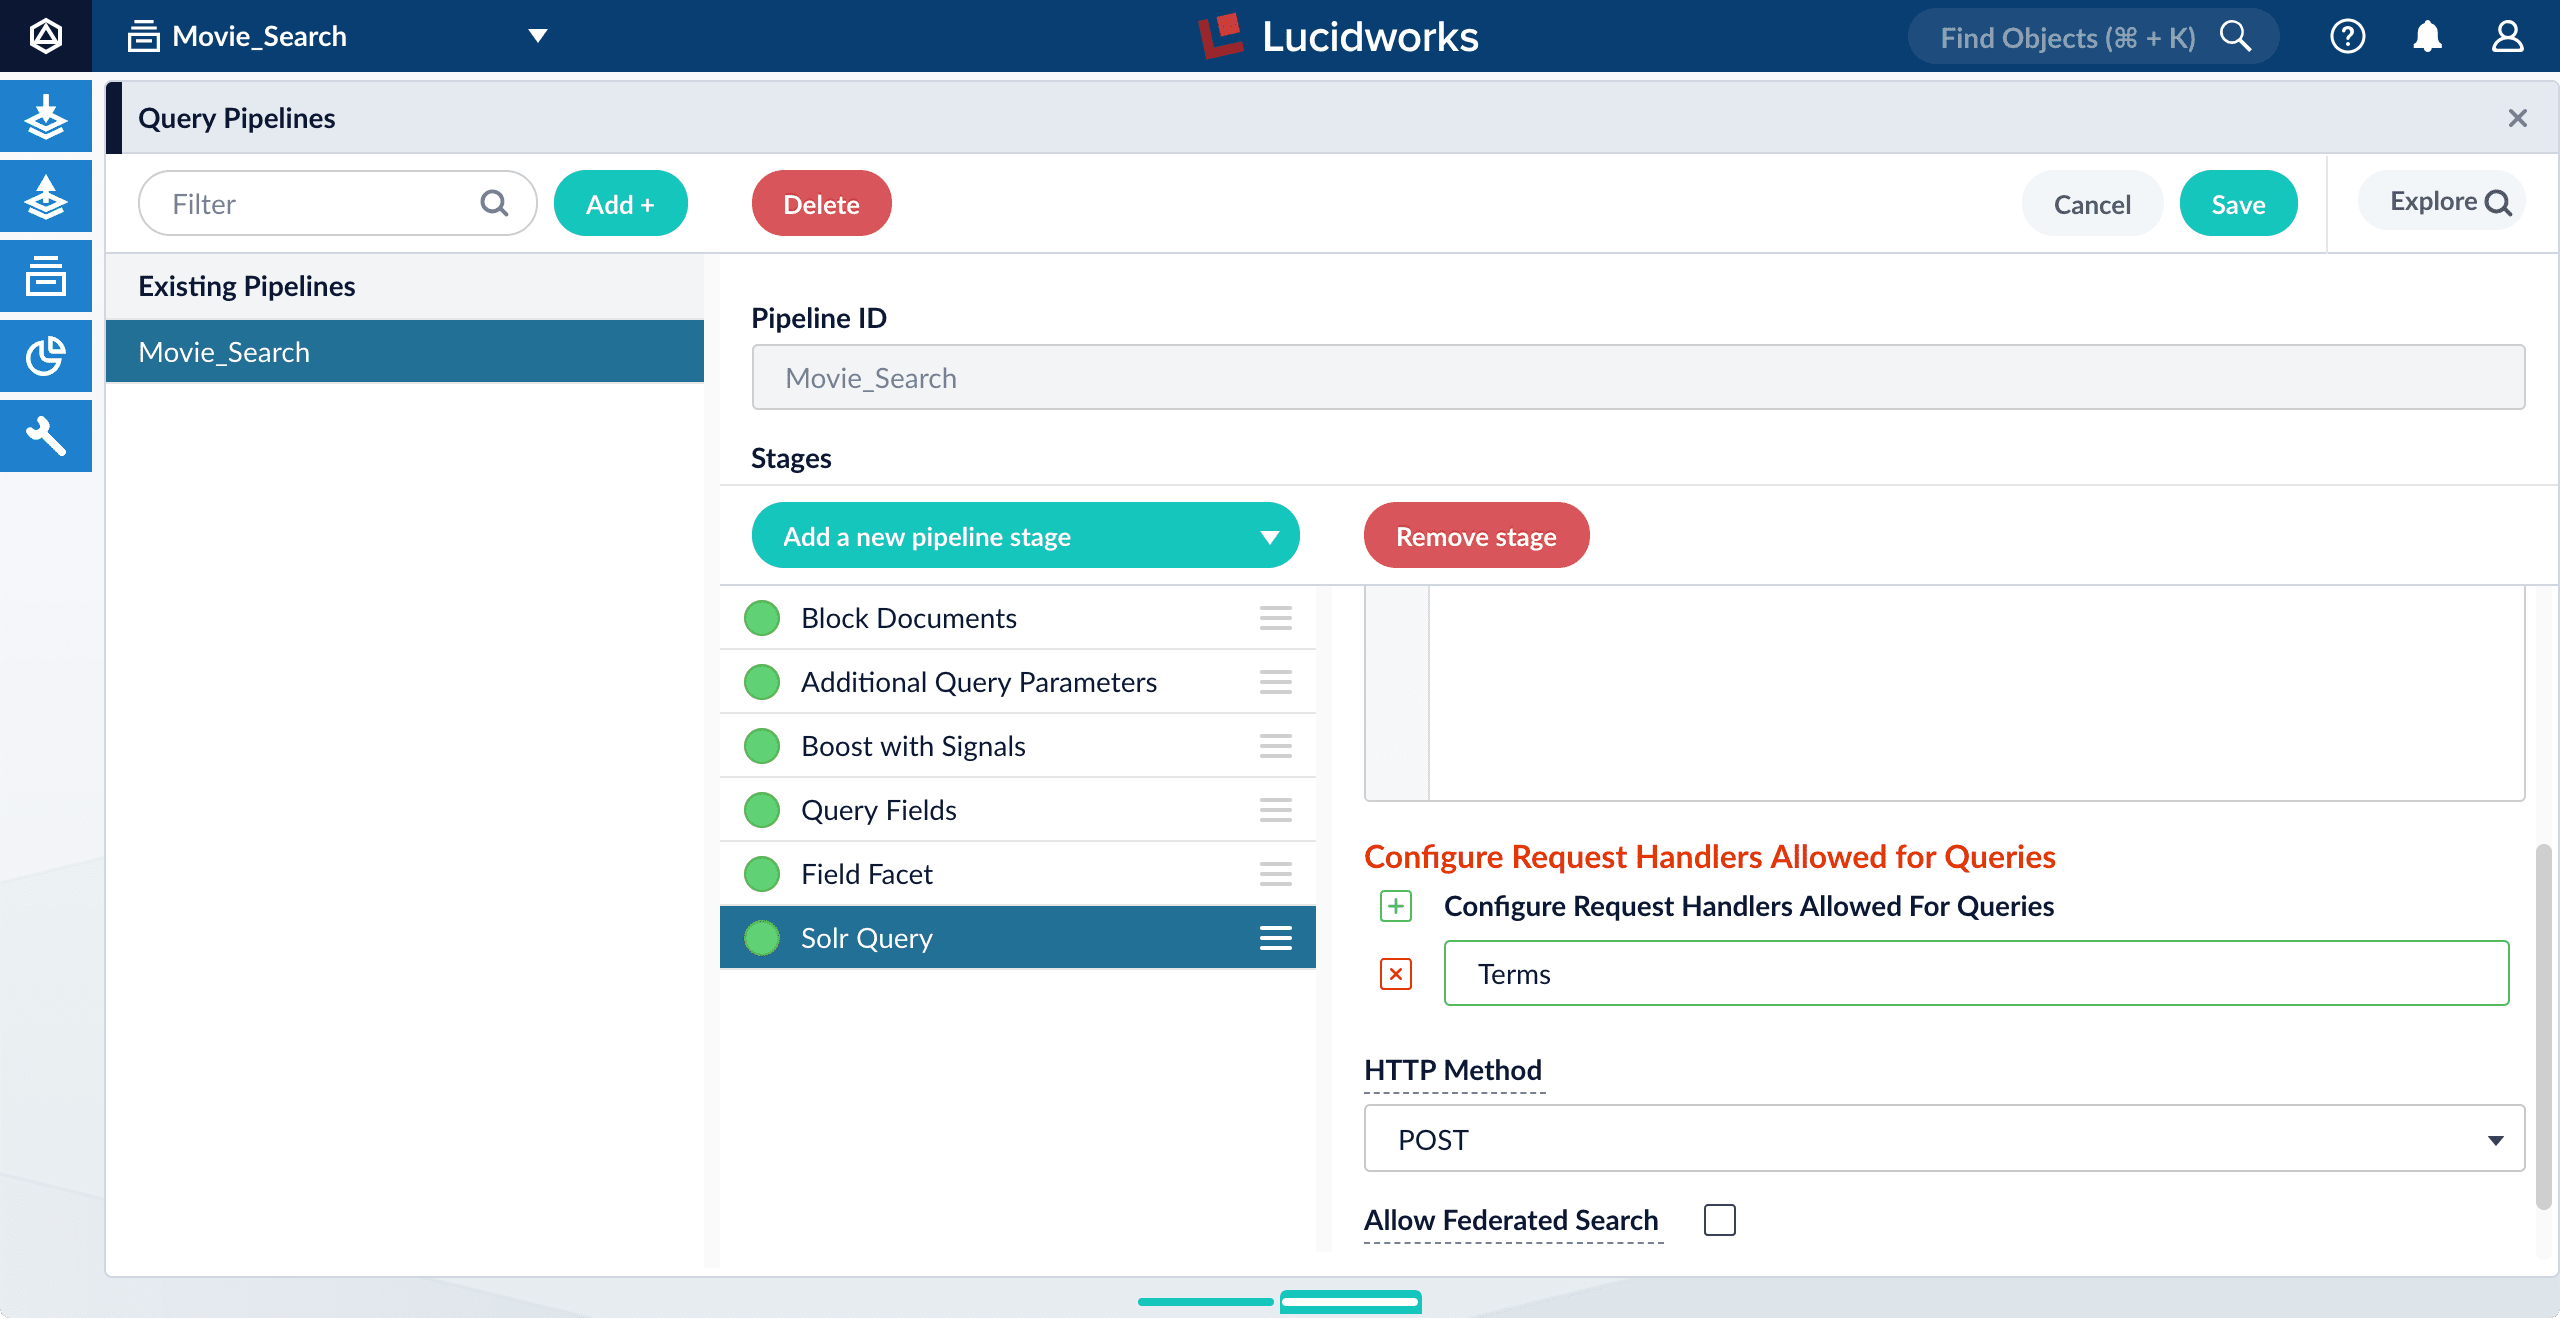
-
Click Save.
Unlike the Suggest component, you do not need to modify
solrconfig.xmlto use the Terms component; it is preconfigured.
-
Configure App Studio:
-
Open
config/services/suggestions/terms.conf. Its default content is as follows: -
Change the default
source: platforms.fusiontosource: platforms.fusion.data. -
Edit the value of
term-fieldsas a comma-separated list of fields in your data from which to retrieve terms. -
Edit the value of
titleto describe the group of suggestions returned by Fusion. This title can be used to group suggestions in the UI. If you are implementing only one group of suggestions, you can leave this blank or set it to something generic, like “Suggested phrases”. - Save and close the file.
-
Open
app/views/partials/header.tpl.html. -
Uncomment the following line:
- Save the file.
-
Open
- Refresh the search UI in your browser.
-
Test the feature by typing a search phrase.
App Studio now displays suggested terms on the fly:
Versions FAQ
How are these products versioned?
- Appkit is versioned according to updates to the code base.
- App Studio Enterprise versions are loosely tied to the version of the Appkit framework it includes. An update from 4.8.0 to 4.9.0 may not include any changes to App Studio Enterprise.
What about compatibility?
- Any version of Appkit can be used with Fusion 4.x. However, only Appkit 4.6.0+ can be used with Fusion 5.y.
- App Studio Enterprise can be used with any version of Fusion or Appkit.
Can these products be updated independently?
- Appkit can be upgraded independently, assuming there are no version compatibility issues.
- App Studio Enterprise is released when a new version of Appkit is released. As a result, App Studio Enterprise itself does not need to be updated. To move to the latest code base, simply update the Appkit version within the project.
Upgrade Appkit in Existing Apps
Upgrade Appkit in Existing Apps
When you create an Appkit webapp, it uses a specific version of Appkit. Appkit releases occur independently of App Studio releases.You can upgrade web apps to use the latest version of Appkit.How to upgrade
- Stop the app.
-
In the
package.jsonfile at the root of your project, update theappkit-uidependency to the latest Appkit version, for example: -
In the
pom.xmlfile at the root of your project, update the value of theparent.versionproperty to the latest Appkit version, for example: - Upgrade the Appkit Social module, if required.
- Perform any additional upgrade steps that are required for a specific Appkit upgrade. See the Appkit Release Notes for more information.
- Start the app.