Users and Provisioning
Users and Provisioning lets you create and manage users, including user permissions to workspaces and Lucidworks AI applications. In addition, you can create authentication that supports sign-on (SSO), which restricts user logins to specified email domains.
Users
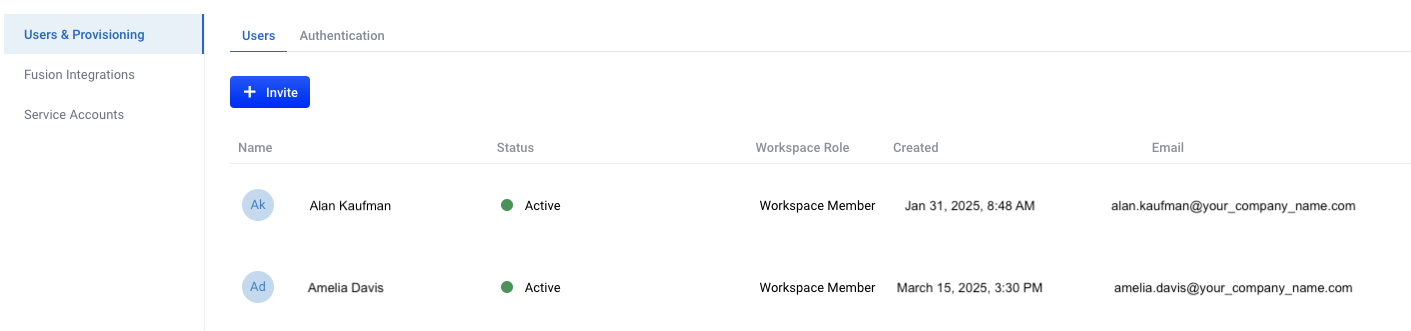
The Users screen displays all the users associated with your workspaces.
To view a list of users, navigate to the megamenu and click Settings > Users & Provisioning. The name, status, workspace role, date user was created, and email of each user displays.
 .
.
The following table describes the information:
Name |
First and last name of the user. |
Status |
Statuses include:
|
Workspace Role |
Permission level for this user. Options are: Workspace Member, Workspace Owner, and Model Trainer. For more information, see Workspace roles. |
Created |
Date the invitation was created. |
User’s email address. |
Invite users
| Only workspace owners for the specified workspace can invite users to that workspace. |
-
Navigate to the megamenu and click Settings > Users & Provisioning.
-
Click + Invite and enter the user’s information in the First name, Last name, and Email fields. Required fields are notated with an asterisk (*).

-
Select the Workspace Role for this user. The options are Workspace Owner and Workspace Member.
If you are a
Workspace Owner, you can assign a user role to other users later using the Edit users procedure. For more information about the functions each role can perform, see Workspace roles. -
Enter values in the following fields to assign
Workspace Memberaccount privileges:-
If the user needs to train and deploy custom embedding models, select Model Trainer. Do not select if the user will not train and deploy custom embedding models.
-
Select the user Application Role for the Lucidworks AI applications listed. If you don’t add a role now, the user role defaults to No Access. If you are a
Workspace Owner, you can assign application roles to workspace members later using the Edit users procedure. For more information about workspace roles and permissions, see Workspace roles.
-
-
To email the user the invitation, click Send Invite. To exit without creating a user, click Cancel.
-
In the Users list, verify the status of the new user status is Awaiting Activation.
When the user accepts the email invitation, the status displays as Active. If the user does not receive the email invitation in their inbox, ask them to look in the spam folder. If the invitation is not in their inbox or spam folder, verify the email information. If your troubleshooting efforts are unsuccessful, contact Lucidworks Support.
Edit users
To edit a user, click the entry for the user you want to edit. You can also click View/Edit.
-
If the user has been granted the
Workspace Ownerworkspace role, you can select a different Role or click Delete User to delete the user.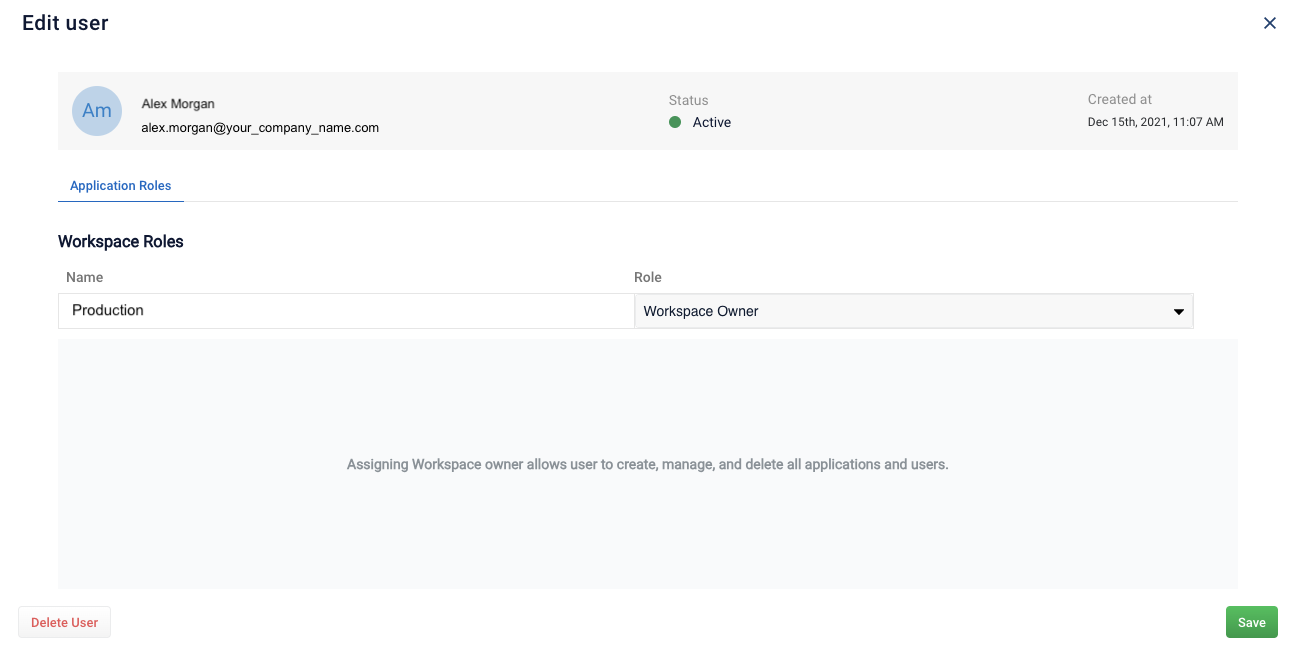
-
If the user has been granted the
Workspace Memberworkspace role, you can select a different Role, select the Model Trainer Role, or change the application User Role. You can also click Delete User to delete the user.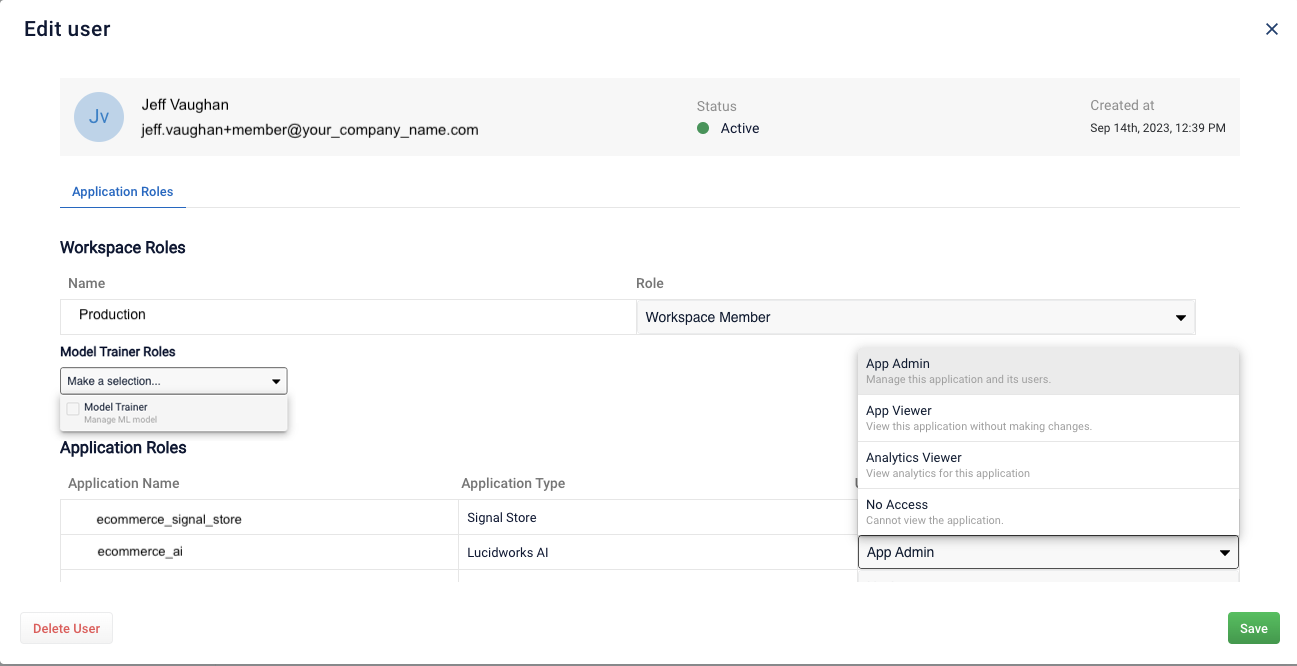
For more information about user roles and permissions, see Workspace roles.
Authentication using single-sign on
The Authentication screen lets you configure the Lucidworks Platform feature that supports single sign-on (SSO), which:
-
Restricts user logins to specified email domains
-
Uses your organization’s identity provider authentication method instead of Lucidworks' built-in authentication
Workspace owners can configure SSO via OpenID Connect (OIDC) or Security Assertion Markup Language (SAML).
For more information, see Single sign-on authentication.