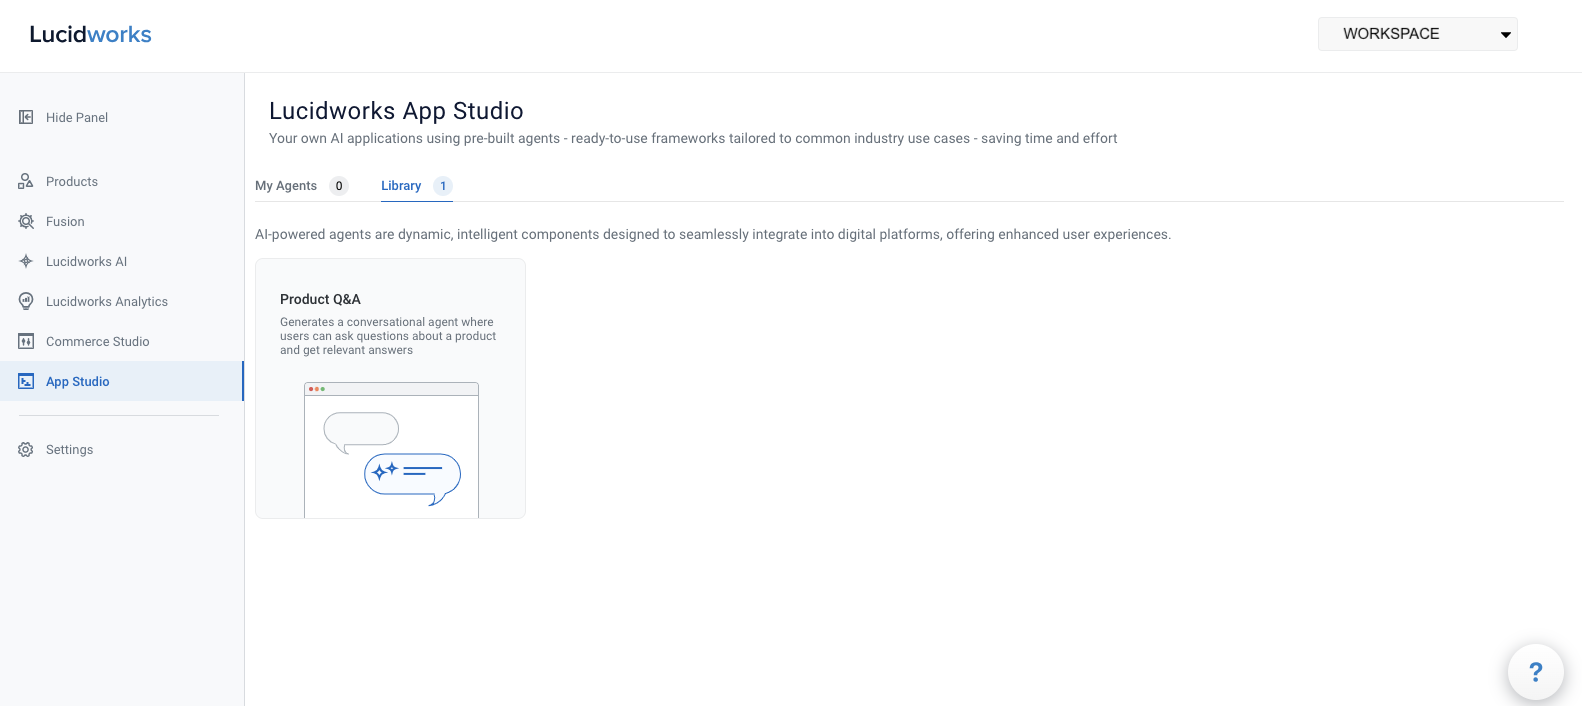
Agent Studio
Agent Studio lets you create and implement AI-powered virtual agents for your website. The agents are pre-built, highly customizable AI solutions that cover a wide array of use cases such as a question and answer chatbot or generative AI summarization. Agent Studio agents can be implemented to improve customer experiences with your website and enhance organizational goals for B2B, B2C, and knowledge management industries.
Virtual agents are available 24/7 for inquiries from customers all over the world and respond with accurate, standardized information tailored to those customer queries. The virtual agents also handle high volumes of customer inquiries, which lessens wait times for customers who choose to call and reduces the number of live customer interactions. These factors allow your personnel to resolve more complex customer issues, which in turn, helps shorten the timeframe to complete purchase transactions or obtain the information your organization provides.
For examples about how the virtual agents can be used in your organization, see the section about the Library of available agents.
Agent configuration overview
Agent Studio is hosted on Lucidworks Platform and is easily configured and implemented. You create an agent by choosing from a library of prebuilt agents, and then select from a list of generative AI models, industry options, and datasources, all hosted in the cloud. Then, you complete the implementation by placing a small script and HTML markup on your site, based on when you want the virtual agent to load.
| The AI models are specific to the type of agent and industry. Agent Studio does not support custom large language model (LLM) training. |
Library of available agents
The section describes the Library tab and the available agent types you can select to create custom virtual agents.
Product Q&A agent
Agent Studio supports the Product Q&A agent type. Based on your industry, this agent generates an interactive question and answer solution that provides information from your website about products you offer or information your organization provides.
The following examples describe how you can use an Agent Studio Product Q&A agent:
-
If you are a B2B organization that provides industrial technology components and a computer server manufacturer queries about fiber optic connectors, the agent displays questions that a customer may have about a specific fiber optic connector on its product detail page, based on the information ingested about that product in the datasource from documents such as instruction manuals and specification files. These questions could relate to bandwidth capabilities, equipment compatibility, and warranty terms. The customer can then select the question to view the answer without reading multiple documents to find the answer.
-
If you are a B2C organization that provides skin care products, the agent displays questions that a customer may have about a specific skin care product on its product detail page, based on the information ingested about that product in the datasource from documents such as ingredient lists and benefits of using that product. These questions could relate to whether that product is vegan or suitable for daily use. The customer can then select the question and view the answer, increasing customer confidence and the likelihood of a purchase.
Agent Studio agent setup
This section provides the steps and information necessary to create and test Agent Studio agents on Lucidworks Platform.
Set up a datasource
Agent Studio ingests client datasource information stored in a datasource outside of Lucidworks Platform and uses that data in a specified model. You must enter the datasource details where your data is stored when you create an agent.
Agent Studio supports Google Cloud Storage (GCS) buckets as a datasource. If your organization has not created a GCS bucket to use as a datasource, you need to create one. For detailed information, see Create a GCS bucket.
Create an agent
To create an Agent Studio agent:
-
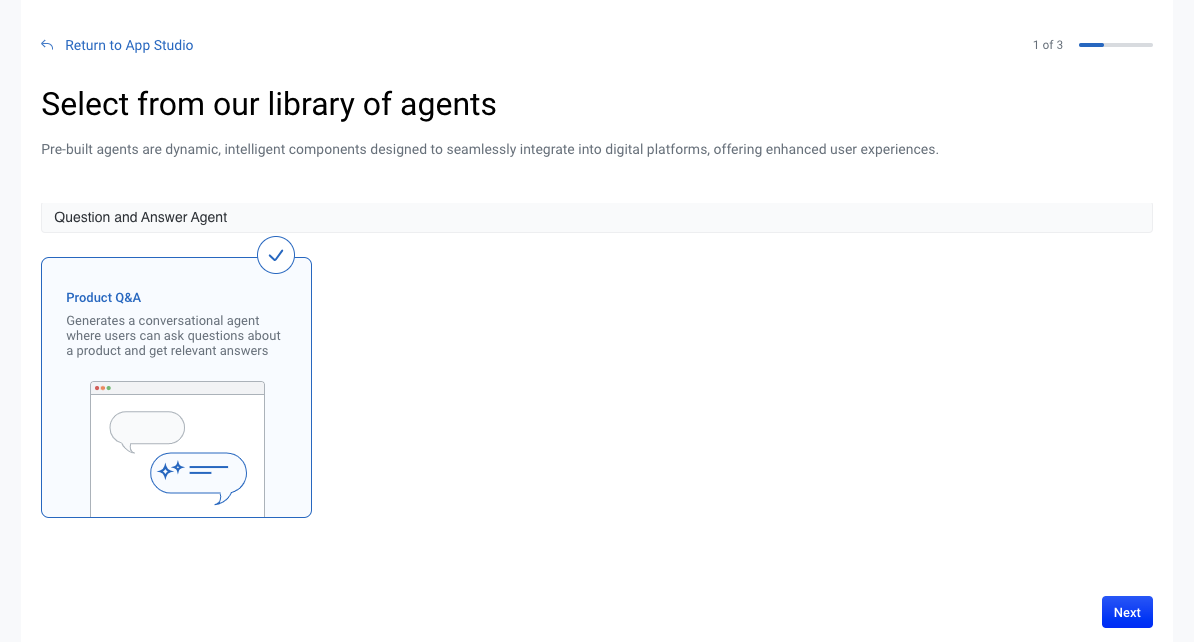
From the App Studio screen, select Agents and click Create Custom Agent.
-
Enter a descriptive Name for the agent, select an agent type from your Library, and then click Next.
-
From the Industry Domain list, select the industry that best matches your business.
-
Select a Model Name from the list. The recommended model is selected by default because it is deemed to the most relevant based on the industry selection, but you can select a different model. Click Next.
-
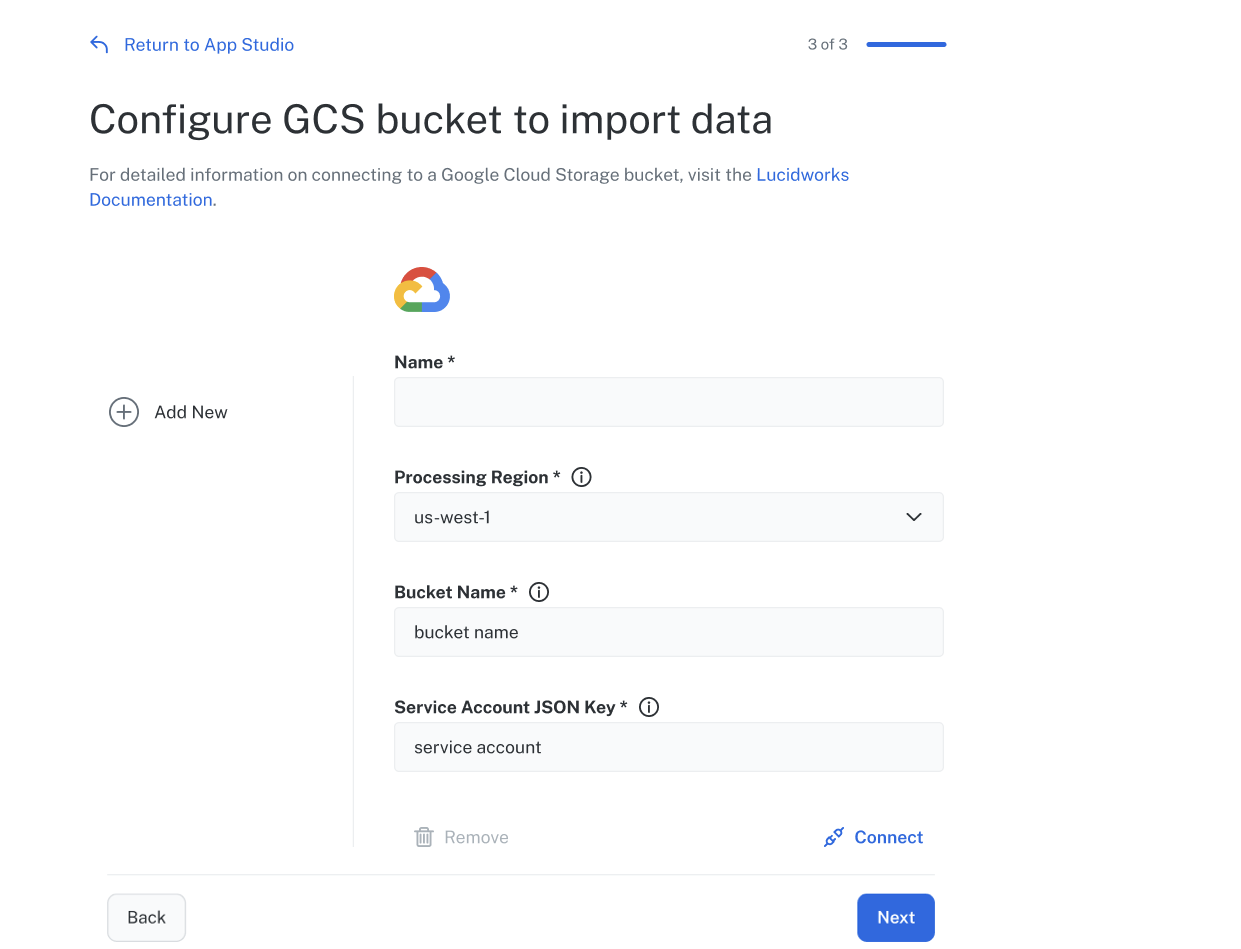
On the Configure GCS bucket to connect screen, fill out all required fields.
-
In the Name field, enter the name of your datasource as you want it to display in Lucidworks Platform.
-
In the Processing Region field, select the region for Lucidworks to process your data. This is not necessarily the region you created your GCS bucket in. The default value is
us-southcarolina. -
In the Bucket Name field, enter the name of your GCS bucket as it displays it GCS.
-
In the Service Account JSON Key field, enter your Google Cloud Platform (GCP) key in JSON format to allow access to your GCS bucket.
-
-
Click Connect to verify the connection to the GCS bucket.
You can add multiple GCS buckets to the agent to expand the information the model uses for responses. To add another GCS bucket, click Add New on the Configure GCS bucket screen. If multiple GCS buckets exist and you want to remove a specific GCS bucket from your agent, select that bucket and click Remove.
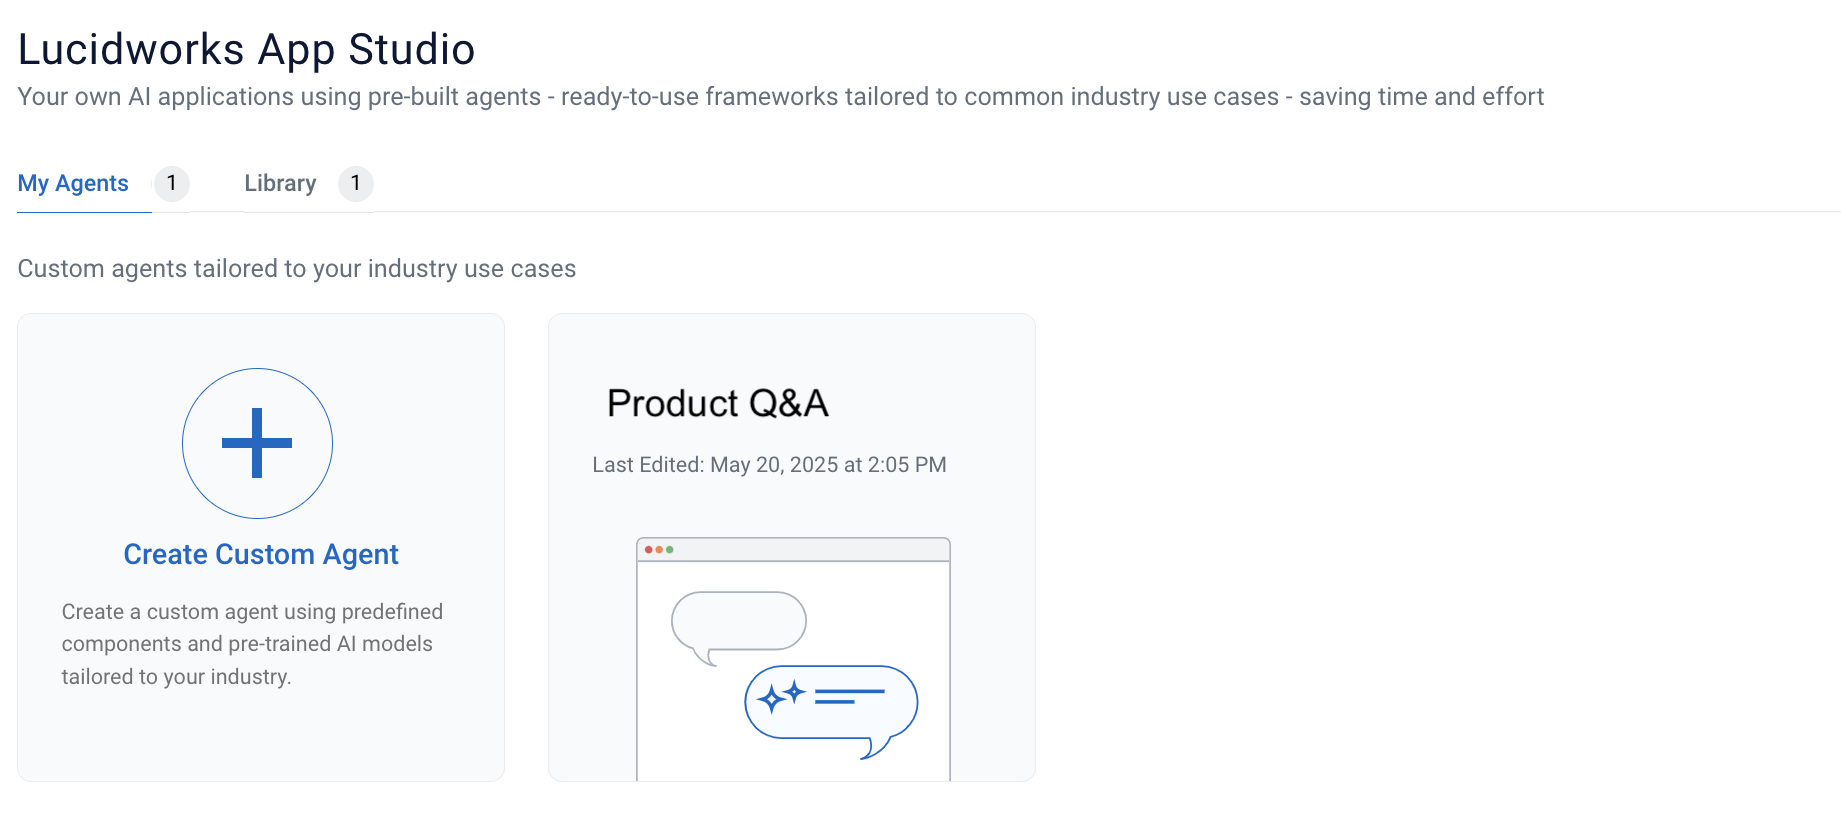
When you’ve successfully created the agent, the options to Preview Agent to test the agent and Get Agent Code to implement the agent display. Those options are described in their respective sections of this topic. Click Exit and verify the agent displays in the My Agents section of Agent Studio.
Preview and test an agent
This option lets you preview and test an agent to determine if its responses accurately reflect the information from your website and datasource before you implement it.
Navigate to App Studio, click the Agents tab, and then select the agent you want to preview or test. For example, Product Q&A.
Details tab
When you select an existing agent, the Details tab displays key information, such as the agent type, AI models used, and datasources. It also includes code snippets for implementing and customizing the appearance of the agent.
Preview tab
When you select an existing agent, the Preview tab lets you test the agent to determine if the responses accurately reflect the information on your website.
This example is to test the Product Q&A agent, which requires you enter a valid Product ID for an item that has been ingested from the datasource.
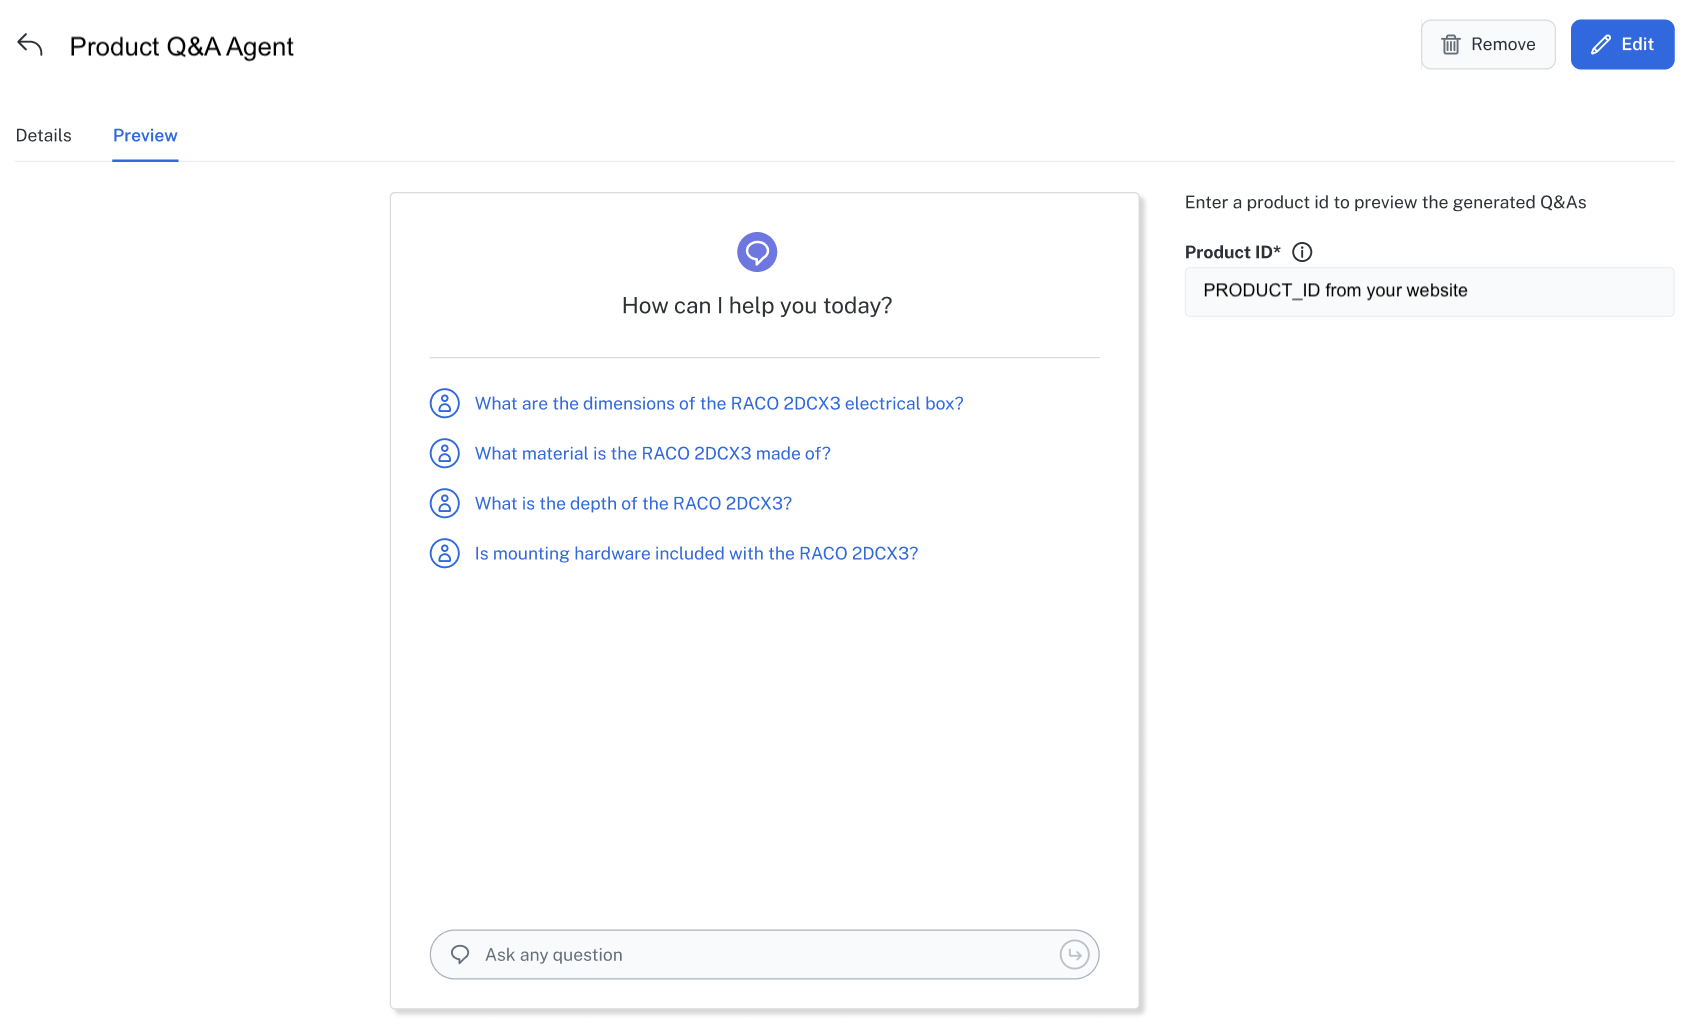
When you select or enter a question, a response is returned.

To fully test the agent, Lucidworks recommends you:
-
Enter multiple questions and verify that the agent returns accurate information.
-
Design test questions that not only request simple information, but also data from other documentation on your website such as whitepapers, design specifications, and technical manuals.
-
Test multiple products in detail to ensure the agent is configured correctly and answers accurately.
If you need to refine the agent, click Edit. For more information, see Refine an agent.
When you have tested the agent and are ready to place it on your website, see Implement an agent.
Refine an agent
You can refine an existing agent. For example, you may want to add a new datasource to increase the scope of information the model uses and enrich responses returned or experiment with available models to see the differences in responses.
To make changes to the agent:
-
Navigate to App Studio, click the My Agents tab, and then hold the pointer over the agent you want to change.
-
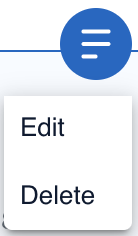
Click the agent menu and then click Edit.
-
Enter the changes to each of the screens, clicking Next to advance to the next screen, and then click Exit at the final screen to save the changes.
-
Verify the changes by testing the agent using the steps in the Preview tab section. If necessary, you can refine the agent until you determine that the returned responses are accurate and optimized.
Agent Studio agent implementation
After creating your agent, you can access the code you need to implement the virtual agent on your website.
There are two considerations when implementing the virtual agent:
-
Where you place the script and HTML snippet that enables the option to display the virtual agent
-
How the virtual agent obtains the product ID so it provides accurate information
The following sections describe the options to place the script and obtain the product ID.
Options for loading the script
To implement the agent on your site, obtain the script and HTML snippet from Lucidworks Platform.
To add the script to your website, complete the following steps:
-
Navigate to App Studio, click the My Agents tab, and then click the agent you want to implement. For example, Product Q&A.
-
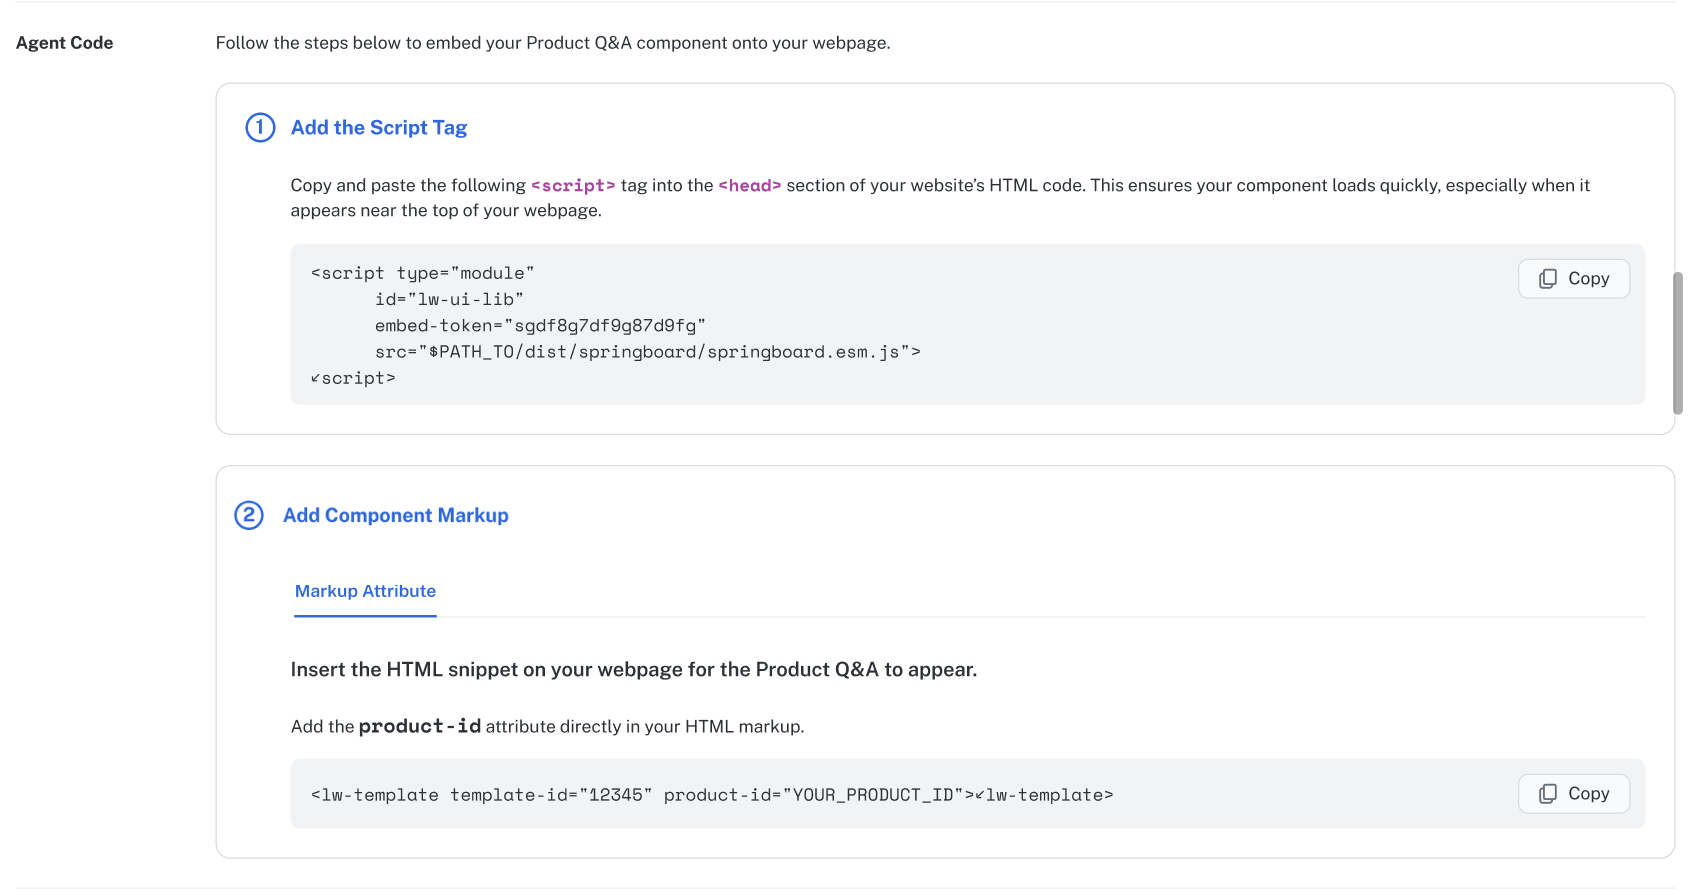
On the Details tab, scroll to the Agent Code section, and in the Add the Script Tag area, click Copy.
-
Paste the script into the
<head>or<body>section of your website’s HTML code.
You have two options for placing the script: in the <head> or <body> of your HTML. The location of the script determines when it will load. For best performance, place the script in the <head> of your website’s HTML. If you place the script in the <head> of your website’s HTML, the script loads before your entire HTML page body loads, along with any other scripts your <head> may contain. The agent still only displays on the individual pages where you have also placed the HTML markup snippet in the <body>.
The following example shows how to include the script in the <head>. It includes one option for the HTML snippet to obtain the product ID, which is described in options to obtain the product ID:
<head>
	<script type="module" id="lw-ui-lib" embed-token="YOUR_EMBED_TOKEN"
    	src="$PATH_TO/dist/springboard/springboard.esm.js">
	</script>
</head>

<body>
	<lw-template template-id="12345" product-id="1234">
	</lw-template>
</body>
You may also place the script in the <body> of your website’s HTML. If you place the script in the <body> of specific pages, the script loads only on the pages that contain the script, but the script loads after all the other scripts in your <head>. Even in this case, the agent only displays if you have also placed the HTML markup snippet on that page’s <body>. However, the order that you place the script and HTML markup snippet relative to other items on your page can affect the order in which other page elements load. For this reason, this placement is not the recommended one.
The following example shows how to include the script in the <body>. It includes one option for the HTML snippet to obtain the product ID, which is described in options to obtain the product ID:
<head>
</head>

<body>
	<script type="module" id="lw-ui-lib" embed-token="YOUR_EMBED_TOKEN"
    	src="$PATH_TO/dist/springboard/springboard.esm.js">
	</script>

	<lw-template template-id="12345" product-id="1234">
	</lw-template>
</body>
No matter where you place the script, the <lw-template> HTML snippet must be present in the <body> of a page in order for the agent to display.
Options for obtaining the product ID
The Product Q&A agent lets your customers ask questions about a specific product. The agent knows the exact product by obtaining the product’s unique ID. The product ID is included in the HTML snippet that you add to the <body> of your webpage. There are three ways the agent obtains the product ID.
Implement agent using Automatic Extraction through a URL query parameter
This method is suitable when the product ID is consistently found in the page URL as a query parameter, or when you want to avoid manually injecting it into an HTML snippet.
Use this method in combination with the option you chose to load the script.
After you place the script in either the <head> or <body> section:
-
Scroll to the Add Component Markup section and the in Automatic Extraction area, click Copy to copy the HTML snippet.
-
Paste the
<lw-template>HTML snippet in the<body>of every page where you want the virtual agent to display. -
In the Specify the Product ID section, enter the URL Query Parameters value for the
product-id. For example, if your URL ishttps://www.example.com/sale?q=solvents&product=1234and your product ID is 1234, enterproduct. -
Verify the agent displays on the appropriate pages of your website.
-
Test the agent again by entering various queries to determine if the agent returns appropriate responses.
Implement agent using Automatic Extraction through a CSS selector
You would use this method if, for example, the product ID is not in the URL, or at least not in the query parameter. Or if you do not want to inject the product ID into an HTML snippet. You might also use this method if the product ID is already built into the page through CSS selectors and you know how to isolate it.
Use this method in combination with the option you chose to load the script.
You must be able to extract the exact product ID through CSS selectors. For example, if the product ID is 1234, then you must be able to extract 1234 from your CSS selectors without any additional text, such as product-id: 1234.
|
After you place the script in either the <head> or <body> section:
-
Scroll to the Add Component Markup section and the in Automatic Extraction area, click Copy to copy the HTML snippet.
-
Paste the
<lw-template>HTML snippet in the<body>of every page where you want the virtual agent to display. -
In the Specify the Product ID section, enter the CSS Selector elements of the CSS rule that contains the
product_id. The following example uses.product .product-name @valuethat extracts a product ID of 1234.<head> <script type="module" id="lw-ui-lib" embed-token="YOUR_EMBED_TOKEN" src="$PATH_TO/dist/springboard/springboard.esm.js"> </script> </head> <body> <div class="product"> <div class="product-name" value="1234"> Product Name </div> </div> <lw-template template-id="12345"> </lw-template> </body> -
Verify the agent displays on the appropriate pages of your website.
-
Test the agent again by entering various queries to determine if the agent returns appropriate responses.
Implement agent using Markup Attribute
This option is primarily used if when the product ID exists in the product detail page but is not made available in either the HTML or as a query parameter. Even when the agent cannot easily retrieve the product ID, it can be injected dynamically via markup.
Use this method in combination with the option you chose to load the script.
After you place the script in either the <head> or <body> section:
-
Scroll to the Add Component Markup section and the Markup Attribute area, click Copy to copy the HTML snippet.
-
Paste the
<lw-template>HTML snippet in the<body>of every page where you want the virtual agent to display. The example code sample useshttps://www.example.com/sale/1234andproduct-idin the snippet. If yourproduct-idattribute name is different than what is copied in the snippet, manually change the name of your attribute.<head> <script type="module" id="lw-ui-lib" embed-token="YOUR_EMBED_TOKEN" src="$PATH_TO/dist/springboard/springboard.esm.js"> </script> </head> <body> <lw-template template-id="12345" product-id="1234"> </lw-template> </body> -
Verify the agent displays on the appropriate pages of your website.
-
Test the agent again by entering various queries to determine if the agent returns appropriate responses.
CSS for layout customization
The agent details screen also contains a code block for CSS customization. You can use this code block to customize the appearance of the agent so it matches your website’s existing layout.
The following code sample displays some custom styling options for the agent.
All agent customizations must be contained within the .lw-template properties.
|
/* Custom styling for Product Q&A template */
  .lw-template {
    /* Container dimensions */
    min-height: 300px;
    max-height: 800px;
    min-width: 300px;
    max-width: 600px;

    /* Optional styling you can uncomment as needed */
    // width: 400px;
    // height: 400px;
    /* margin: 20px auto; */
    /* border: 1px solid #e0e0e0; */
    /* border-radius: 8px; */
  }
Additional agent management tasks
This section contains tasks you may need to perform to refine or delete virtual agents.
Refine an agent
You can refine an existing agent after creating it. See Refine an agent for instructions.
Delete an agent
If you no longer want to use an agent, you can delete it. To delete an agent:
-
Navigate to App Studio, click the My Agents tab, and then hold the pointer over the agent you want to change.
-
Click the menu in the corner of the agent and then click Delete.
-
Review the My Agents tab and verify that the agent no longer displays.
| Deleting an agent is permanent. If you want to use a deleted agent, you must recreate it using the steps in Create an agent. |