Use Business Rules in the Rules Editor
This article describes how to use the Business Rules screen in the Rules Editor.
|
Lucidworks offers free training to help you get started. The Course for Query Rewriting with Business Rules and Search Rewrites focuses on how using business rules and search rewrites gives you the opportunity to boost conversions and create better customer experiences by improving your relevancy: Visit the LucidAcademy to see the full training catalog. |
Facet rules
Facet menu
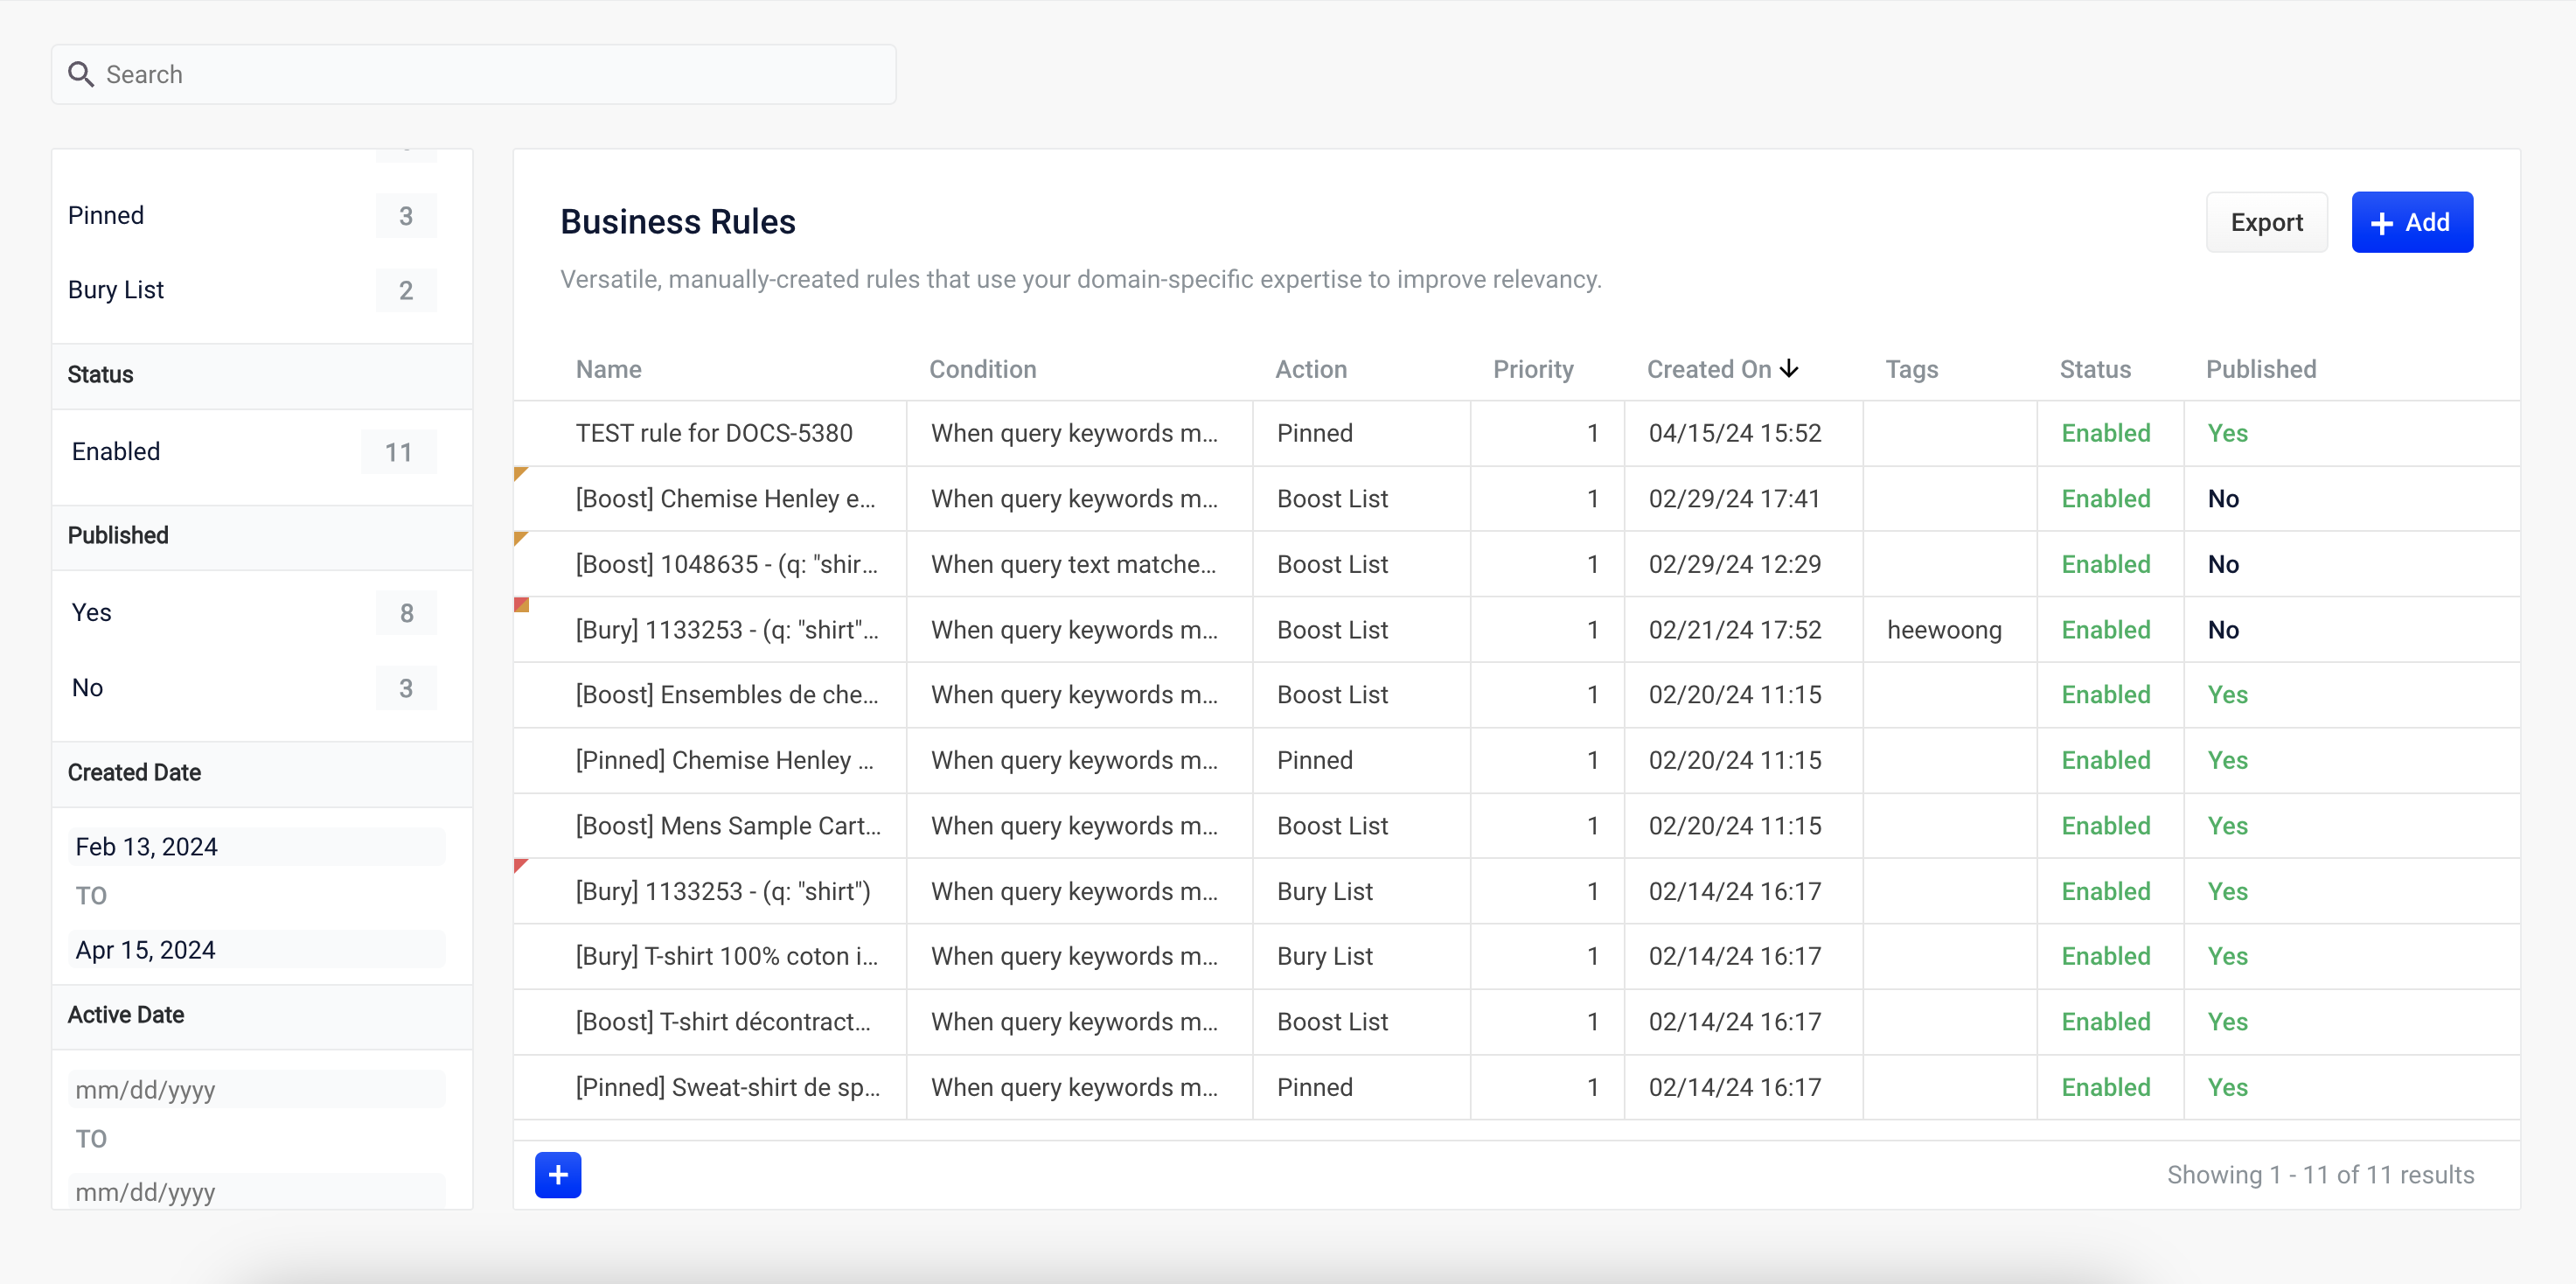
To facet the rules list by Action, Status, Published, or Tags, click one of the facet items within the facet categories.
To facet the rules list by Created Date or Expiration Date:
-
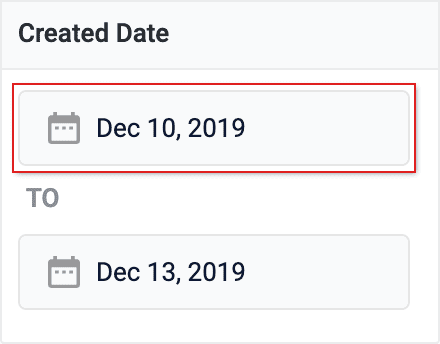
Click the date start value. A calendar will appear.
-
Click a date to select the start of your facet range.
-
Click the bottom date and select the end of your facet range.
Search
Enter a term in the search bar to quickly facet your business rules.
Rules
Create a rule
-
Click the
 button in the top-right corner of the card. Alternatively, click the
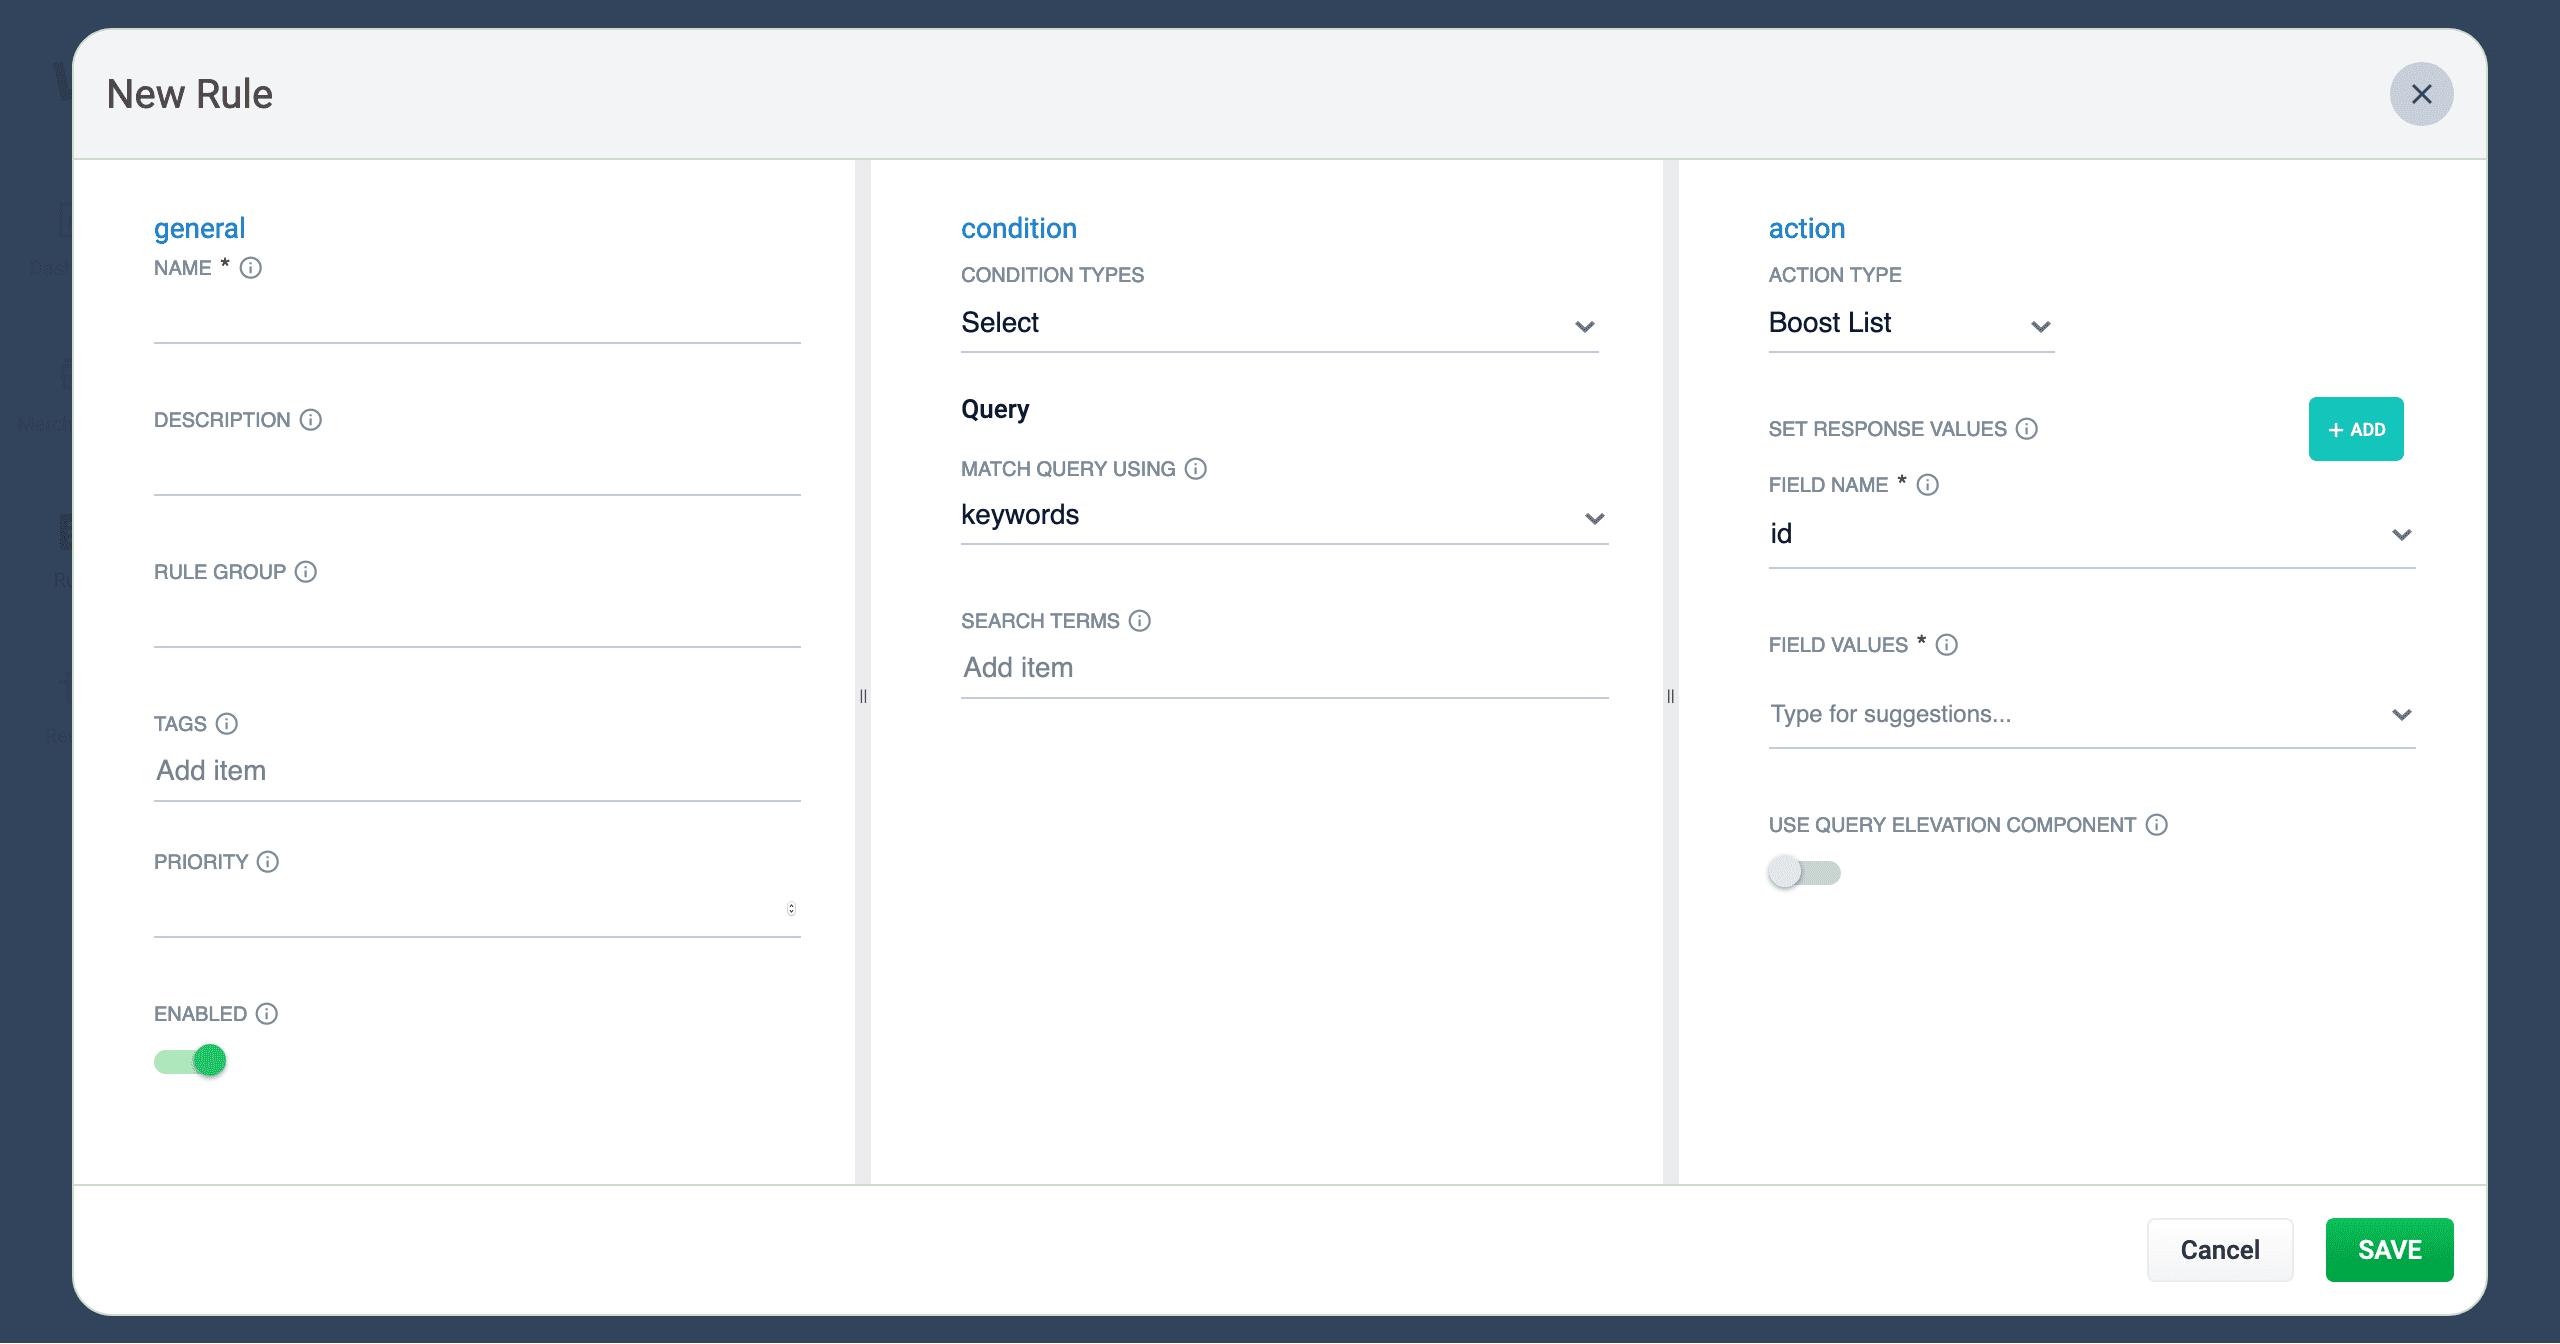
  button in the bottom-left corner of the card. The New Rule dialog box appears.
-
Complete the required fields, at a minimum.
General Condition Action In the General column, only the Name field is required. Other fields are optional:
-
Description is an arbitrary string you can use to describe this rule.
-
Rule Group can be a user-defined group that you use to organize your rules.
-
Tags are another way to organize your rules. Tags appear as facets in the Business Rules interface, so you can filter the set of visible rules by tag.
-
Priority can be used to determine which rule should apply first if multiple rules are activated for the same request. Priority is an integer value, ranging from 1 to infinity, with the value 1 given lowest priority. If multiple rules have the same value, those rules are applied in a random order.
-
Enabled means that this rule is applied but not necessarily published. Disabling a rule helps ensure that it is not accidentally published.
Conditions are triggers that activate the rule when they match the current date and time, query, or field values.
See Rule conditions for more information.
A rule can take different types of actions when the specified conditions are met.
See Action types for more information. You can also create custom actions.
Hover over the  icon for more information.
-
-
Once complete, click the
 button.
Copy a rule
-
Hover over a rule. A row of buttons appears on the right.
-
Click the
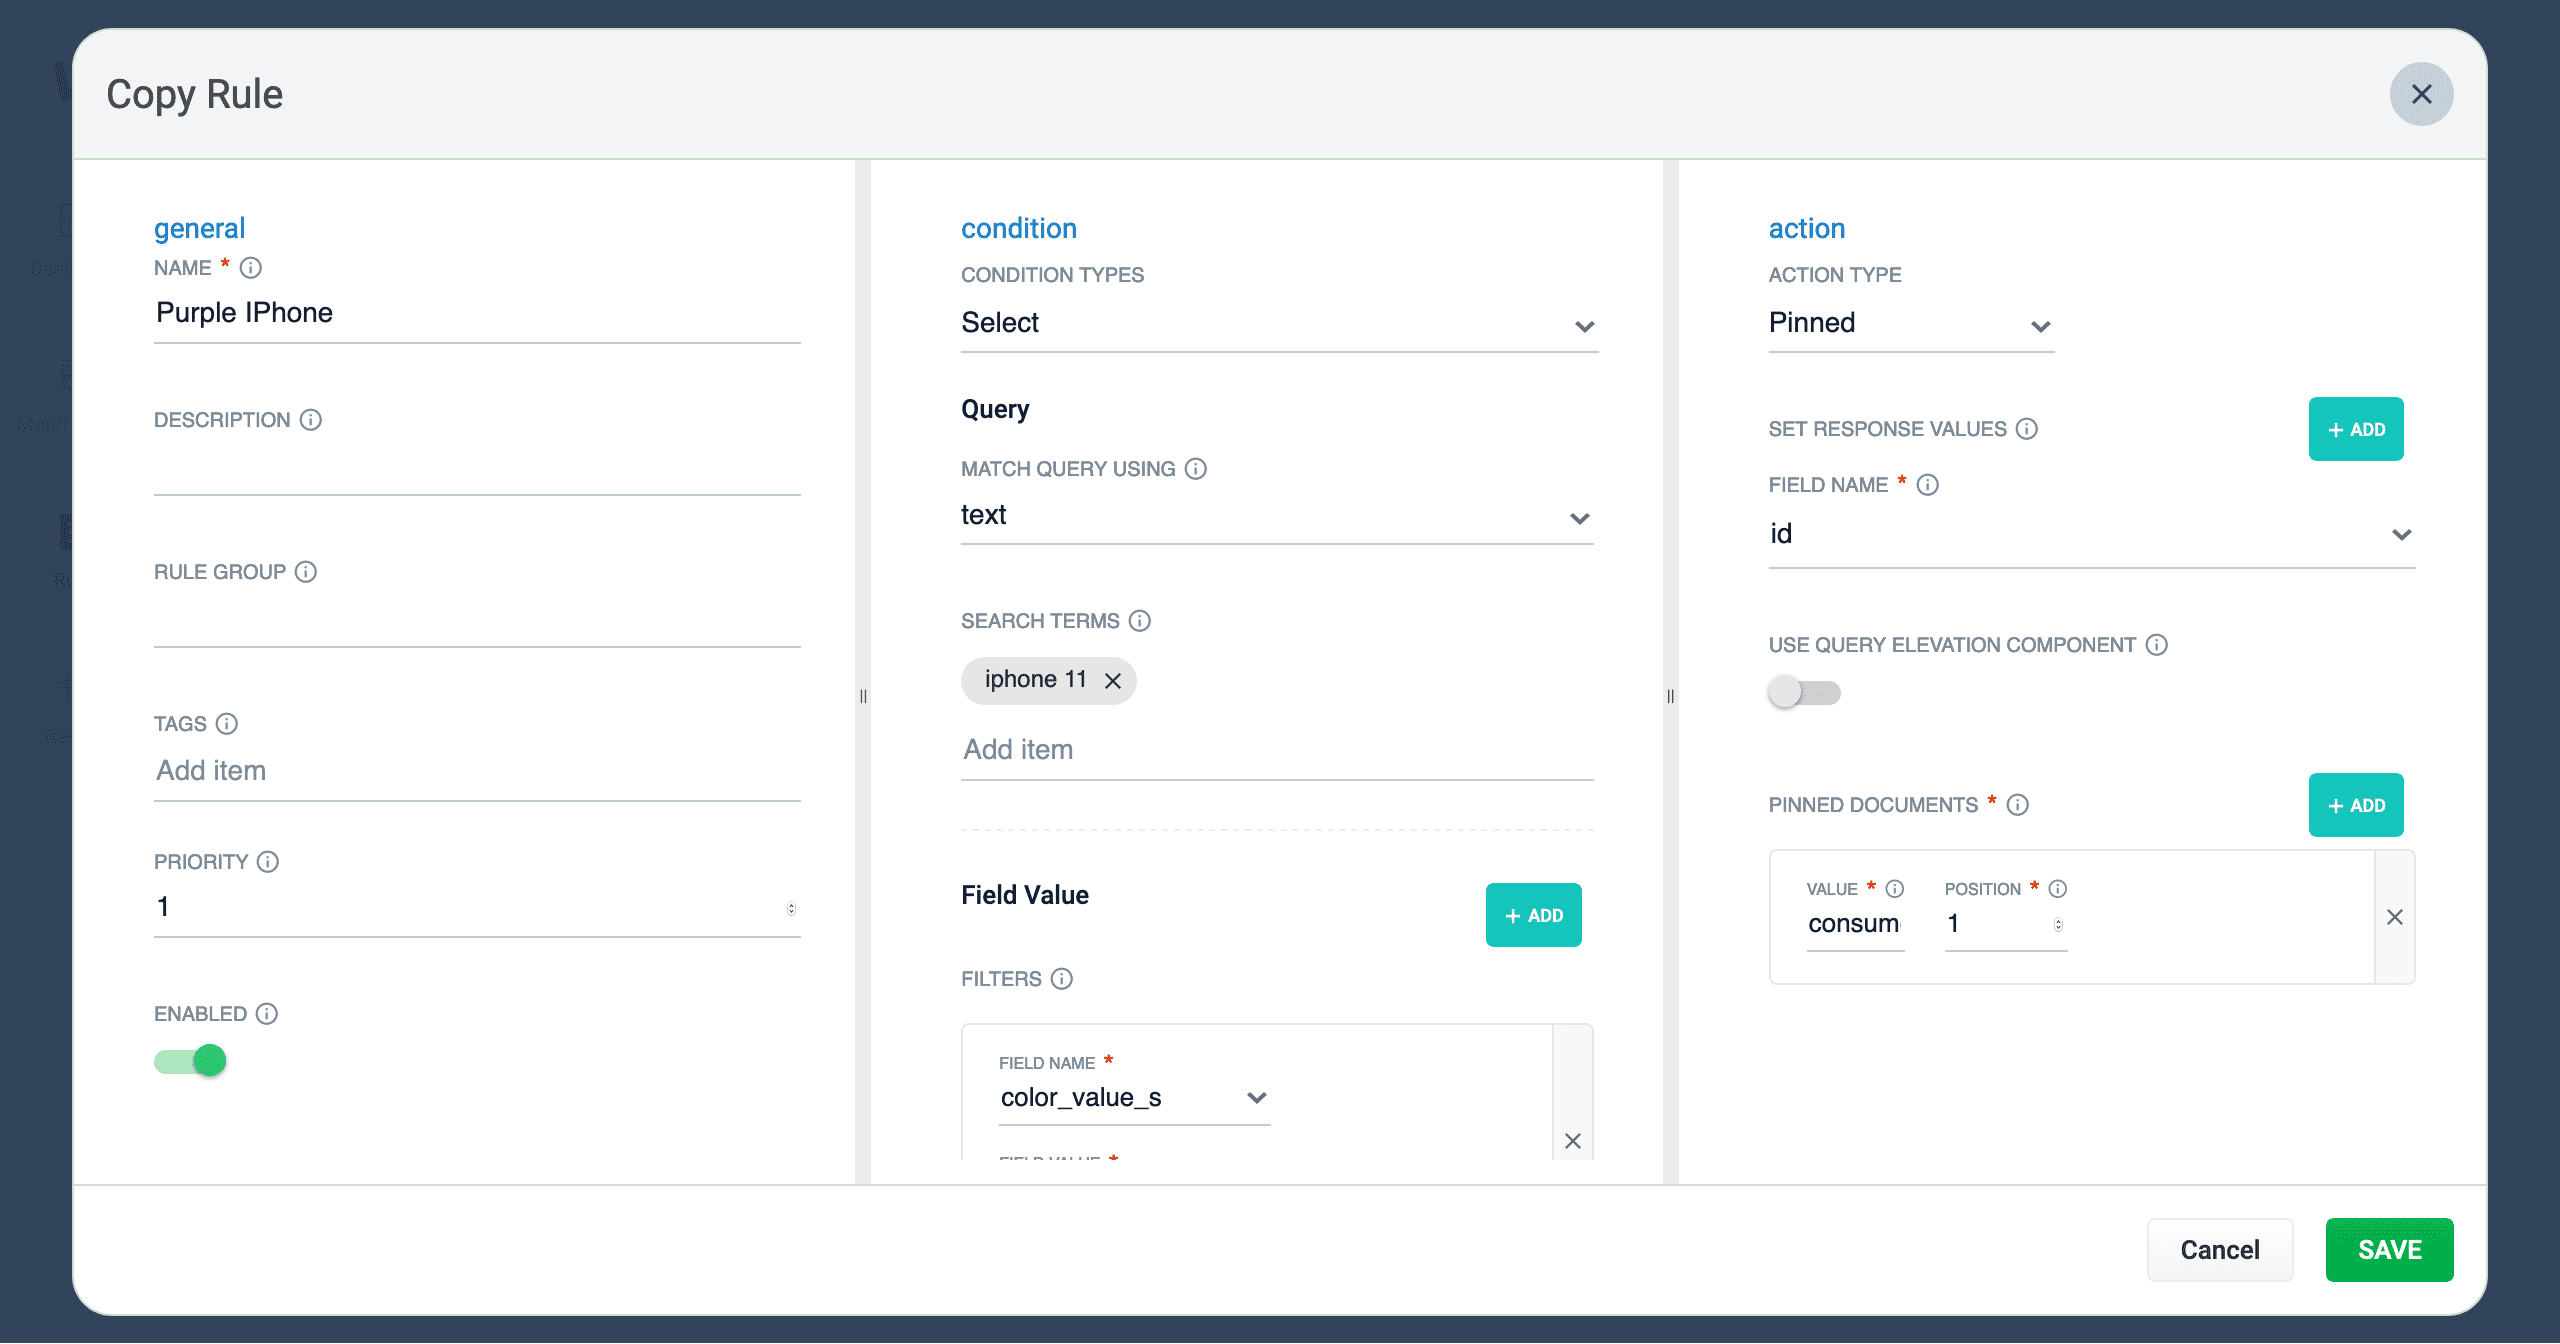
 button. The Copy Rule dialog box appears.
-
At a minimum, change the title of the rule.
-
Once complete, click the
 button.
Edit a rule
-
Hover over a rule. A row of buttons appears on the right.
-
Click the
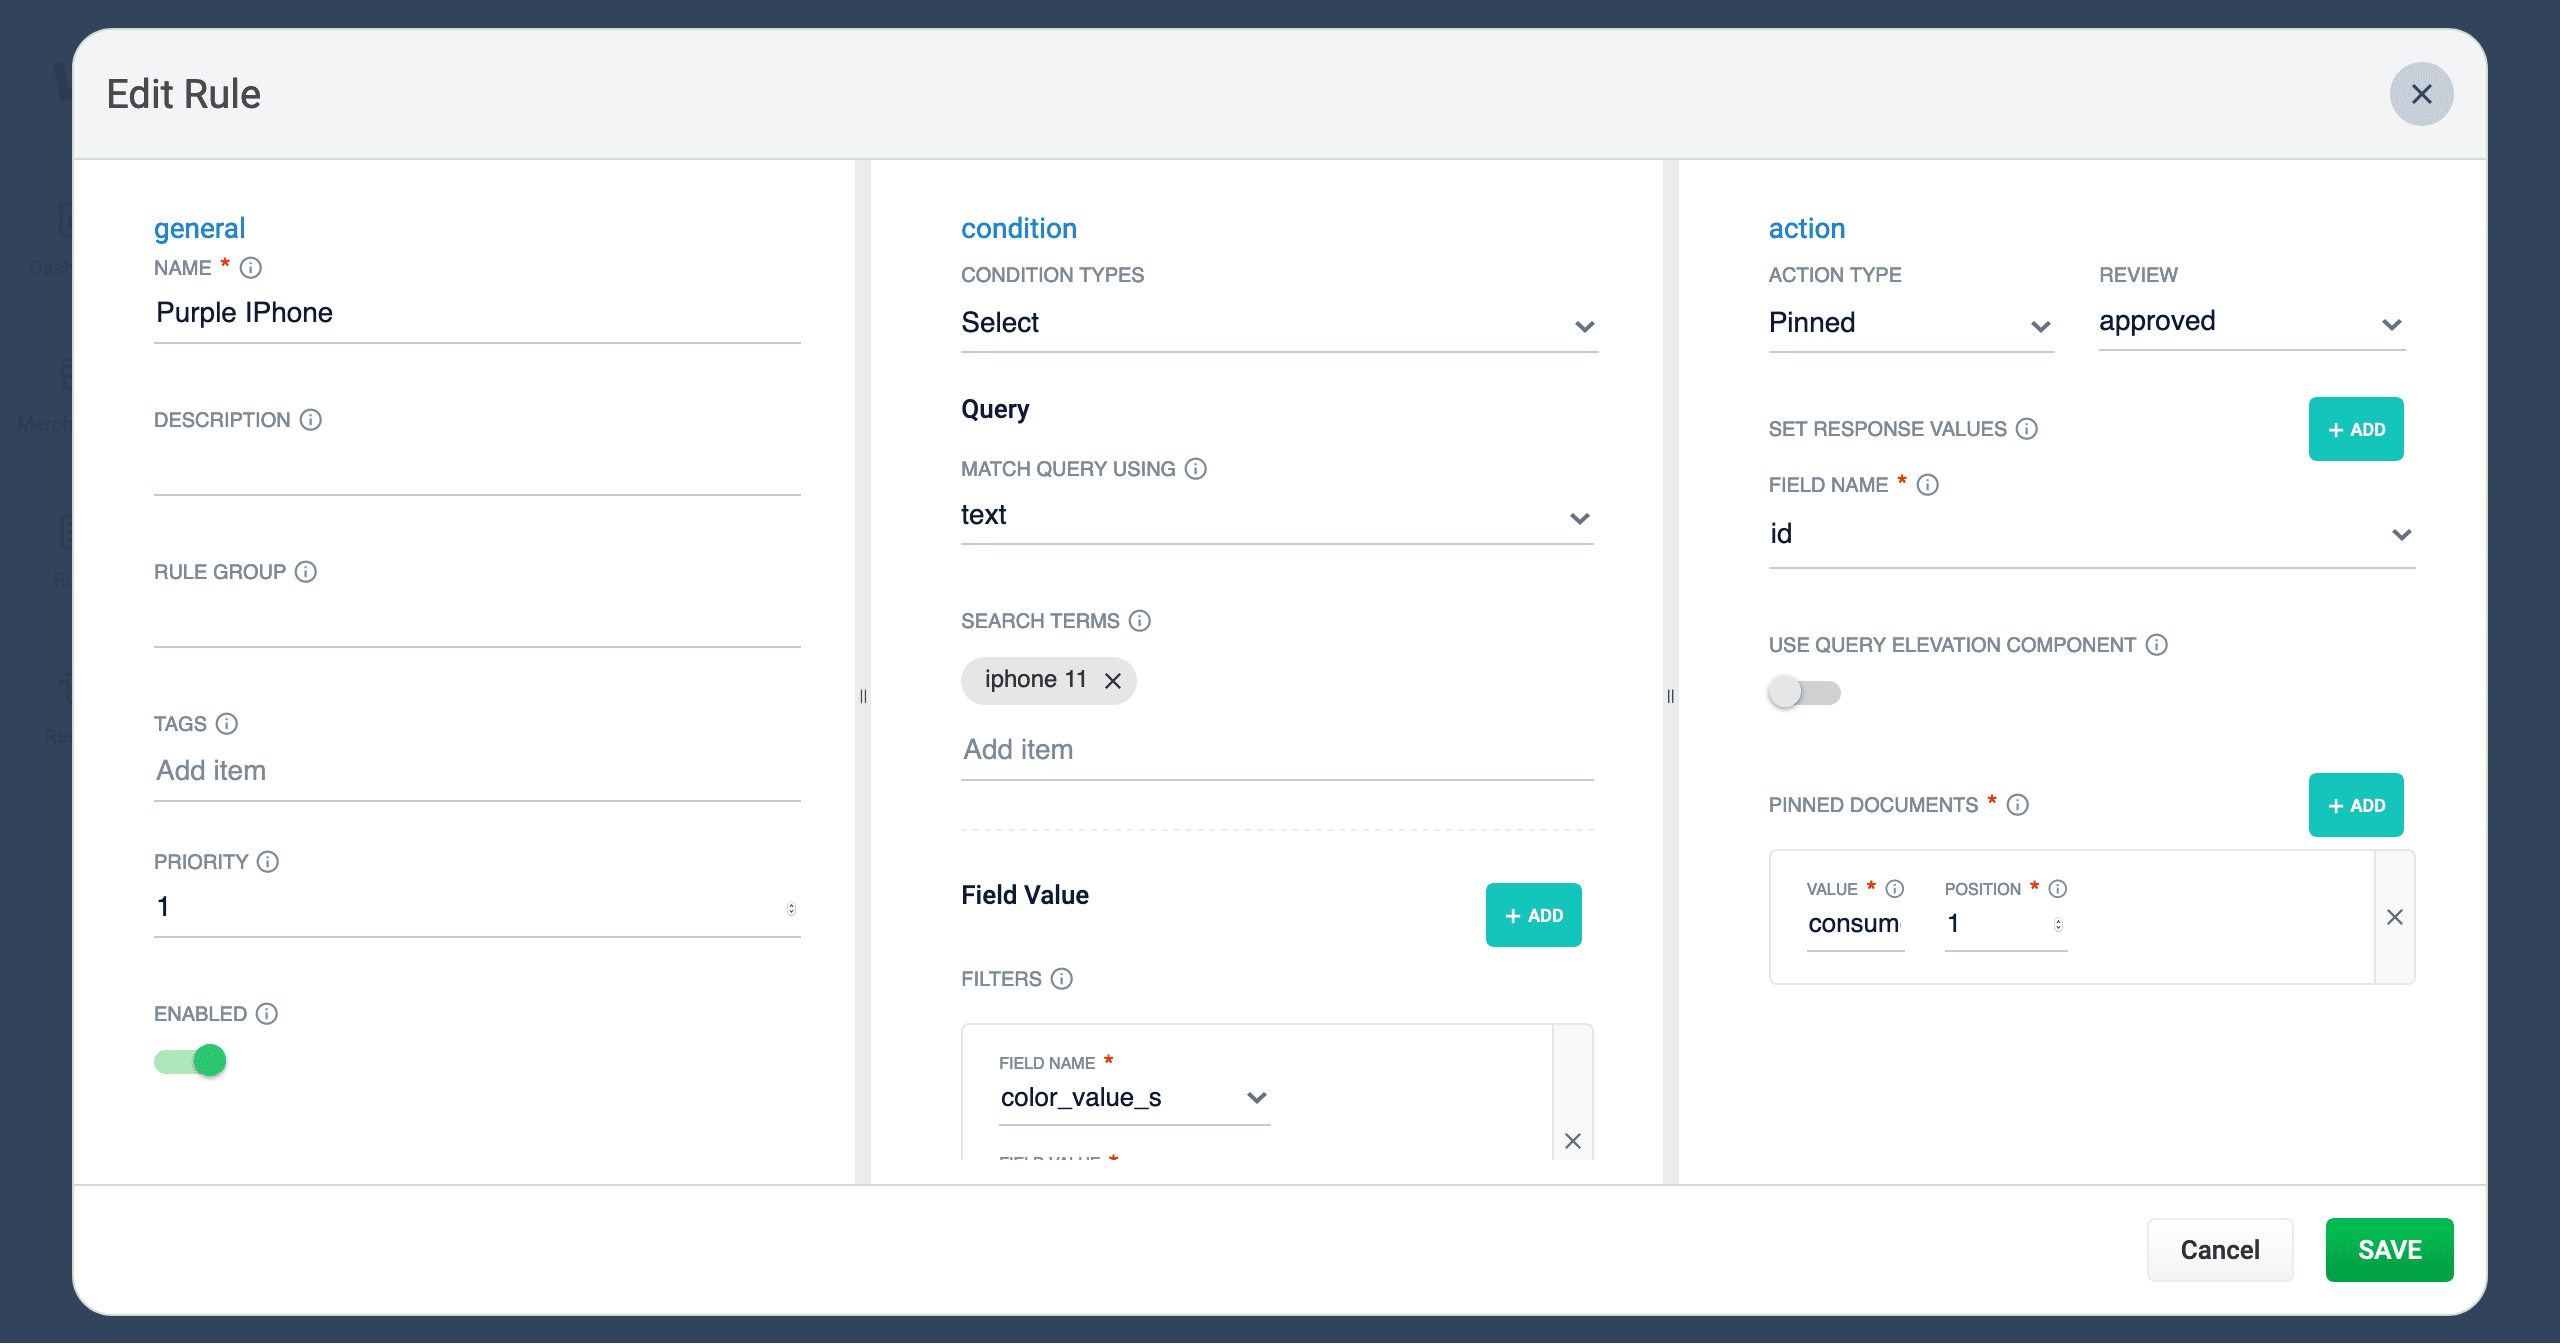
 button. The Edit Rule dialog box appears.
-
Make your desired changes to the rule.
-
Once complete, click the
 button.
Approve/deny rules
-
Hover over a rule. A checkbox appears on the left.
-
Click the checkbox to select the rule.
-
Repeat this process to select multiple rules. (optional)
-
Click the {approve-button} button to approve the selected rules, or click the {deny-button} button to deny the rules.
Enable/disable a rule
-
Hover over a rule. A checkbox appears on the left.
-
Click the checkbox to select the rule.
-
Repeat this process to select multiple rules. (optional)
-
Click the
 button to enable the selected rules, or click the
  button to disable the rules.
Publish a rule
-
Hover over a rule. A checkbox appears on the left.
-
Click the checkbox to select the rule.
-
Repeat this process to select multiple rules. (optional)
-
Click the
 button to publish the selected rules.
Tag a rule
Tags are a powerful tool for organizing and publishing rules according to a keyword, such as black-friday-sale.
-
Hover over a rule. A checkbox appears on the left.
-
Click the checkbox to select the rule.
-
Repeat this process to select multiple rules. (optional)
-
Click the
 button. A dialog box appears.
 -
Enter a tag. To enter multiple tags, press Tab after writing each tag.
-
Click the
 button to add the tag to the rule.
See General Configuration Tags for information about how to use tagnames in the request URL to fire specific rules.
Delete rules
Delete a single rule
-
Hover over a rule. A row of buttons appears on the right.
-
Click the
 button. A confirmation box appears.
 -
Click the
 button to confirm.
Delete multiple rules
-
Hover over a rule. A checkbox appears on the left.
-
Click the checkbox to select the rule.
-
Repeat this process to select multiple rules. (optional)
-
Click the
 button to delete the selected rules. A confirmation box appears.
 -
Click the
 button to confirm.
Sort rules
-
Hover over column titles. A
 icon appears for some titles to indicate the rules list can be sorted by that column.
 -
Click on the title column to sort the rules.
|
The column that is currently sorting the rules list is indicated by an |
Export rules
To export the rules list, simply click the ![]() button. This generates a
button. This generates a .csv file containing your rules.
Columns
Customize columns
To customize the columns:
-
Hover over the row of column titles. A
 button appears on the right.
 -
Click the
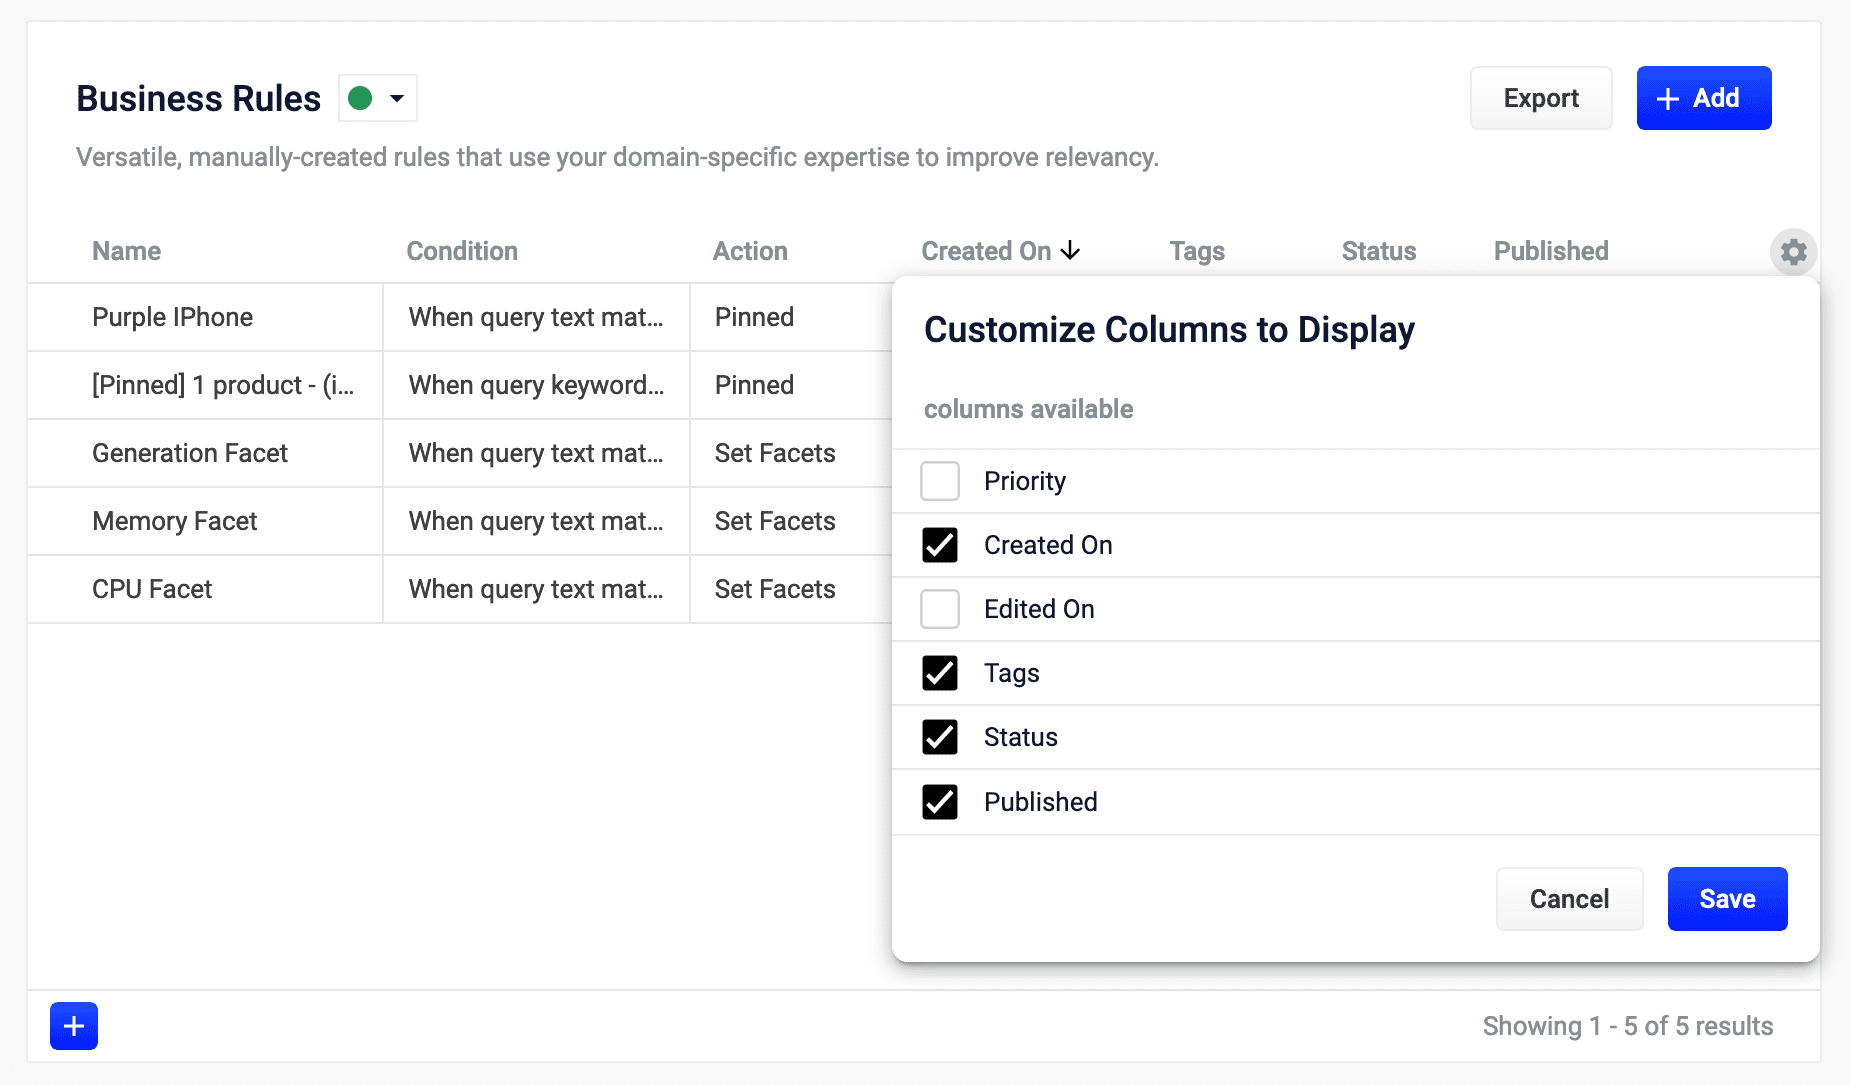
 button. The Customize Columns to Display dialog box appears.
-
Click the checkboxes to select or deselect the columns you want to display.
-
Click the
 button to save your changes.
