Authentication against OAuth 2.0 services is possible using the individual authentication provider modules which simplify the configuration of OAuth parameters and deal with the differences that exist between common OAuth endpoints. A general OAuth provider can be used by including theDocumentation Index
Fetch the complete documentation index at: https://doc.lucidworks.com/llms.txt
Use this file to discover all available pages before exploring further.
twigkit.security.provider.oauth module. This requires a custom spring-security.xml file, but it is recommended to use one of the prepackaged modules we provide for these services.
Using OAuth can create a seamless experience where, after the token handshake and approval is complete, the user will always be logged into the application as long as their session is active.
ADFS
The Active Directory Federation Services (ADFS) security provider is available in Appkit.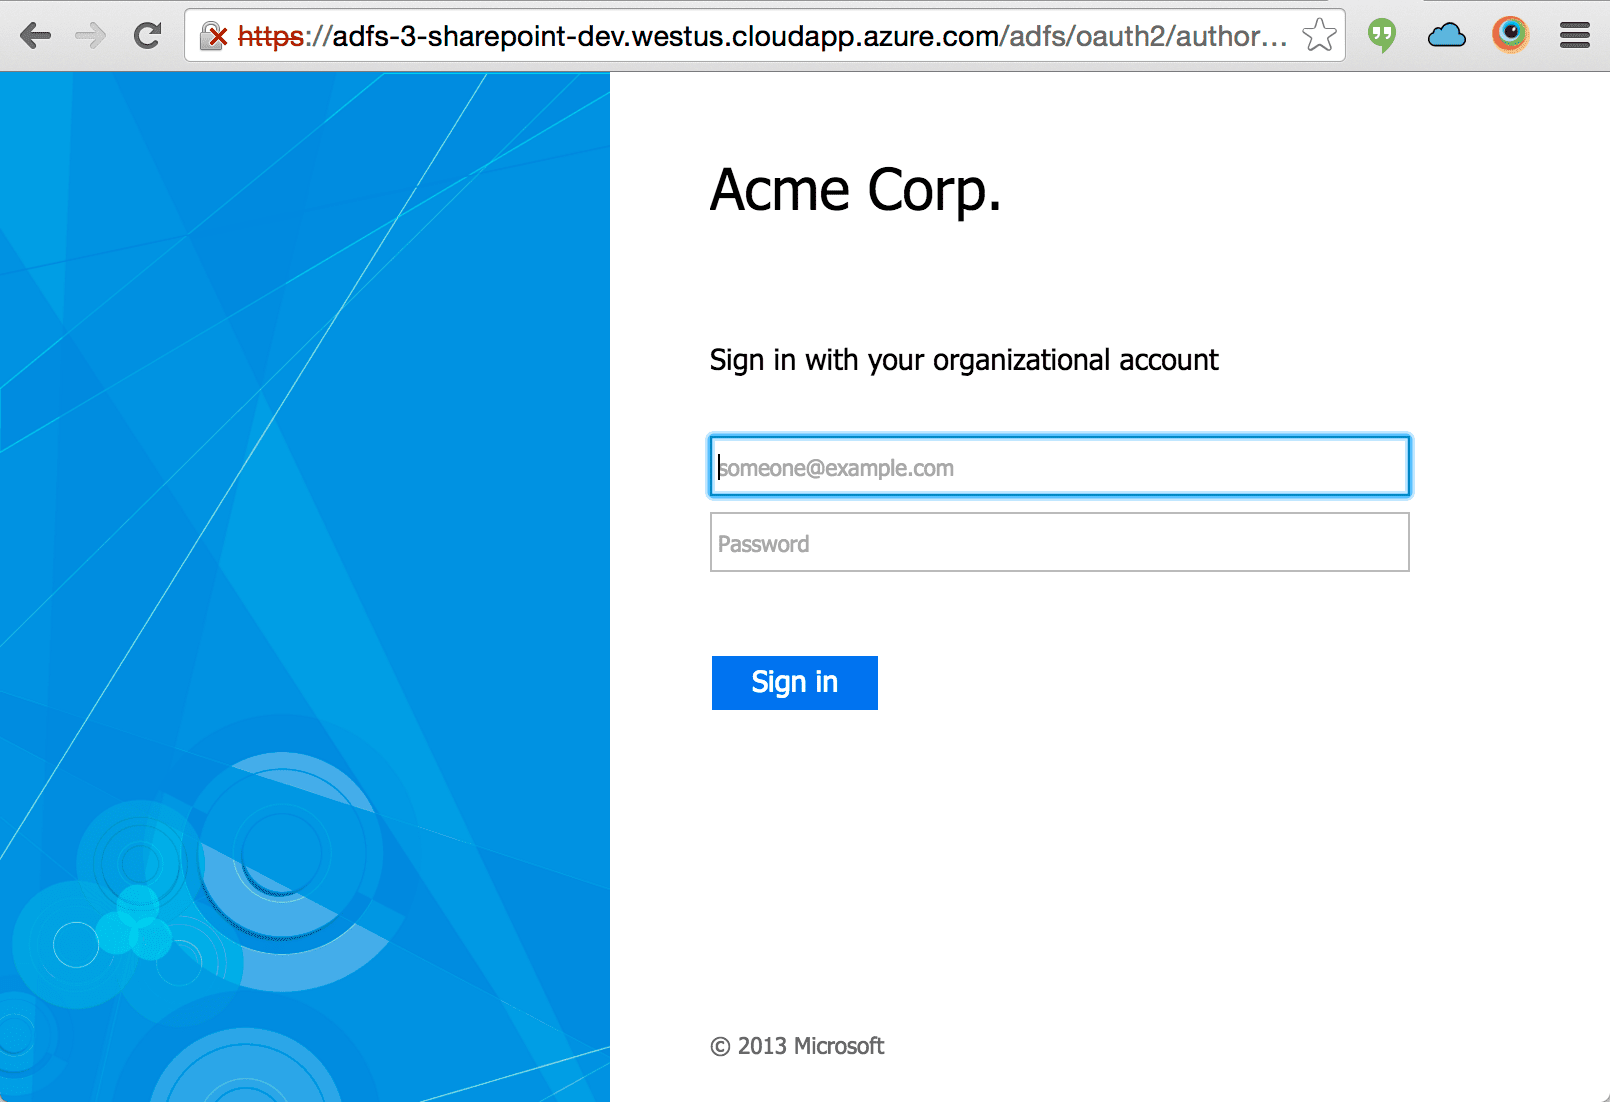
OAuth based authentication against ADFS requires ADFS 3 (or newer) which is available from Windows Server 2012 R2 onwards.
Set Up Active Directory Federation Services (ADFS) Authentication for App Studio or Appkit
Set Up Active Directory Federation Services (ADFS) Authentication for App Studio or Appkit
The Active Directory Federation Services (ADFS) security provider is available in Appkit.To authenticate against ADFS, perform the steps in this article.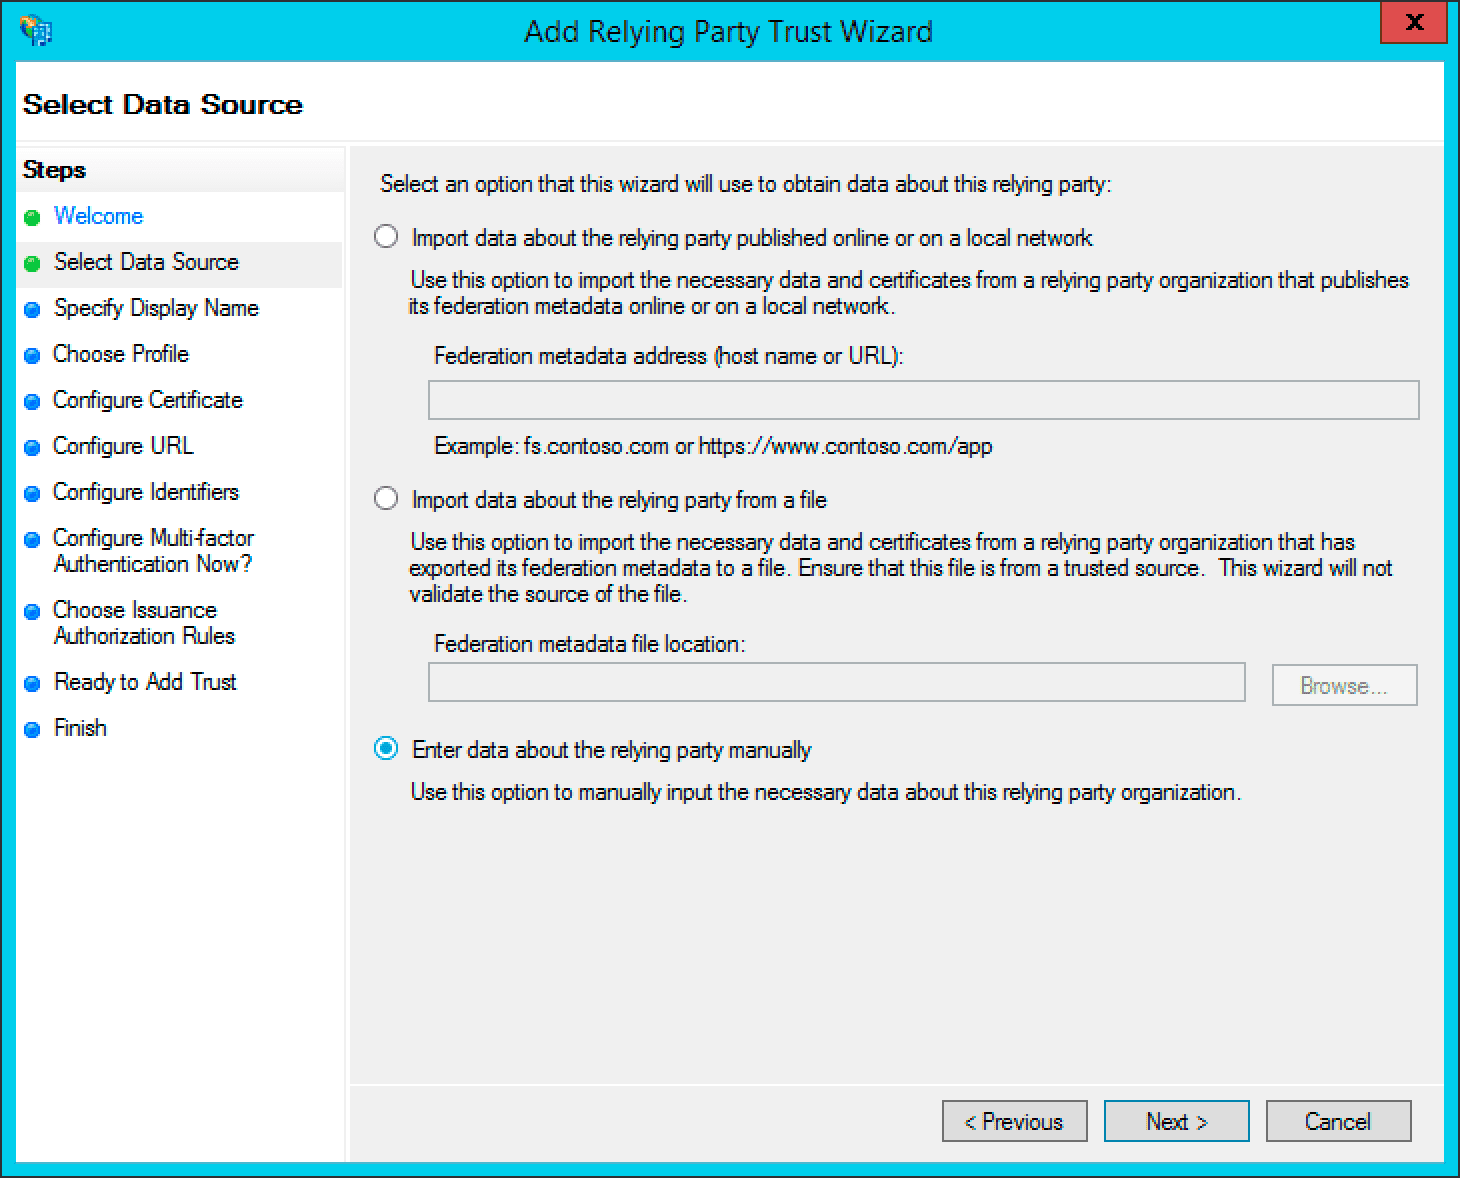
Here, you must change the Inclusion of a ‘RequestContextListener’ is not required in a standard Appkit-plus-Spring Security application.
OAuth based authentication against ADFS requires ADFS 3 (or newer) which is available from Windows Server 2012 R2 onwards.
1 Add the security provider dependency
To add ADFS as a security provider in the Oauth Security module:-
Remove any existing security provider dependency from the
pom.xmlunder the root of the project. -
Add a security provider dependency for ADFS to the
dependenciestag inpom.xml: -
Configure Appkit to invoke the Oauth Security module on startup. Change the
security.conffile insrc/main/resources/conf/security/to contain:You must remove any existingspring-security.xmlfile because this module encapsulates all Spring configuration automatically.
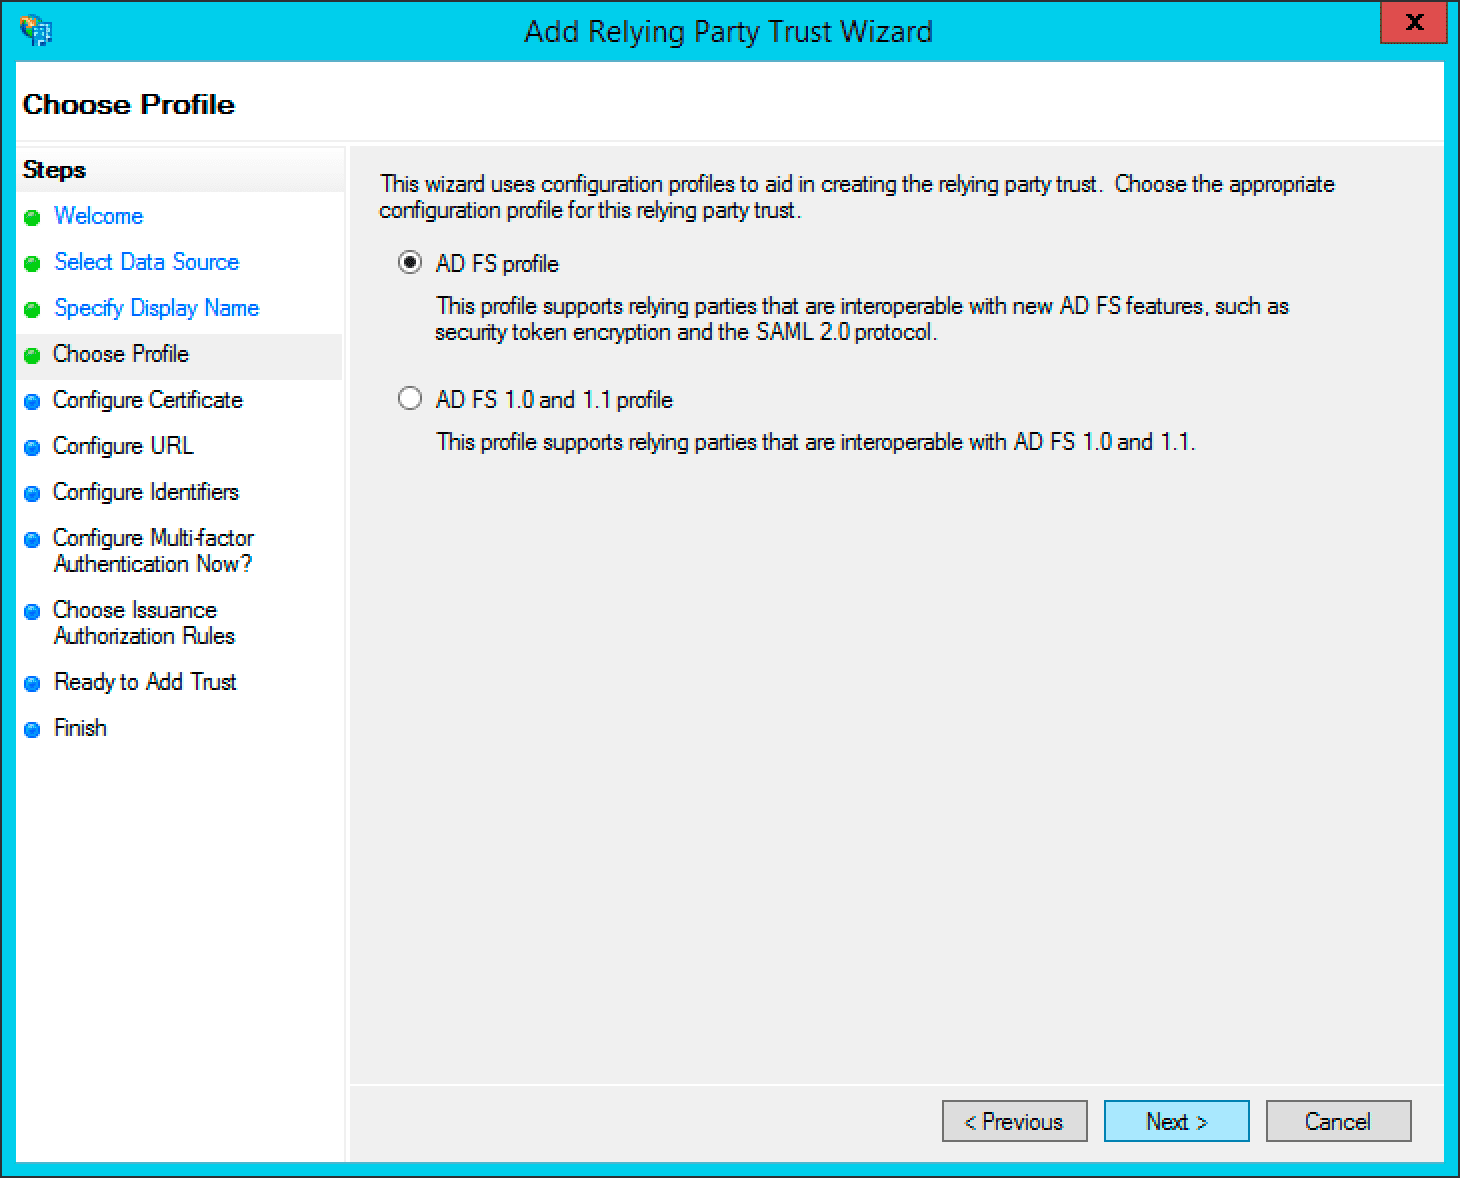
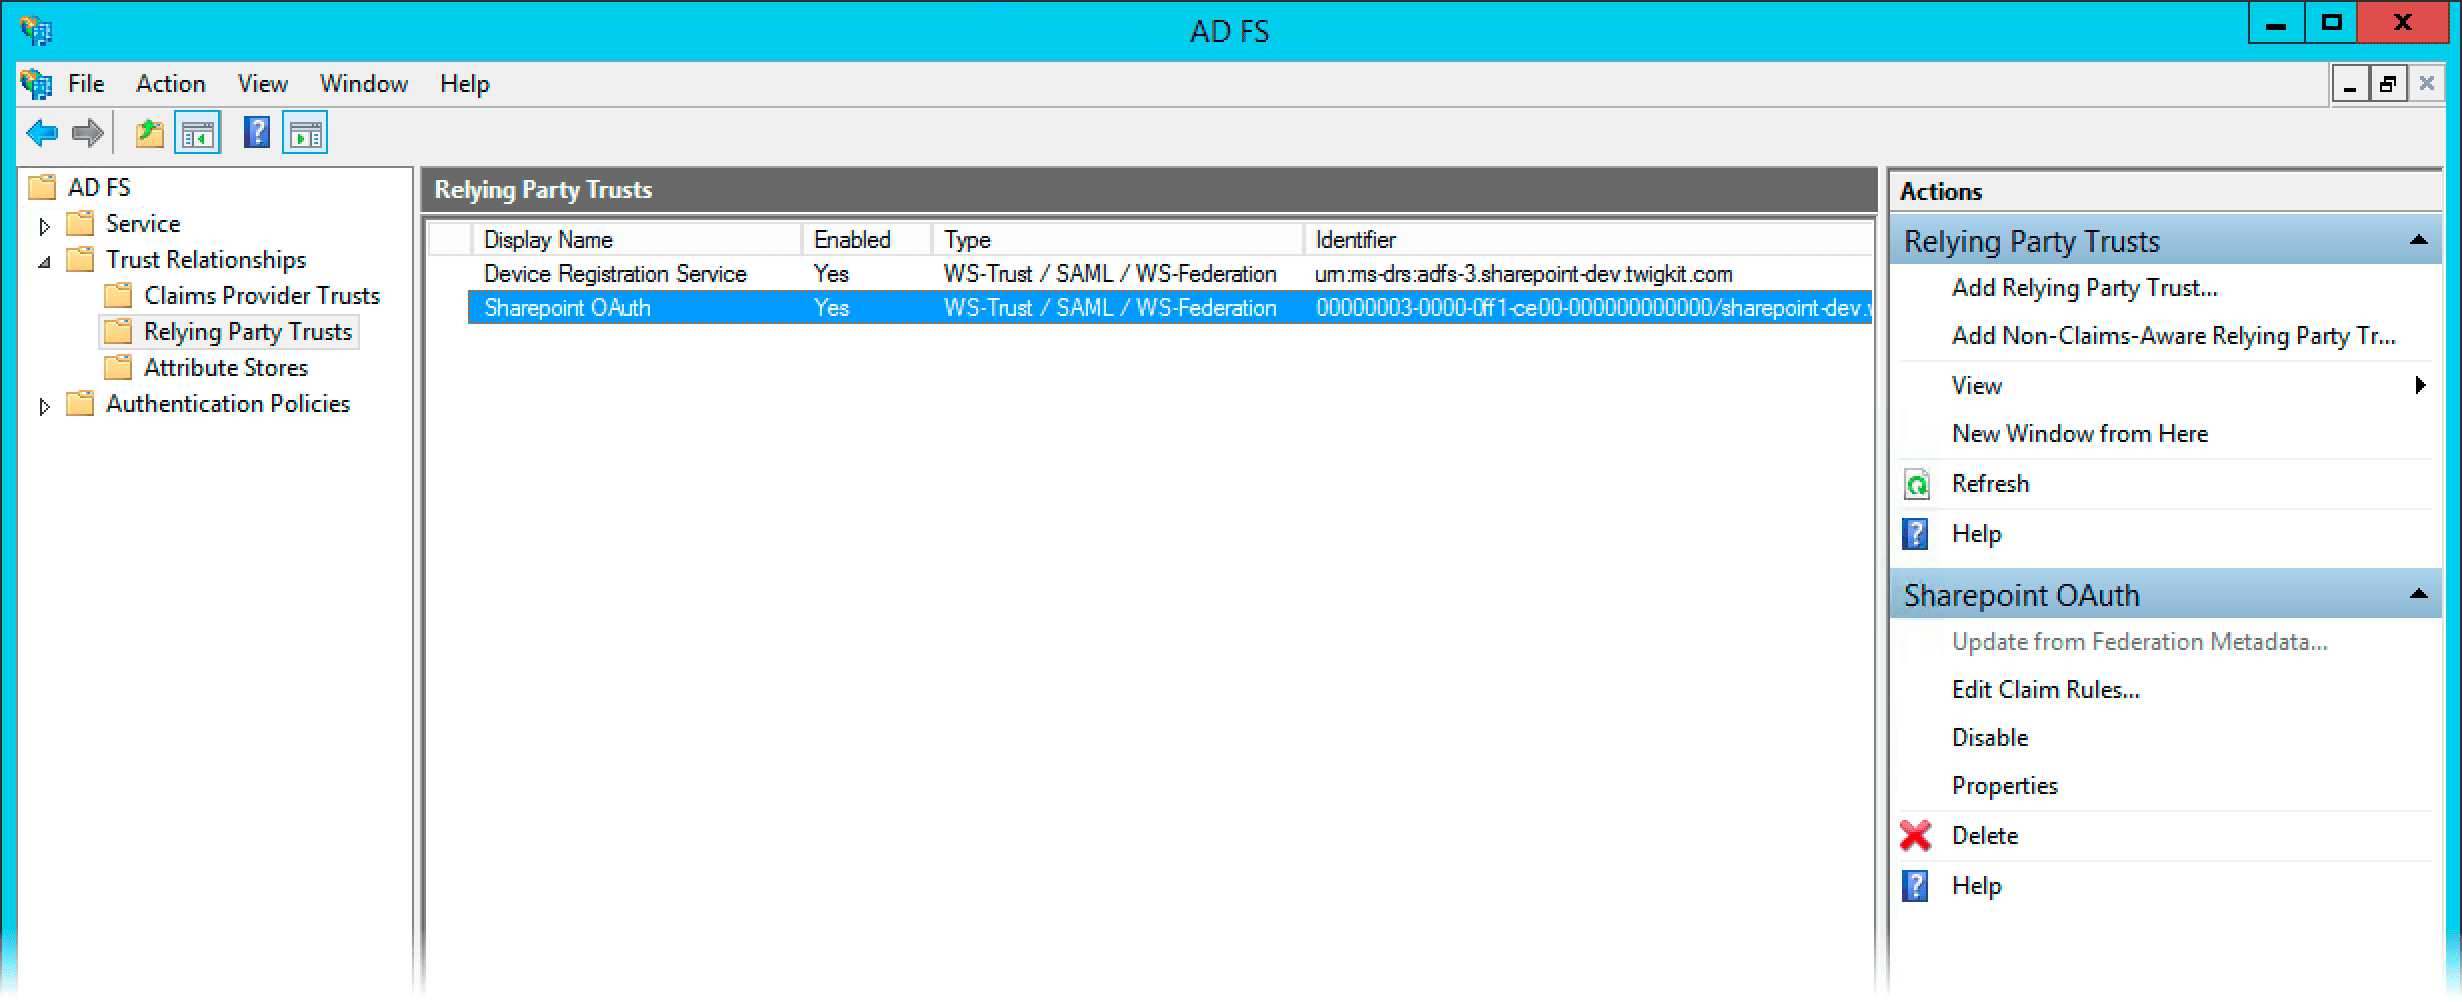
2 Set up the application (relying party trust) in ADFS
-
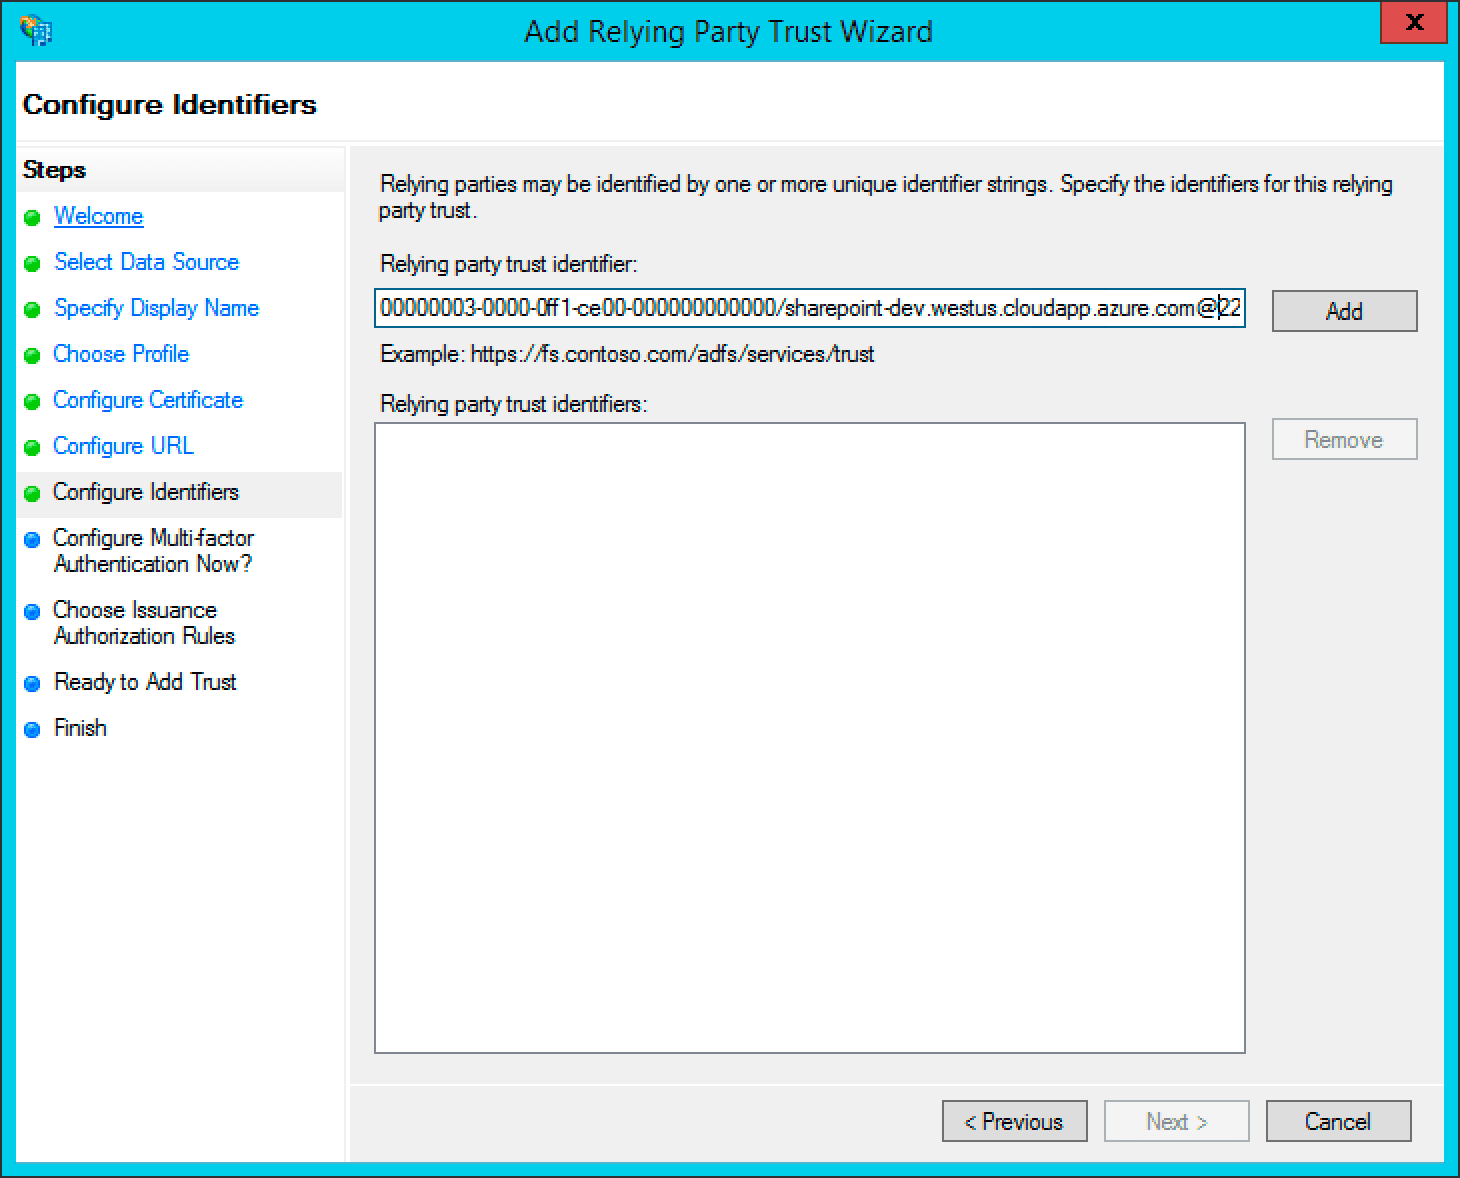
Add a new relying party in ADFS management. The identifier is usually set to the URL of the Appkit application itself.
-
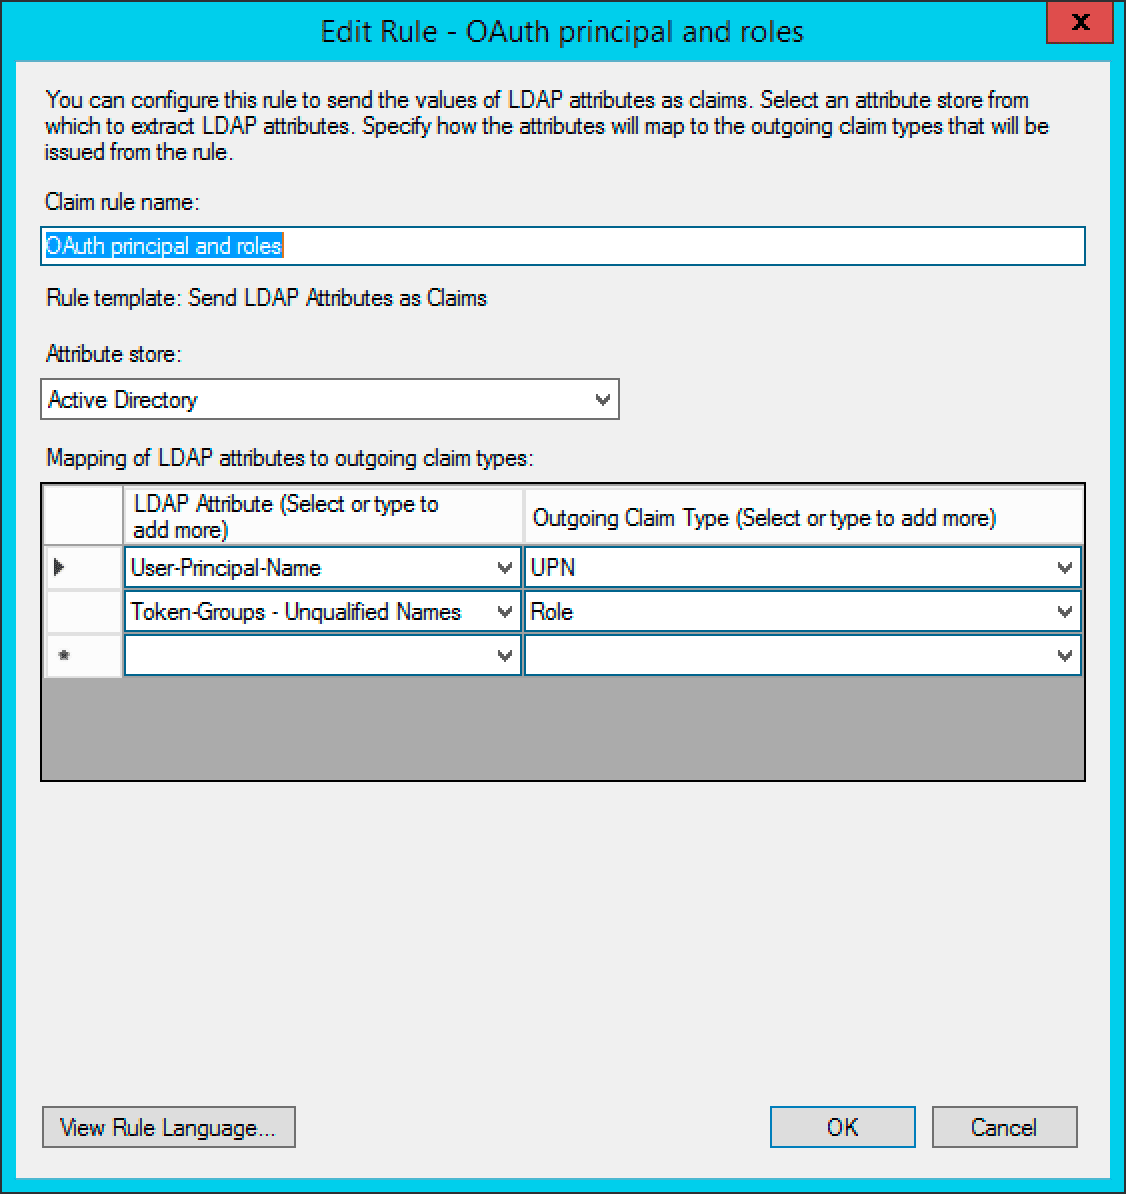
Edit the Claim Rules to pass through the credentials as shown in the screenshot. It is important the configuration is as shown in the screenshots here. The User Principal Name is passed through as the ‘UPN’ claim and the Token-Groups Unqualified Name is passed through as the ‘Role’ claim.
-
Open a PowerShell session to create the OAuth ADFS ‘client’ for the Appkit application:
ClientId should be a GUID and the RedirectUri must point to the Appkit application URL, with /oauthLogin appended. Here, localhost is used for testing an Appkit application running on the local development machine.3 Configure the OAuth module for the application setup in ADFS
Create a new configuration file inconf/security/oauth.conf.oauth.conf
client-id, adfs-url and resource parameters for the environment in question.The client-id is the ID that was set up against ADFS using the Add-ADFSClient PowerShell command.The adfs-url is the URL of the ADFS server with the /adfs context appended.The resource is the relying party trust identifier set up in ADFS management.The `high-trust’ parameter is only required when integrating the ADFS and SharePoint modules. This article is only concerned with authentication against ADFS.3 Add the Spring filter to the web.xml
Add this to theweb.xml file of the project:4 Test the authentication
If a user is not logged via ADFS prior to visiting the application they will be redirected to the ADFS OAuth login page. The user experience is a typical login page.After the user logs in, the user will be returned to the application as an authenticated user.The Appkit user’s details will also be populated with any basic information available from the decoded OAuth token such as roles and the user principal name.Set Up Facebook Authentication
Set Up Facebook Authentication
To authenticate against Facebook, perform the steps in this article.Including the user profile scope lets Appkit automatically pull the user profile information into their Appkit user details.This guide assumes the Inclusion of a ‘RequestContextListener’ is not required in a standard Appkit-plus-Spring Security application.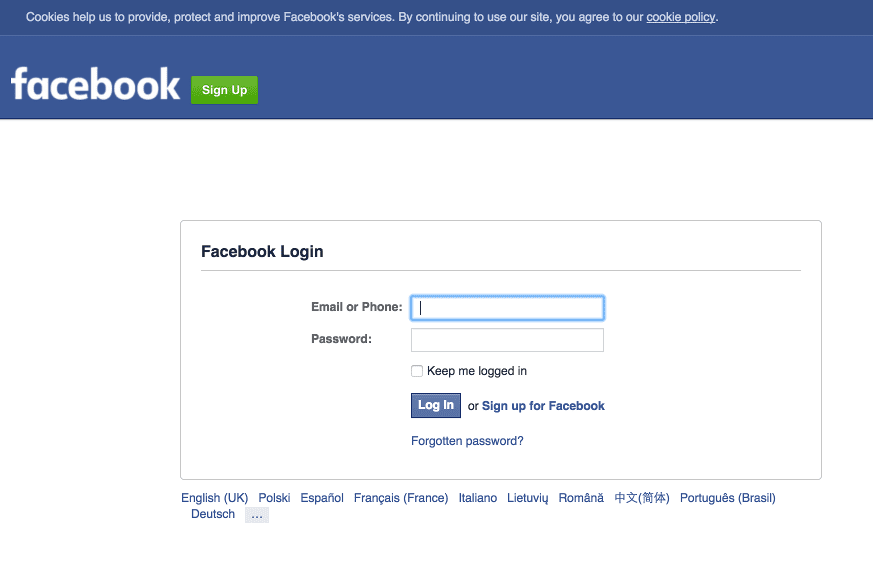
Add the security provider dependency
To add Facebook as a security provider in the Oauth Security module:-
Remove any existing security provider dependency from the
pom.xmlunder the root of the project. -
Add a security provider dependency for Facebook to the
dependenciestag inpom.xml: -
Configure Appkit to invoke the Oauth Security module on startup. Change the
security.conffile insrc/main/resources/conf/security/to contain:You must remove any existingspring-security.xmlfile because this module encapsulates all Spring configuration automatically.
Configure the OAuth module for the application setup in Facebook
Add the relevant configuration in a file inconf/security/oauth.conf. For example:client-id and client-secret settings have already been generated in the ‘Facebook for Developers’ admin console and provided to you as an application developer. For more information, see the Facebook documentation on OAuth.The application’s ‘Site URL’ must be configured in the console under ‘settings’ as
http://your-application-url/oauthLogin.Add the Spring filter to the web.xml
Add this to theweb.xml file of the project:Test the authentication
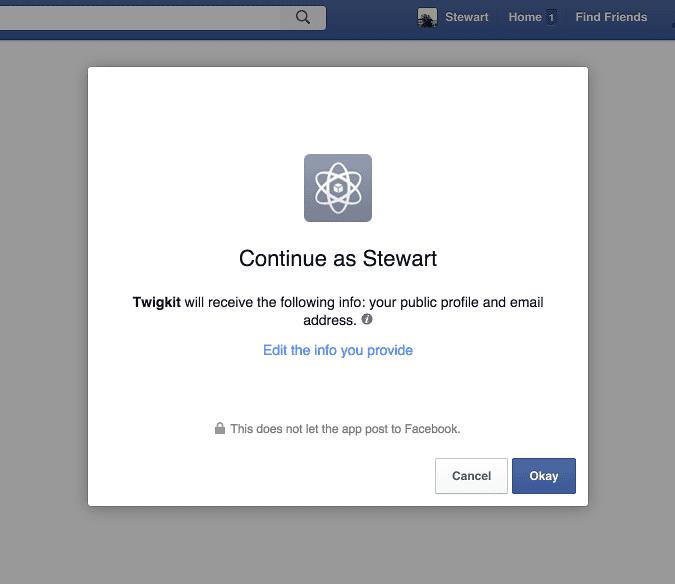
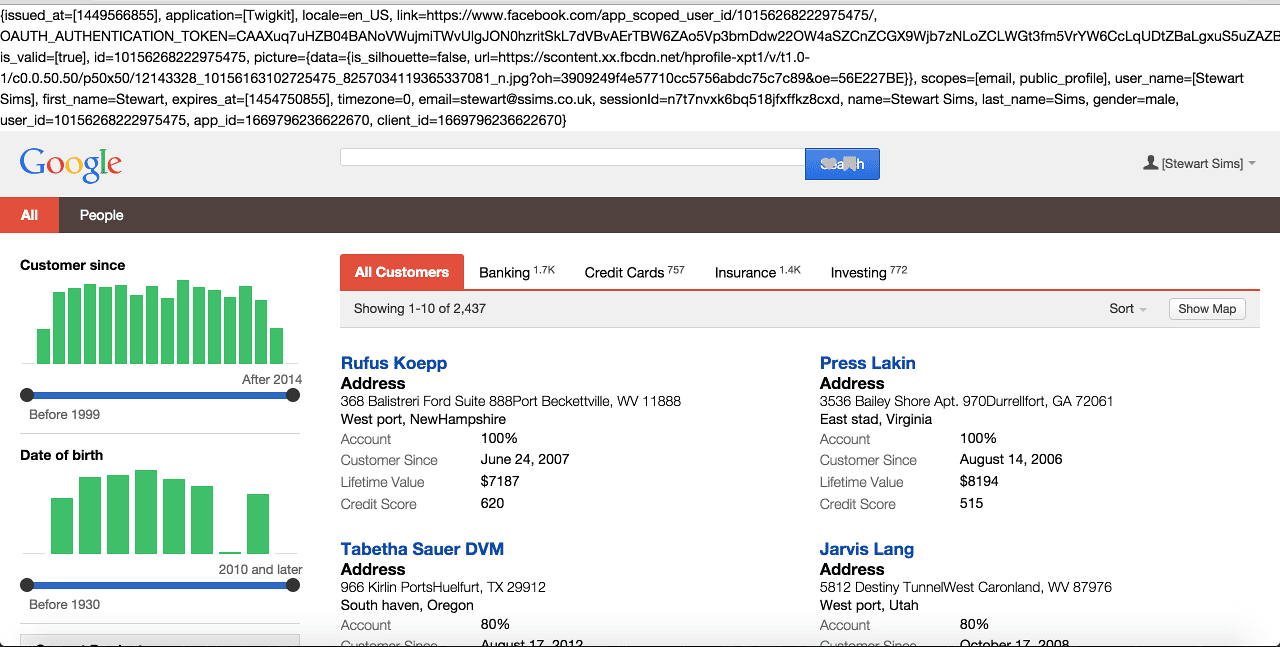
If a user is not logged into a Facebook account prior to visiting the application they will be redirected to the Facebook login page. They will then be asked if they want to approve the application to access the services defined in the scopes parameter. If the user profile scope is included the Appkit user’s details will also be populated with any basic information available from the decoded OAuth token such as first name, last name and email address.Using OAuth can create a seamless experience where, after the token handshake and approval is complete, the user will always be logged into the application as long as their session with Facebook is active.User logs in:Set Up Google Authentication
Set Up Google Authentication
To authenticate against Google services, perform the steps in this article.Including the user profile scope lets Appkit automatically pull the user profile information into their Appkit user details.This guide assumes the Inclusion of a ‘RequestContextListener’ is not required in a standard Appkit-plus-Spring Security application.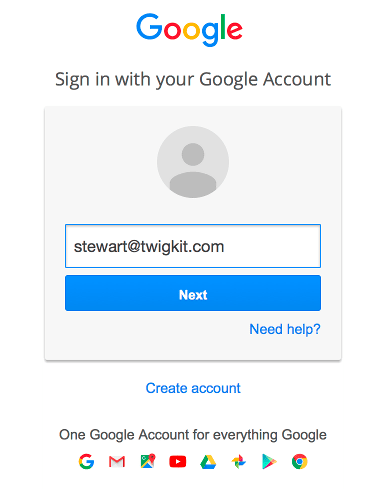

1 Add the security provider dependency
To add Google as a security provider in the Oauth Security module:- Remove any existing security provider dependency from the
pom.xmlunder the root of the project. - Add a security provider dependency for Google to the
dependenciestag inpom.xml: - Configure Appkit to invoke this module on startup. Change the
security.conffile insrc/main/resources/conf/security/to contain: - Remove any existing
spring-security.xmlfile, because this module encapsulates all Spring configuration automatically.
2 Configure the OAuth module for application setup in Google Developer Console
Add the relevant configuration in a file inconf/security/oauth.conf:client-id and client-secret settings have already been generated in the Google Developer Console and provided to you as an application developer. For more information about this, see the Google documentation on OAuth.The authorized redirect URI must be configured in the Google Developer Console as
http://your-application-url/oauthLogin.3 Add the Spring filter to the web.xml
Add this to theweb.xml of the project:4 Test the authentication
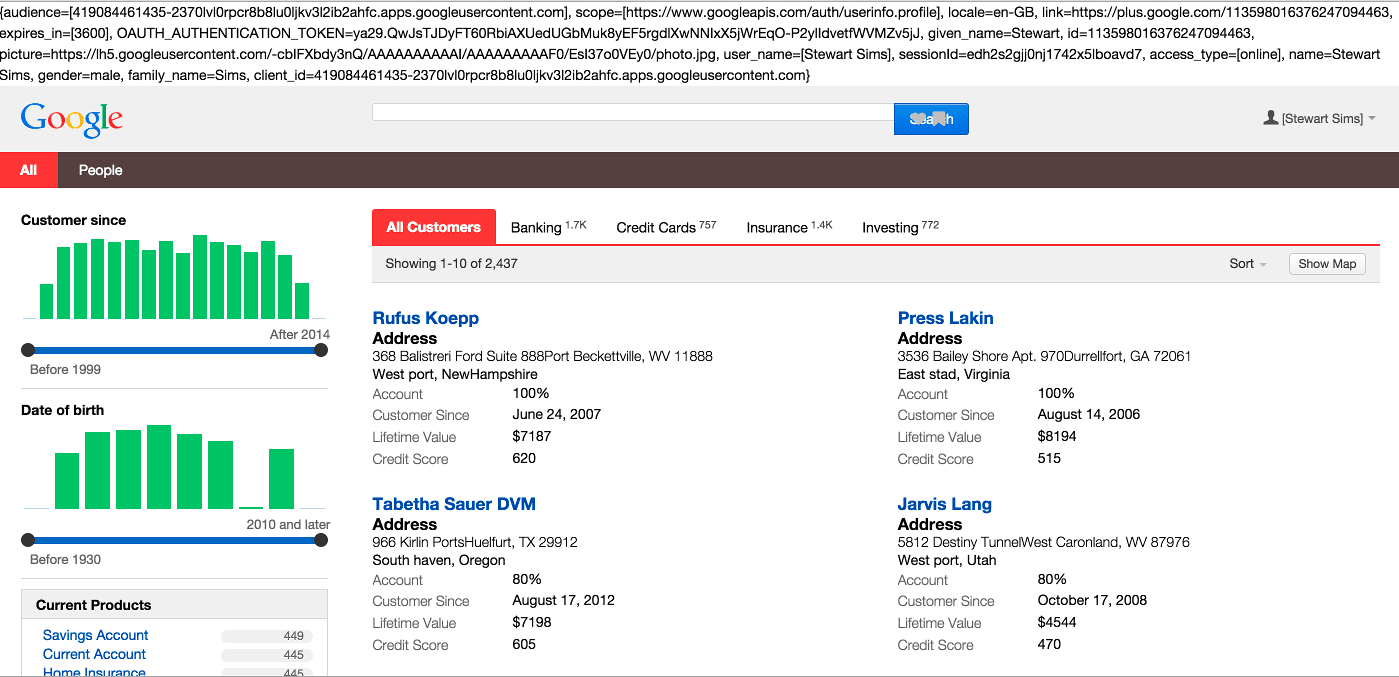
If a user is not logged into a Google account prior to visiting the application they will be redirected to the Google login page. They will then be asked if they want to approve the application to access the services defined in the scopes parameter. If the user profile scope is included the Appkit user’s details will also be populated with any basic information available from the decoded OAuth token such as first name, last name and email address.Using OAuth can create a seamless experience where, after the token handshake and approval is complete, the user will always be logged into the application as long as their session with Google is active.User logs in:Office 365
Set Up Office 365 AuthenticationSet Up Office 365 Authentication
Set Up Office 365 Authentication
To authenticate against Office 365, perform the steps in this article.This guide assumes these settings have already been set up in the Azure AD instance in Microsoft’s Azure portal and provided to you as an application developer.Inclusion of a ‘RequestContextListener’ is not required in a standard Appkit-plus-Spring Security application.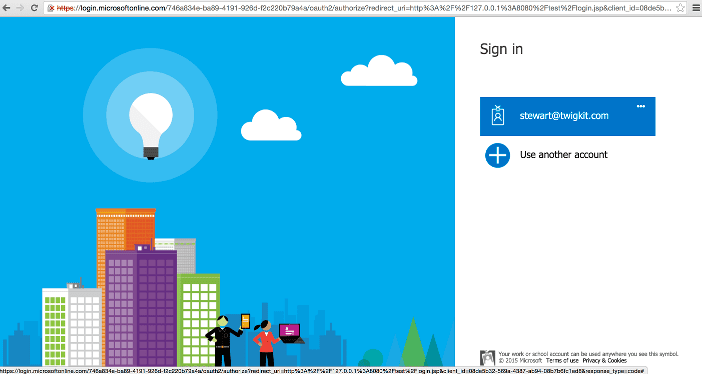
1 Add the security provider dependency
To add Office 365 as a security provider in the Oauth Security module:-
Remove any existing security provider dependency from the
pom.xmlunder the root of the project. -
Add a security provider dependency for Office 365 to the
dependenciestag inpom.xml: -
Configure Appkit to invoke the Oauth Security module on startup. Change the
security.conffile insrc/main/resources/conf/security/to contain:You must remove any existingspring-security.xmlfile because this module encapsulates all Spring configuration automatically.
2 Configure the OAuth module for the application setup in Azure AD
Add the relevant configuration in a file inconf/security/oauth.conf:The reply URL must be configured in Azure AD as
http://your-application-url/oauthLogin.3 Add the Spring filter to the web.xml file
Add this to theweb.xml file of the project:4 Test the authentication
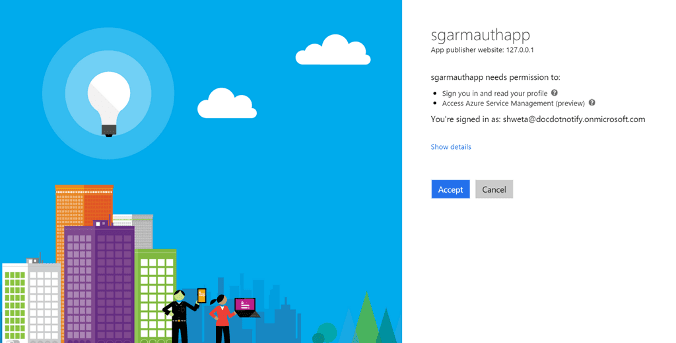
If a user is not logged into Office 365 prior to visiting the application, then they will be redirected to the Microsoft Online login page.If the Azure administrator has set app approval explicitly, after the user is logged in, the user will be returned to the application as an authenticated user.The Appkit user’s details will be populated with any basic information available from the decoded OAuth token such as first name, last name and email address.If approval is not set by the Azure AD administrator, then there will be an intermediary step after the user logs into Microsoft Online requesting their explicit approval for the application to access their credentials.Using OAuth can create a seamless experience where, after the token handshake and approval is complete, the user will always be logged into the application as long as their session with Microsoft Online/Office 365 is active.User logs in: