Improve RelevancyGetting Started with Fusion Server
Signals are events that can be aggregated and used for automatic boosting or recommendations, which are ways of making search results more relevant.
As an example of boosting, the most popular search results for certain queries can be boosted so that they appear first (or at least nearer the top) when other users make similar queries.
Similarly for recommendations, click events or purchase events can be collected as signals and used to display "Customers who viewed this also viewed" or "Best-selling holiday items".
In a production environment, users' actions generate signals. For the purposes of this tutorial, you will use Query Workbench to generate click signals.
Before you begin
To proceed with this part of the tutorial, you must first complete Part 1, Part 2, and Part 3, which give you an indexed dataset that is configured for faceted search.
If the Fusion UI is not already open, then open it.
-
In a browser window, open
localhost:8764. -
Enter the password for the user
admin, and then click Login.The Fusion launcher appears.
-
Click the Movie Search app.
The Fusion workspace appears.
1. Format display fields
To help you understand the continuity in the next steps, first make sure that some relevant fields are displayed.
-
Open Query Workbench. Navigate to Querying
 > Query Workbench.
 -
At the top right of the page, select Display Fields.
-
In the Name field, click the row to reveal a dropdown of possible values.
-
Select
title_txt. You can filter the list of possible values to help you. -
In the Description field, select
id. -
Close the Display Fields window.
-
In Fusion 4.1+, click Display Fields to close the Display Fields window.
-
In Fusion 4.0, click the close
 icon to close the Display Fields window.
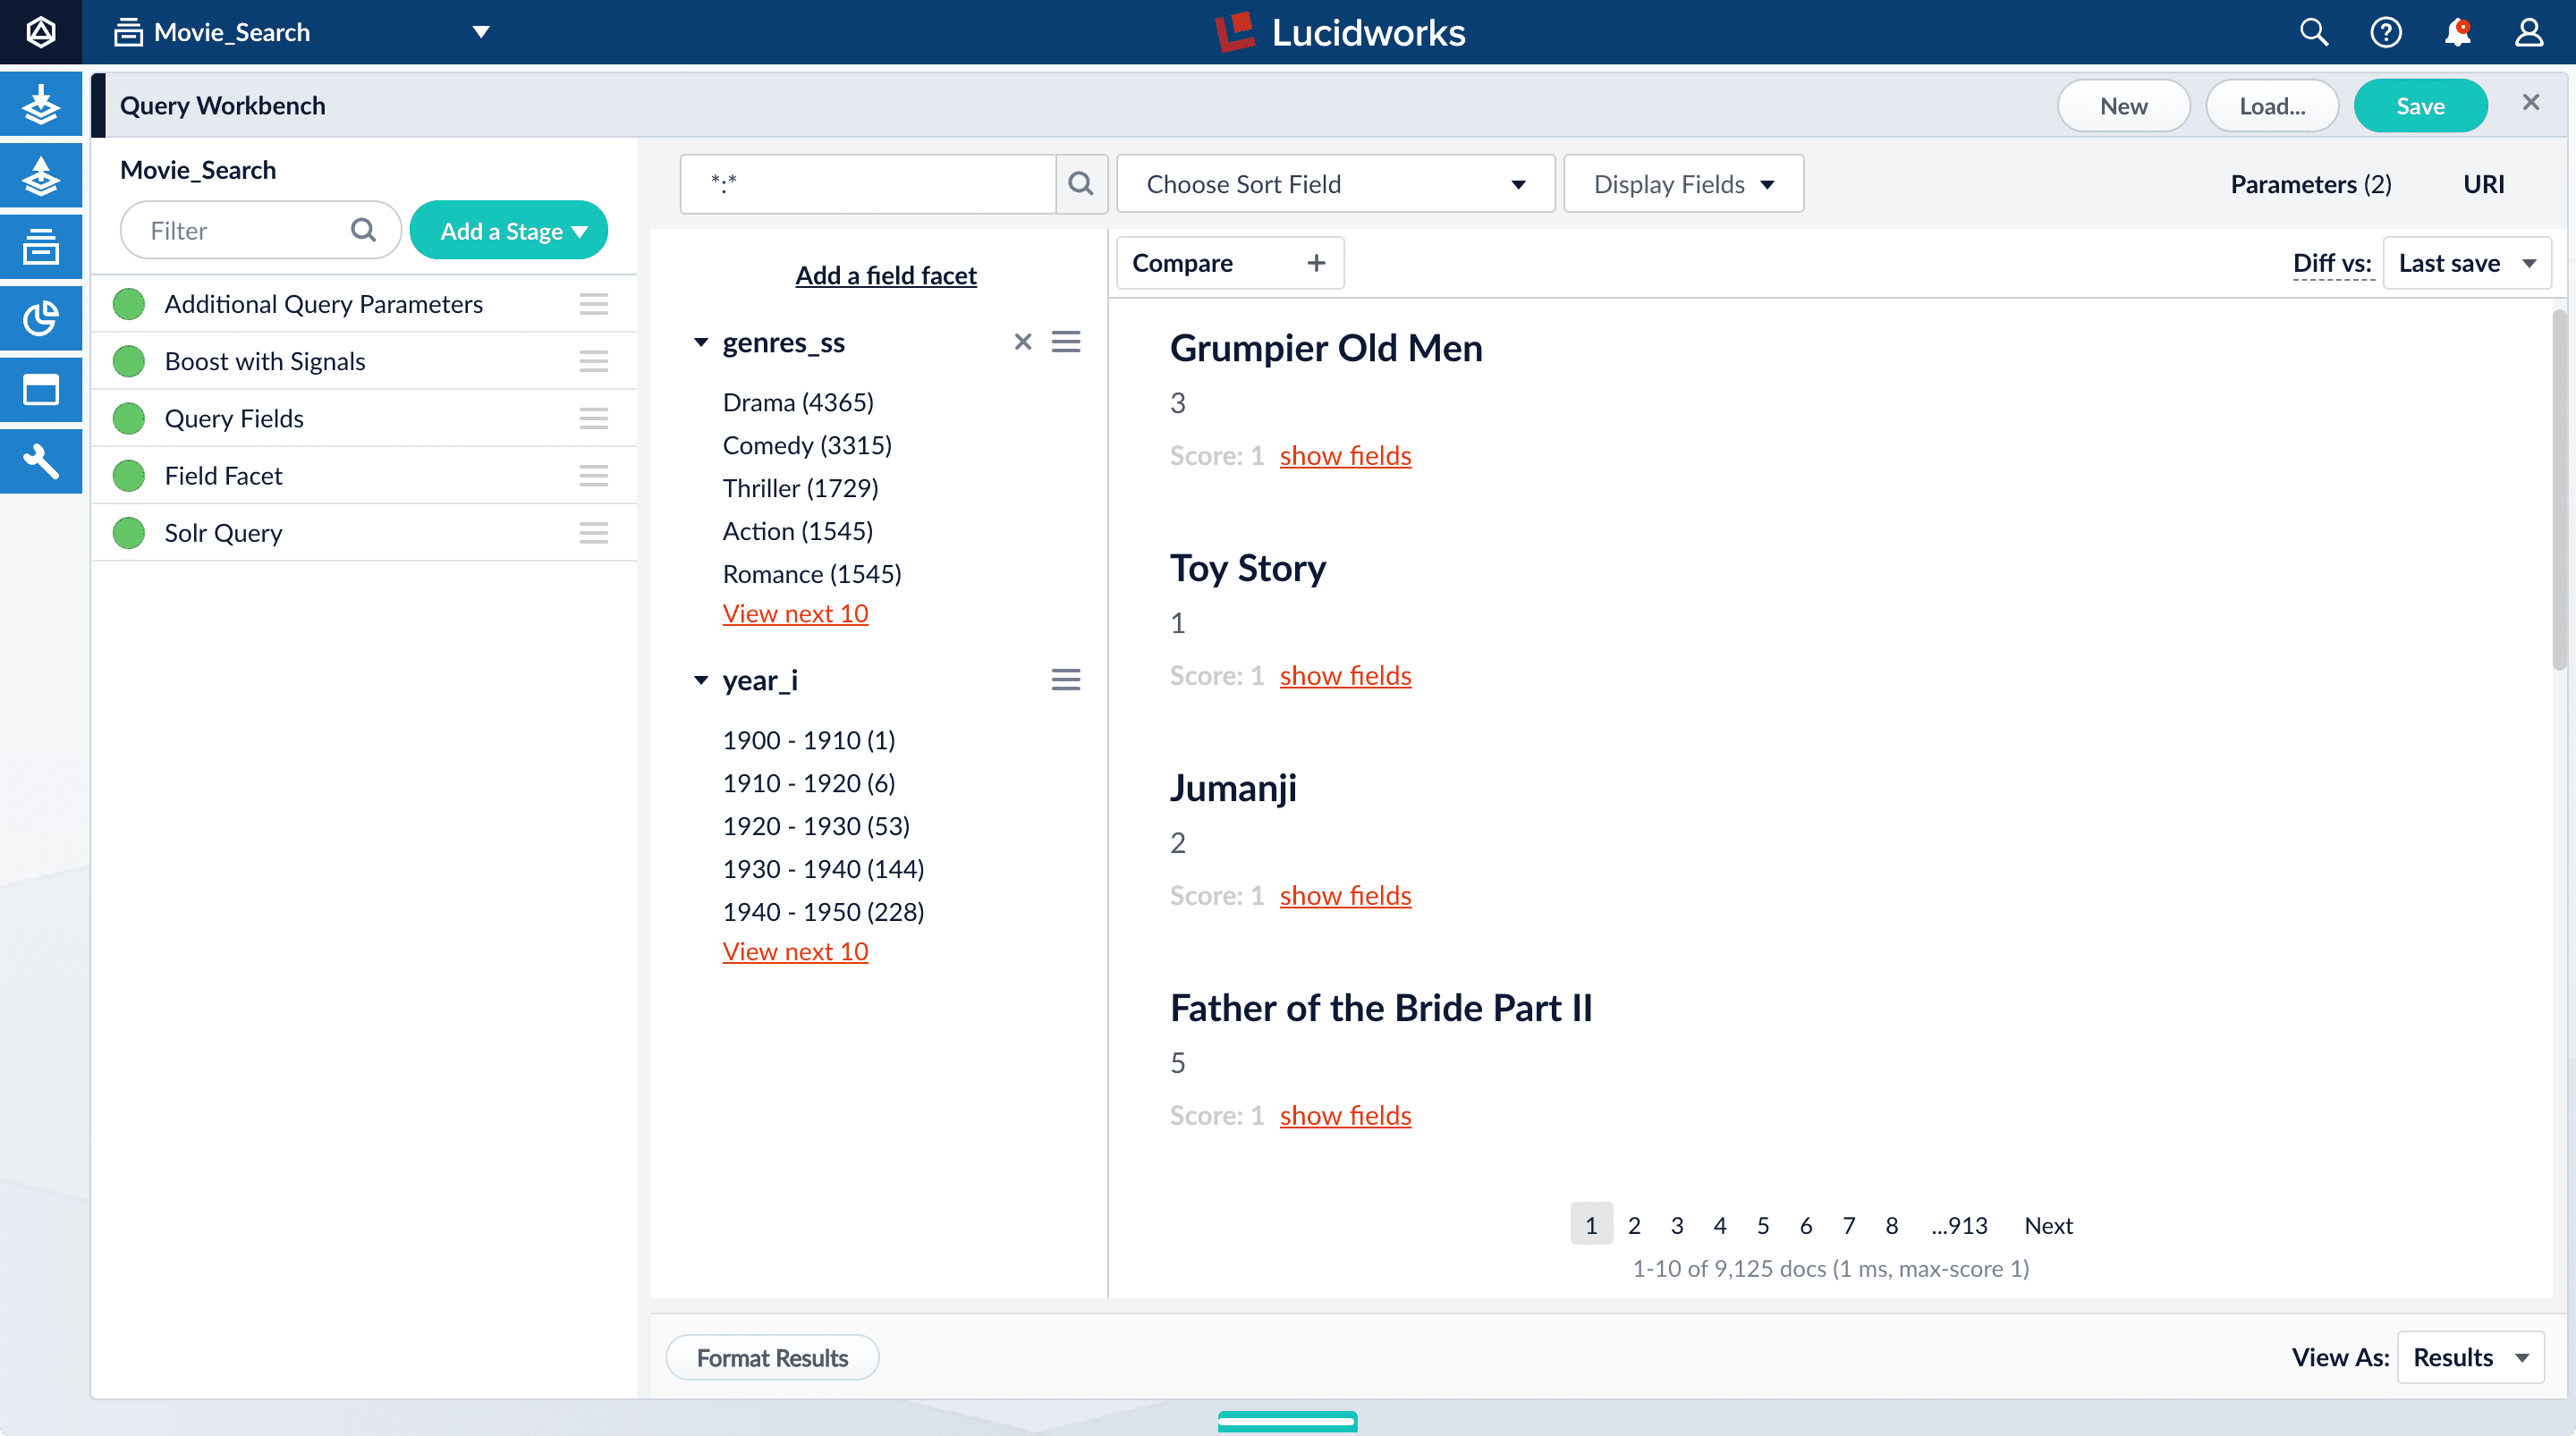
-
2. Enable synthetic signals
You need some signal data beyond the few signals you generated while completing Part 3. Because this is a prototype app, users are not generating signals. Instead, you will enable synthetic signals in Query Workbench.
-
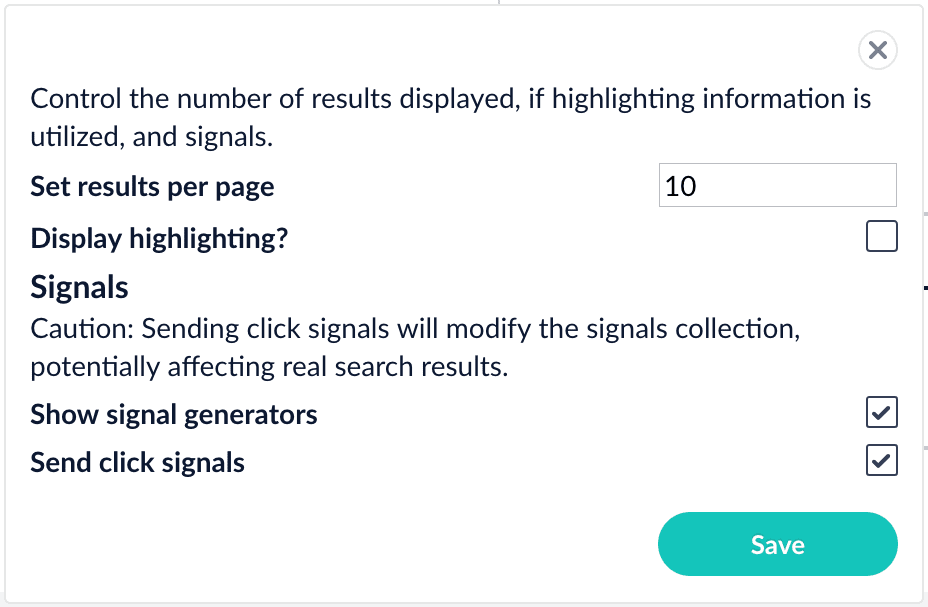
At the bottom of the Query Workbench page, click Format Results.
-
Select Show signal generators and Send click signals.
-
Click Save.
-
Hover over one of the search results.
Now when you hover over a search result, Query Workbench displays controls that include a Simulate button next to a field that lets you specify the number of signals to simulate:

3. Generate signals
With synthetic signals enabled, you will generate a simple set of signal data that you can use to generate meaningful recommendations.
For this tutorial, you will generate signals that you can use to boost your favorite sci-fi titles so that they appear first.
-
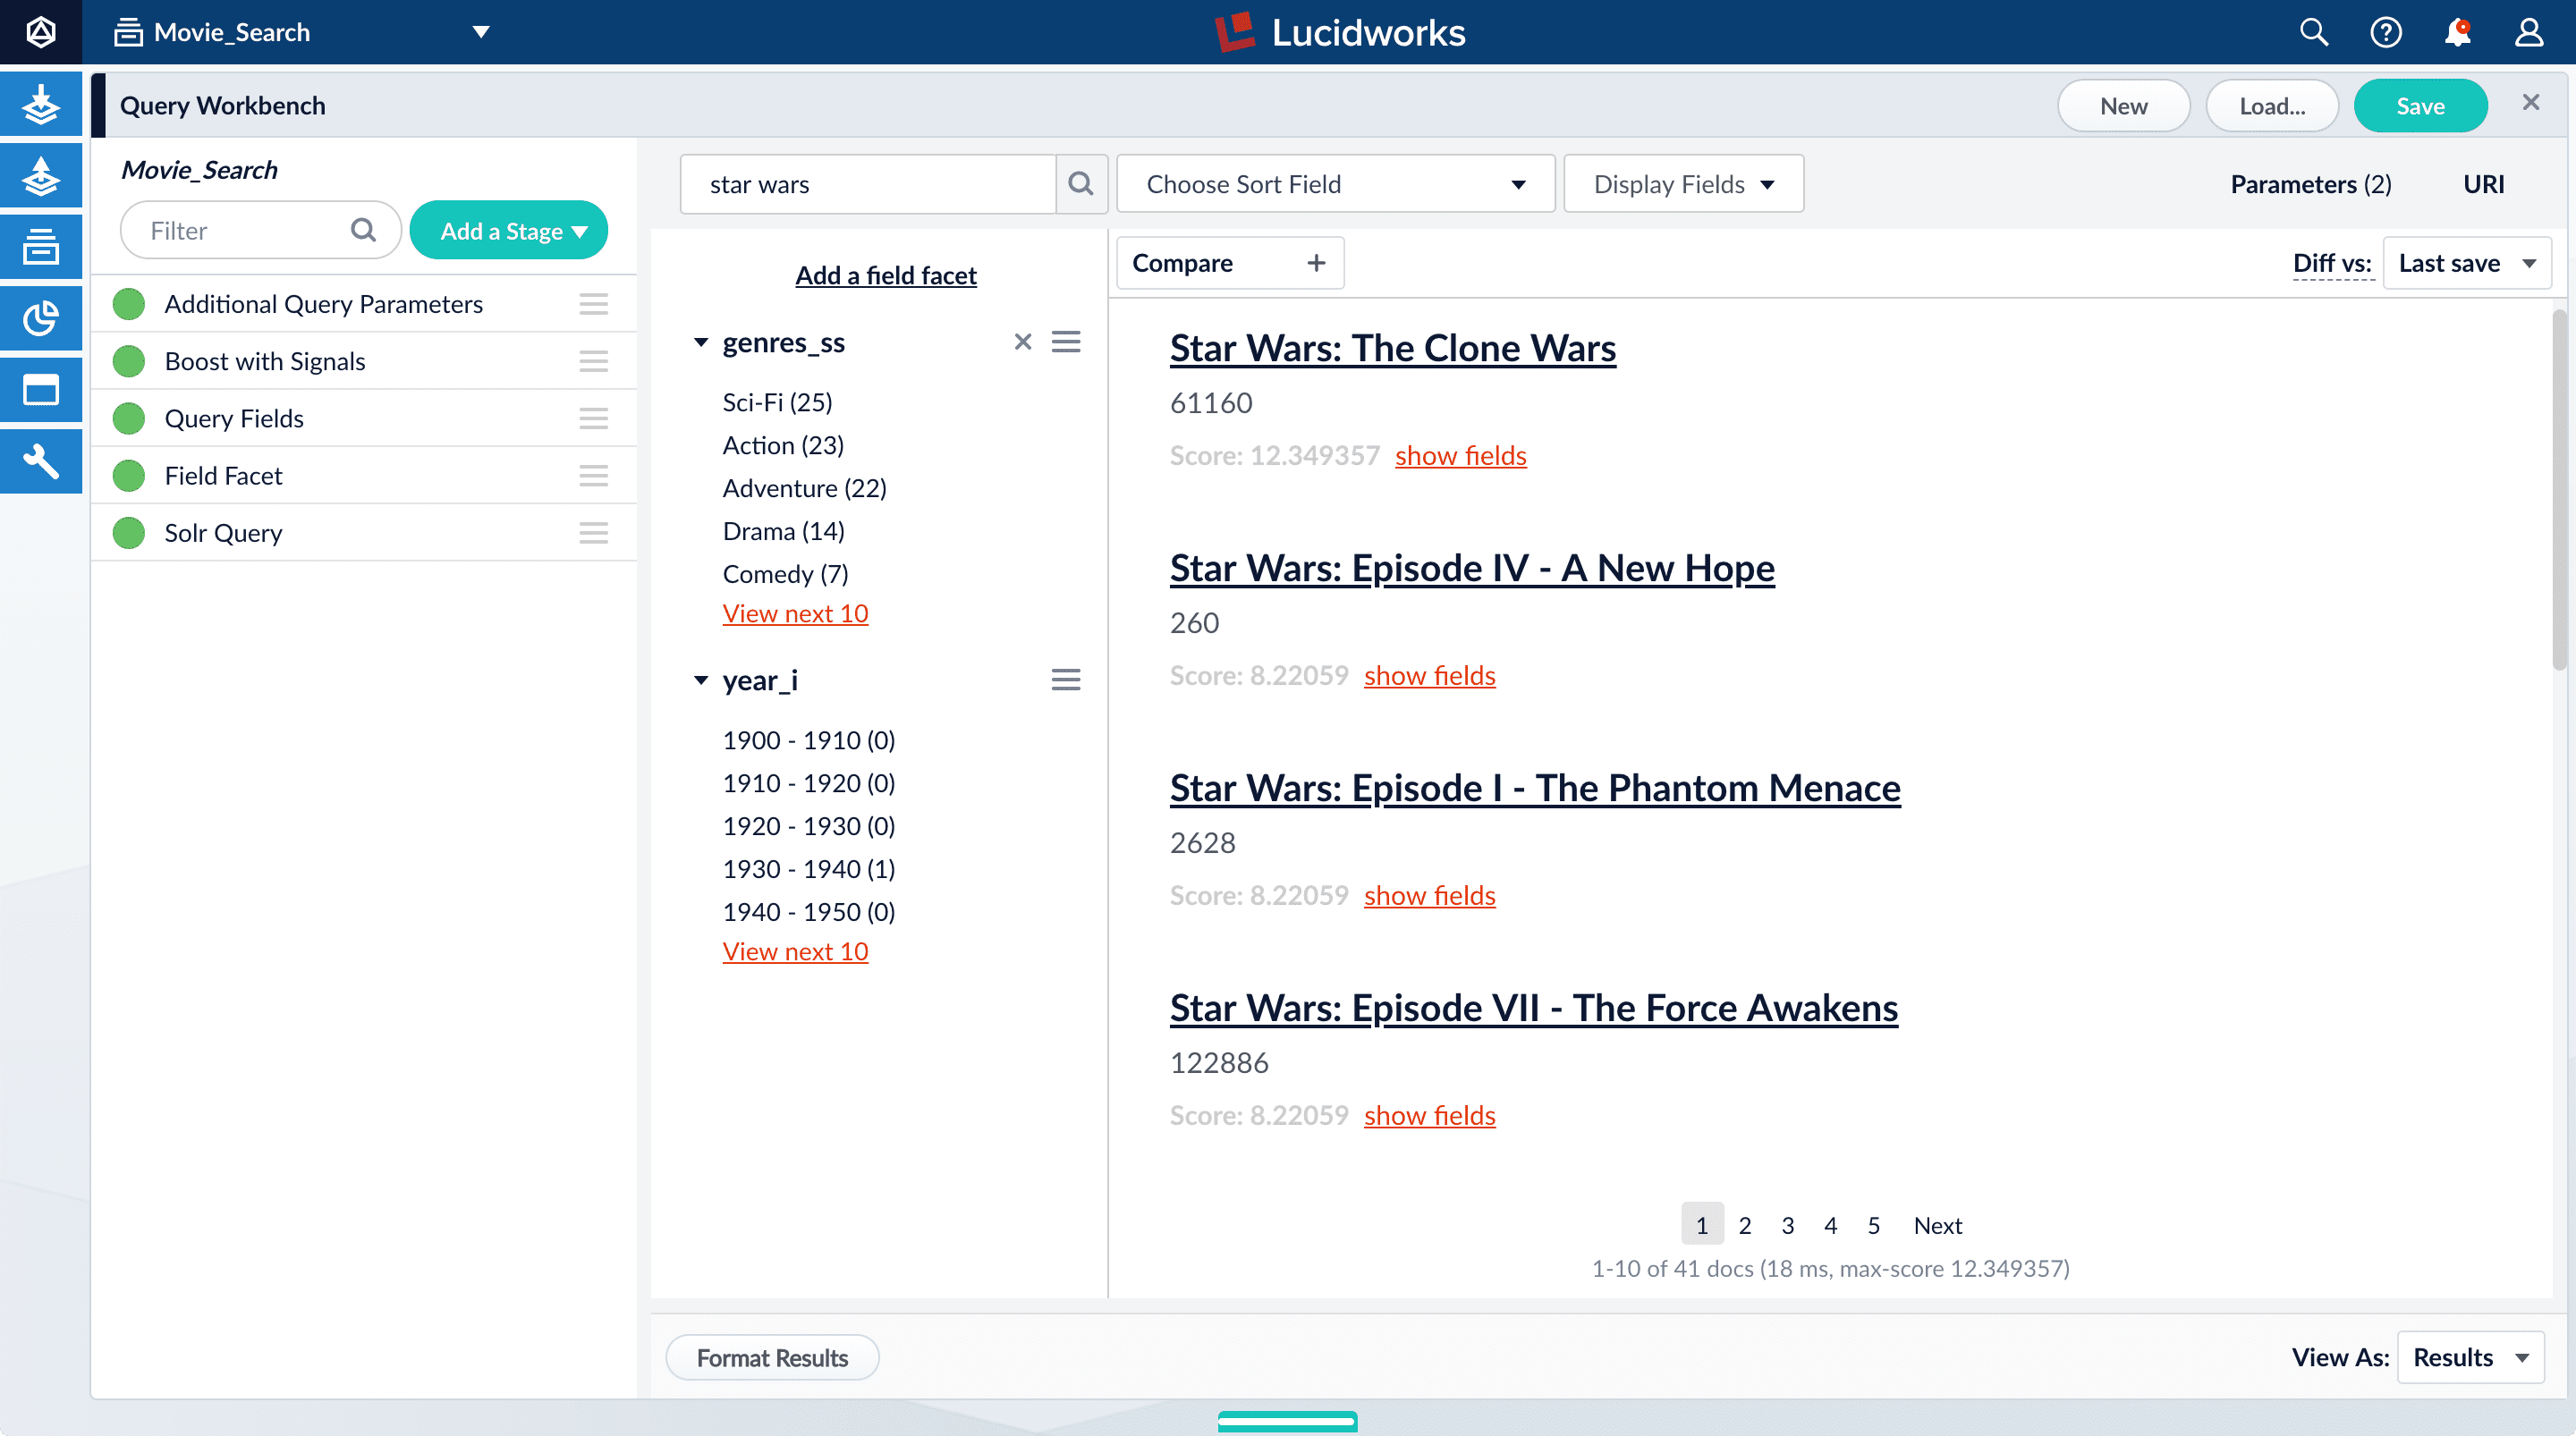
Search for
star wars.The top results are not your favorite titles:
-
In Format Results, Set results per page to 20. This should allow you to scroll for this next part instead of explicitly searching for the titles.
Next you will generate signals that you can use to boost certain titles. Signals are tied to the search query, so your boosted titles will appear first in the search results only when users search for
star wars. -
Hover over "Star Wars: Episode IV - A New Hope".
-
Set the number of signals to 4000 and click Simulate.
-
Hover over "Star Wars: Episode V - The Empire Strikes Back".
-
Set the number of signals to 3000 and click Simulate.
-
Hover over "Star Wars: Episode VI - Return of the Jedi".
-
Set the number of signals to 2000 and click Simulate.
With synthetic signals enabled, you can also send a single signal by clicking the underlined movie title. -
In the upper right, click Save.
The Save Pipeline window appears. By default, you will overwrite the existing query pipeline for the selected collection (in this case,
Movie_Search_signals). -
Click Save pipeline.
4. Explore the raw signals
Whenever you create a collection, two corresponding collections are also created automatically: COLLECTION_NAME_signals for raw signals and COLLECTION_NAME_signals_aggr for aggregated signals (in this case, Movie_Search_signals and Movie_Search_signals_aggr). Just as you did with your primary collection, you can use Query Workbench to explore the data in the _signals collection.
-
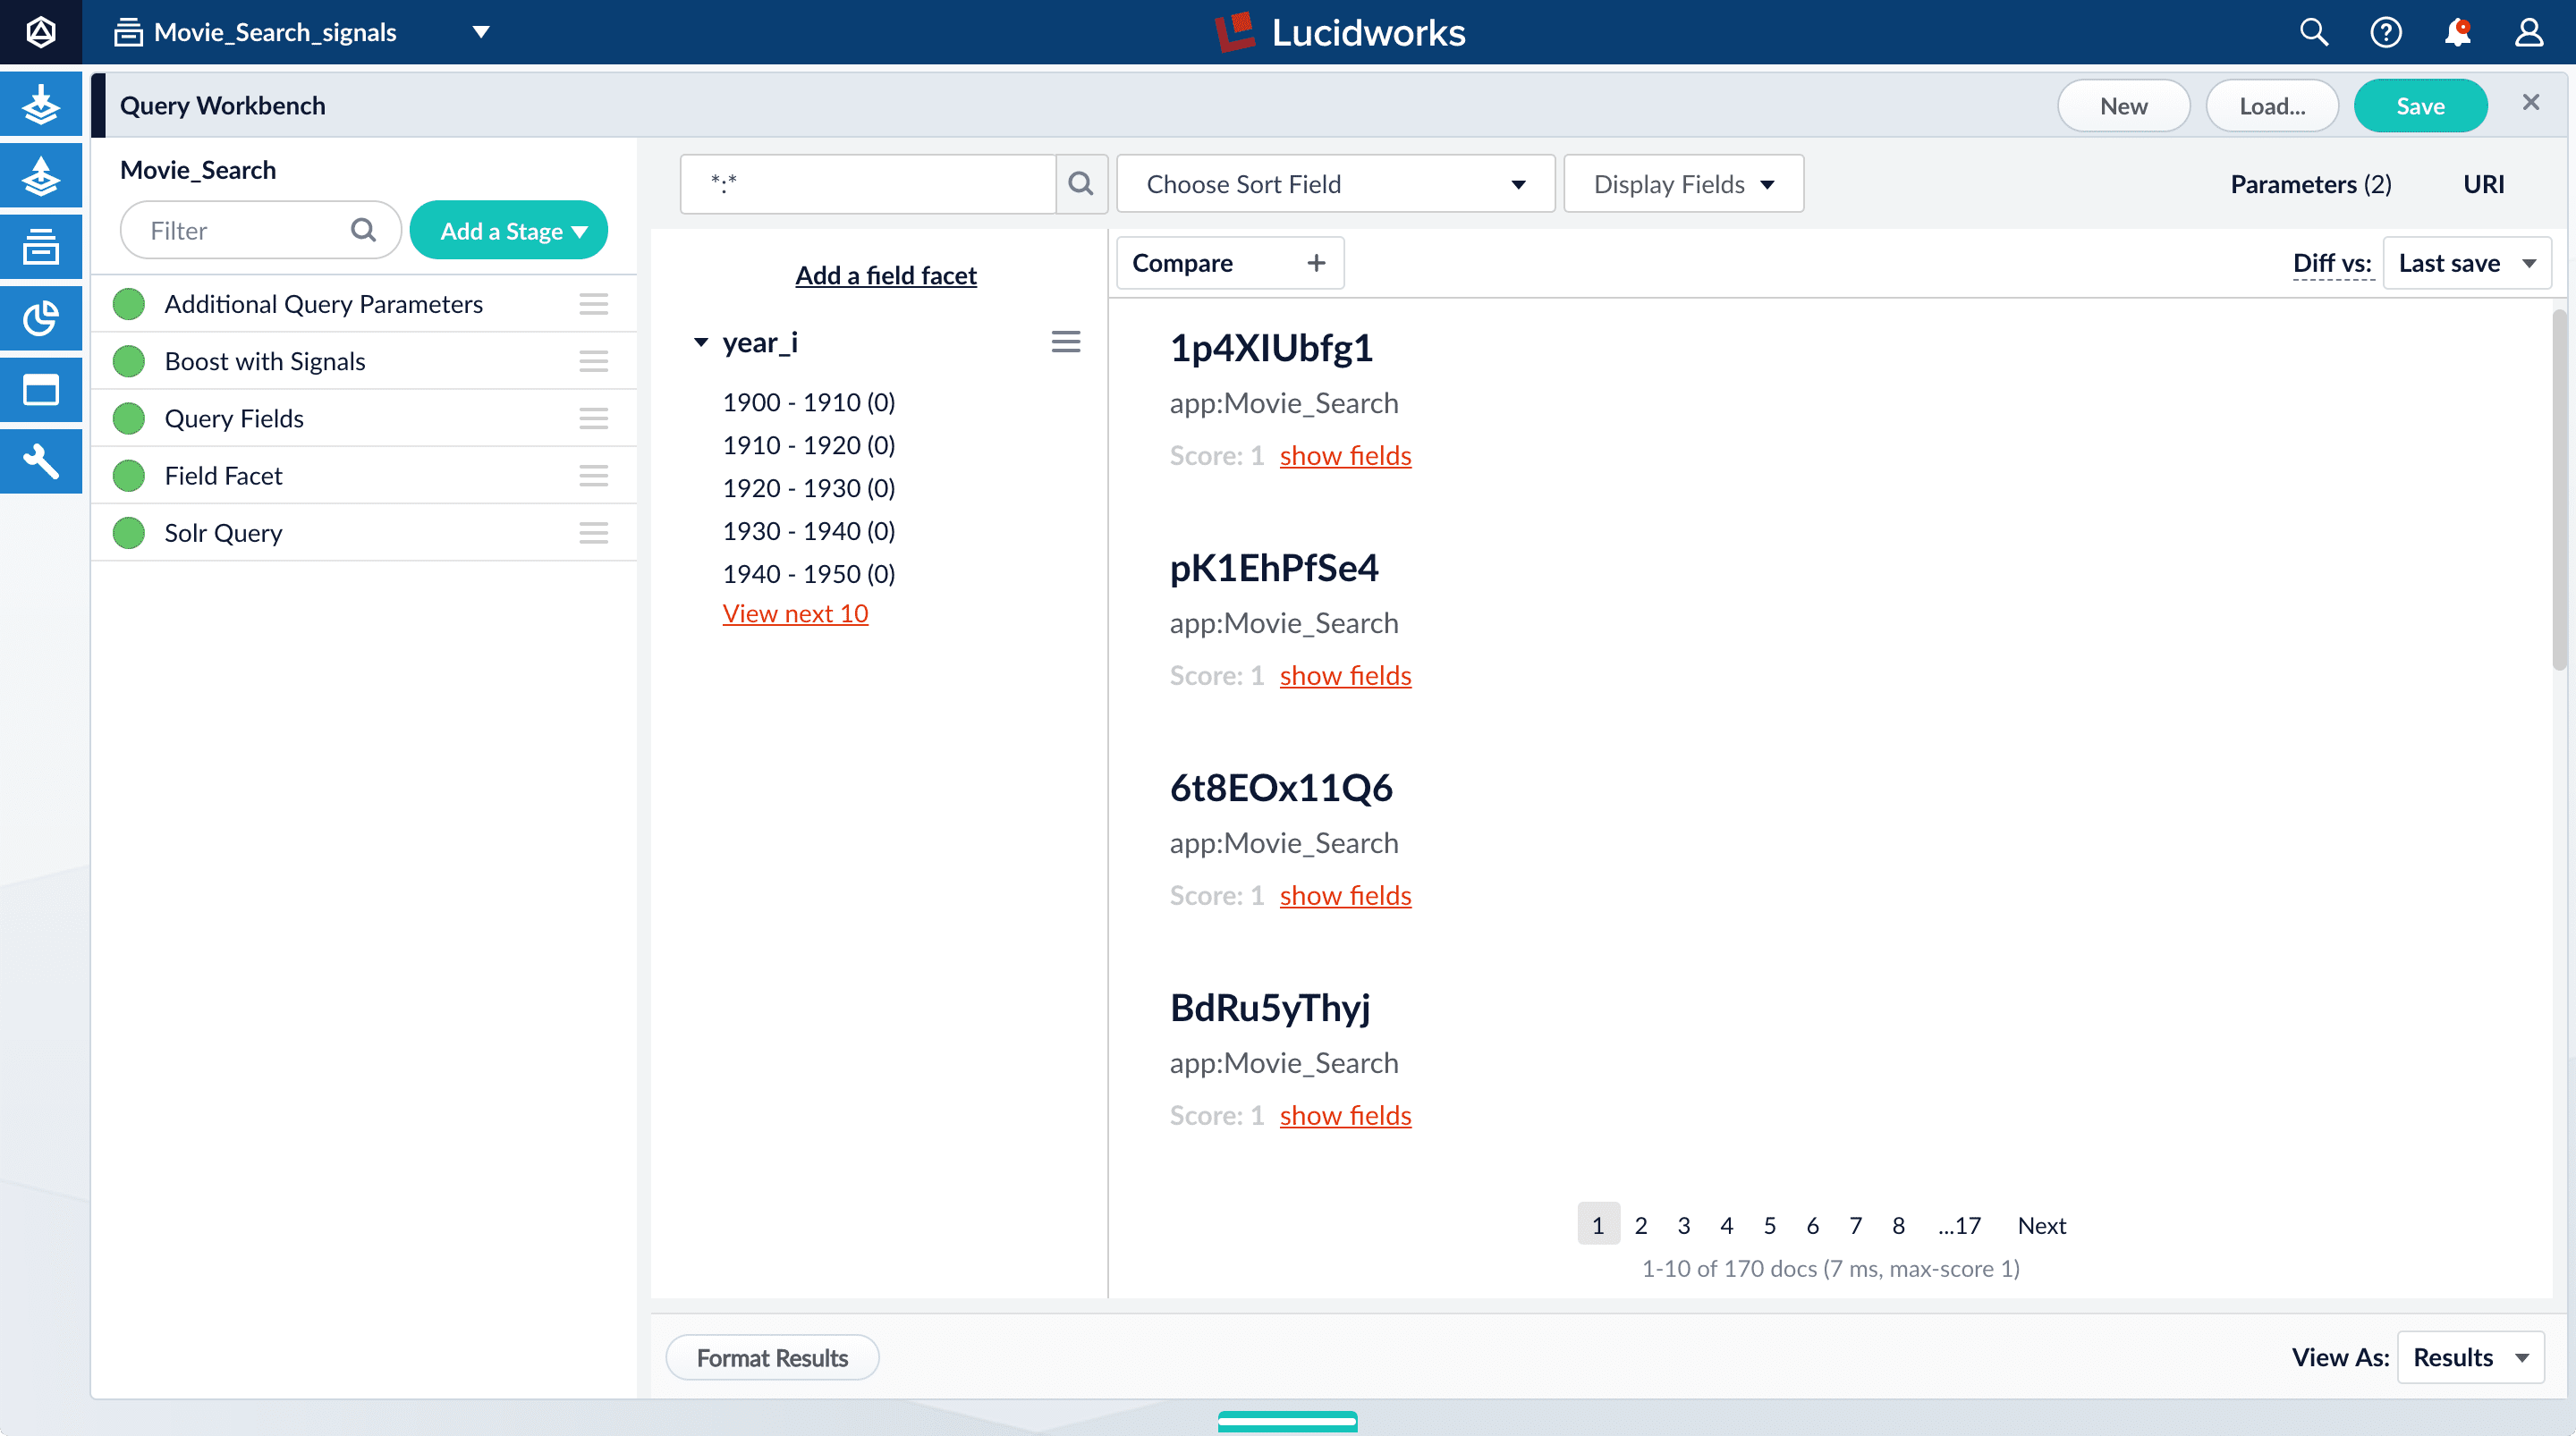
In the collection picker in the upper left, select Movie_Search_signals.
-
Open Query Workbench. Navigate to Querying
> Query Workbench.Your signal data appears.
Your signals collection contains several types of signals, such as click signals and search result signals. Let us investigate the click signals.
-
Search for
type:click. -
For any of the results, click show fields.
-
The
count_ifield shows the number of click signals you generated for this event. For example, given the correspondingdoc_idfor Star Wars: Episode IV - A New Hope, thecount_iequals 4000.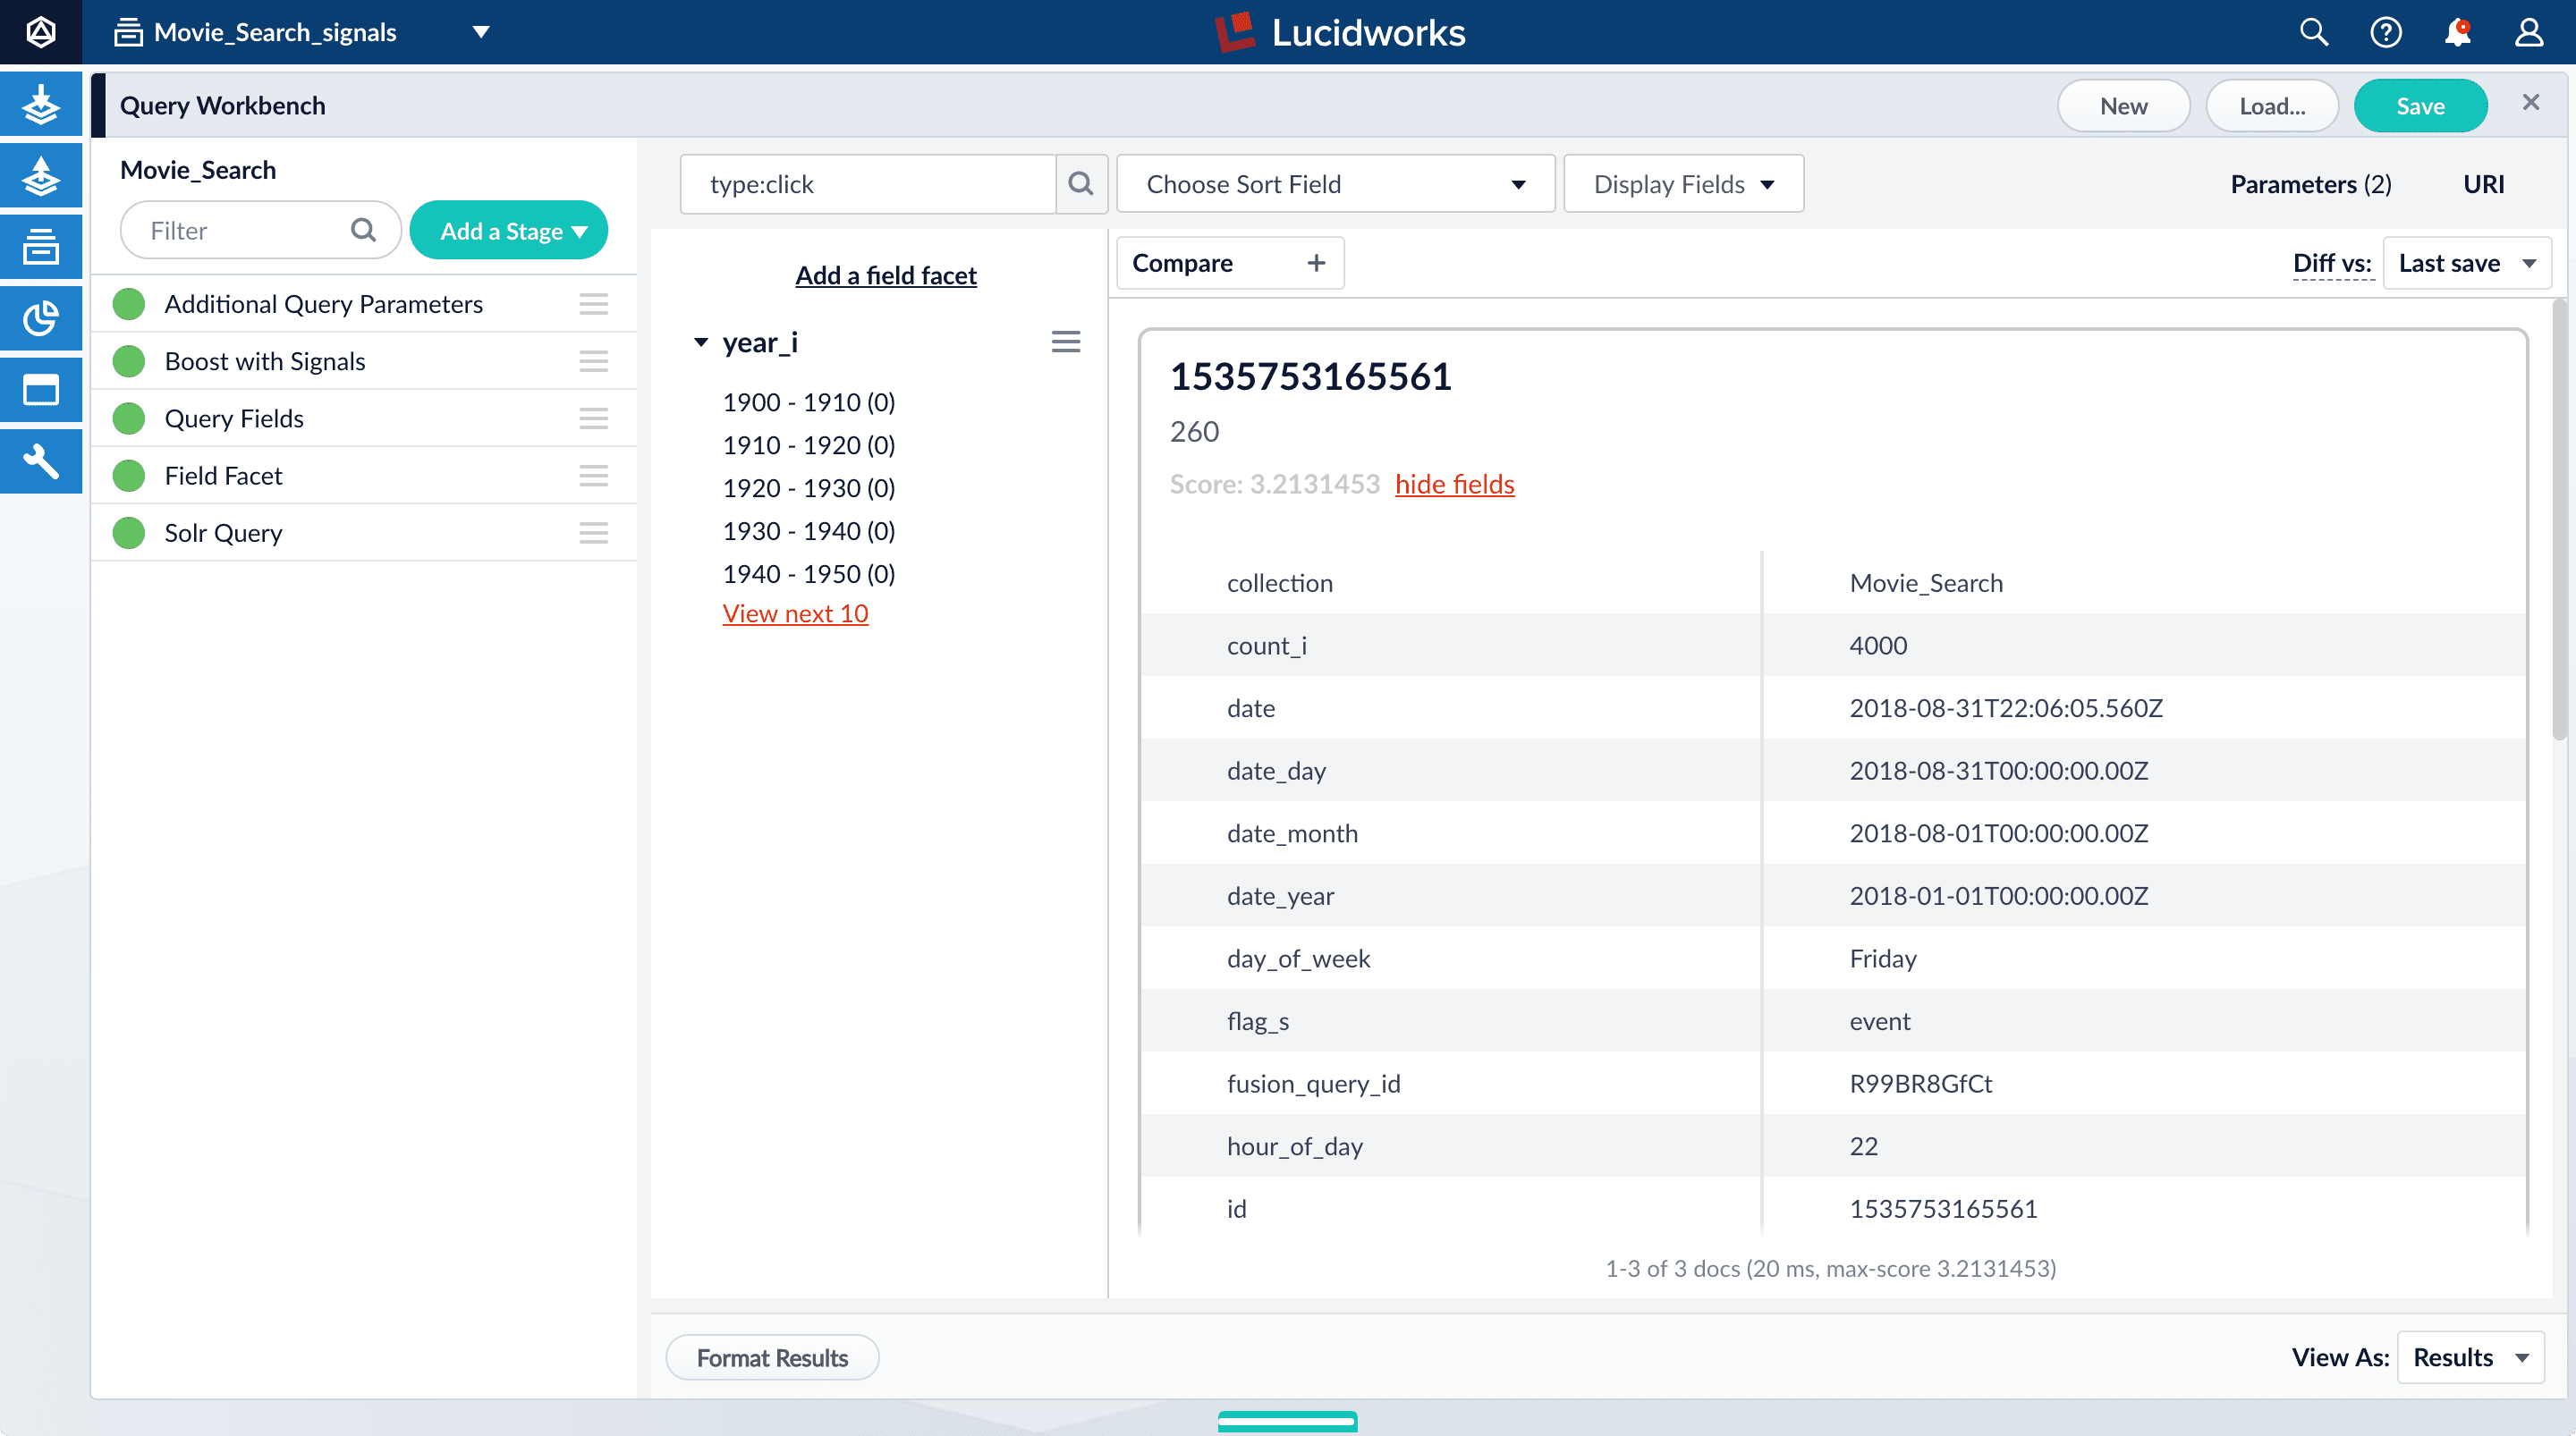
In Fusion 4.0: The contents of the
doc_id_sfield in theMovie_Search_signalscollection is the same as the contents of theidfield in yourMovies_Searchcollection, that is, the ID of the document that you clicked in Query Workbench, or for which you specified a number of clicks, and then clicked Simulate. Thequery_orig_sfield in theMovie_Search_signalscollection contains the original query string that produced this search result. -
-
Click hide fields.
4.1. Optional: Format signals fields
You can configure your search view to display fields that are meaningful for your investigation. For example, you can display the document ID and the number of click signals.
-
Click Display Fields.
-
For the Name field, select
doc_id. -
For the Description field, select
count_i.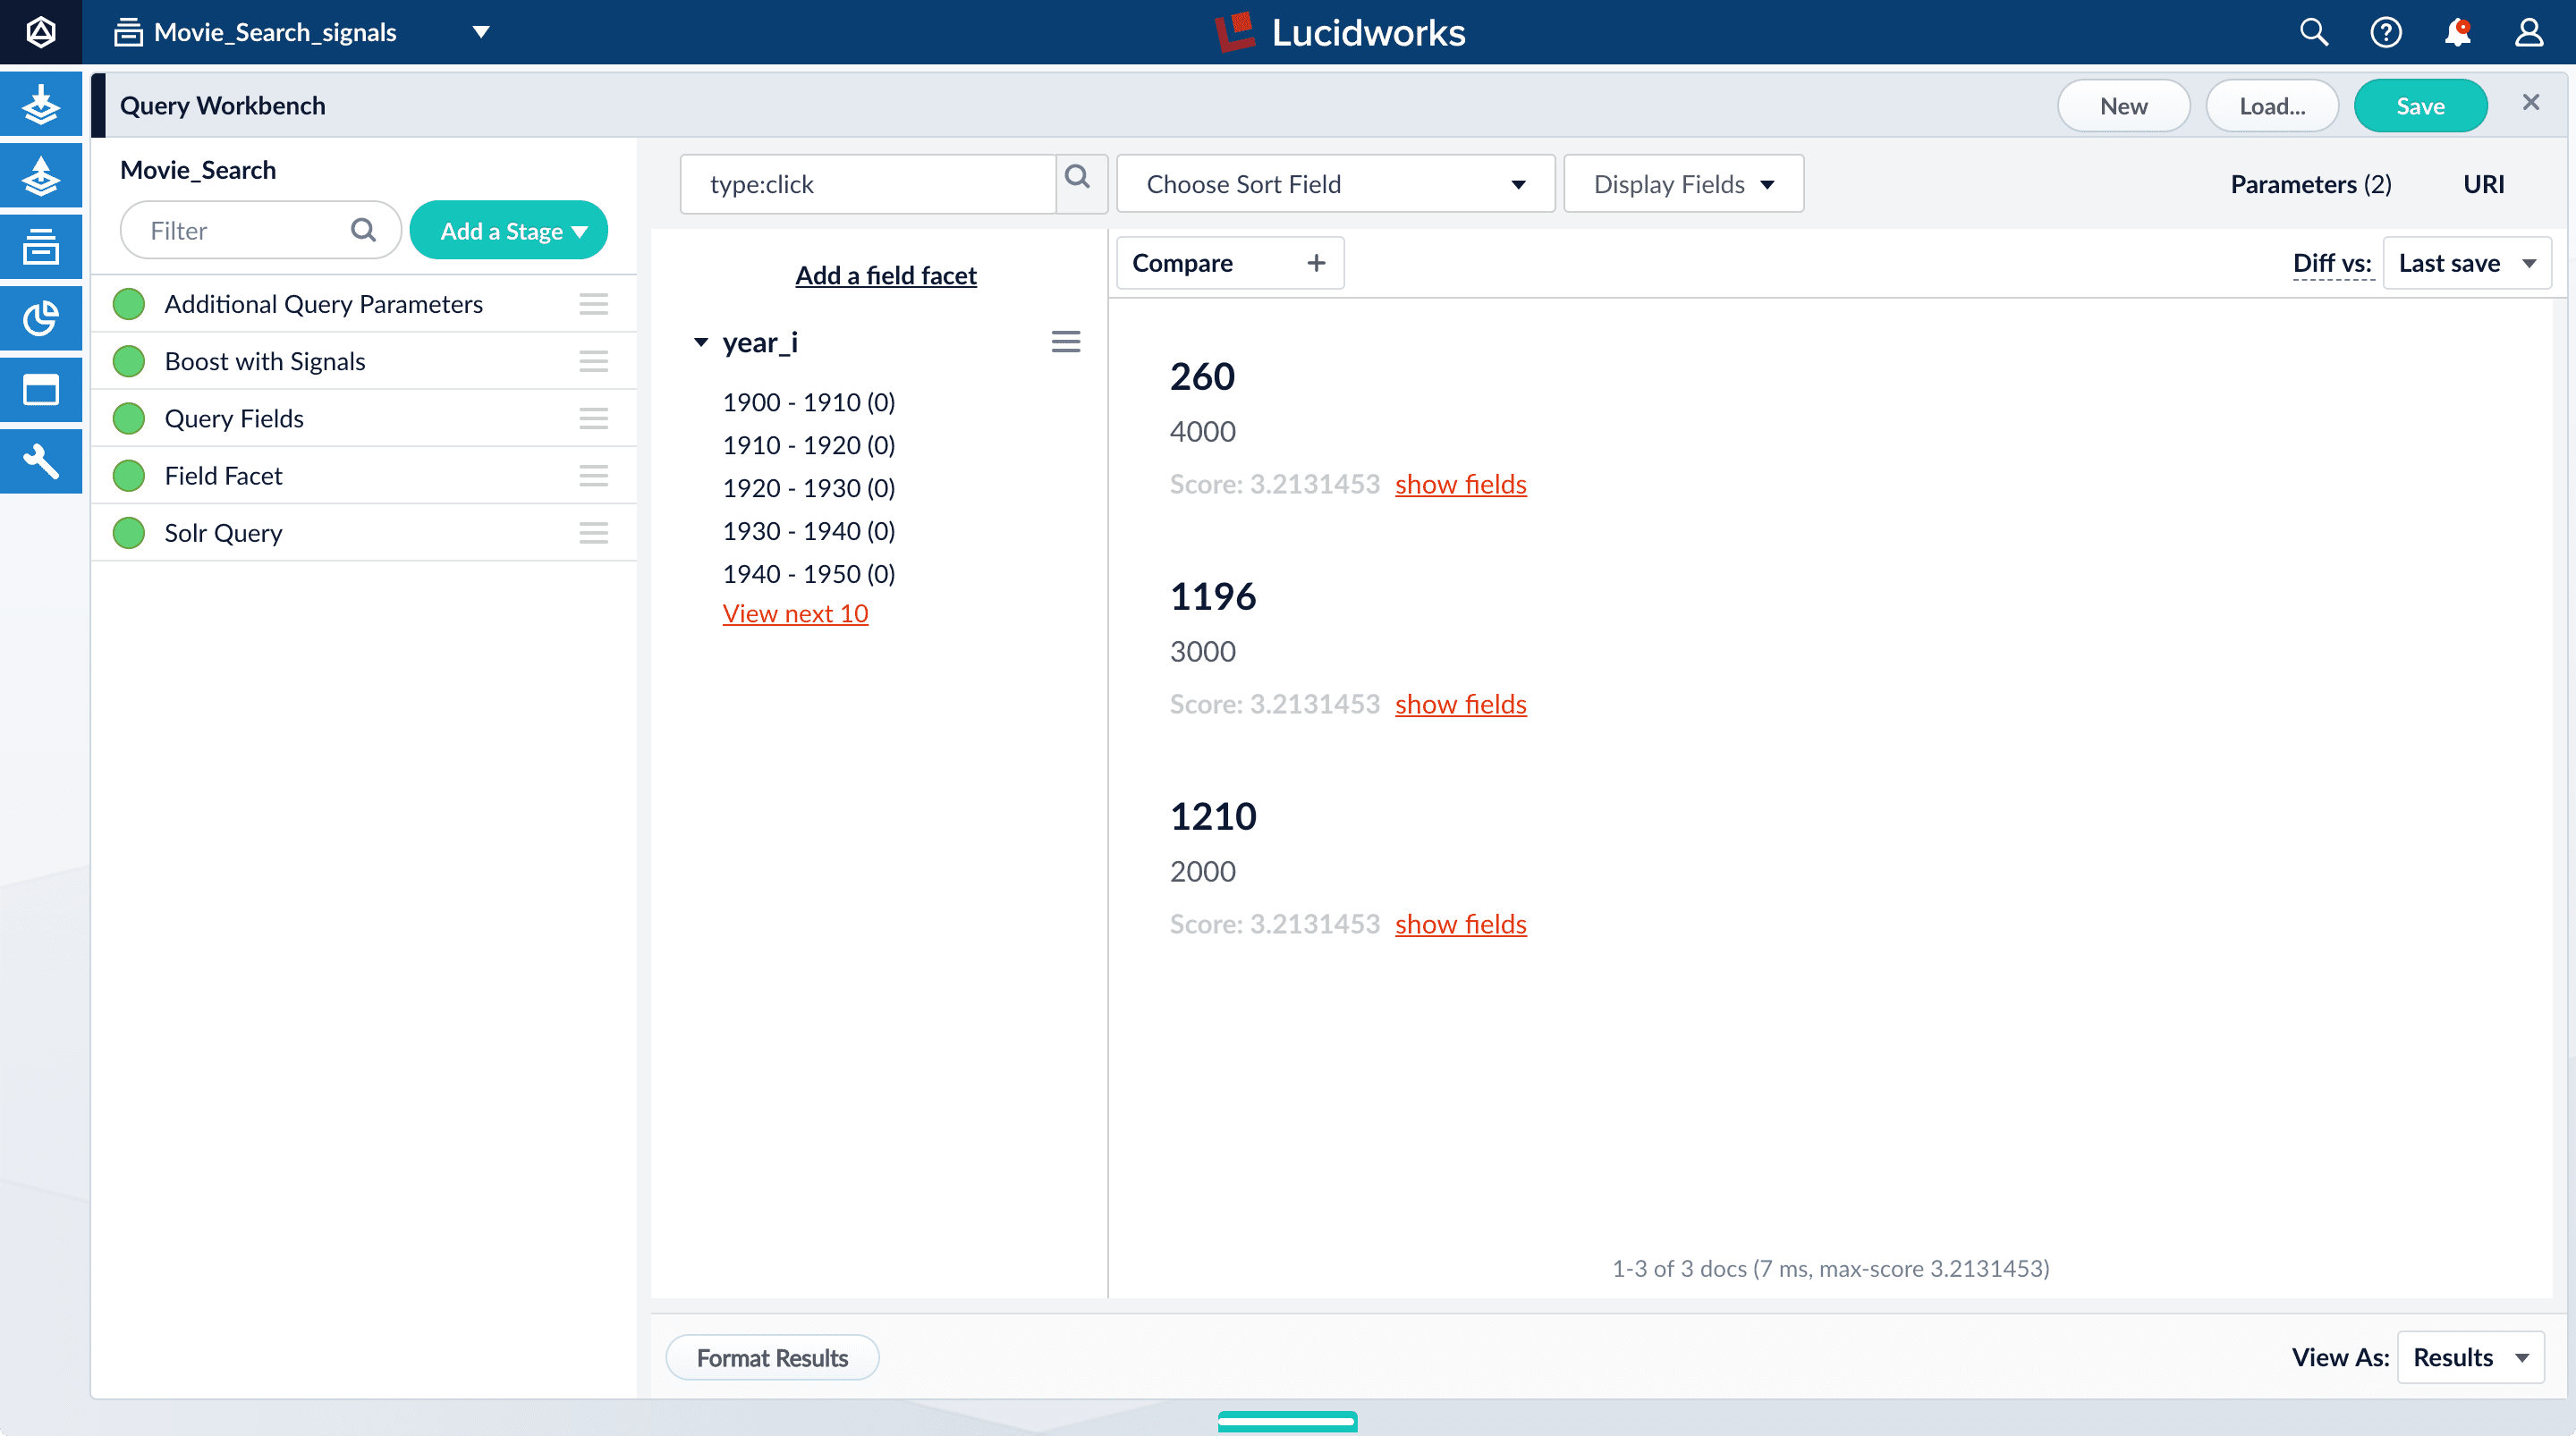
5. Explore the aggregated signal data
Aggregation jobs are created automatically when you create an app. However, you need to run the aggregation job manually:
-
Navigate to Collections
 > Jobs.
 -
Select
Movie_Search_click_signals_aggregationfrom the job list. -
Click Run.
-
Click Start.
After you run your job (it might take a minute or two), open the Query Workbench and check whether the aggregated data has arrived in the Movie_Search_signals_aggr collection.
-
In the collections picker in the upper left, select Movie_Search_signals_aggr.
-
Open Query Workbench. Navigate to Querying
> Query Workbench.Your aggregated signal data should appear. If not, wait a minute and then reload your browser, or click Search
 in Query Workbench.
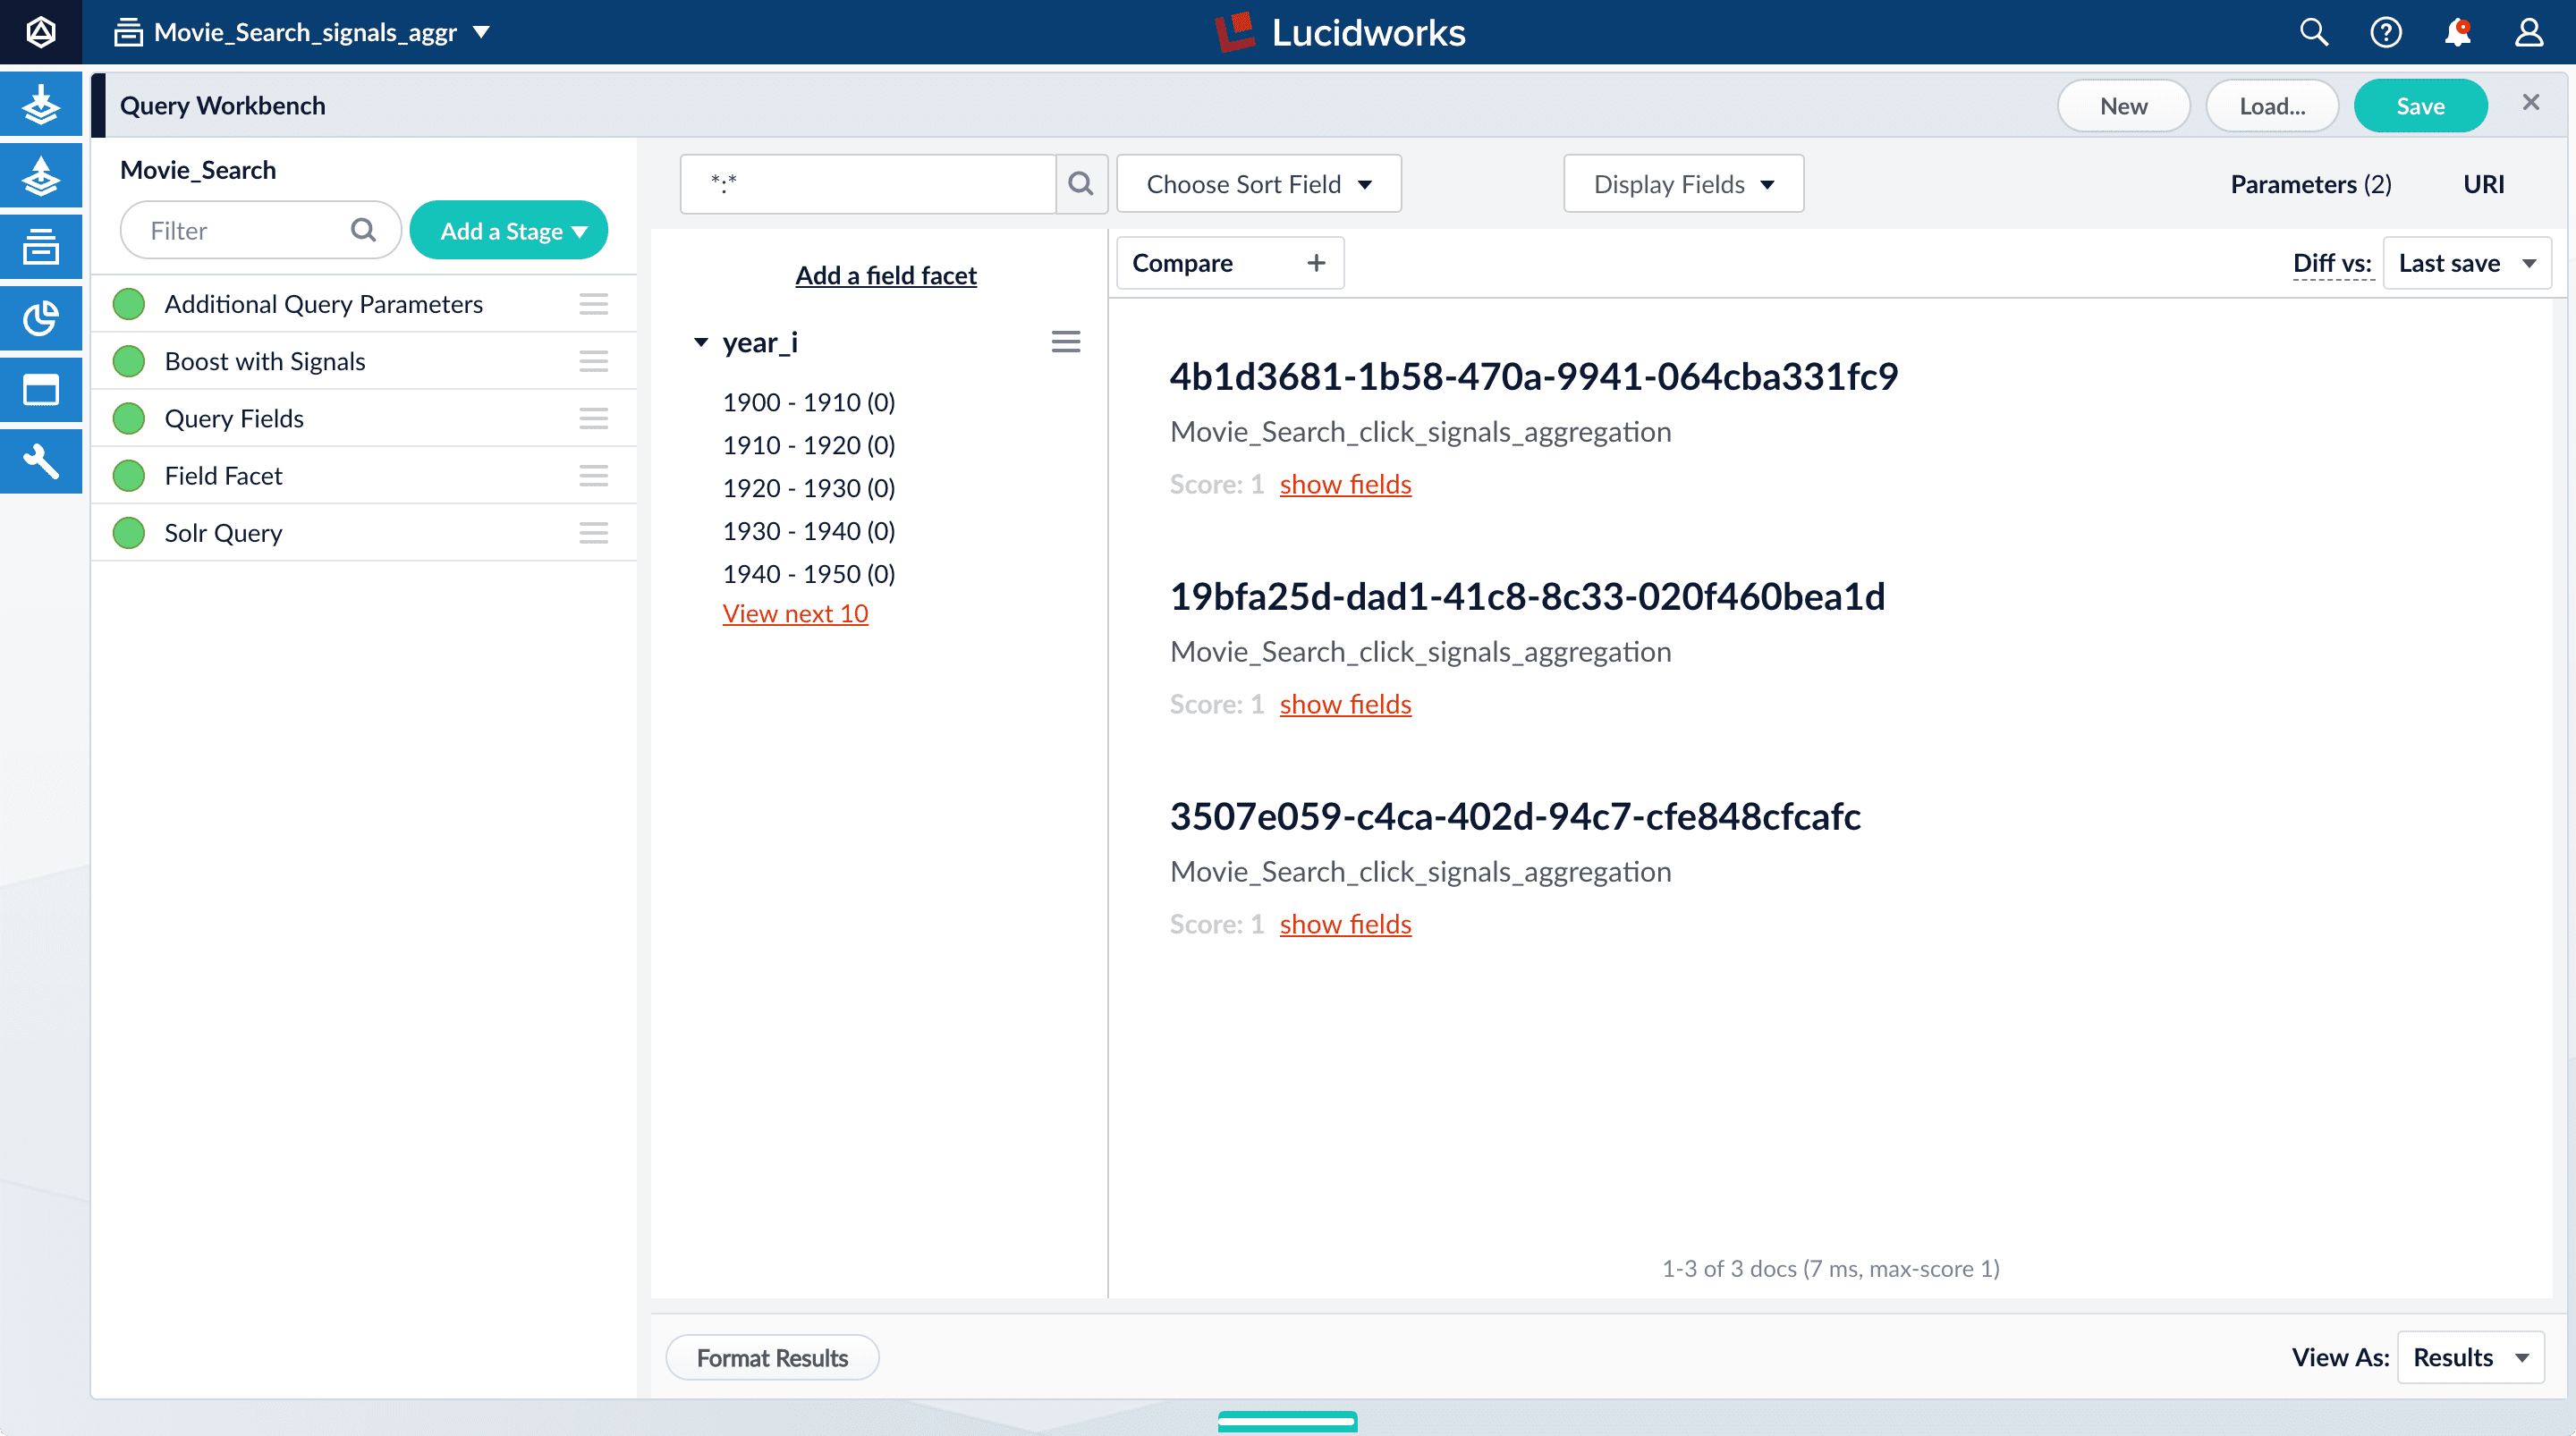
-
Click Display Fields.
-
For the Name field, select
doc_id. -
For the Description field, select
aggr_count_i. -
For the result 1210, click show fields.
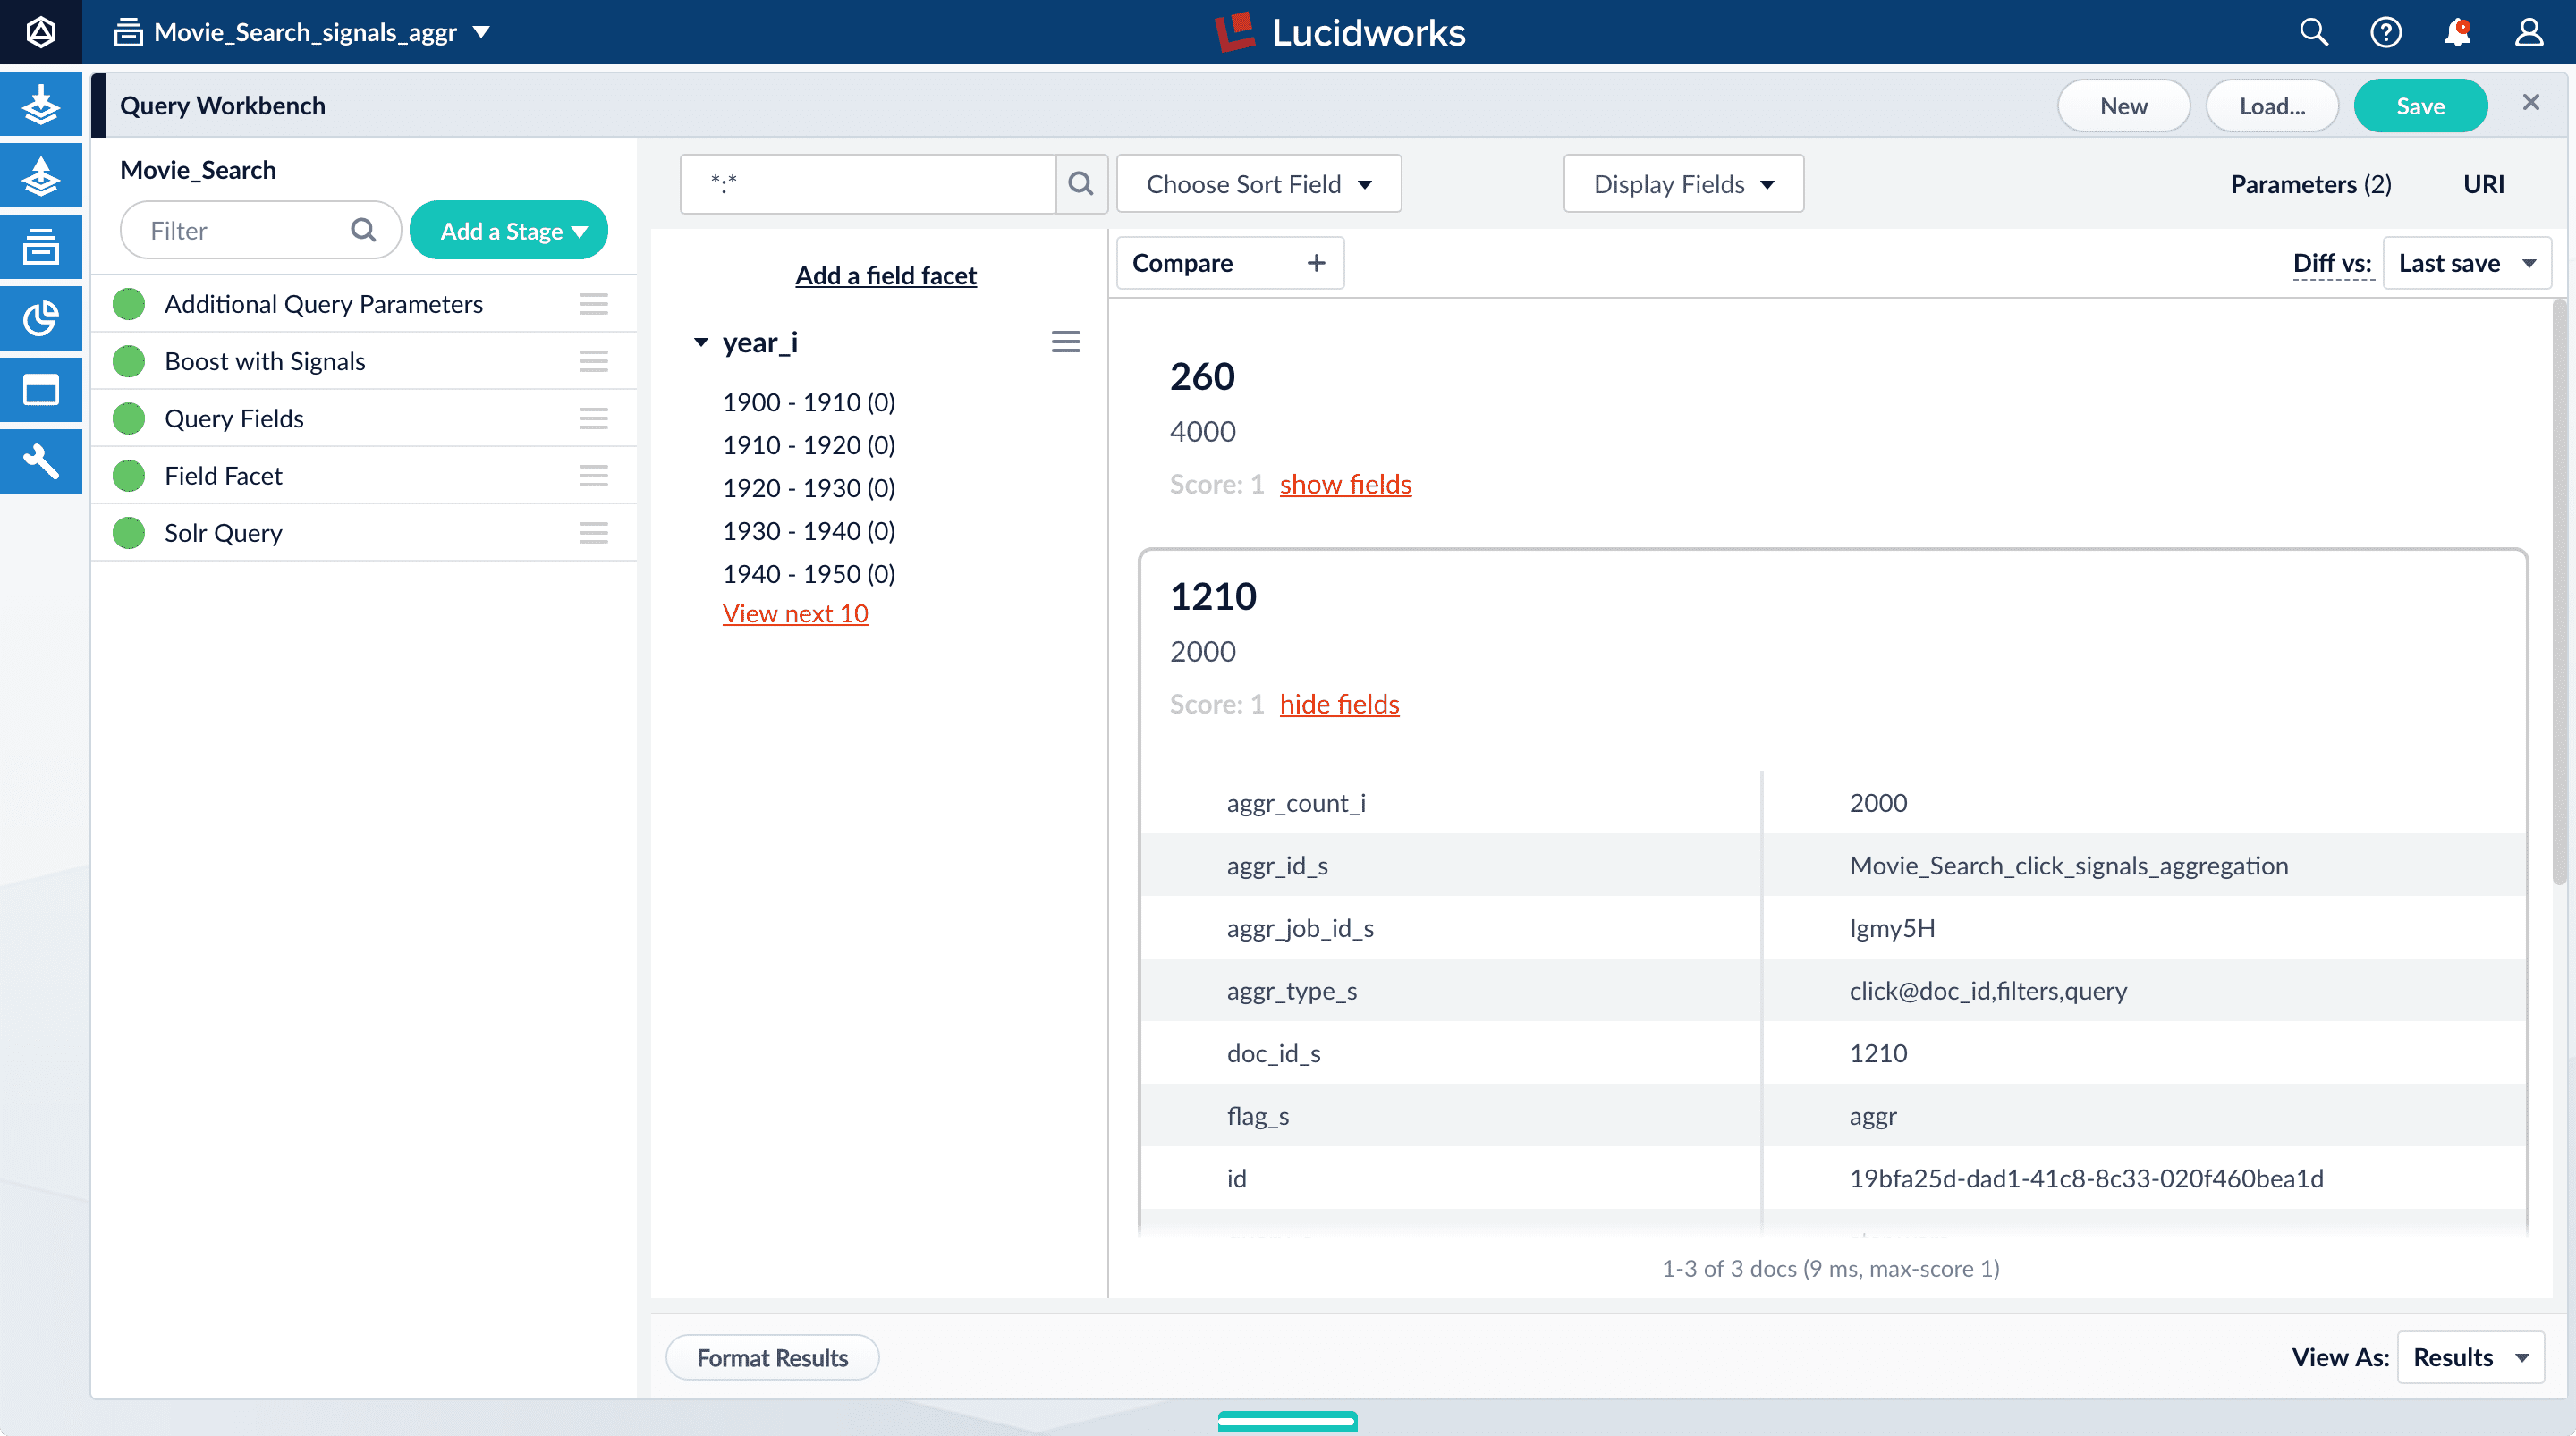
The fields for aggregated signals are very similar to the fields for raw signals, with additional fields to describe the aggregation:
-
aggr_count_i. Number of signals that have been aggregated (in this case, 3000) -
aggr_id_s. Name of the aggregation job -
aggr_job_id_s. Job ID -
aggr_type_s. Aggregation type
-
-
In the upper right, click Save.
The Save Pipeline window appears. By default, you will overwrite the existing query pipeline for the selected collection (in this case,
Movie_Search). -
Click Save pipeline.
6. View the search results with and without default boosting
-
In the collections picker in the upper left, select Movie_Search.
-
Open Query Workbench. Navigate to Querying
> Query Workbench. -
Search for
star wars.Now, "Star Wars: Episode IV - A New Hope" is the first search result, followed by Episode V and then VI. These search results are automatically boosted by the default configuration of the Boost with Signals query pipeline stage, which boosts on the
idfield.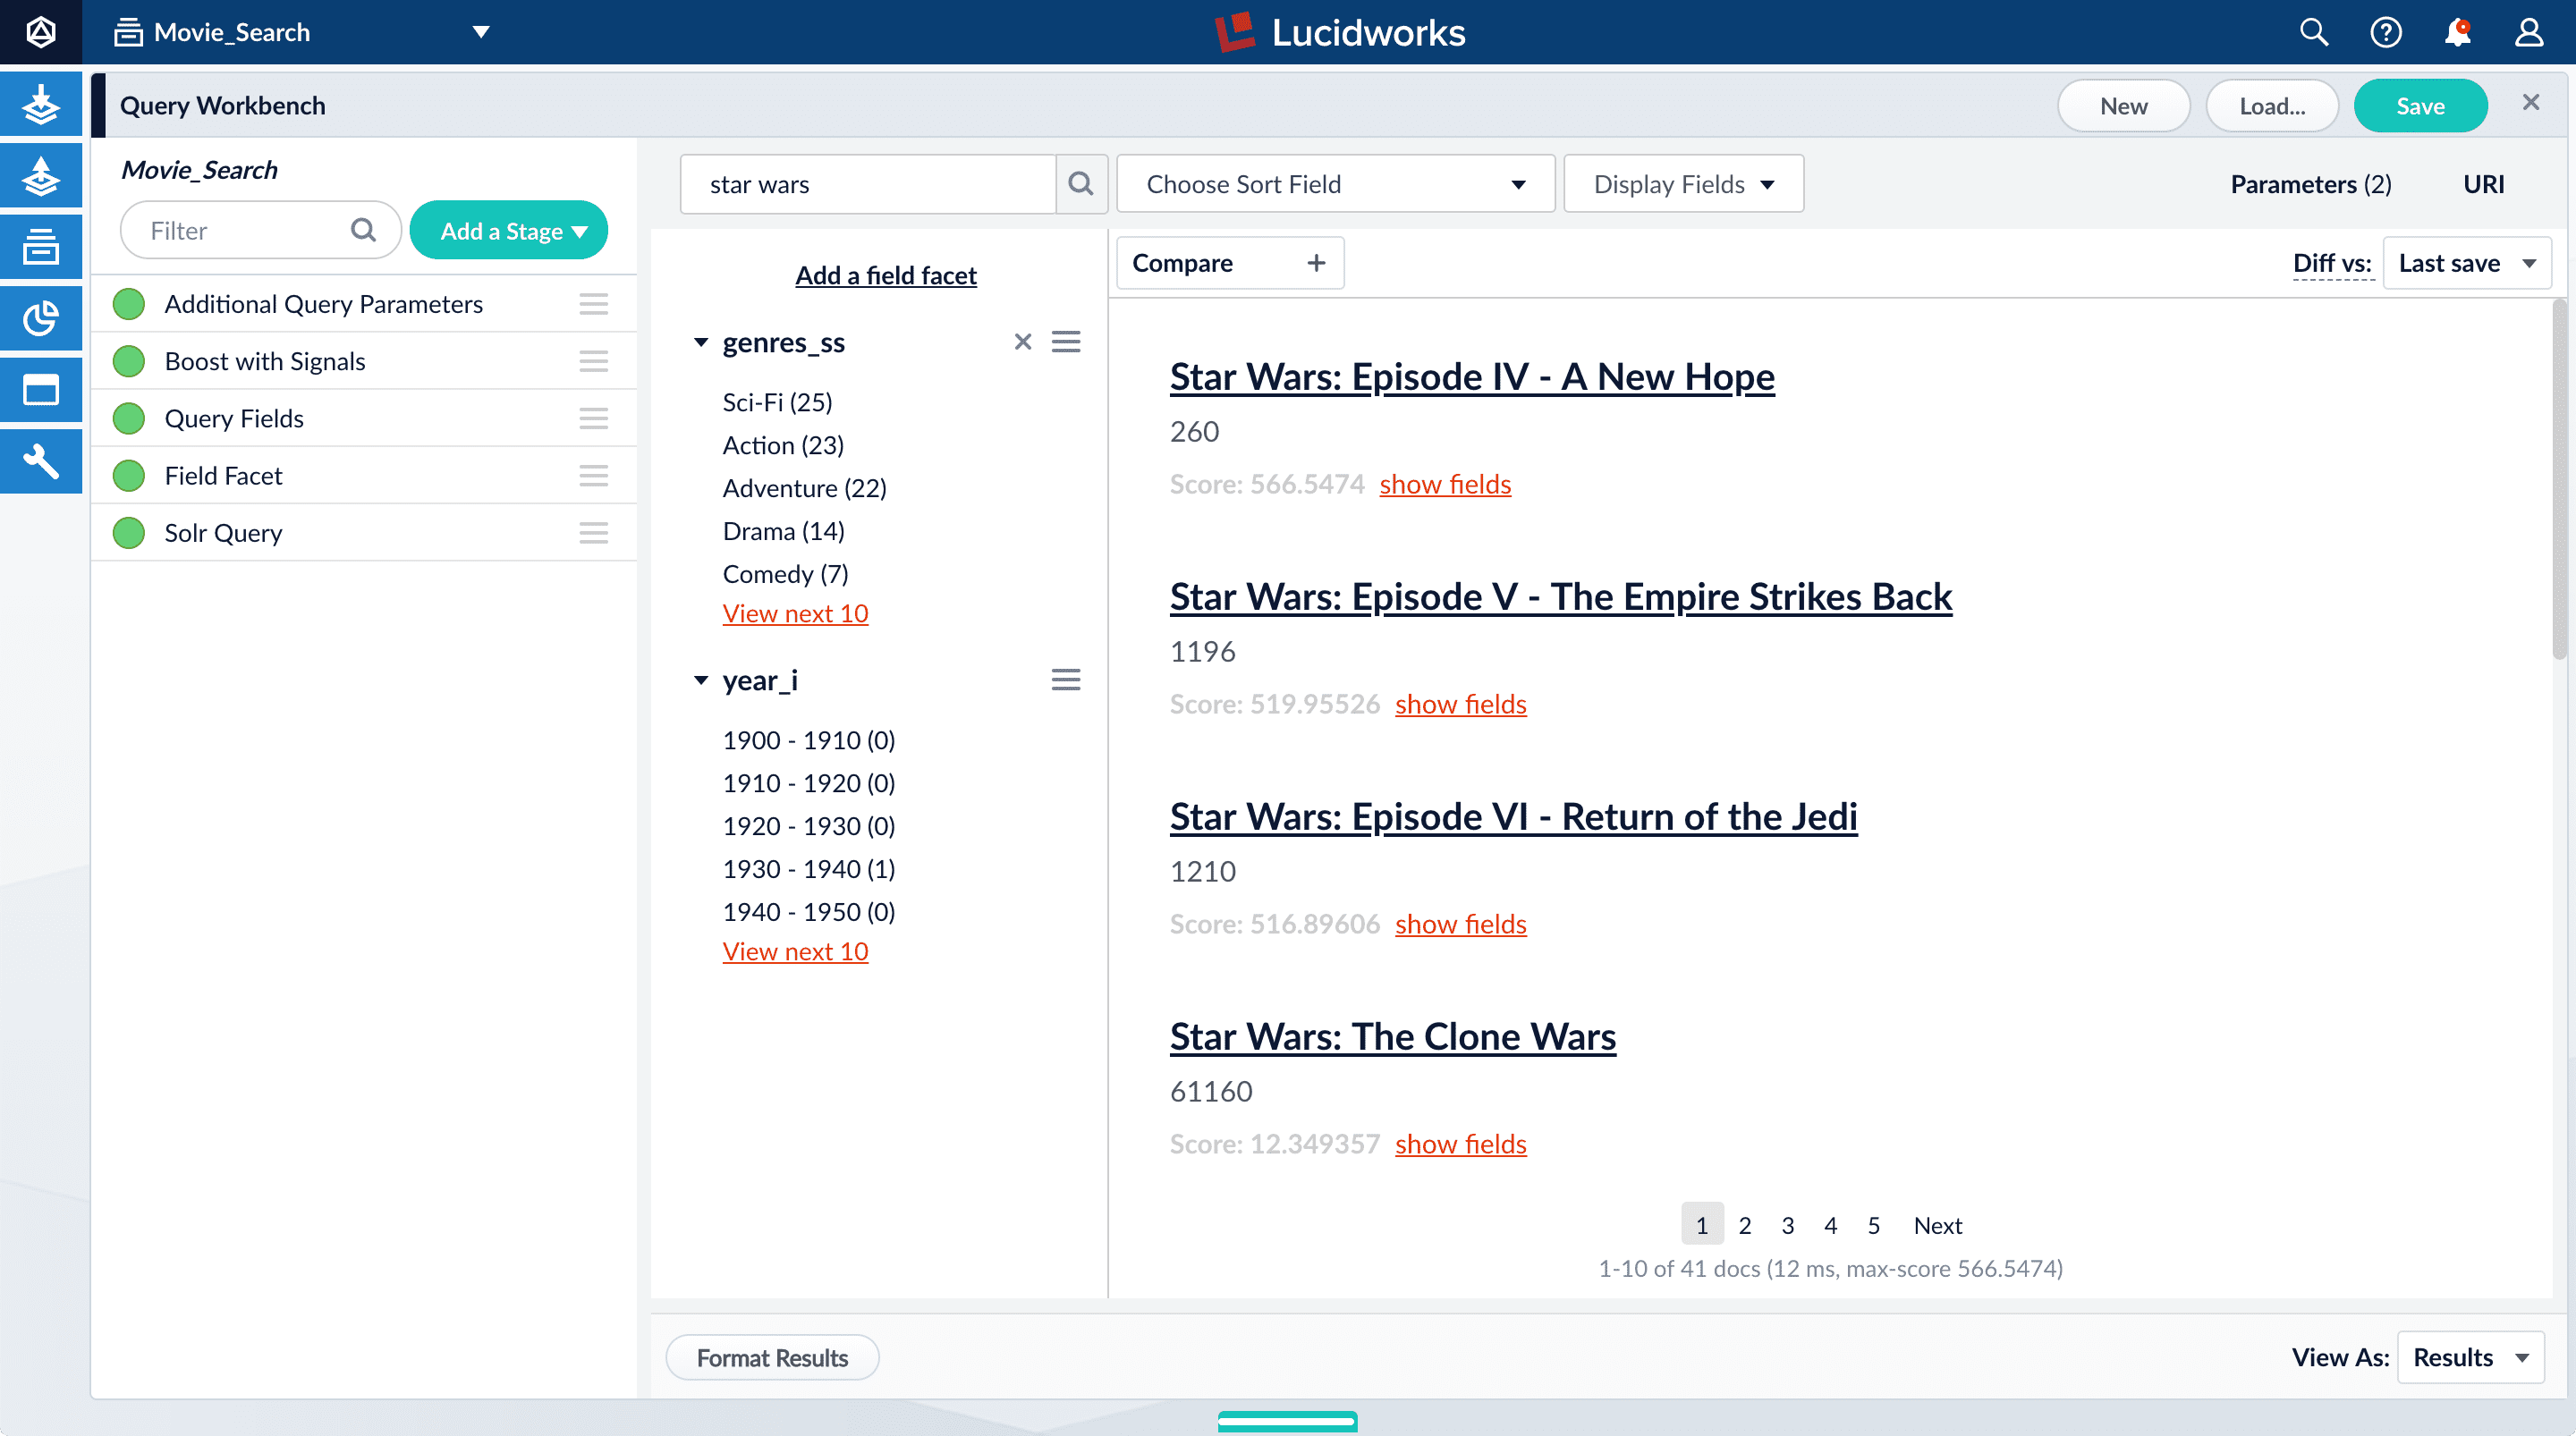
The Boost with Signals stage requires a Fusion AI license. Your Fusion Server trial license enables Fusion AI features. -
Click Compare. Another preview panel opens. Now the working pipeline is on the right and a static snapshot of that same pipeline is on the left.
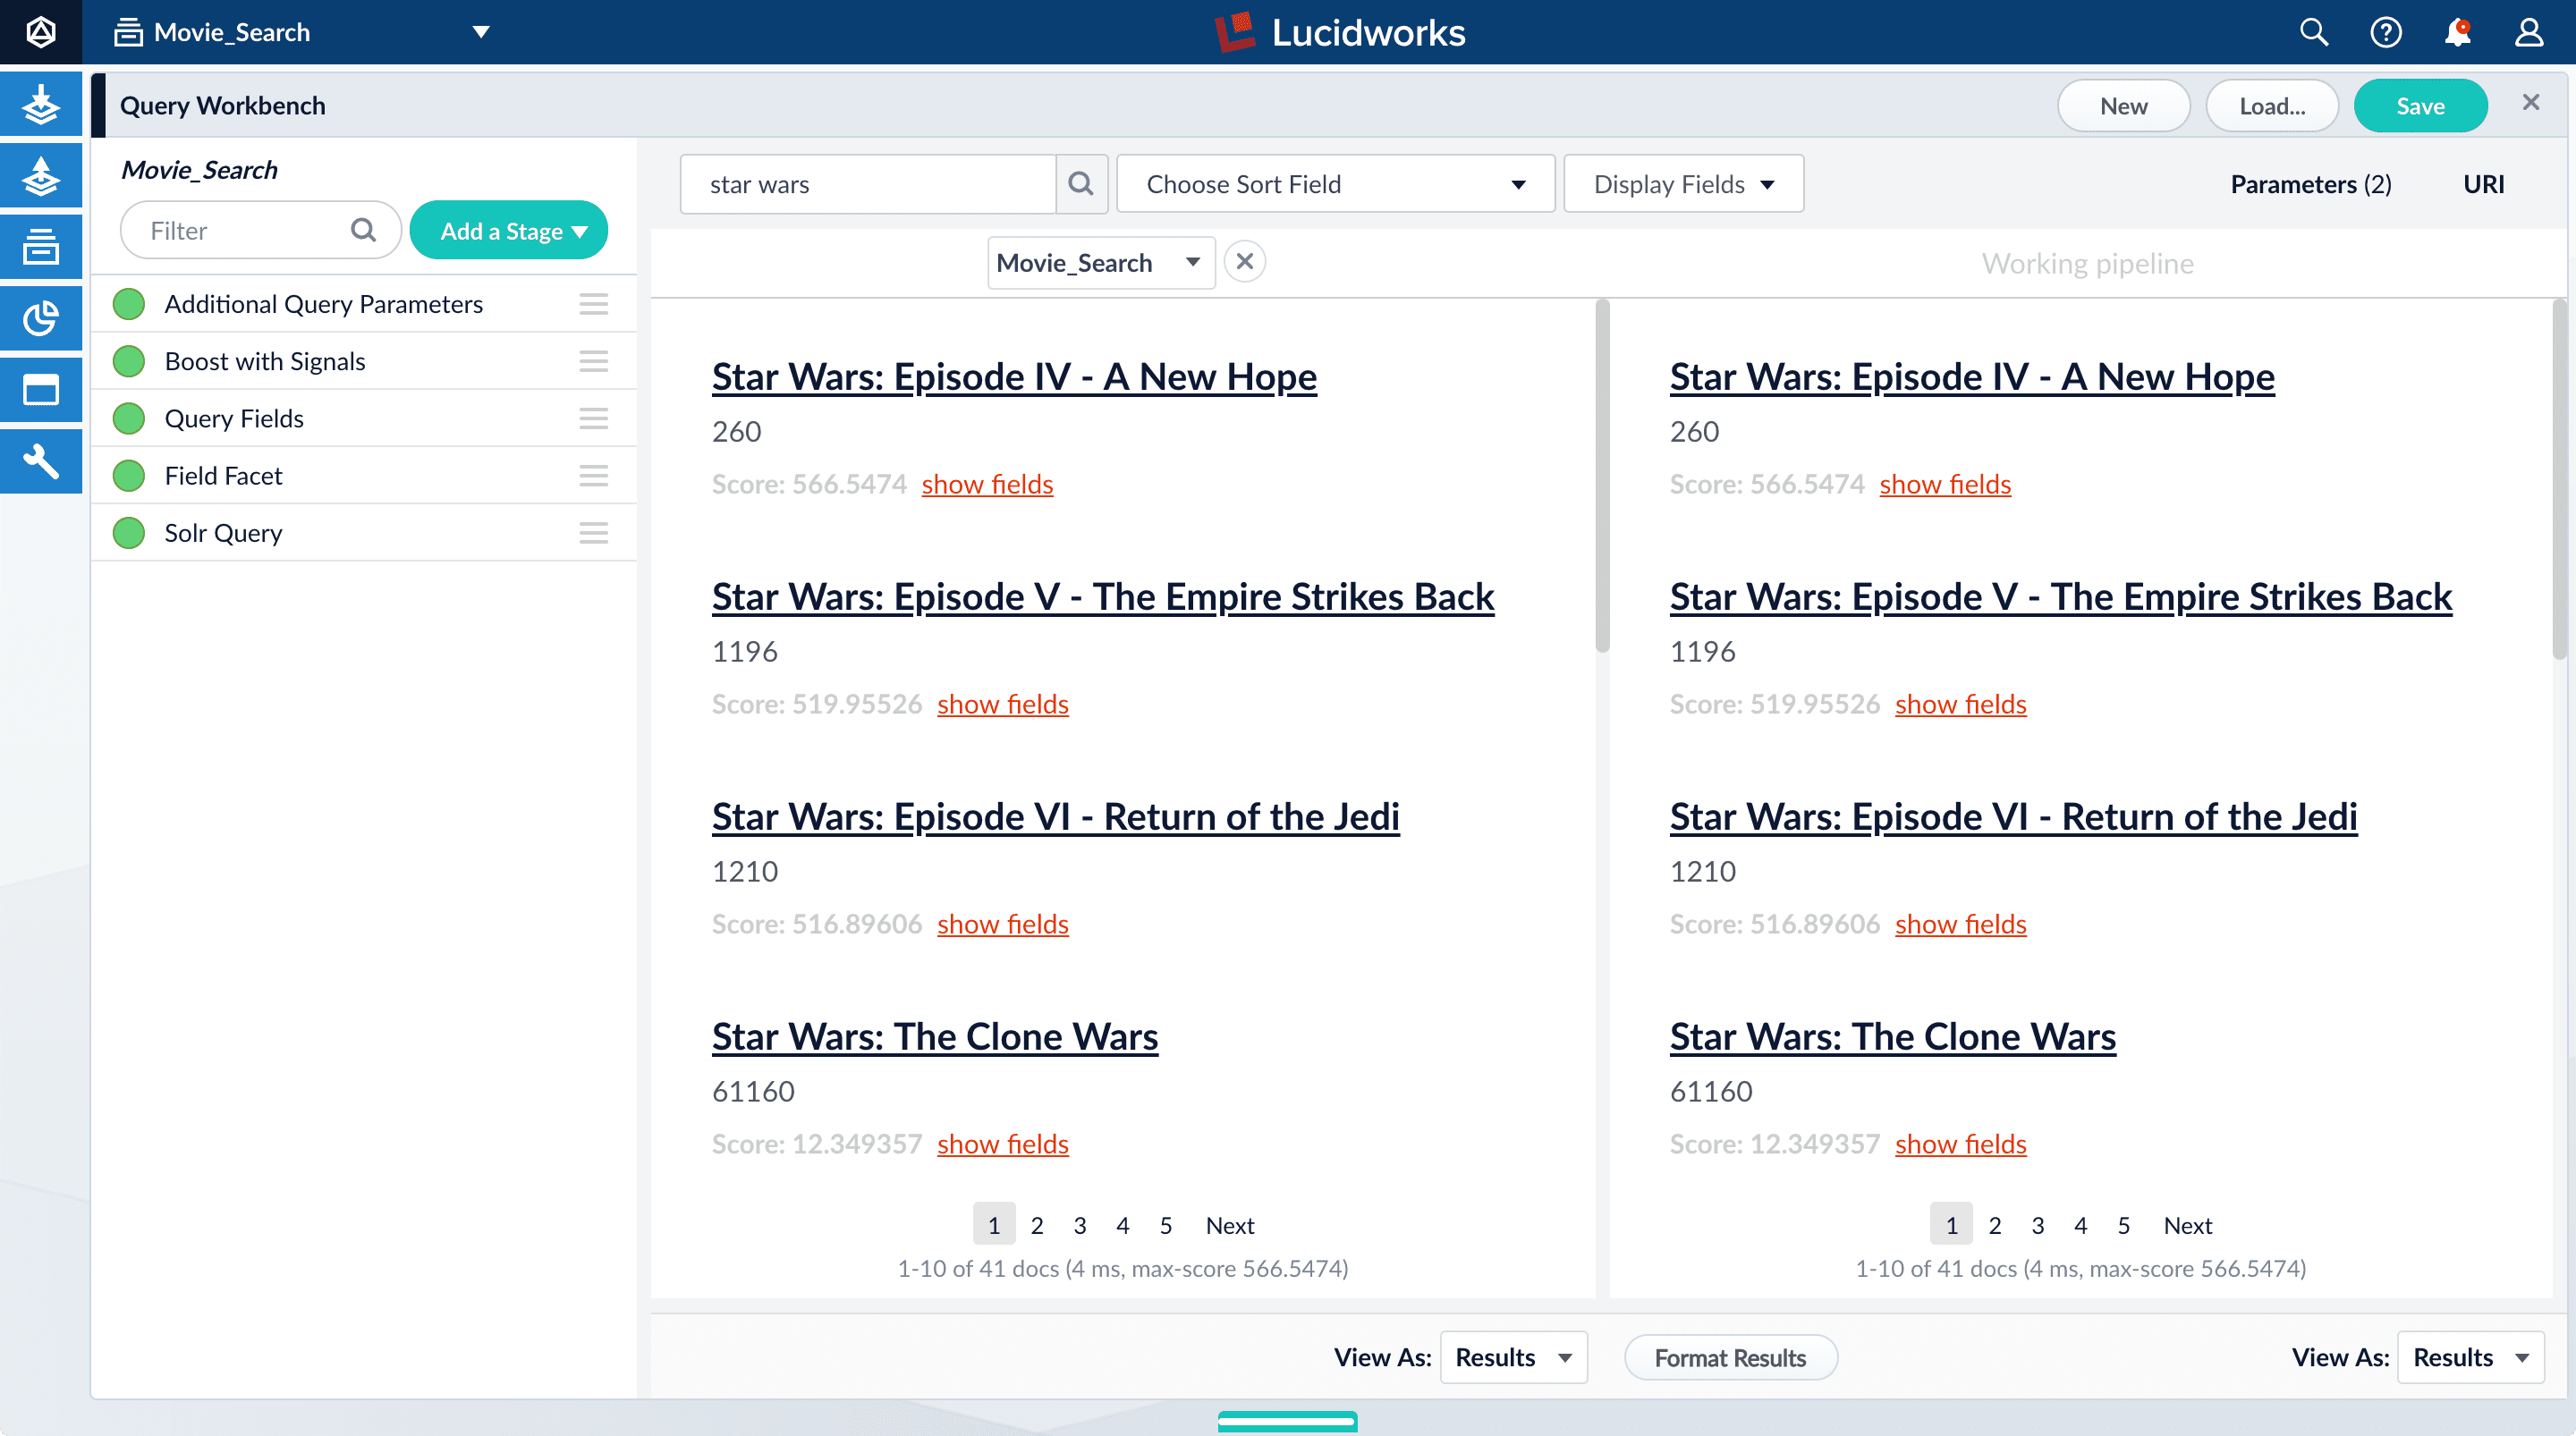
In this view, you can compare results from one query pipeline side by side with another query pipeline. In this case, you will compare results for the same pipeline (
Movie_Search) with and without the Boost with Signals stage enabled. -
Turn off the Boost with Signals stage.
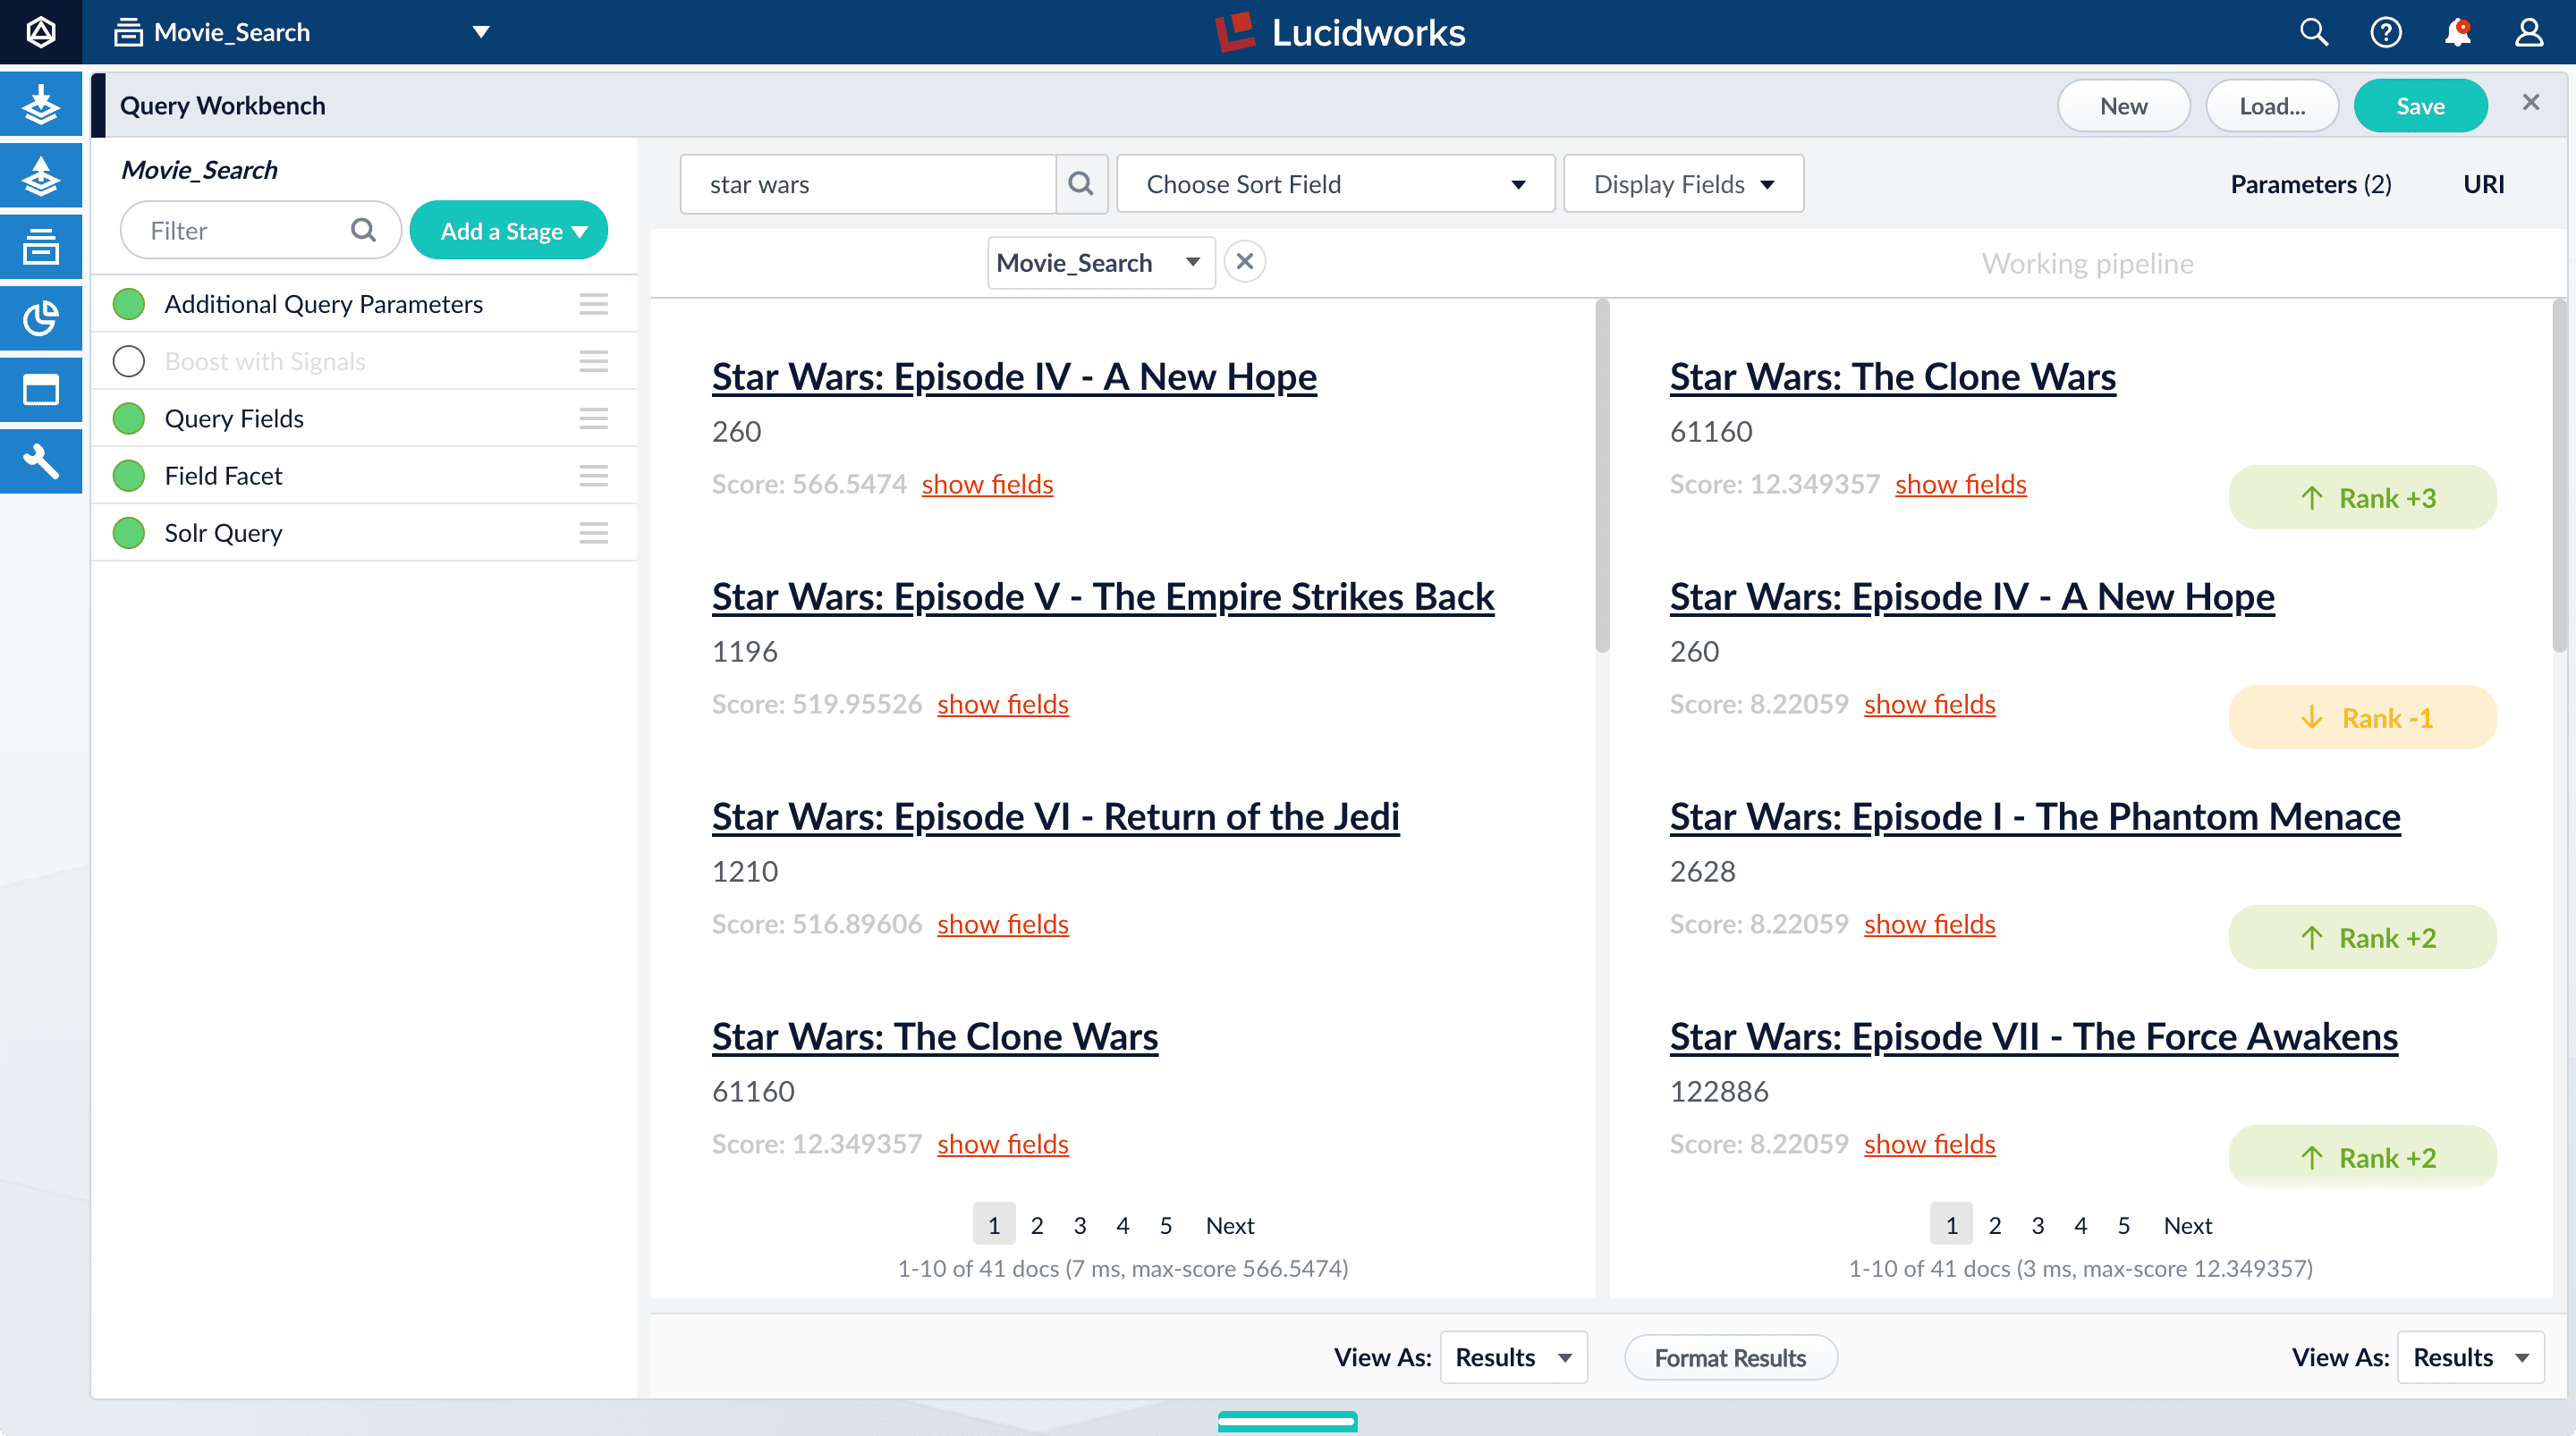
Now the search results on the right appear as they did before you generated synthetic click signals. Rank-change indicators indicate which results moved up or down as a result of turning off boosting.
-
Turn on the Boost with Signals stage again to restore the boosted results.
-
Close the comparison preview panel by clicking the close
icon.