Get Data OutGetting Started with Fusion Server
In Part 2, you used Index Workbench to get data into Fusion by previewing the dataset, configuring the index pipeline, and then indexing the data.
In Part 3 (this part), you will explore Query Workbench and learn how to configure Fusion’s output (search results), including faceting. Facets are the ubiquitous, dynamic lists of categories or features offered as filters within a search results page.
Before you begin
To proceed with this part of the tutorial, you must first complete Part 1 and Part 2, which give you an indexed dataset for Query Workbench to read.
The dataset has three fields that users of your search application might find relevant:
-
genres_ss. A list of one or more genre labels -
title_txt. The name of the movie -
year_i. The movie’s year of release
The field suffixes indicate the type of data stored in each field:
-
Fields with the suffix
_ss(multi-valued string fields) contain one or more strings values.String fields require an exact match between the query string and the string value stored in that field.
-
Fields with the suffix
_txt(text fields) contain text.Text fields allow for free text search over the field contents. For example, because the movie titles are stored in a text field, a search on the word "Star" will match movies titled "Star", "A Star is Born", all movies in the Star Wars and Star Trek franchises, as well as "Dark Star", "Lone Star", and "Star Kid".
-
Fields with the suffix
_i(point integer fields) contain integer values.Numeric fields allow range matches as well as exact matches, and point integer fields allow efficient comparisons between the field’s values and the search criteria.
The different field types allow for different kinds of searches. Configuration of the query pipeline determines how fields are searched.
1. Explore search results
Query Workbench lets you interactively configure a query pipeline while previewing the search results it produces. A query pipeline converts a free text query submitted to your search application into a structured query for Solr.
-
Log in to Fusion.
-
Click the Movie Search app.
The Fusion workspace appears.
-
Open Query Workbench. Navigate to Querying
 > Query Workbench.
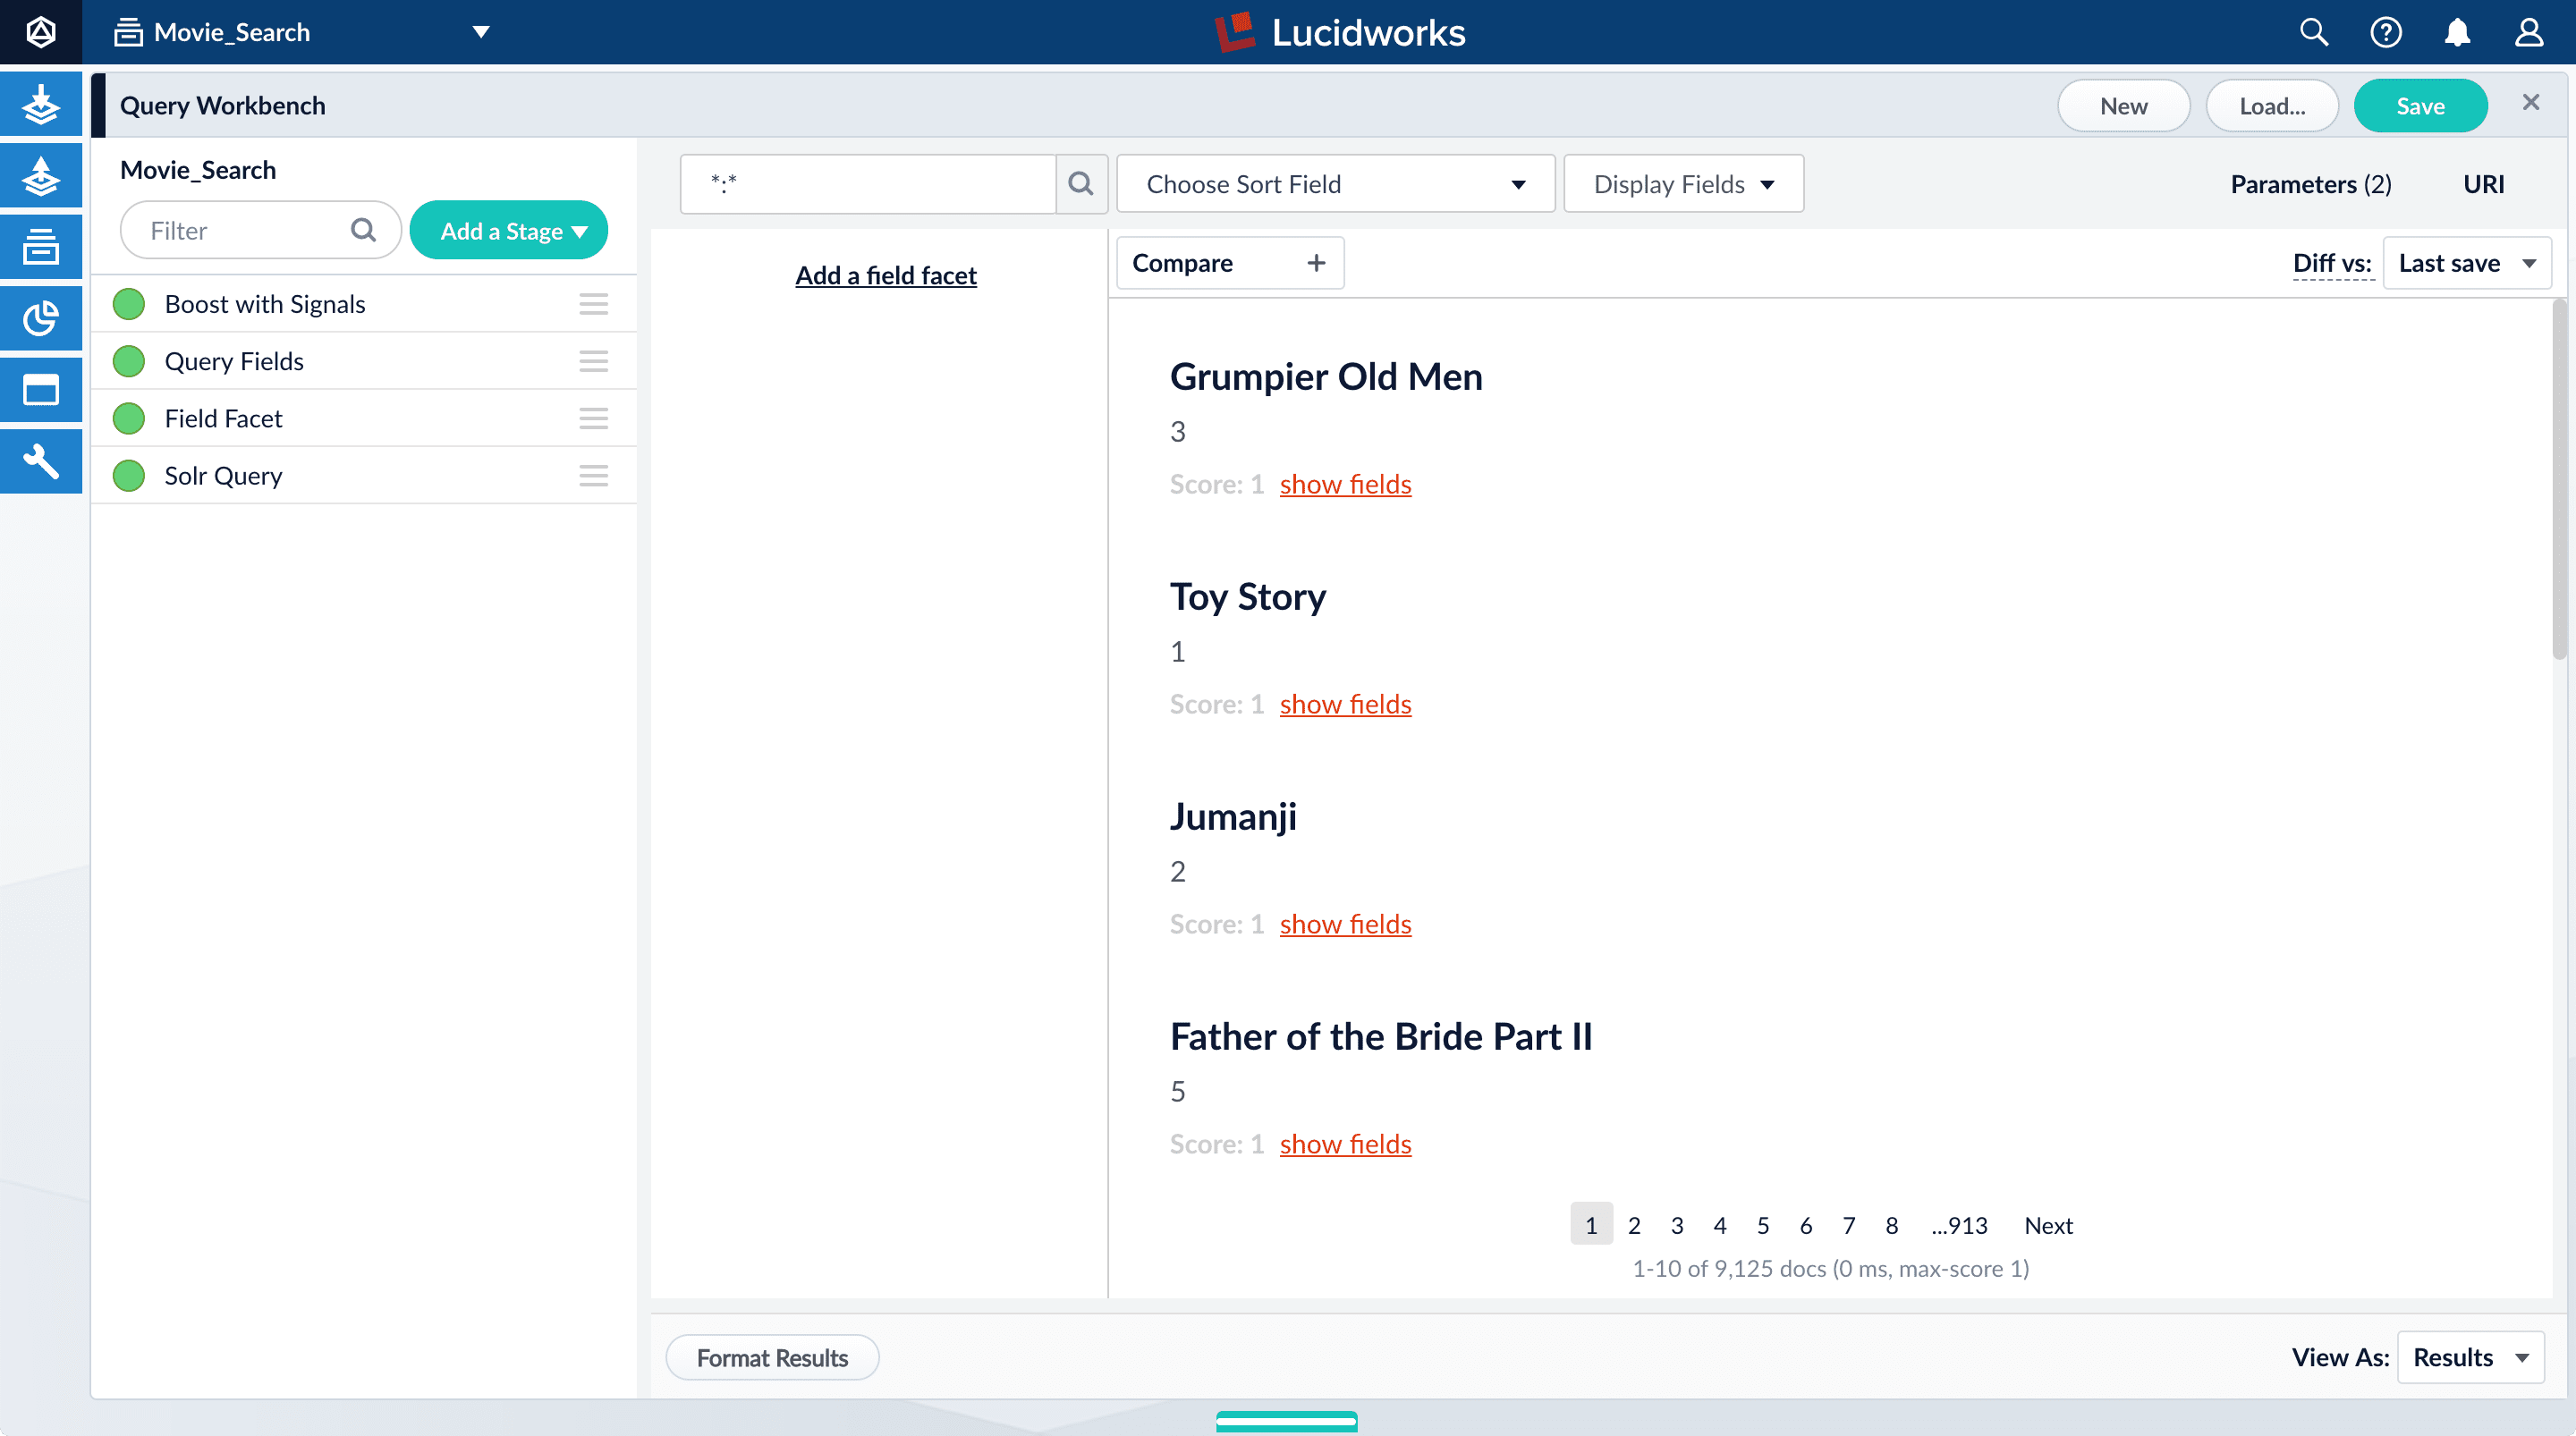
1.1. Perform a search
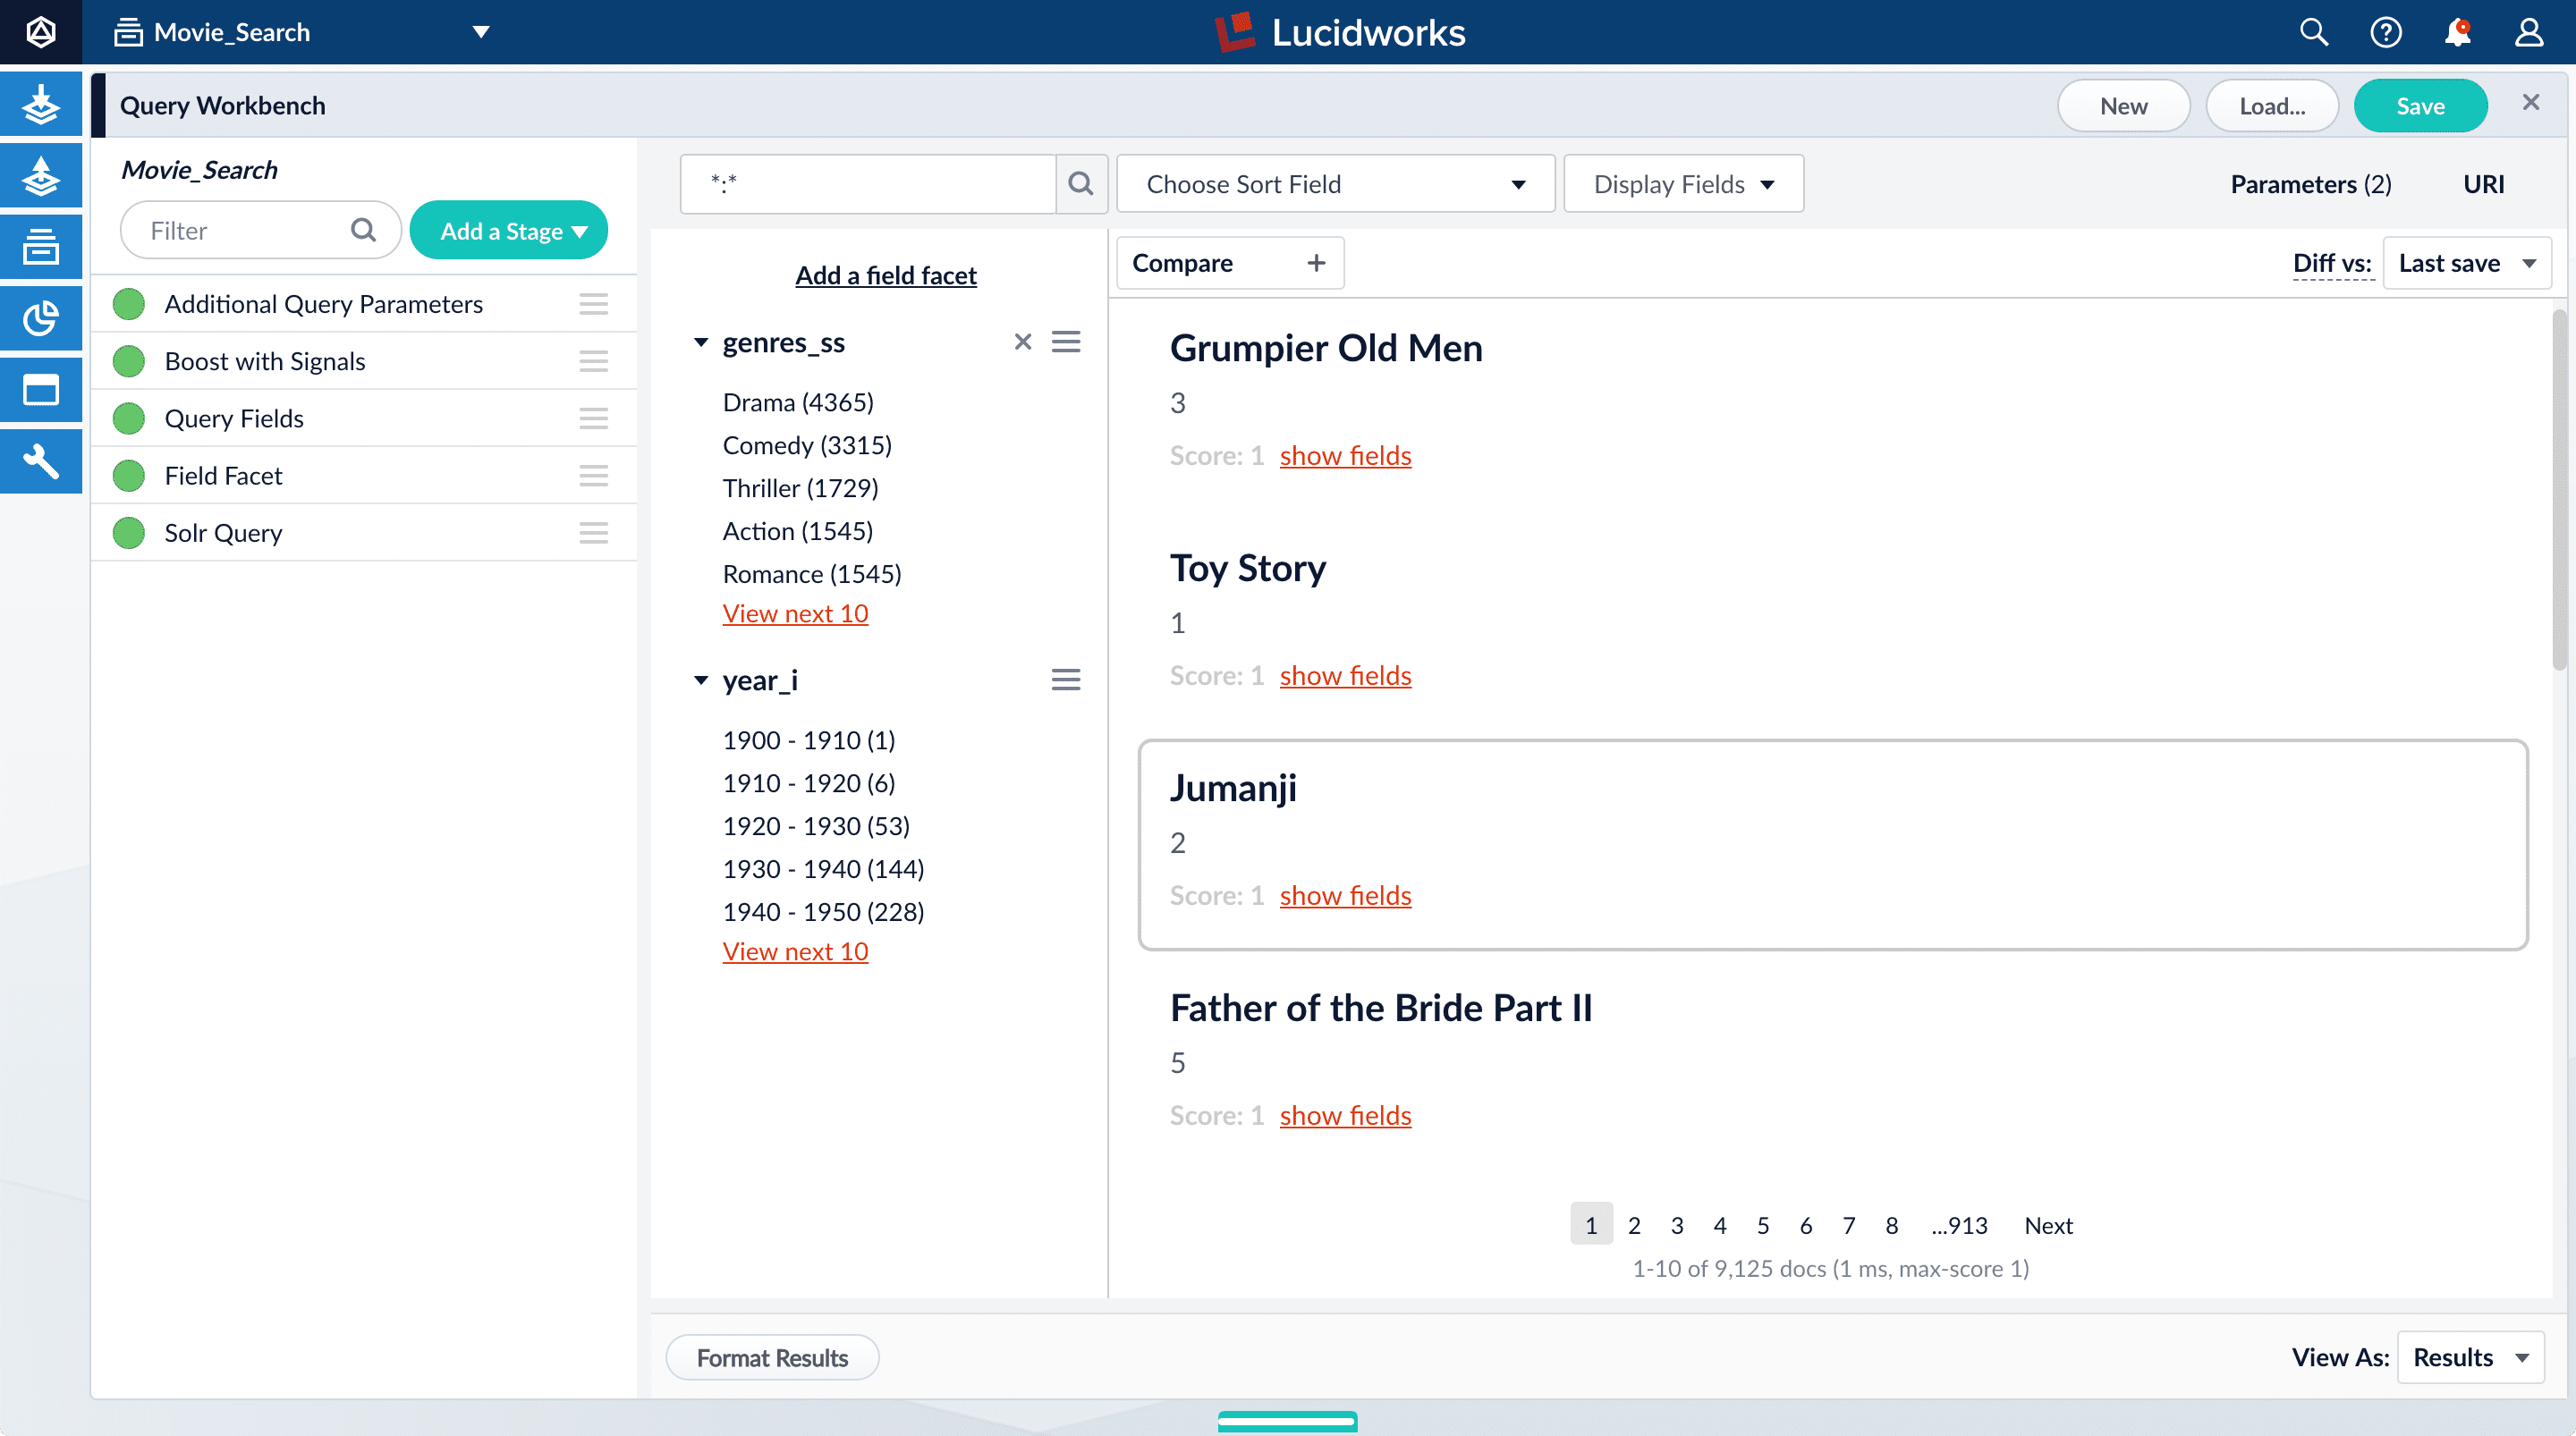
The default search is the wildcard search (*:*), which returns all documents in the collection. You will enter a different search query to get started with facet configuration.
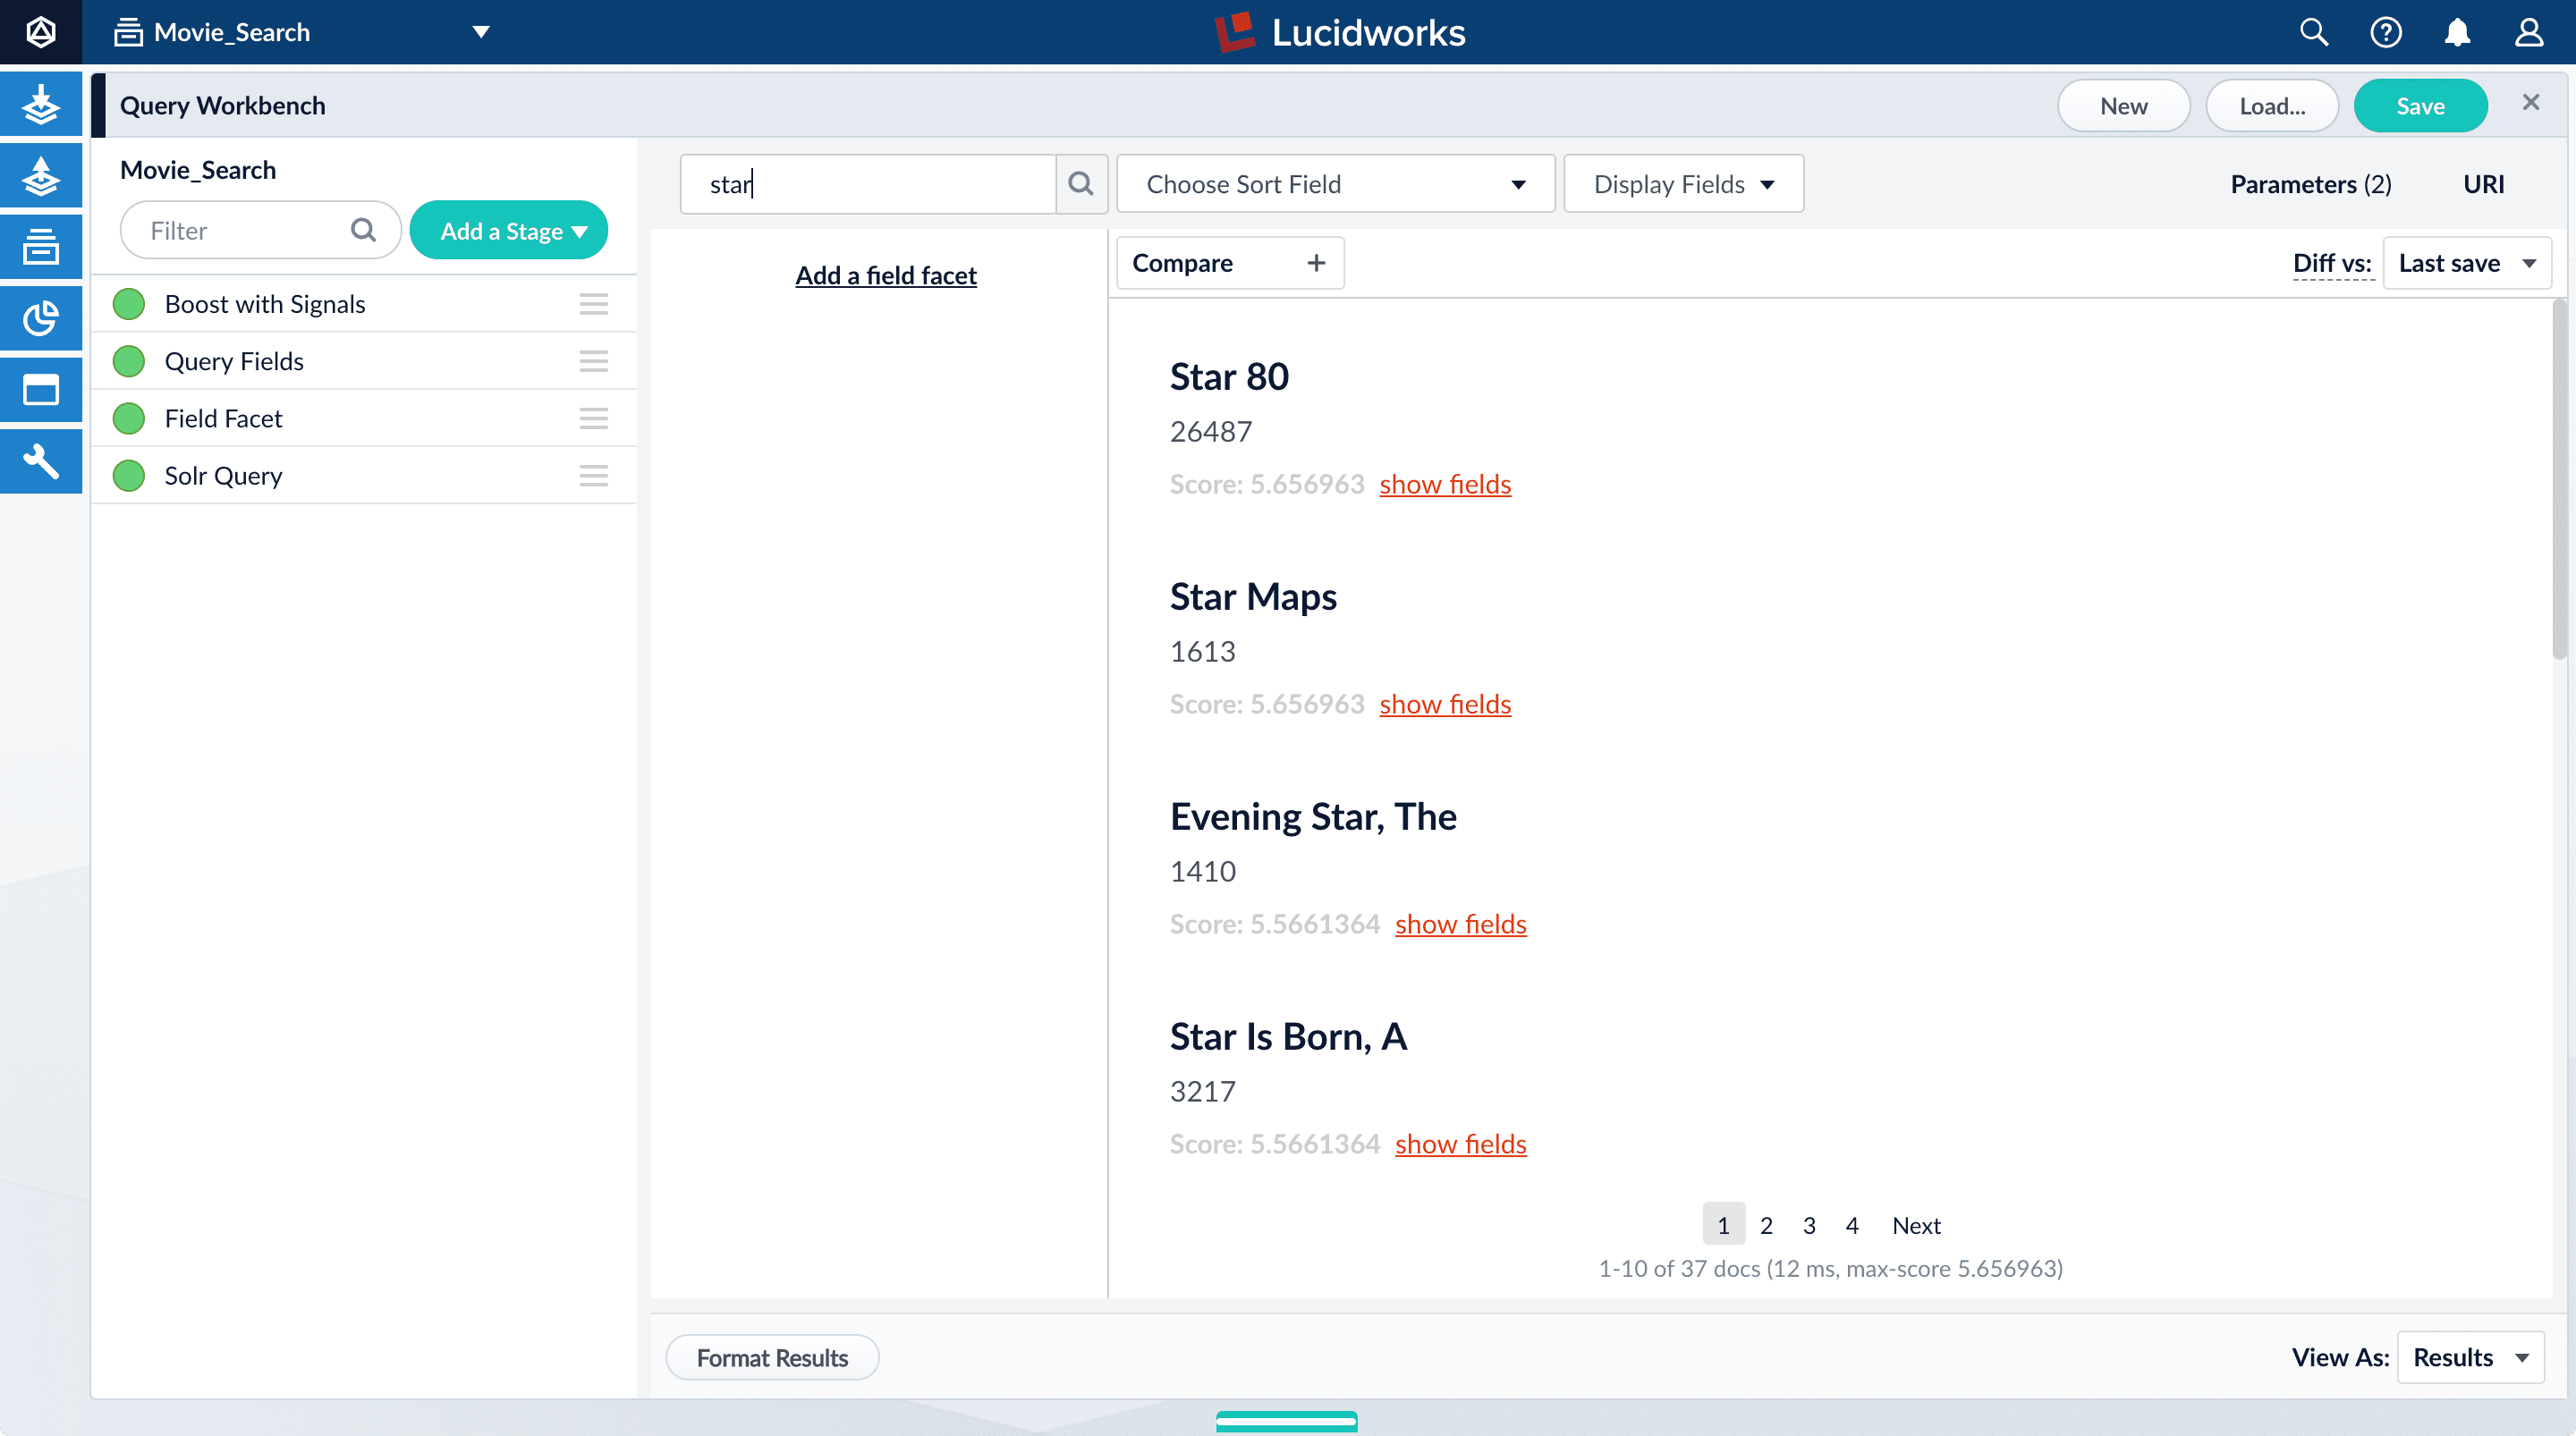
-
In the search box, enter the query string
star, and then press Enter or click Search .
.This search returns all movies that have the word "star" in the title.
The output is configured by the default query pipeline, which has the same name as the collection (4.x) or app (5.x). In this case, the name is
movie-search.To see more of the default output, you can perform other searches if you like.
-
In the search box, enter the query string
*:*to return all documents, and then press Enter or click Search.
| If you wish to refine your results, you can change your index pipeline configuration and reindex your data. |
1.2. Explore the role of query pipeline stages
A default query pipeline consists of the stages below.
In Fusion 4.2+, some of these support Fusion AI features for advanced relevancy tuning, which you can read about separately.
In this tutorial, we will configure a couple of the basic stages:
-
Boost with Signals. Use signals data to boost relevant documents; see also collaborative filtering.
-
Query Fields. Specify the set of fields over which to search.
We will configure this stage later in this tutorial.
-
Field Facet. Specify the fields to use for faceting.
We will configure this stage, too, for basic faceting and range faceting.
Fusion 4.2+ offers these additional stages:
-
Text Tagger. Look for known phrases, synonyms, misspellings, and so on, that can be used to improve the query with query rewriting.
-
Apply Rules. Modify the query using business rules, if any are triggered.
-
Solr Query. Perform the query and return the results.
This is the only stage that is always required to perform a query and receive results.
-
Modify Response with Rules. Modify Solr’s response using business rules, if any are triggered.
-
Turn off the Solr Query stage by clicking on the green circle on the left. The circle will change to white and Solr Query will dim to indicate the Solr Query stage is off.
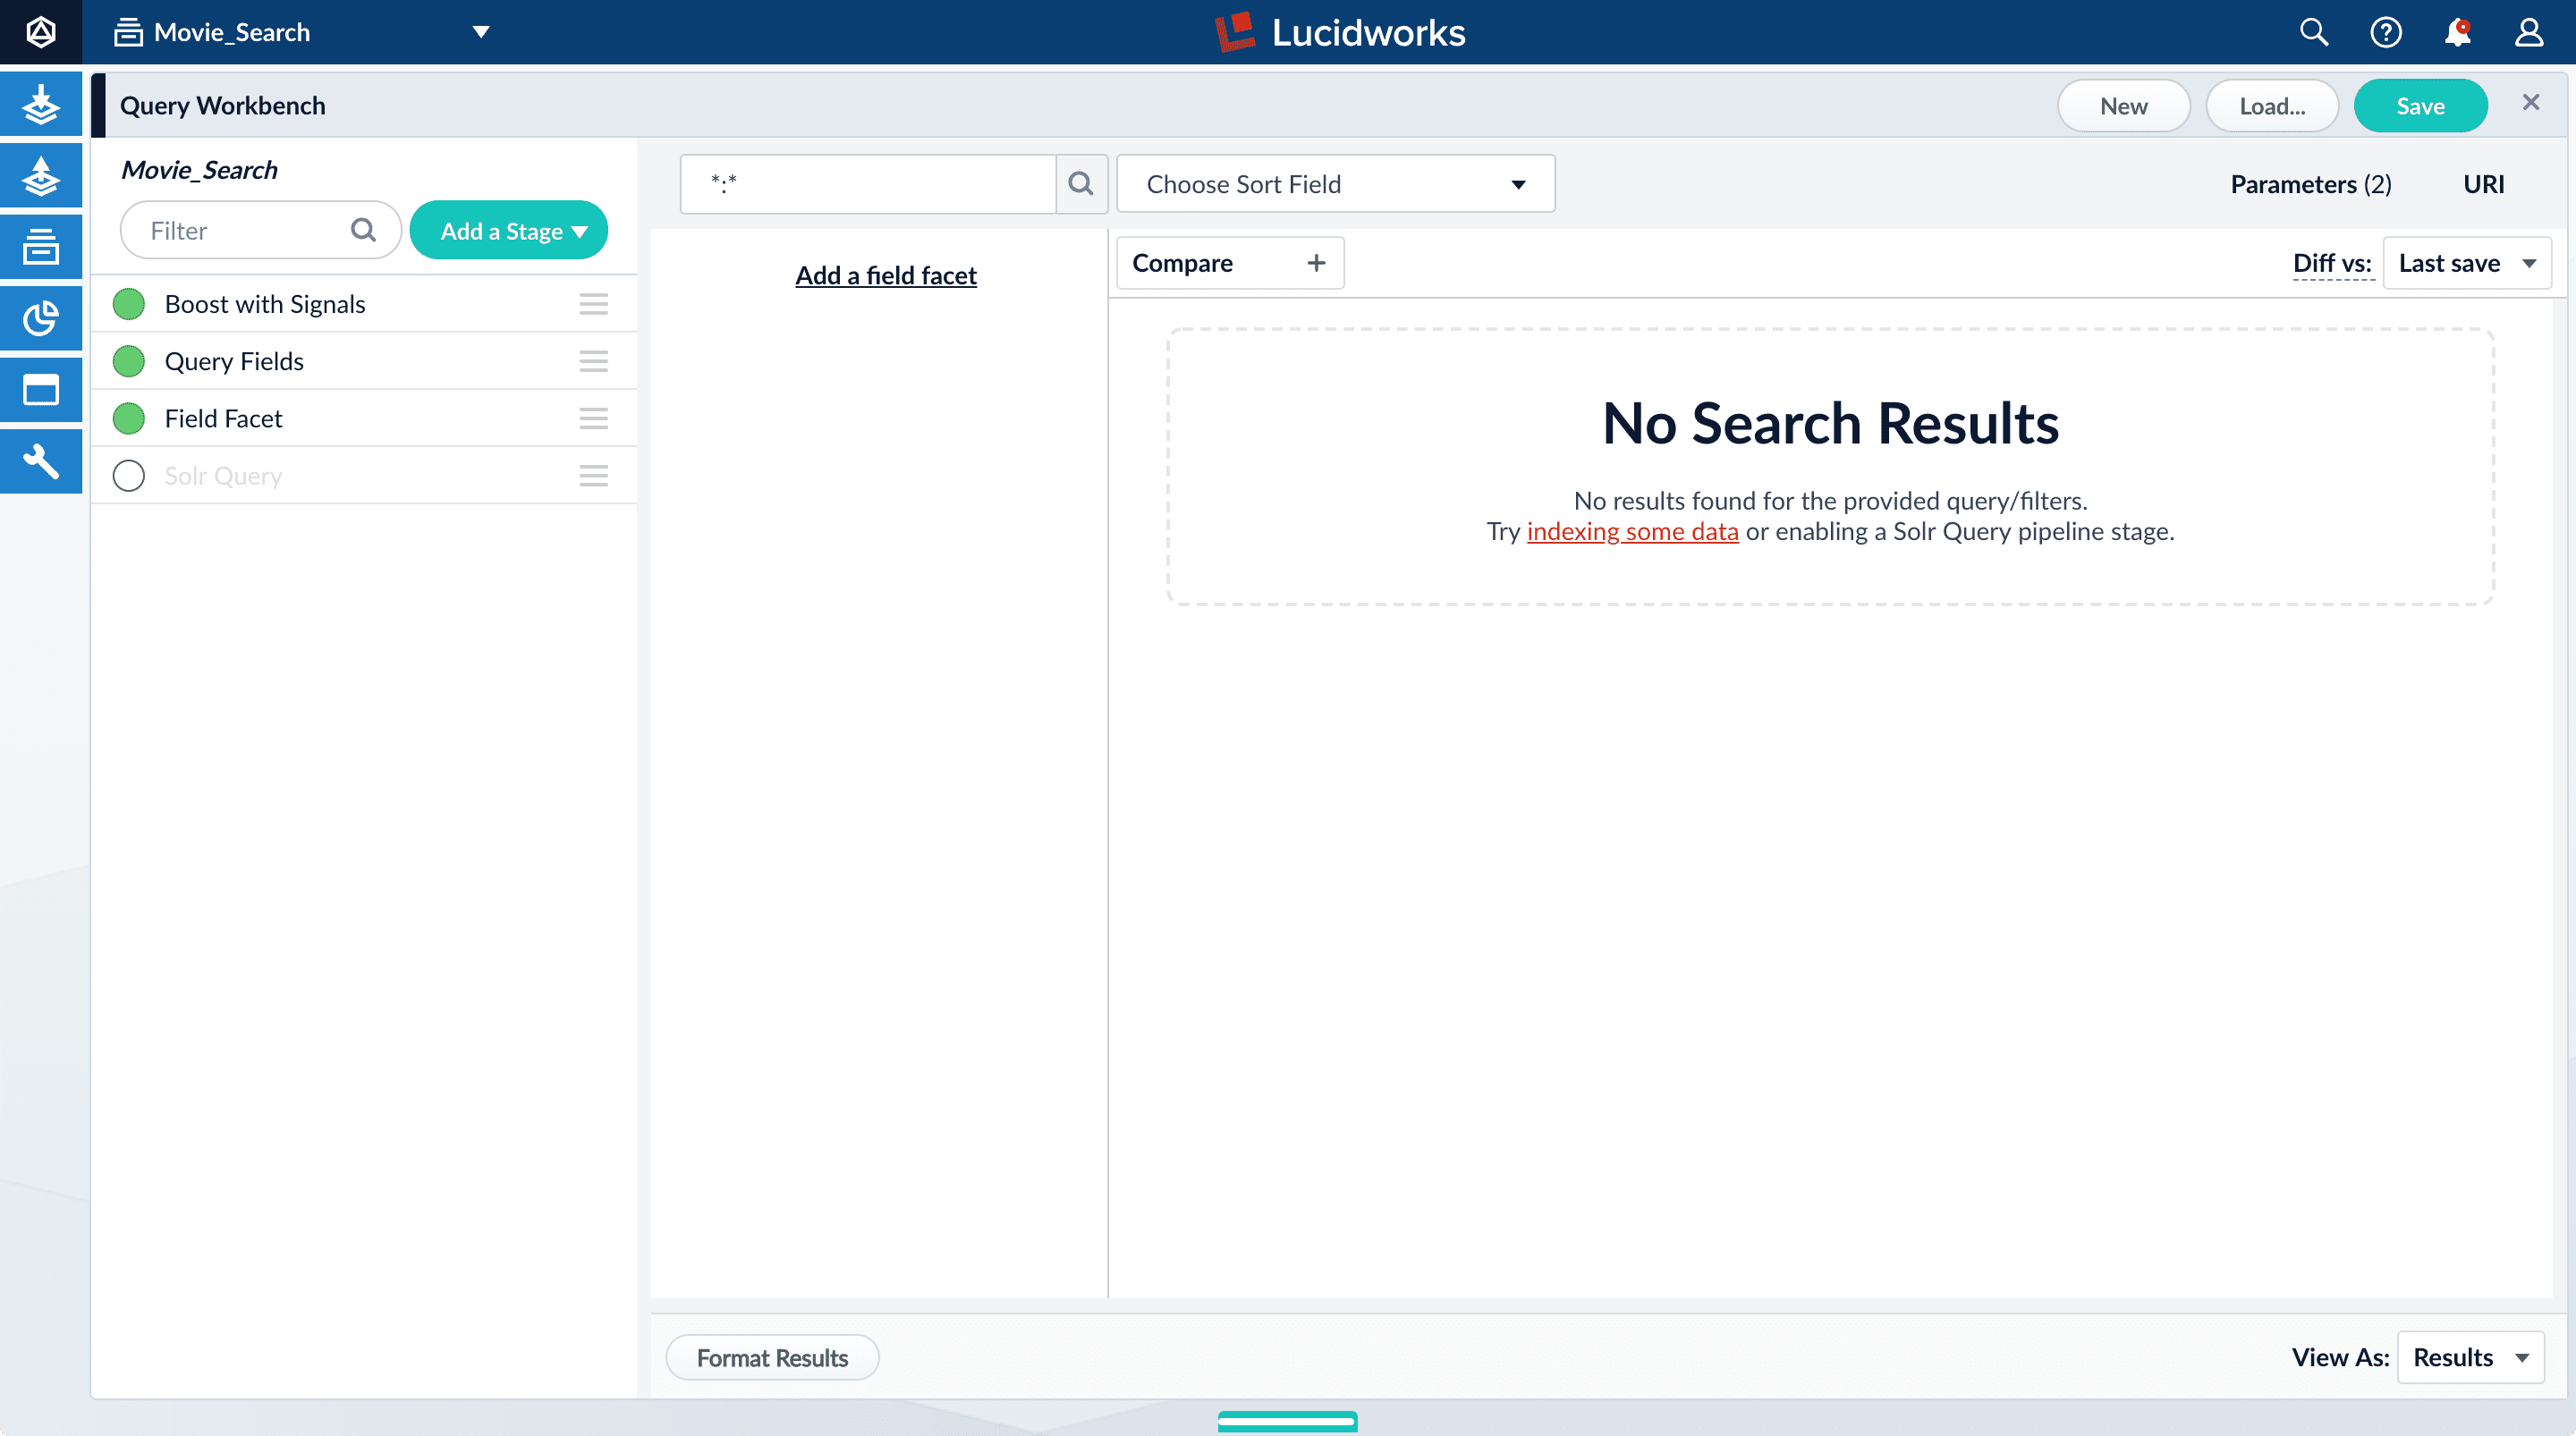
All search results disappear from the preview pane because Fusion does not send a query to Solr.
-
Turn on the Solr Query stage and turn all other stages off.
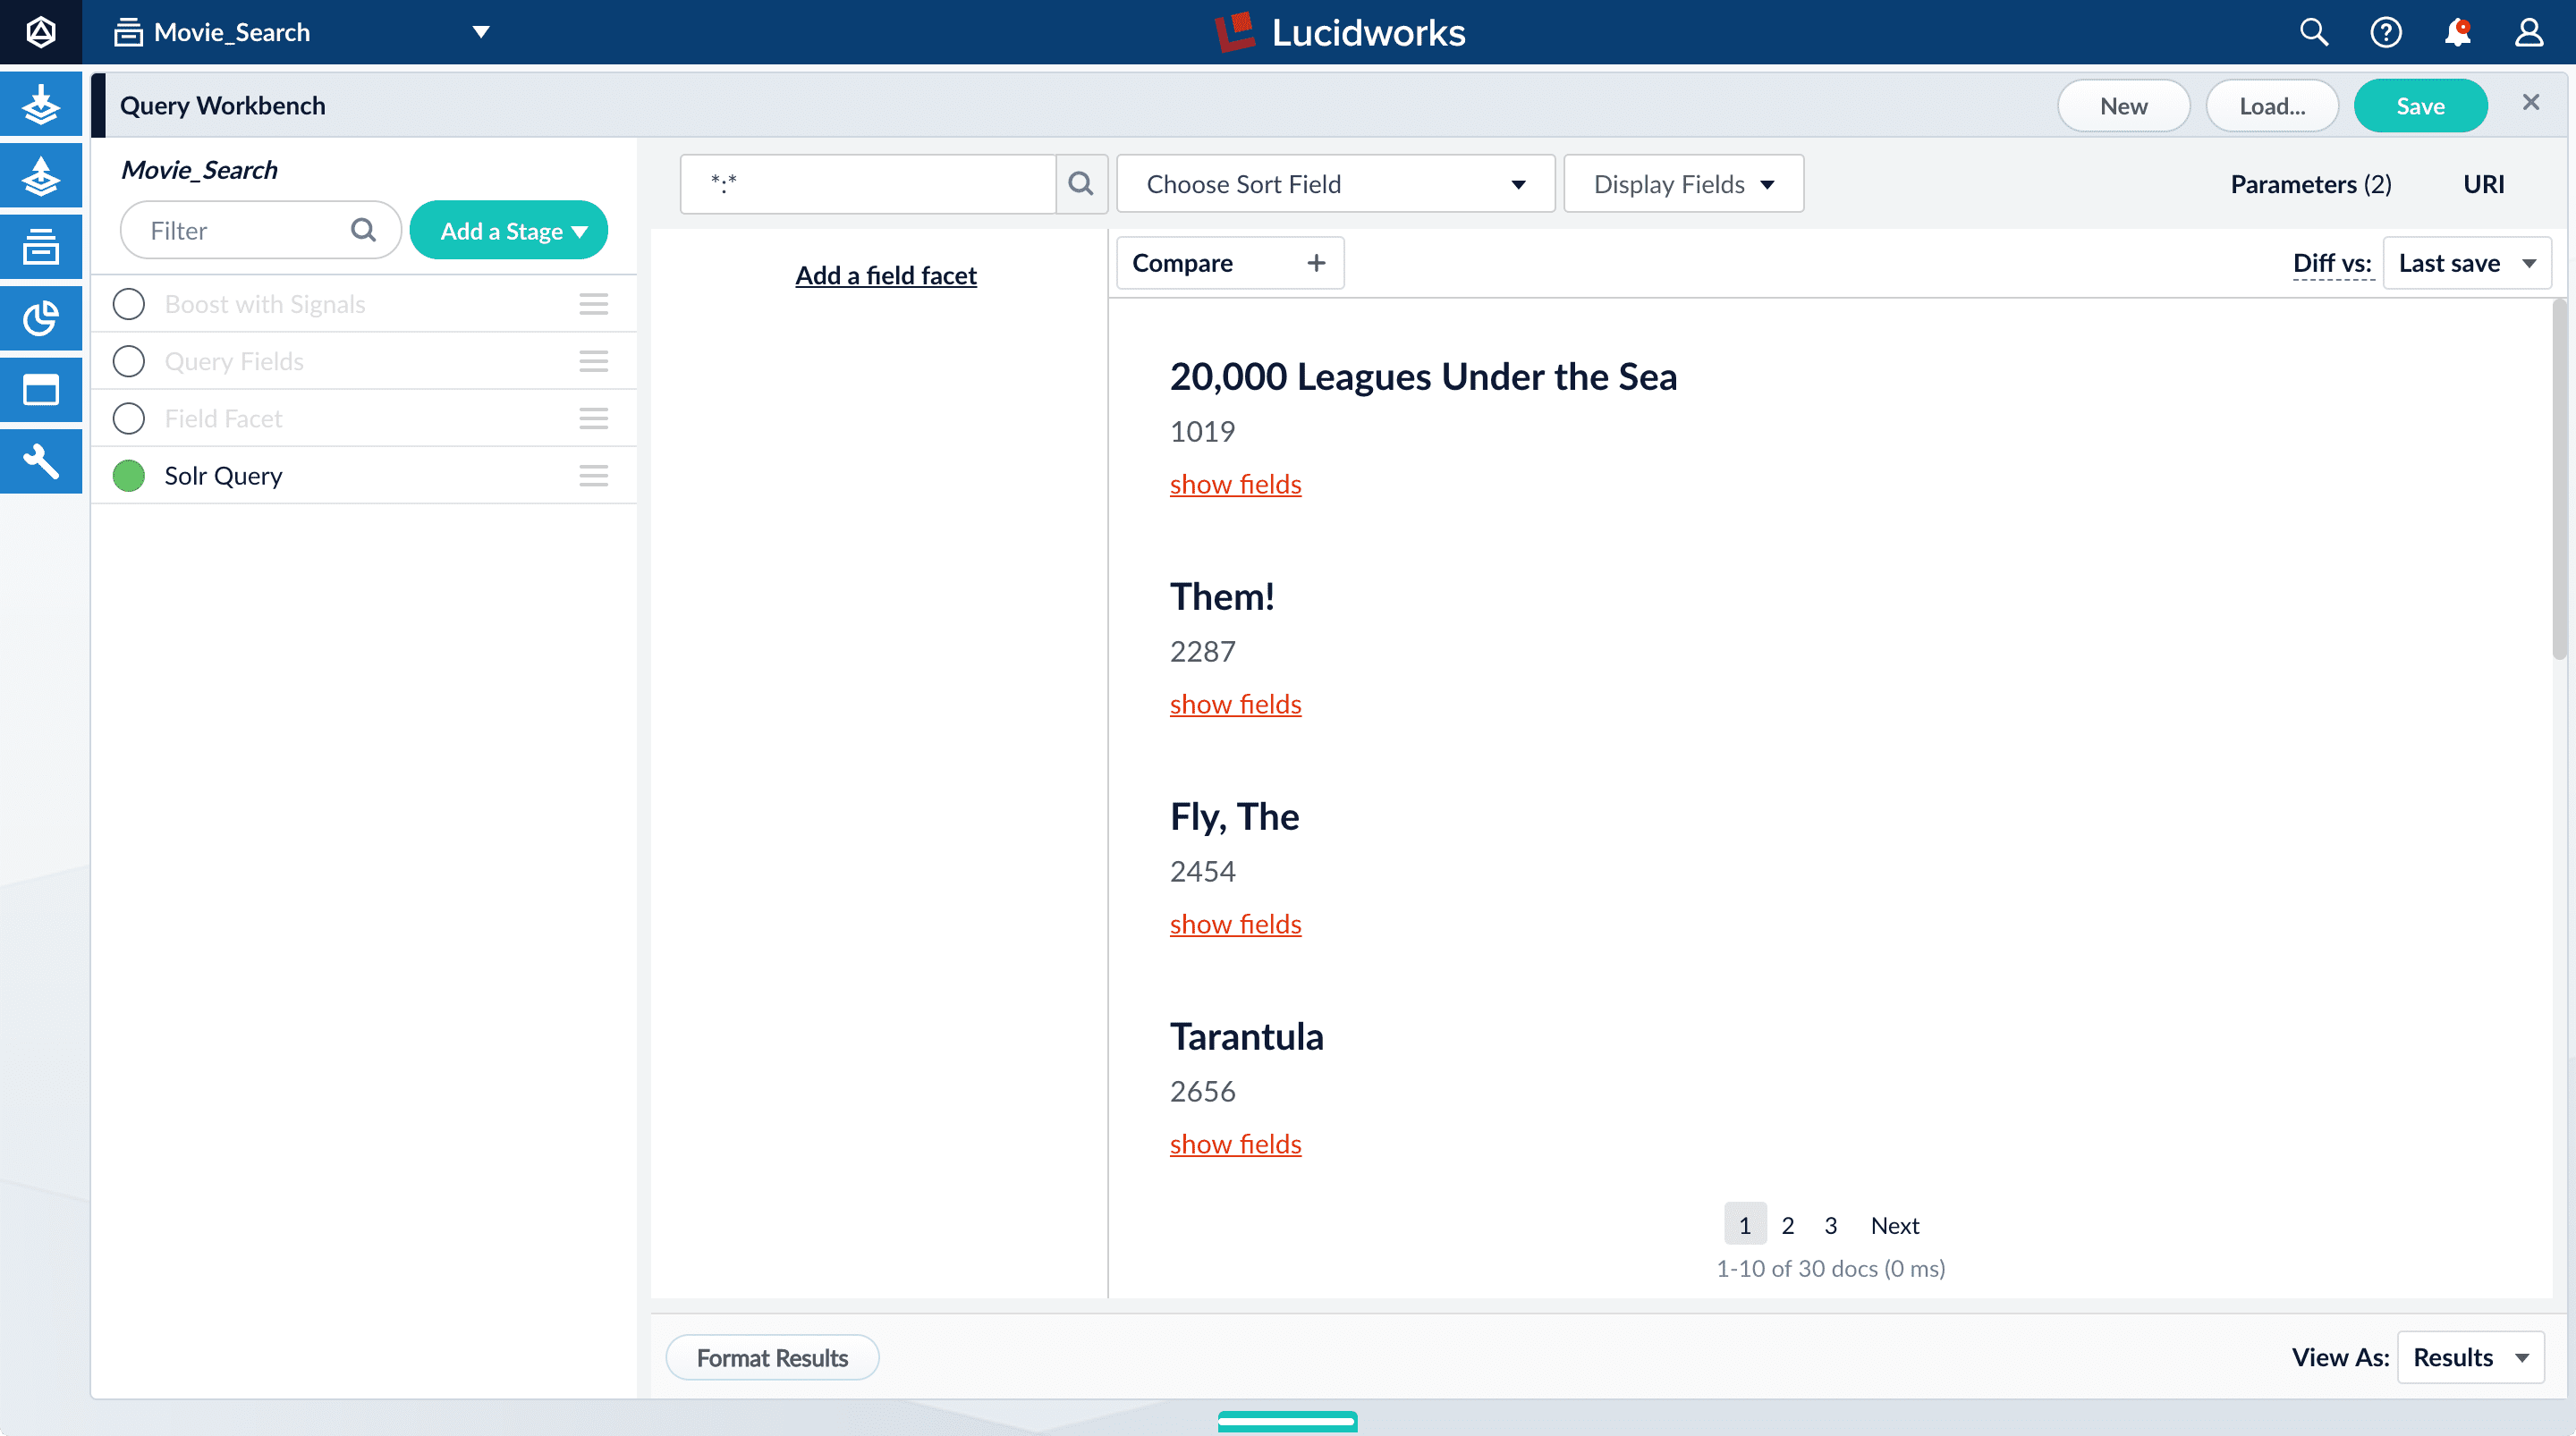
Now the search results look much like they did before. At this point, the disabled stages do not affect the output because they are not yet configured.
-
Turn all stages on.
2. Configure faceting
Facets are the ubiquitous, dynamic lists of categories or features offered as filters within a search results page. Facets provide a simple way for users to explore and filter their search results without having to construct complicated queries. You configure facets as a part of configuring a query pipeline.
The data you indexed in Part 1 has two fields that are natural choices for faceting: genres_ss and year_i. For example, a user could search for science fiction of the 1950s in just a few clicks.
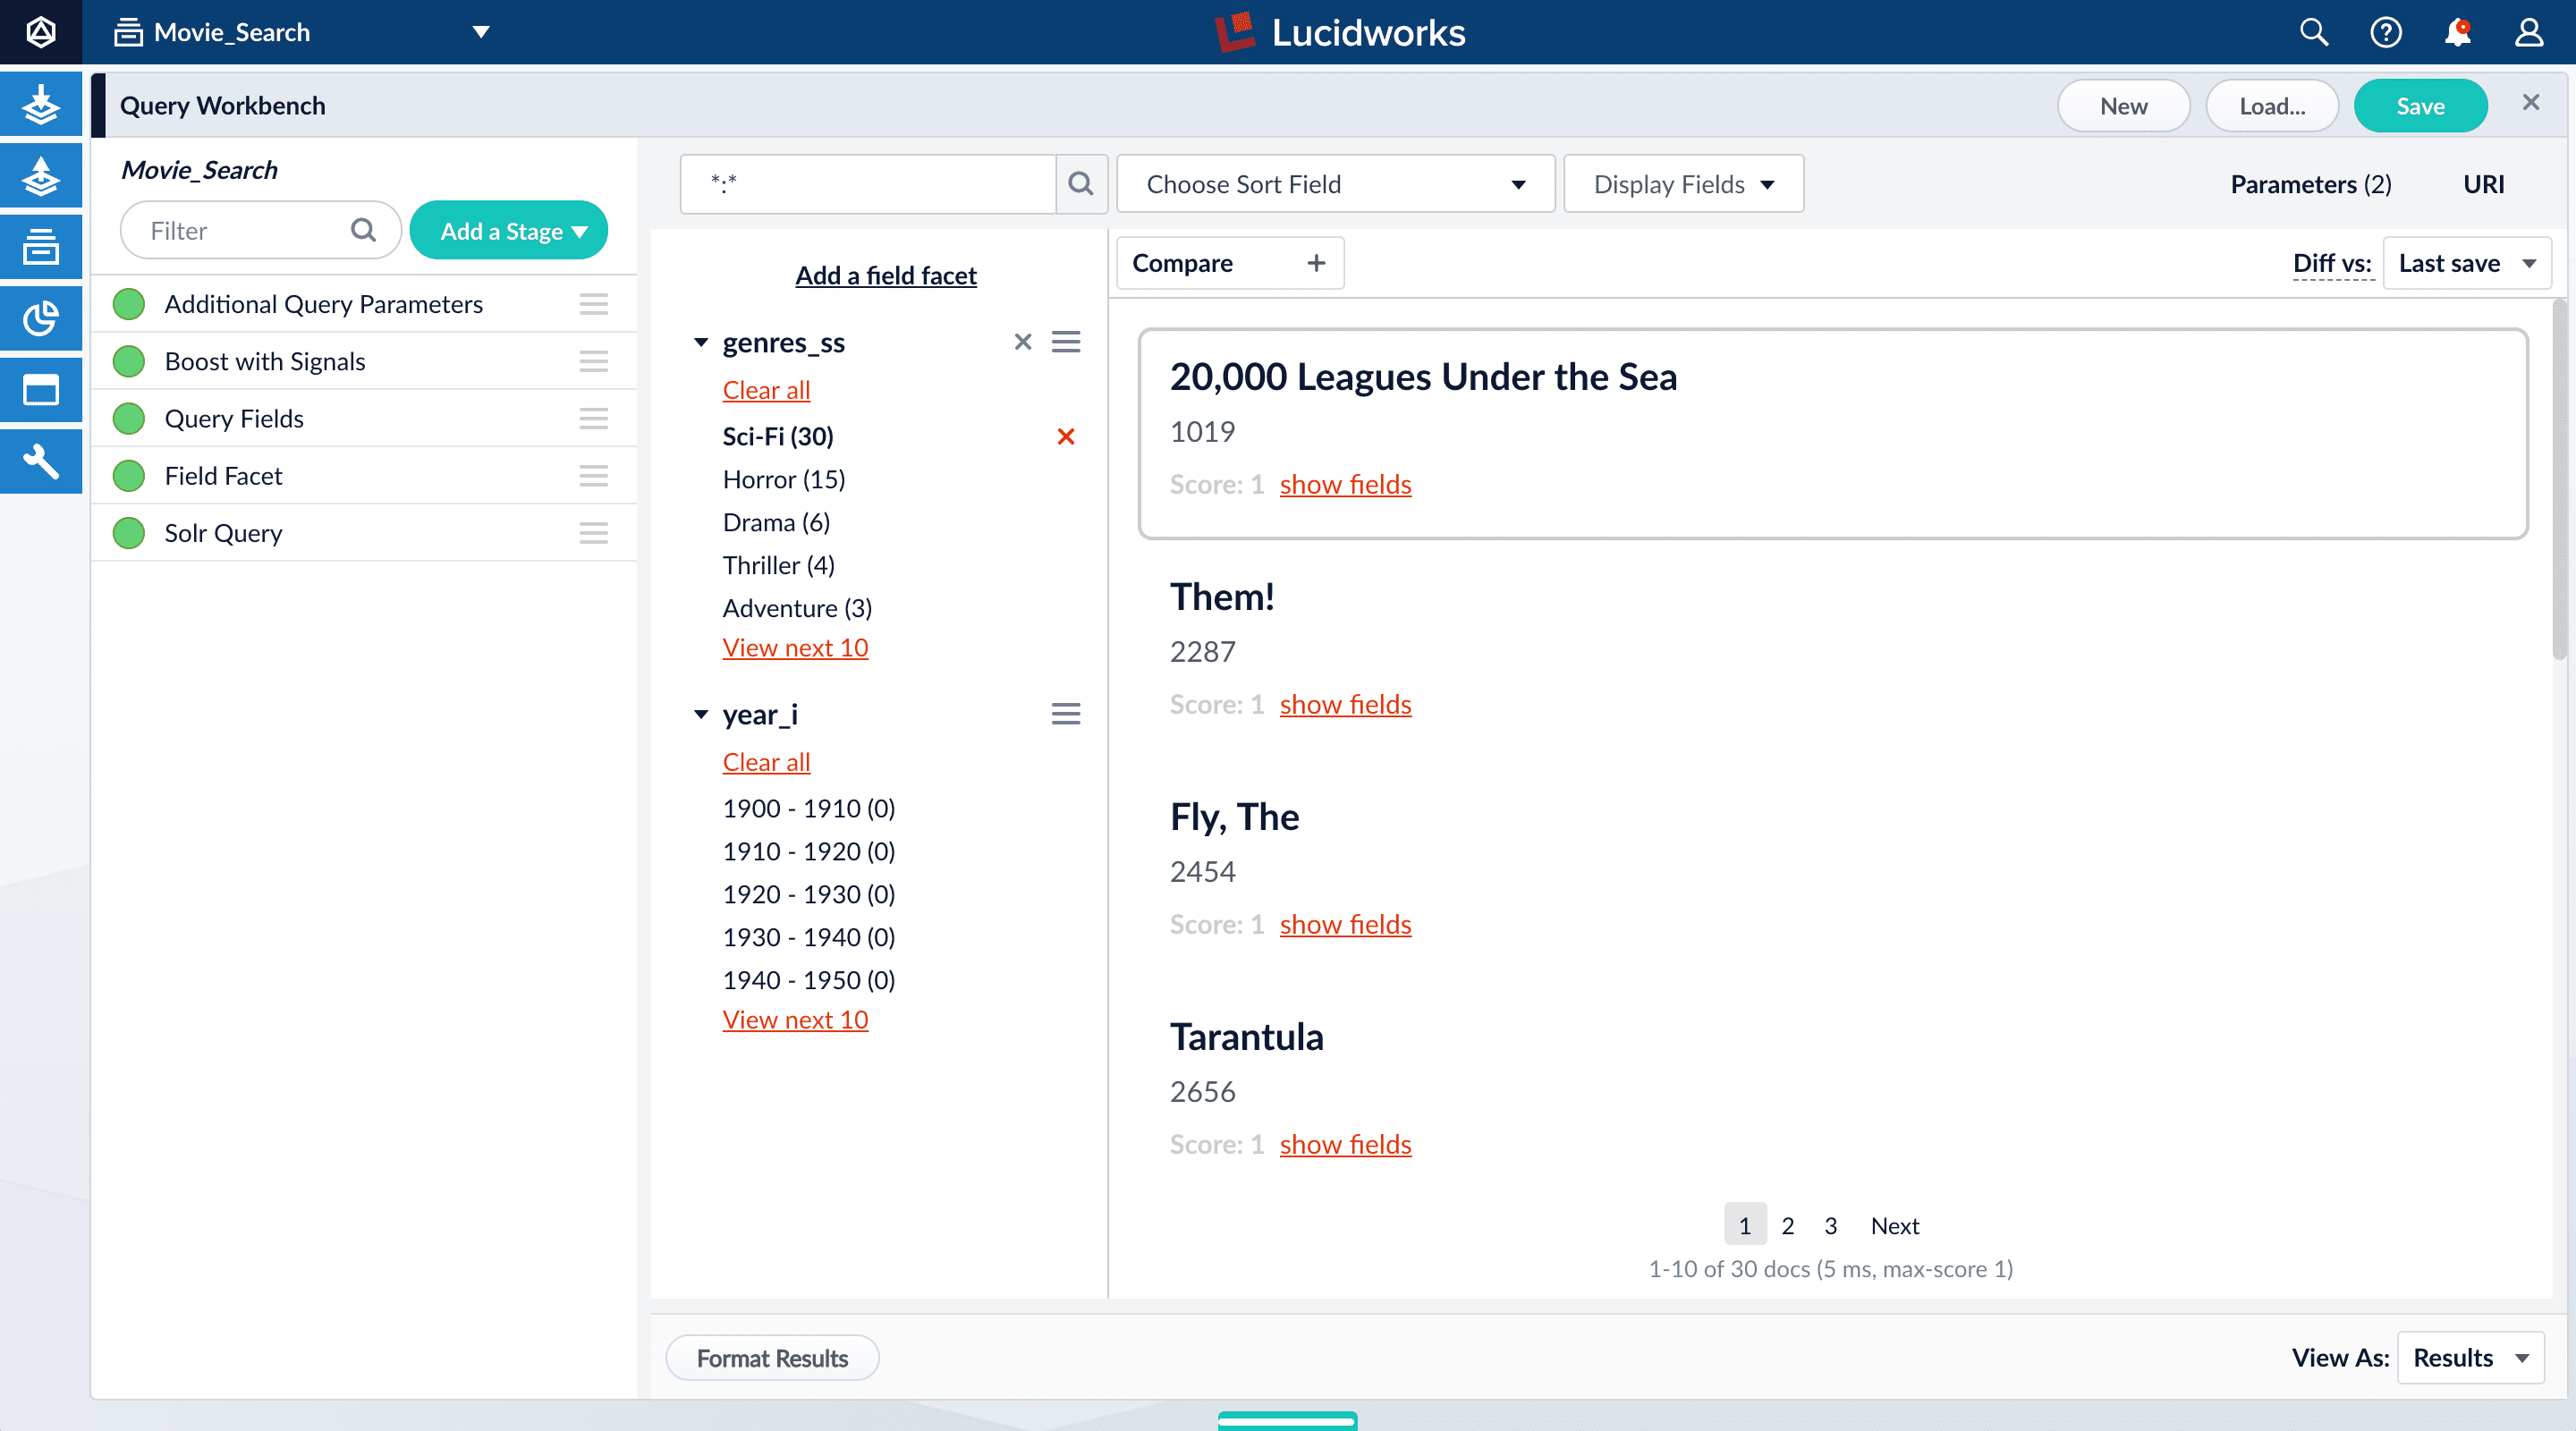
2.1. Configure basic faceting for genres
The genres_ss field is ready for faceting as-is.
-
Click Add a field facet and select the
genres_ssfield.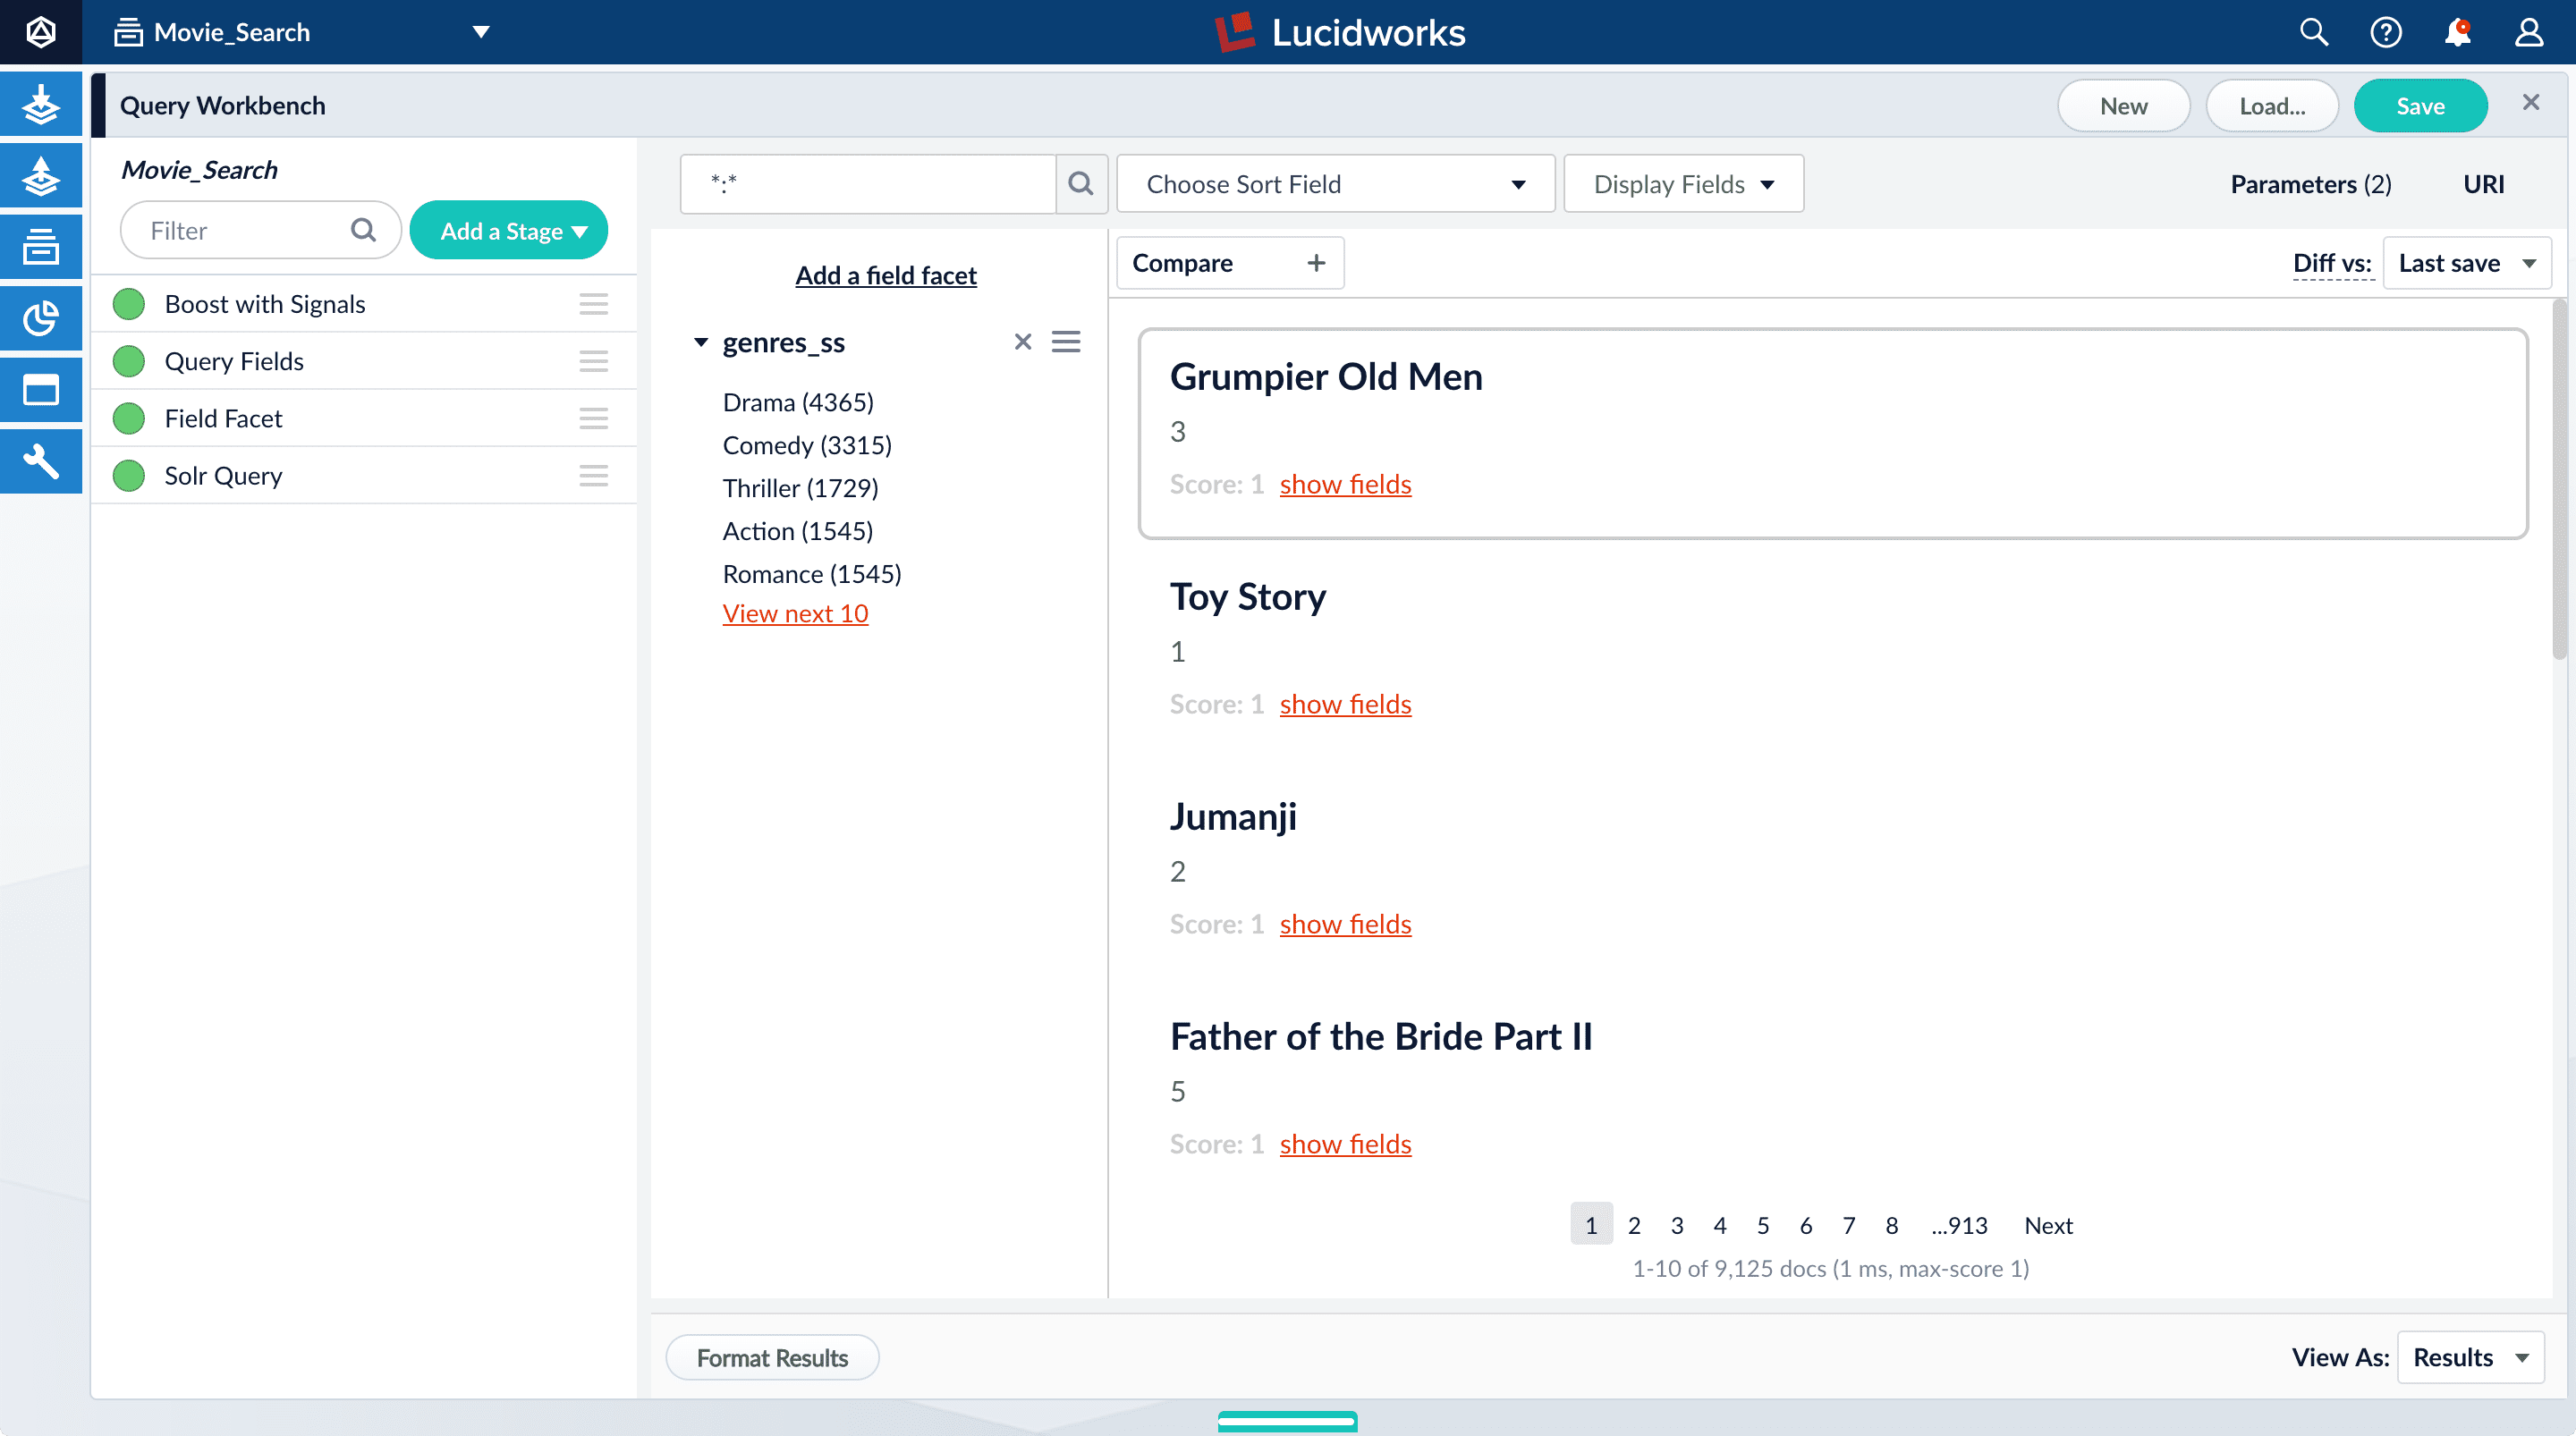
-
Click Sci-Fi to select movies that have the value
Sci-Fiforgenres_ss: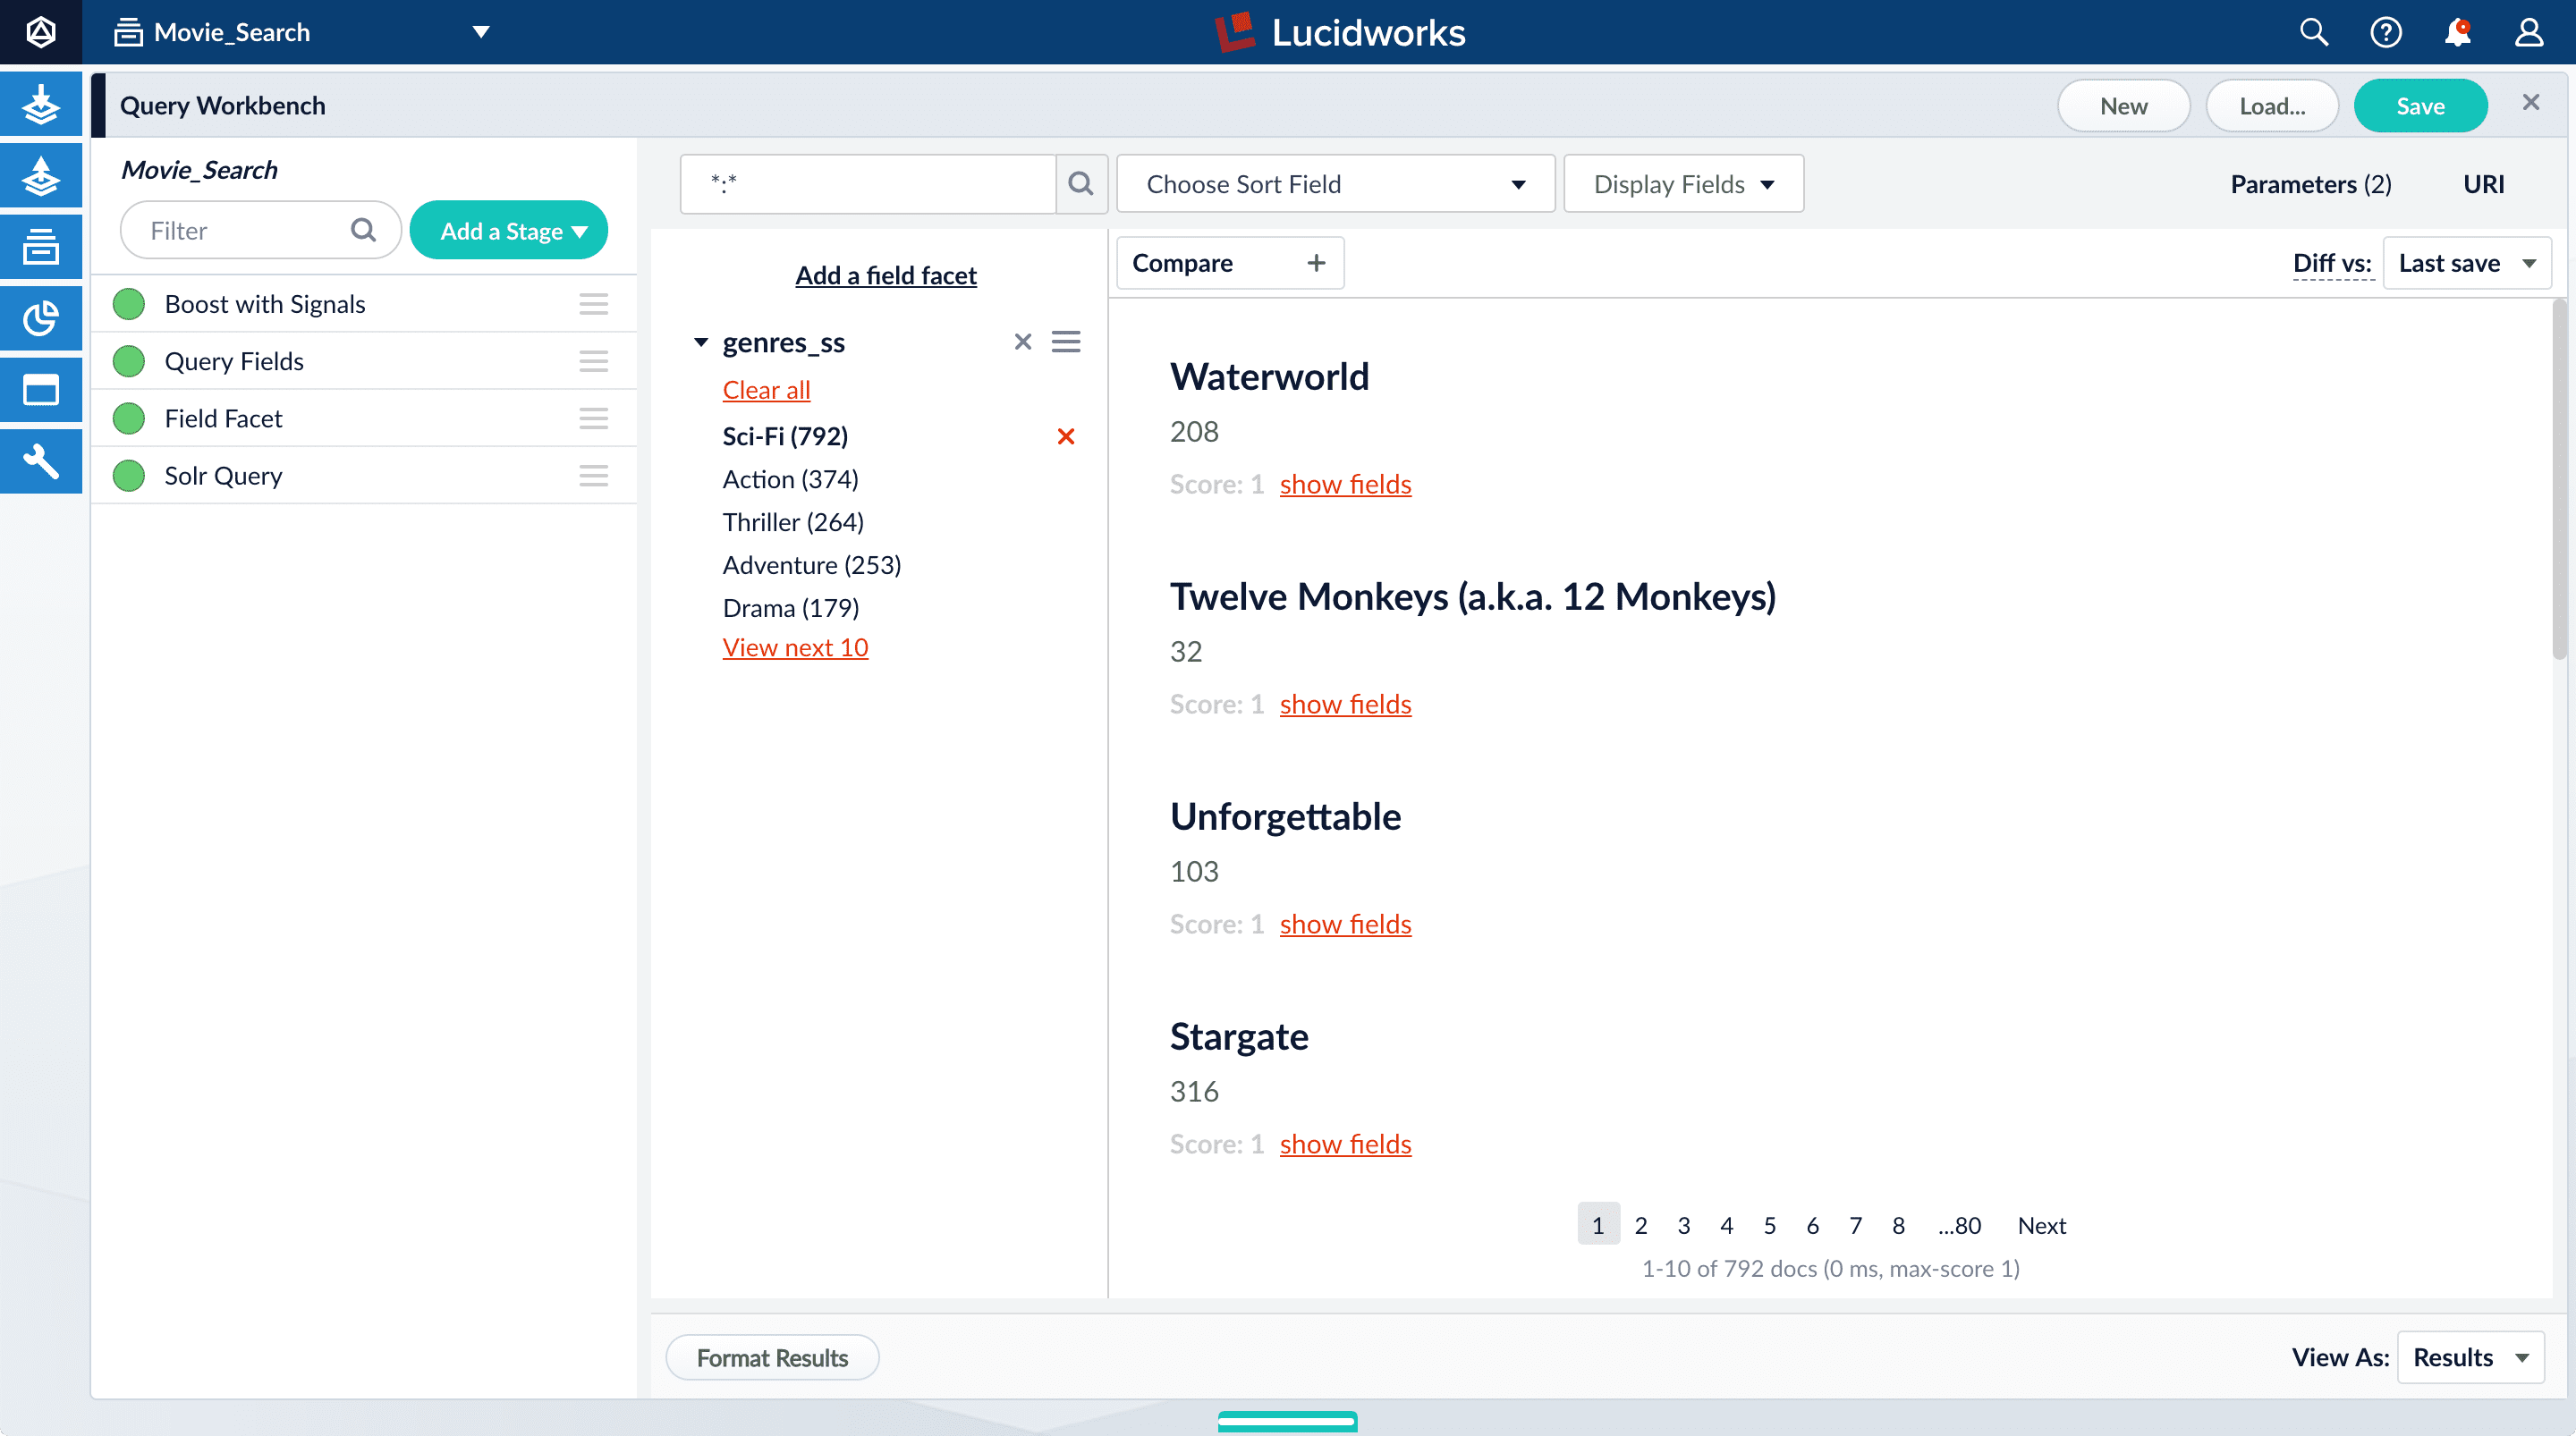
Genres are not in any specific order. In configuration for the Field Facet stage, you can choose a value of Sort for the facet field - index(alphabetical ascending order) orcount(number of documents). Or you can add field facets by configuring the Field Facet stage. -
Under the field facet genres_ss, click Clear all.
2.2. Configure range faceting for years
If you were to just configure faceting for the year_i field as you did above for the genres_ss field, you would get one facet per year, which is not very useful.
But the year_i field will be more usable if you configure range faceting. Range faceting is a way of grouping values together so that the user can select a value range instead of one specific value. For example, range facets are commonly used with pricing ($50-$100) or ratings (4 stars or higher). Here, we group years by decade.
Range faceting requires sending an additional query parameter to Fusion’s Solr core. You can configure this with the Additional Query Parameters stage. In this case, you will use several of Solr’s range facet query parameters.
Use the Additional Query Parameters stage to configure range faceting for the year_i field:
-
Click Add a stage.
-
Scroll down under Advanced and select Additional Query Parameters.
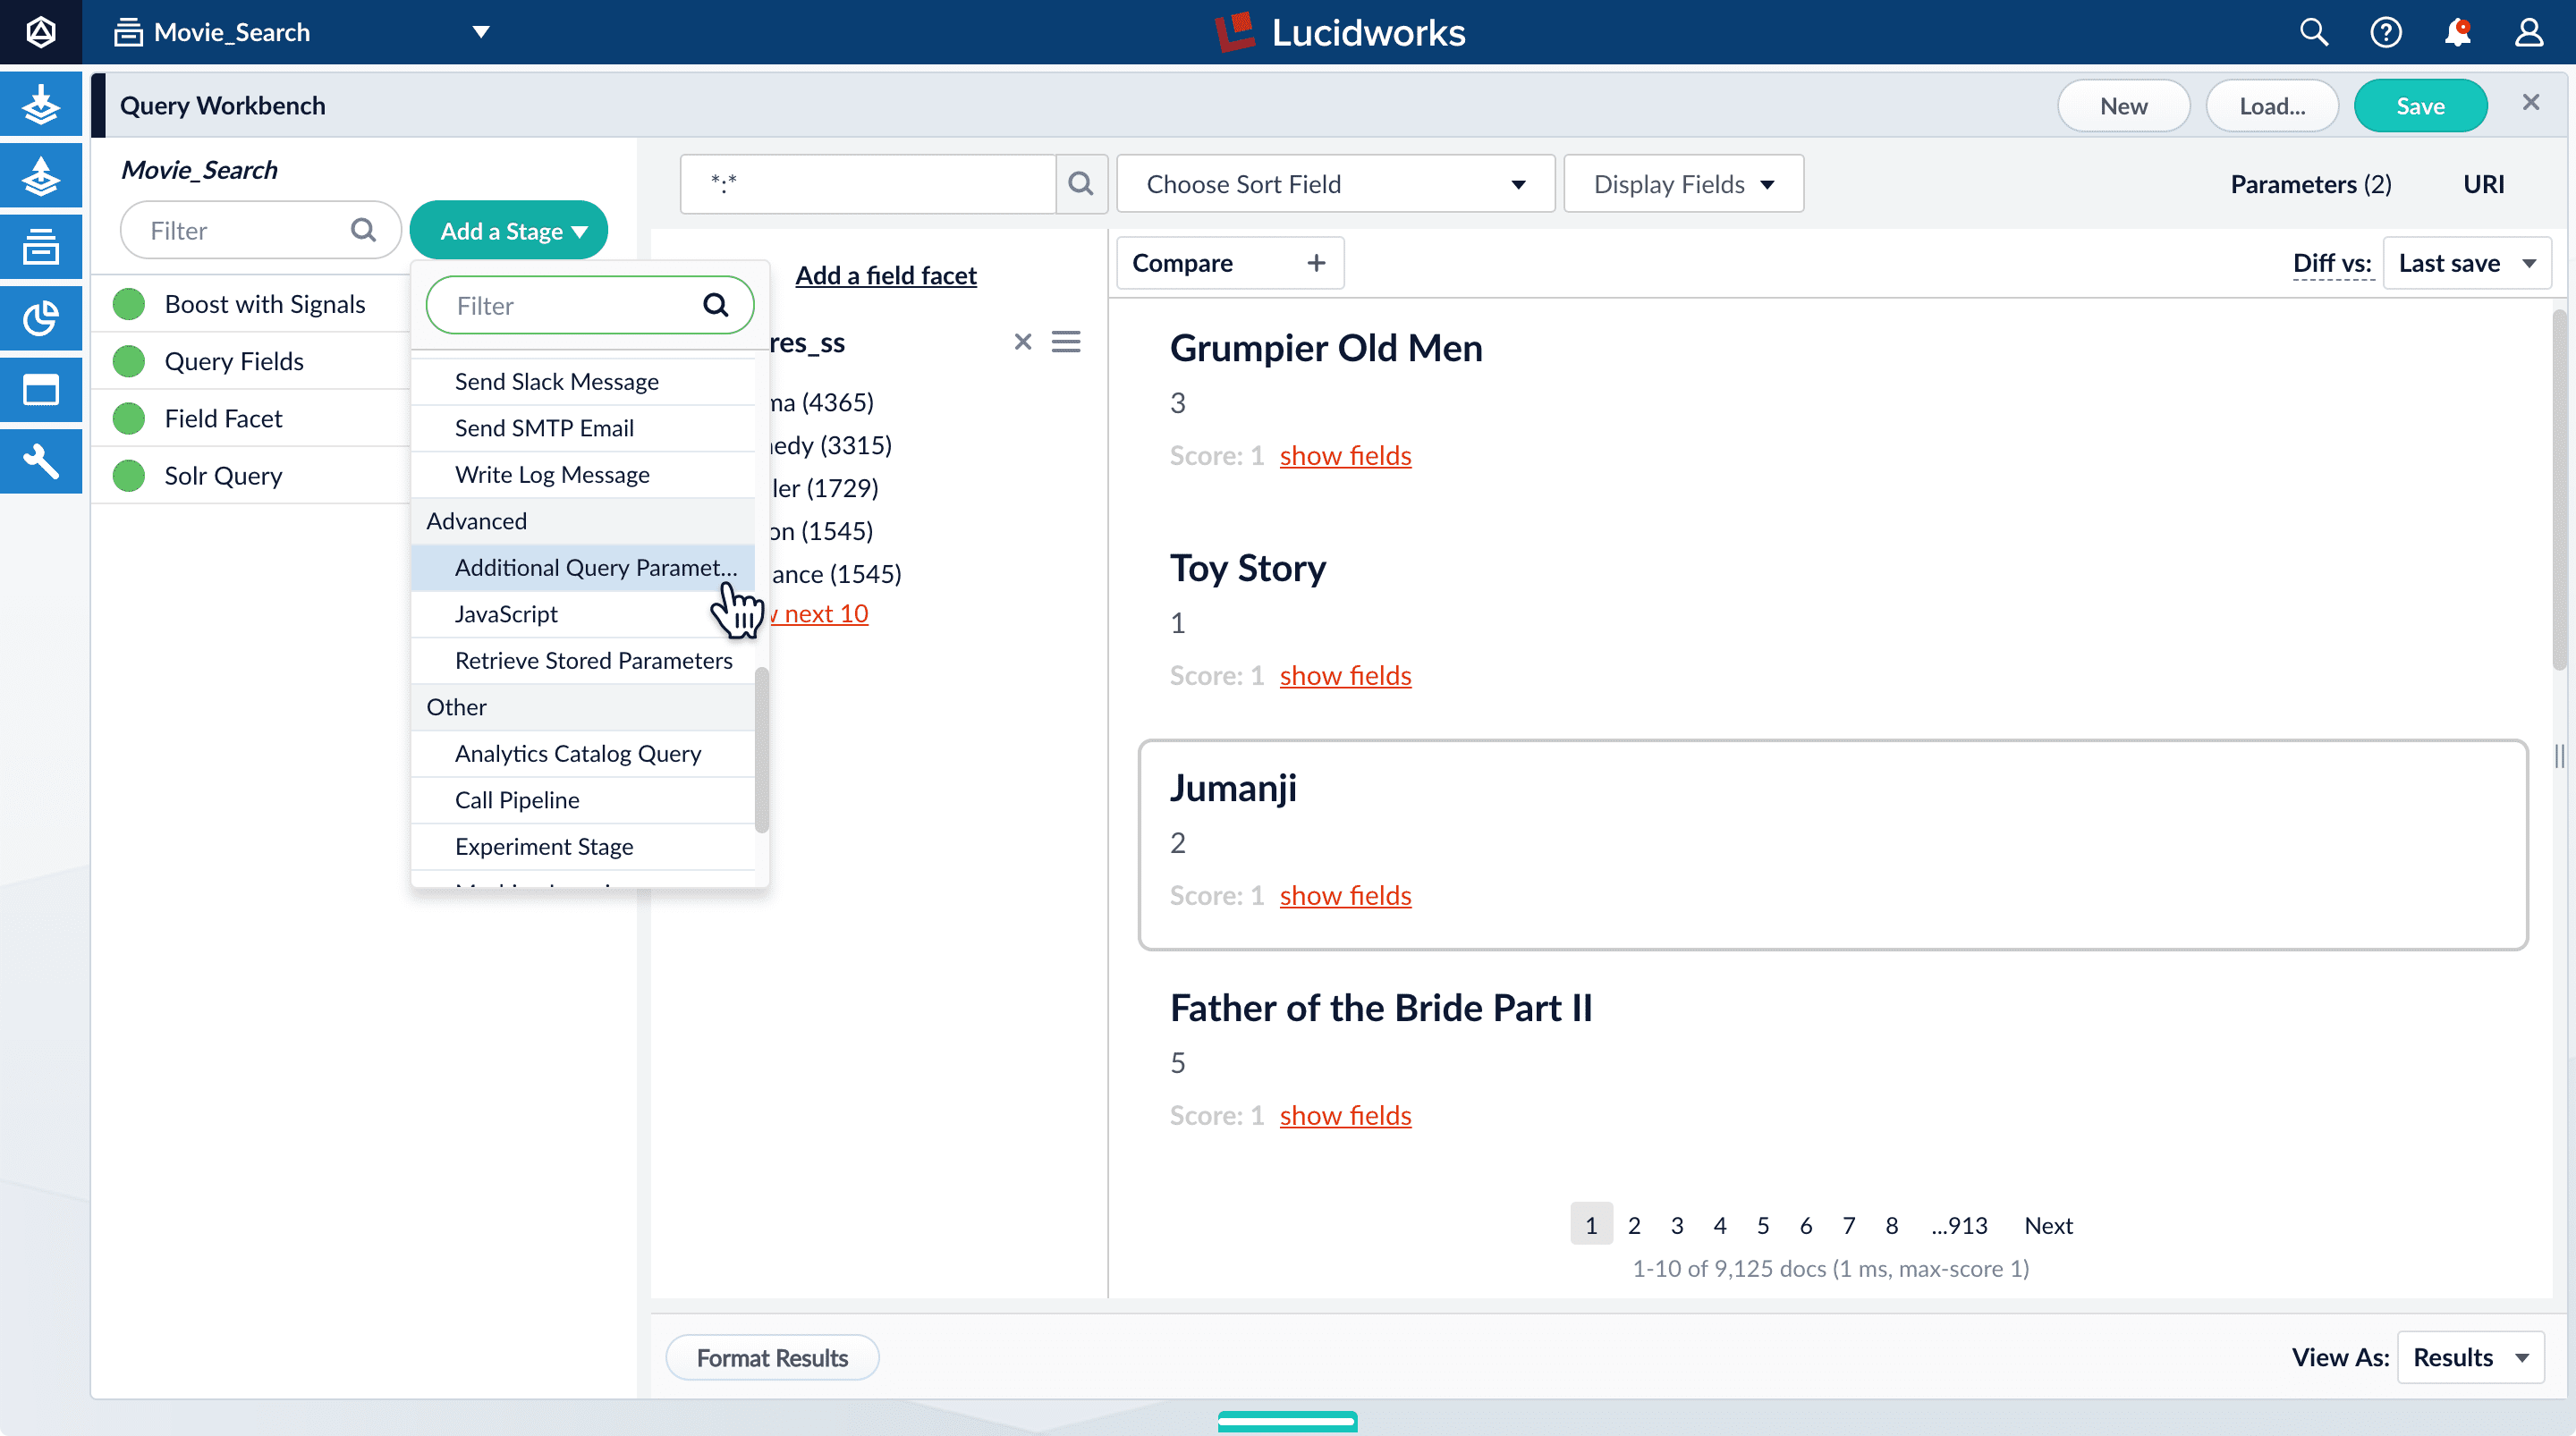
The Additional Query Parameters configuration panel appears.
-
Under Parameters and Values, add the following parameter names and values:
Parameter Name Parameter Value facet.rangeyear_ifacet.range.start1900facet.range.end2020facet.range.gap10facet.range.includeouterIn this case, you do not need to modify the Update Policy field; the default value of
appendis fine. -
Click Apply, and then Cancel (which just closes the configuration panel for the Additional Query Parameters stage).
The year facets are now grouped by decade:
Facets are not the only way for users to find items by year. In your user application, you can let users search for specific values in the year_ifield, for example, by using a text field or dropdown list.
3. Configure query fields
In this section, you will see why it is useful to specify which fields Fusion should use to match a query.
-
Search for "2001".
The results are not what an end user might expect:
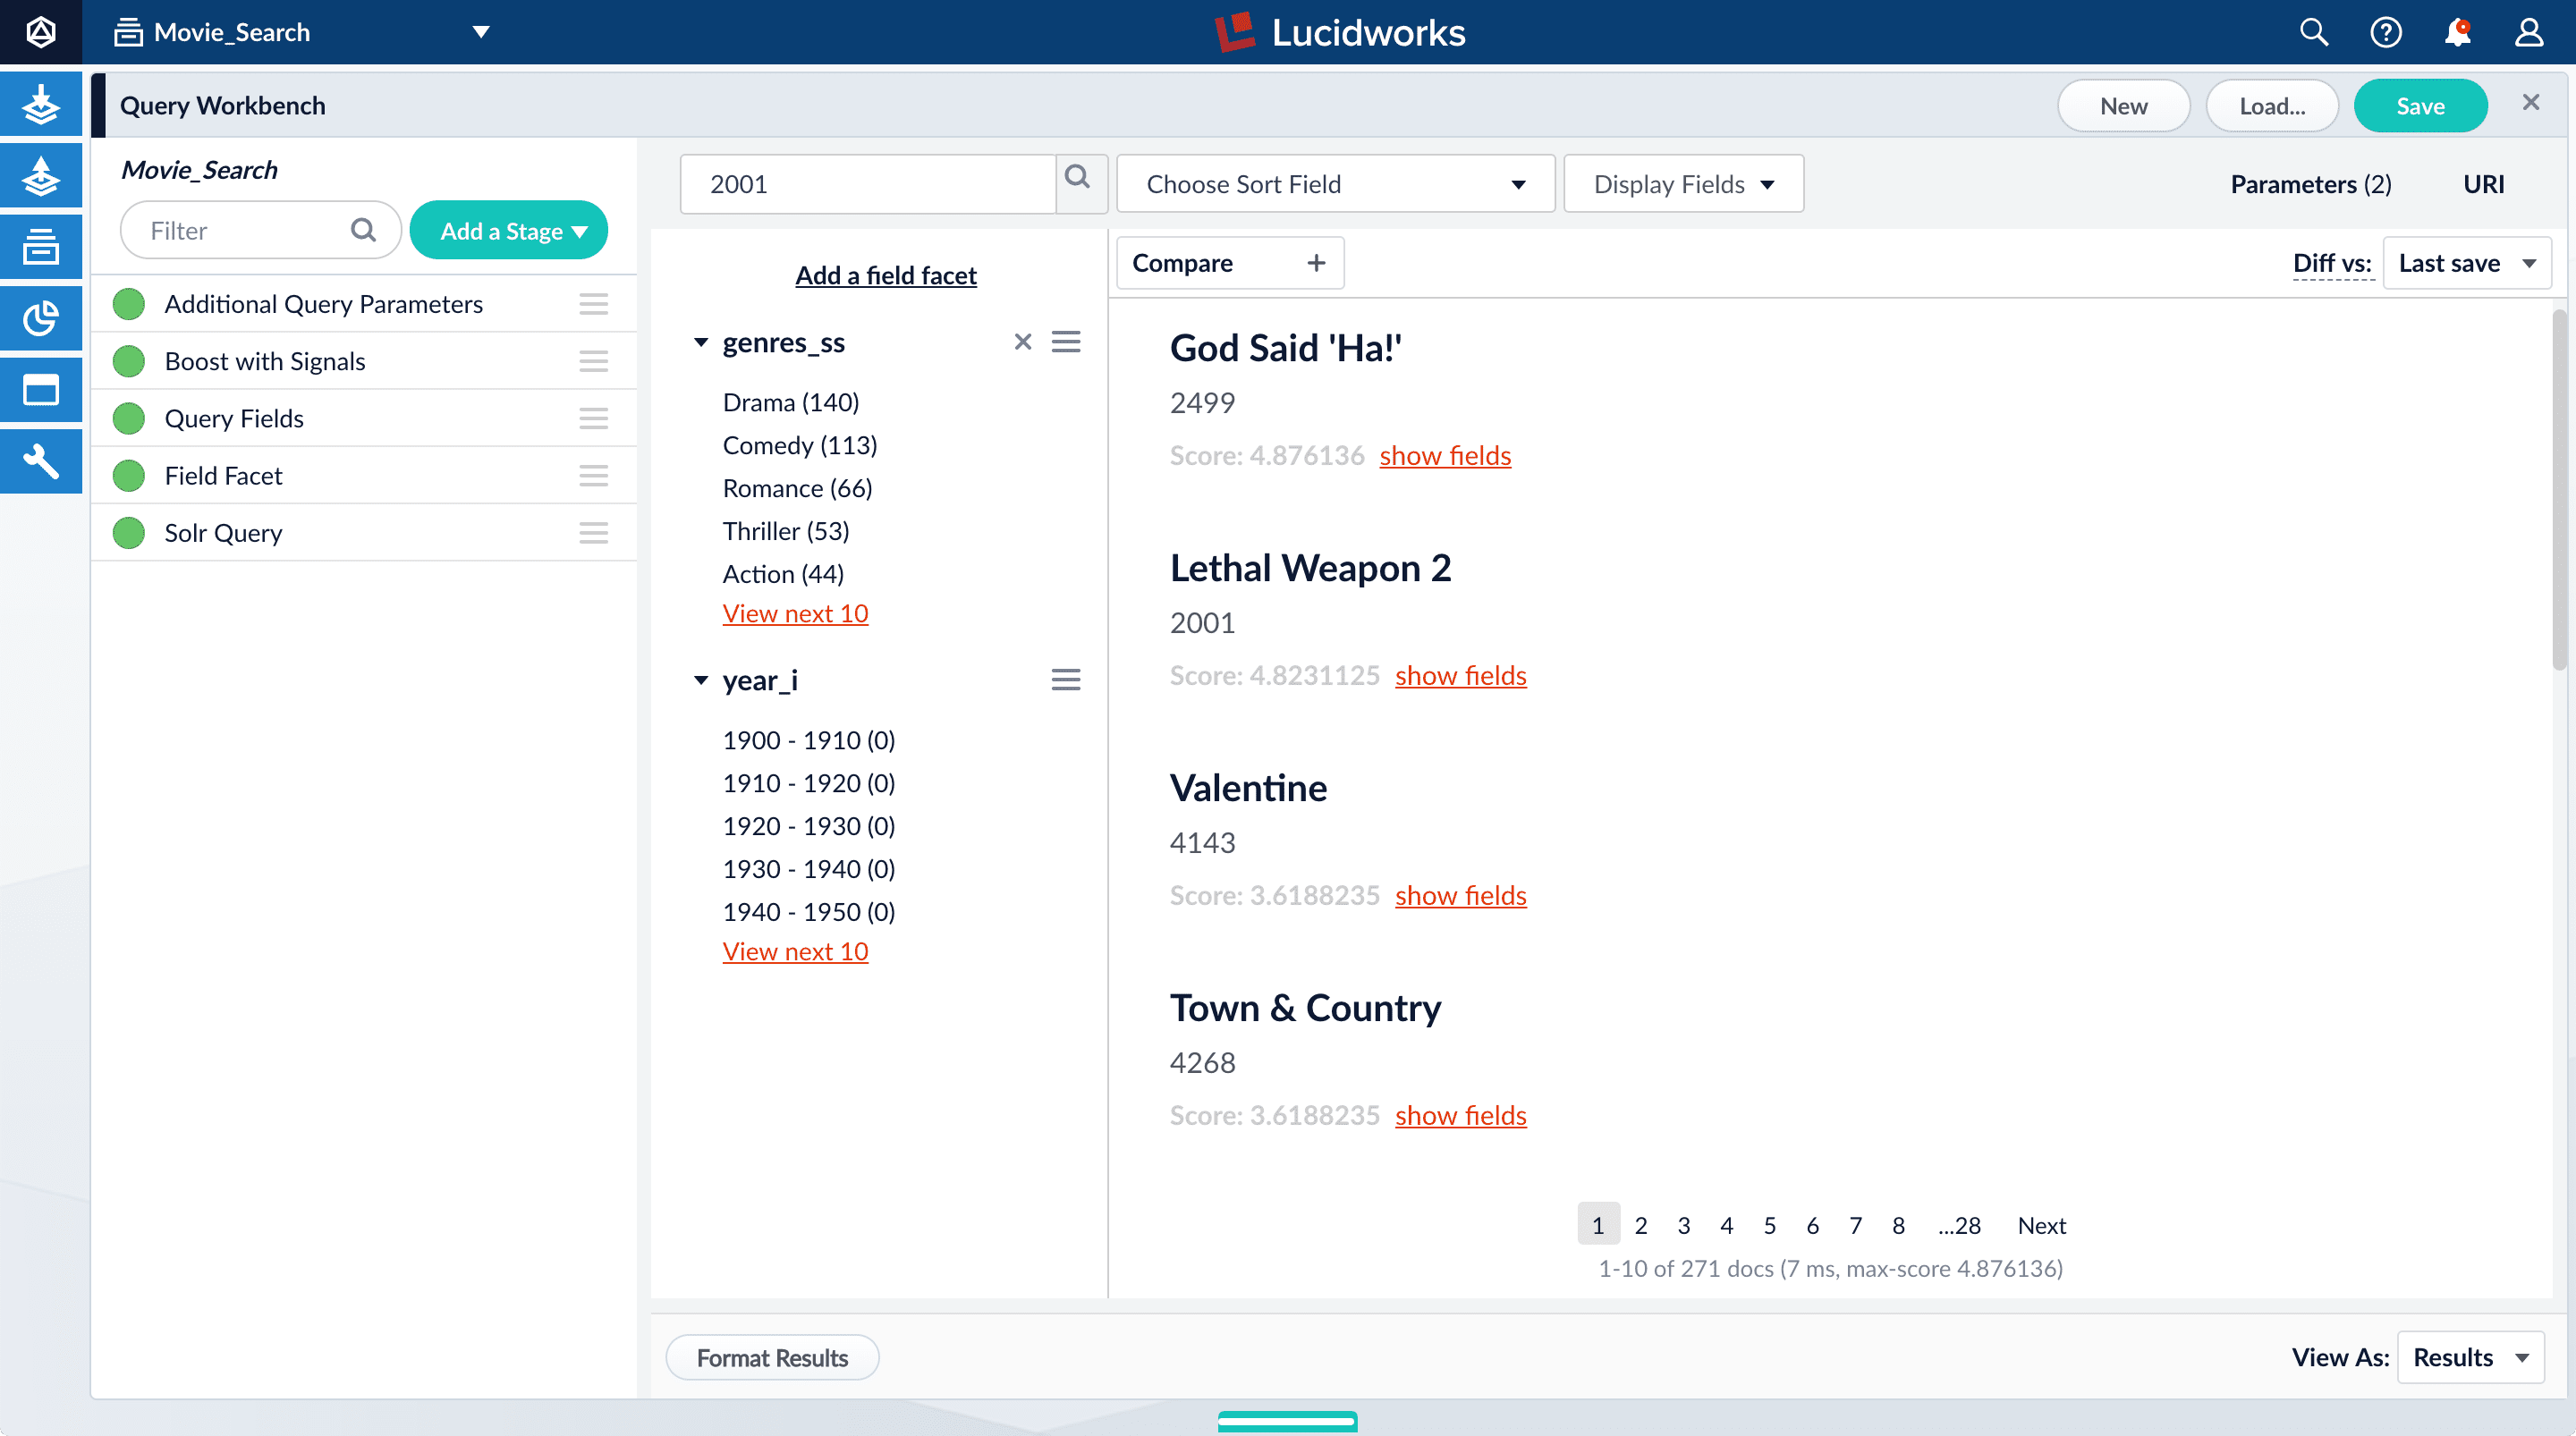
"2001: A Space Odyssey" is not the top search result.
-
Under one of the movies listed, click show fields.
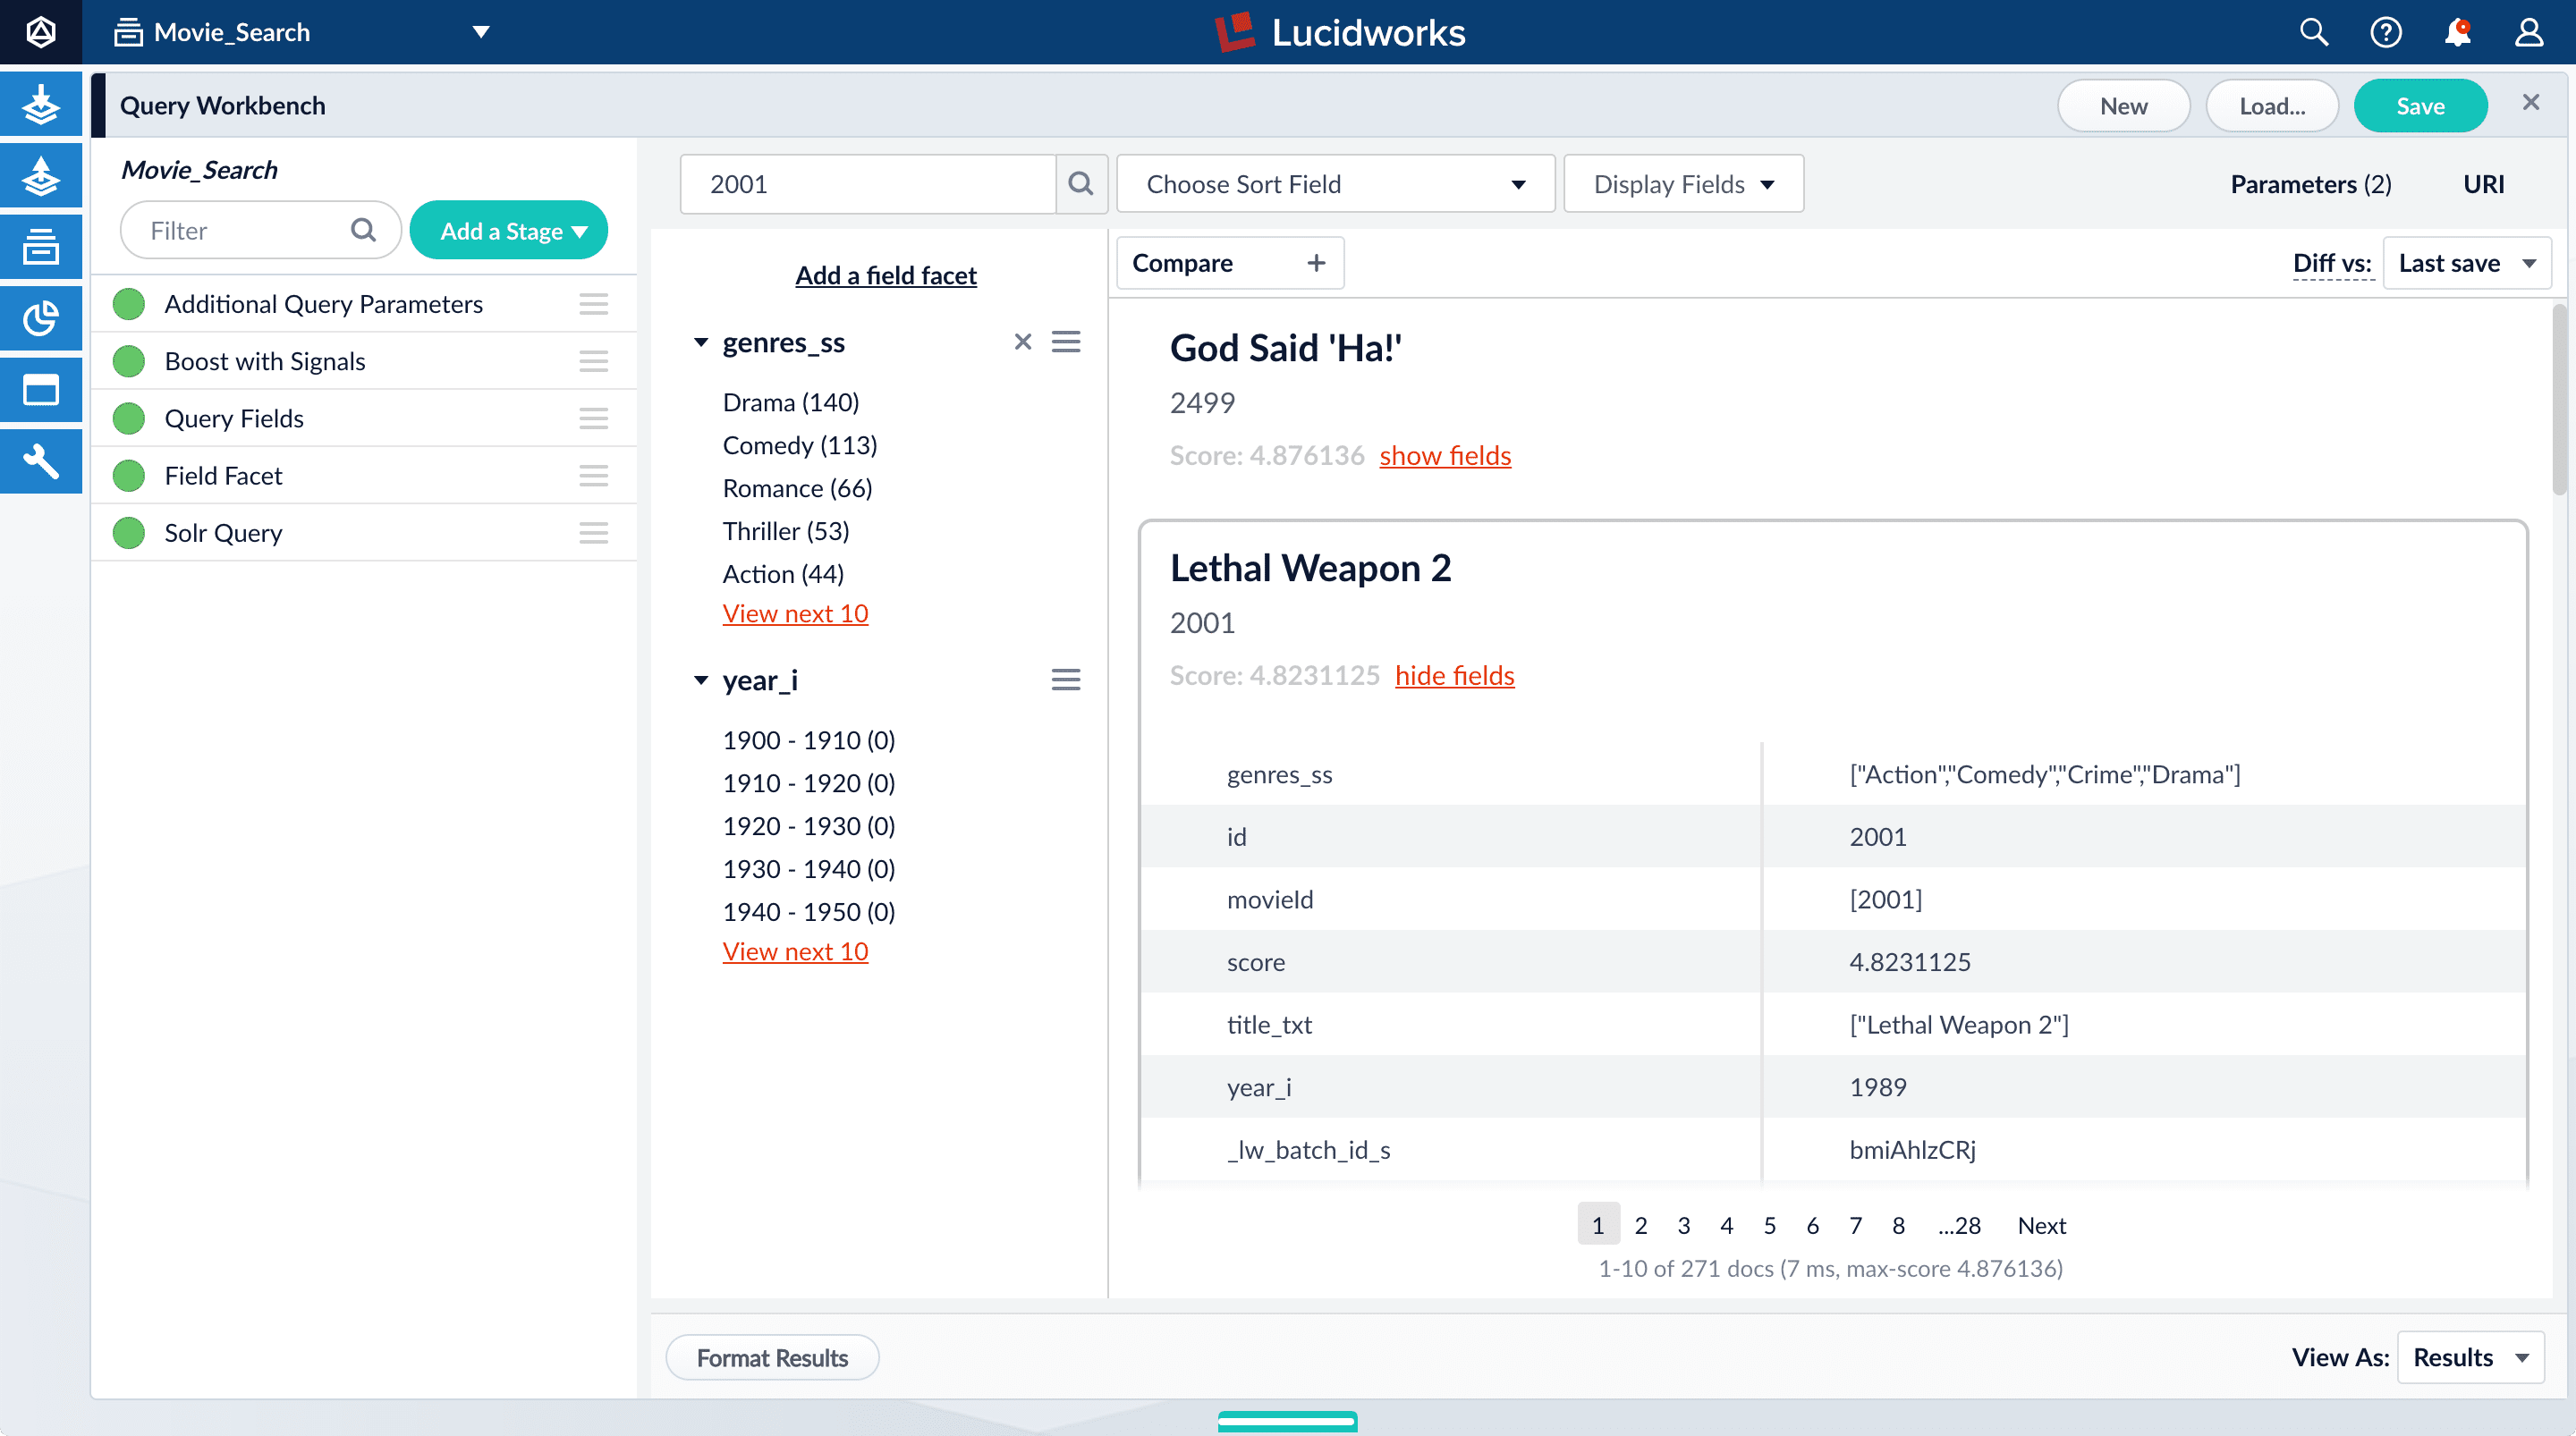
Here is the reason: your search query matches the
idfield, but users do not care about this field.You will use the Query Fields stage to specify the fields that users really care about.
-
Below the name for the movie you selected, click hide fields.
-
Click the Query Fields stage of the query pipeline.
The Query Fields configuration panel appears.
-
Under Search Fields, click Add
 .
. -
Enter
title_txt. -
Click Add
again. -
Enter
year_i. -
Click Apply, and then Cancel (which just closes the configuration panel for the Query Fields stage).
Now movies with '2001' in their title rise to the top of your search results, followed by films made in the year 2001:

4. Save the query pipeline configuration
-
In the upper right, click Save.
The Save Pipeline window appears. By default, you will overwrite the default query pipeline for this datasource.
-
Click Save pipeline.
What is next
With just two facet fields combined with keyword search, this prototype is already beginning to feel like a real search application.
In Part 4, you will enable signals, generate some signal data, aggregate it, and search it to see what it looks like. Signals can be used for recommendations or boosting.